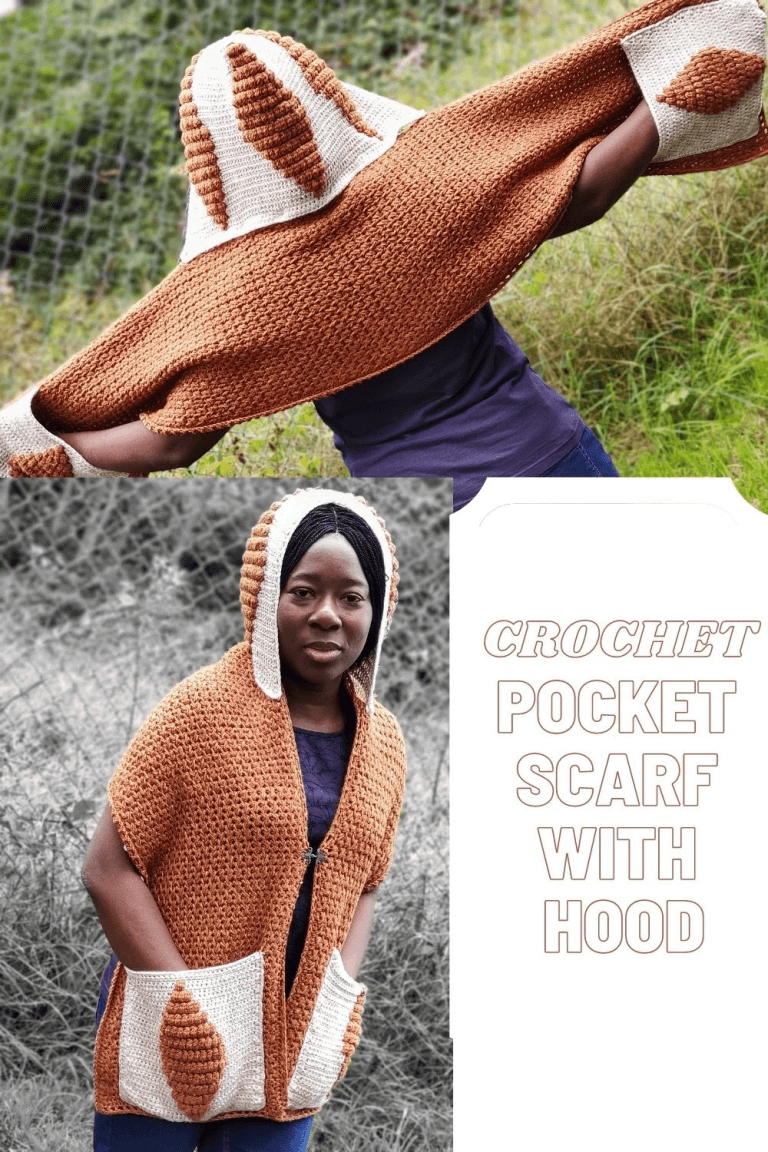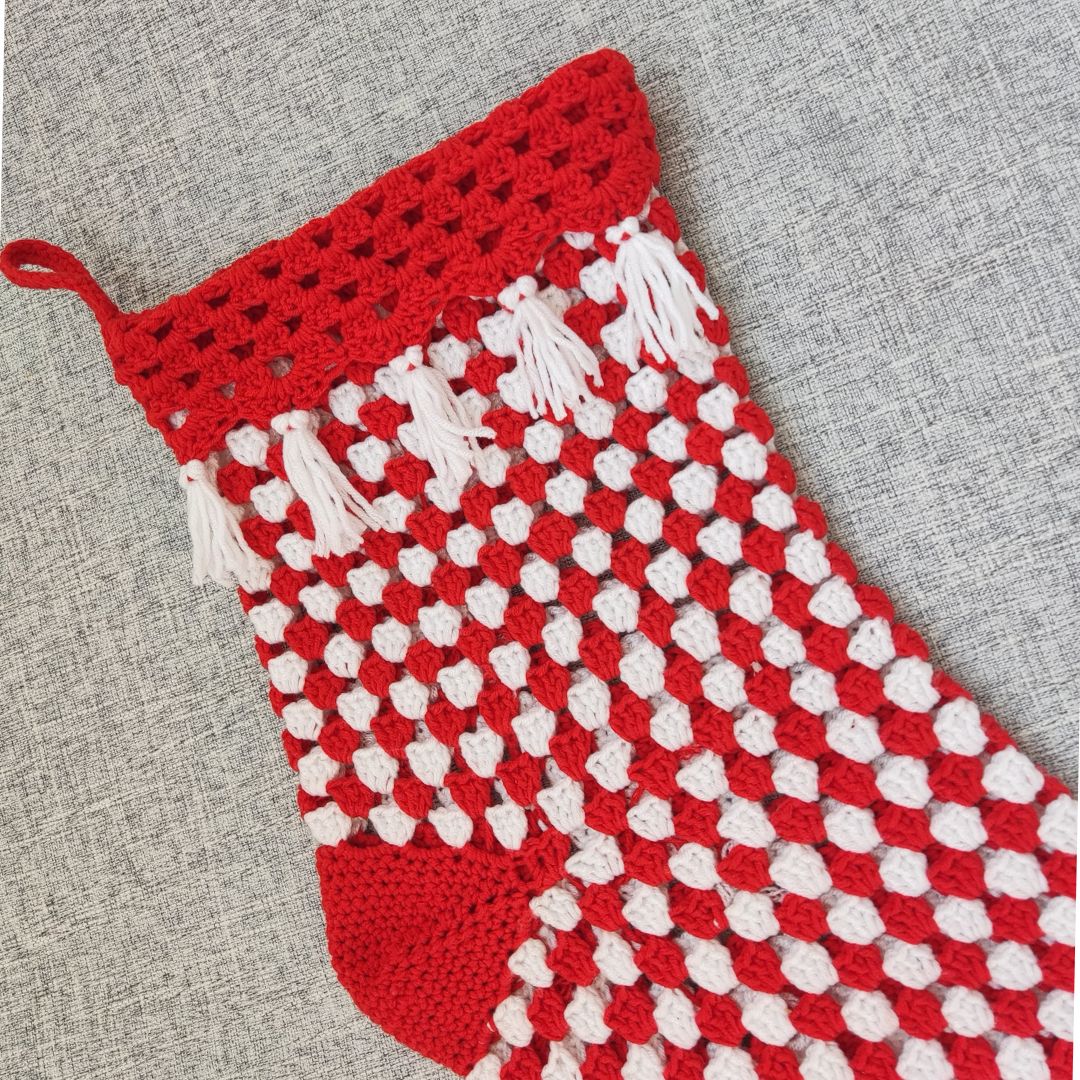
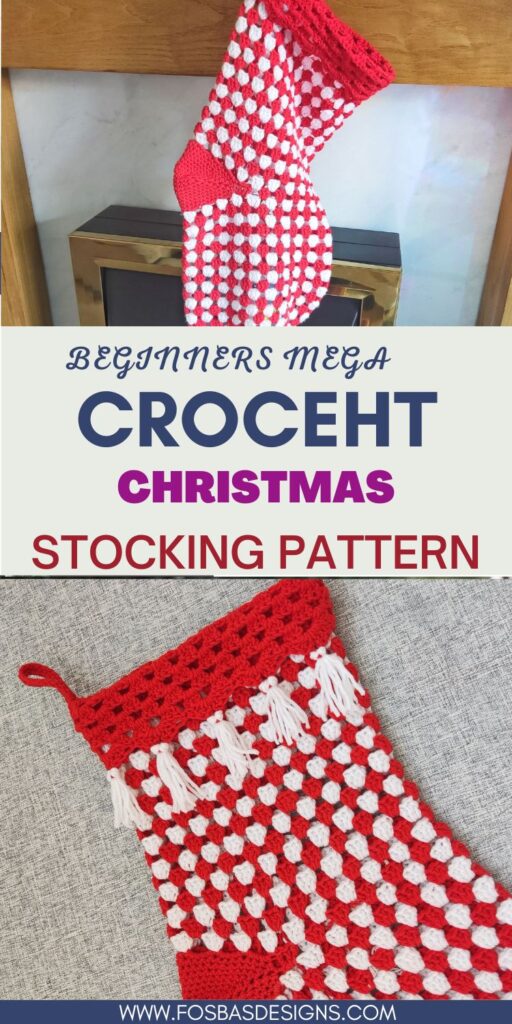
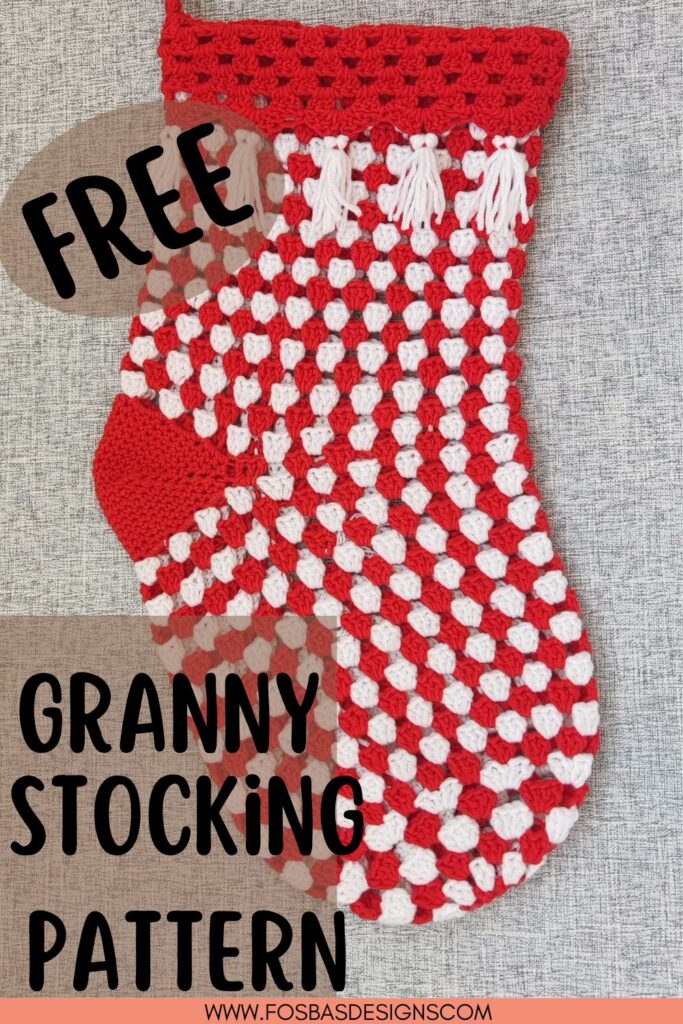
Crochet Granny Christmas Stocking Free Pattern
Crochet granny stockings are a beautiful addition to any home decoration, especially at Christmas – The festive period. How else can we talk about Christmas decorations without Granny Stockings?
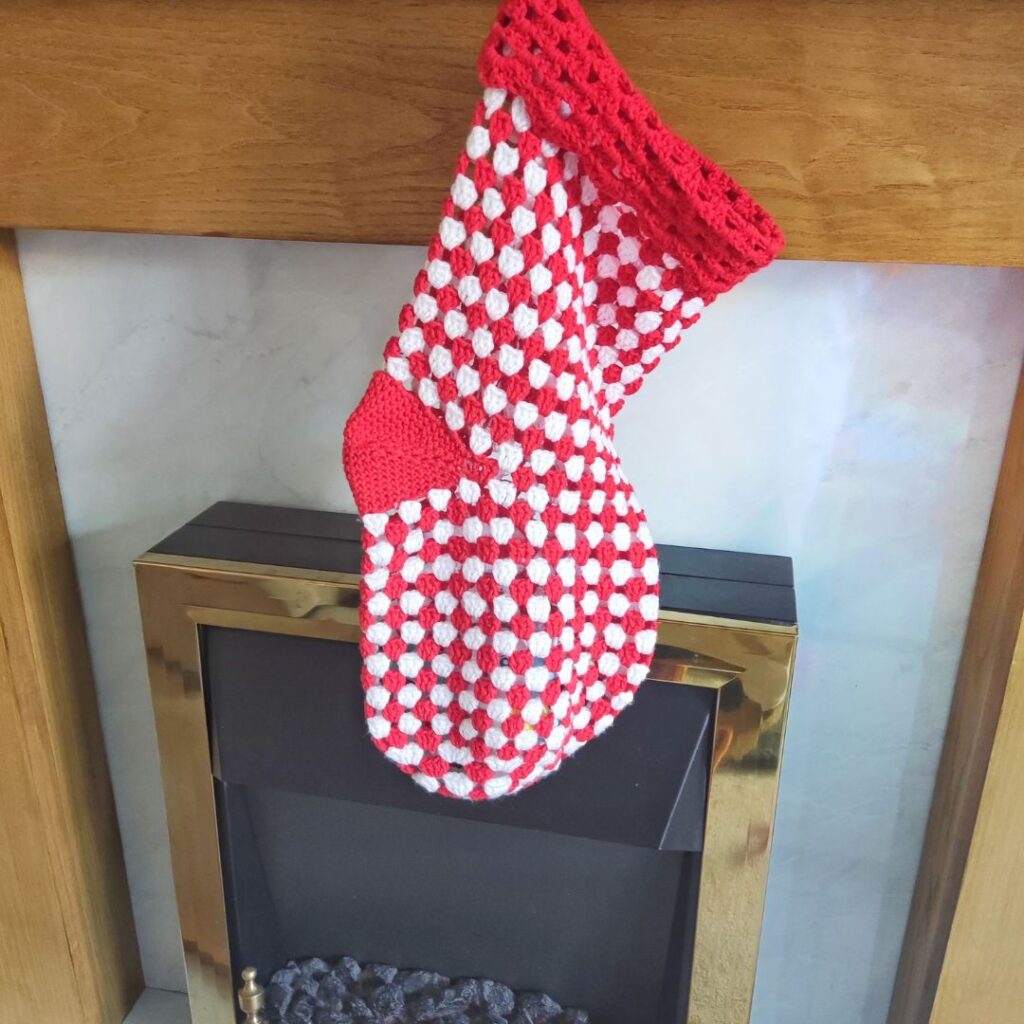
I am excited to share with you this mega granny Christmas stocking-free pattern.
Recently, we added a new baby to our family, which means that we need additional stocking. I decided to make mega, chunky stitching and thought I would share it with you all.
I can’t wait to see the little guy’s reactions to checking his Santa’s surprises under the Christmas Tree this year!
How do you crochet a granny stocking
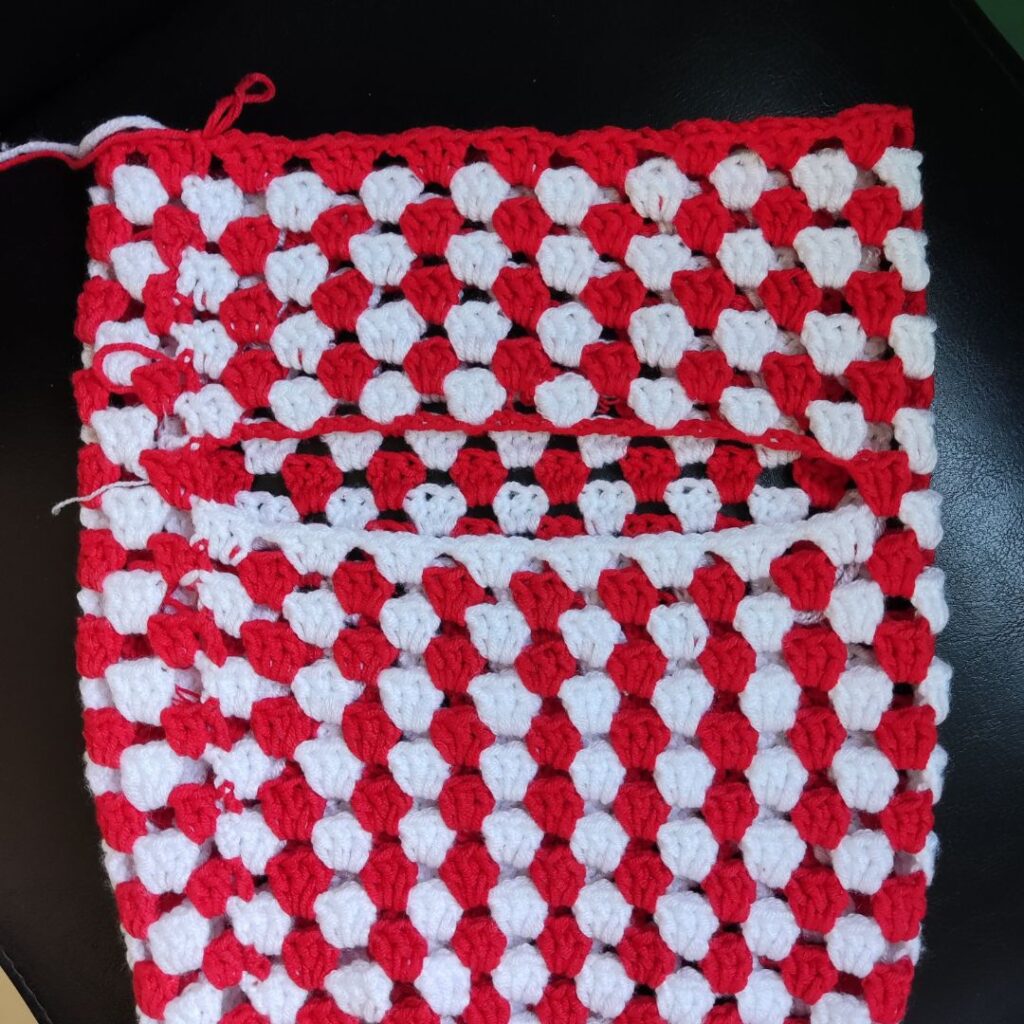
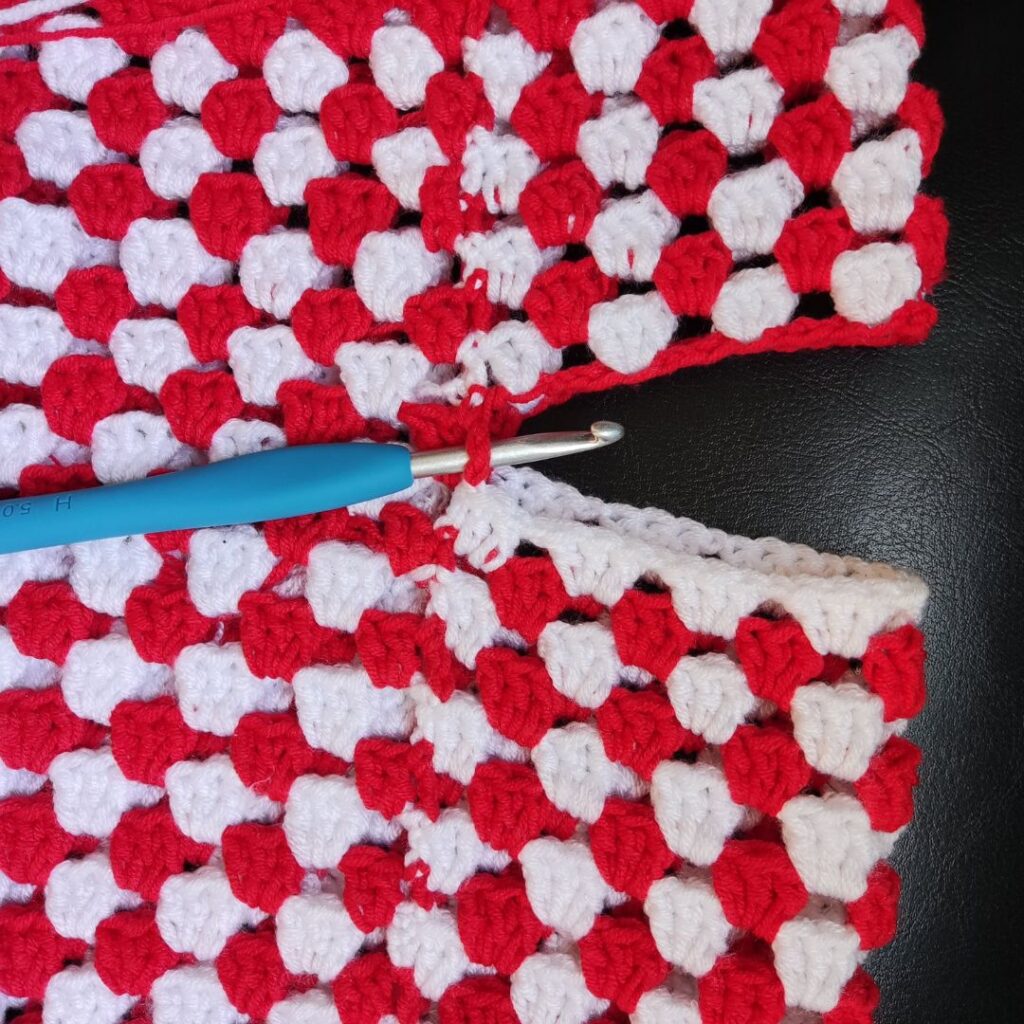
Crocheting the granny stitch stocking is such a fun thing. It uses the basic crochet stitch – Double Crochet and Chains. If you can make these two stitches, you can crochet your granny stitch stocking.
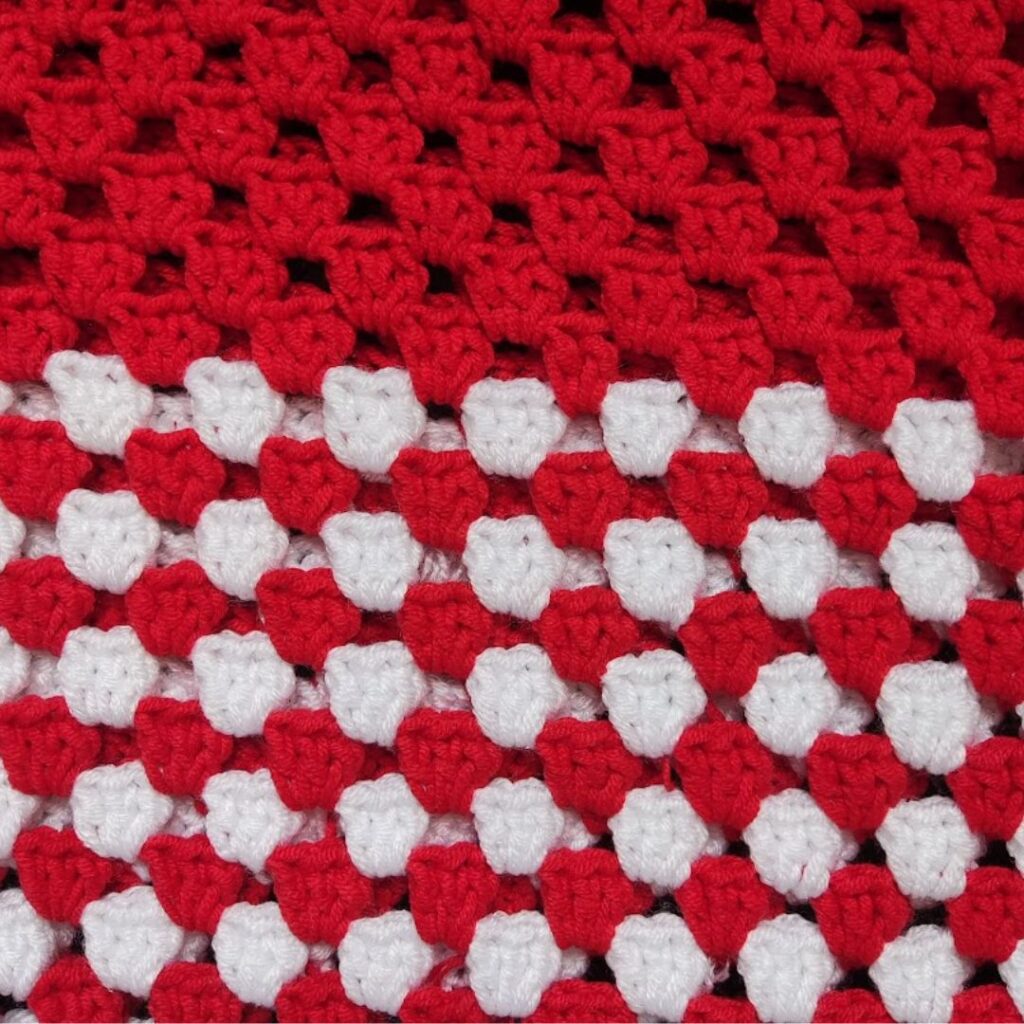
For the granny stockings, double crochets are made into each chain space. This set is called “shells,” which is – 3 dc.
Perfect, the granny square stitch, explained in detail in this post. More crochet projects for Christmas
How do you crochet a large chunky stocking
This detailed post contains steps to help you make your own version of a large (mega) granny stocking.
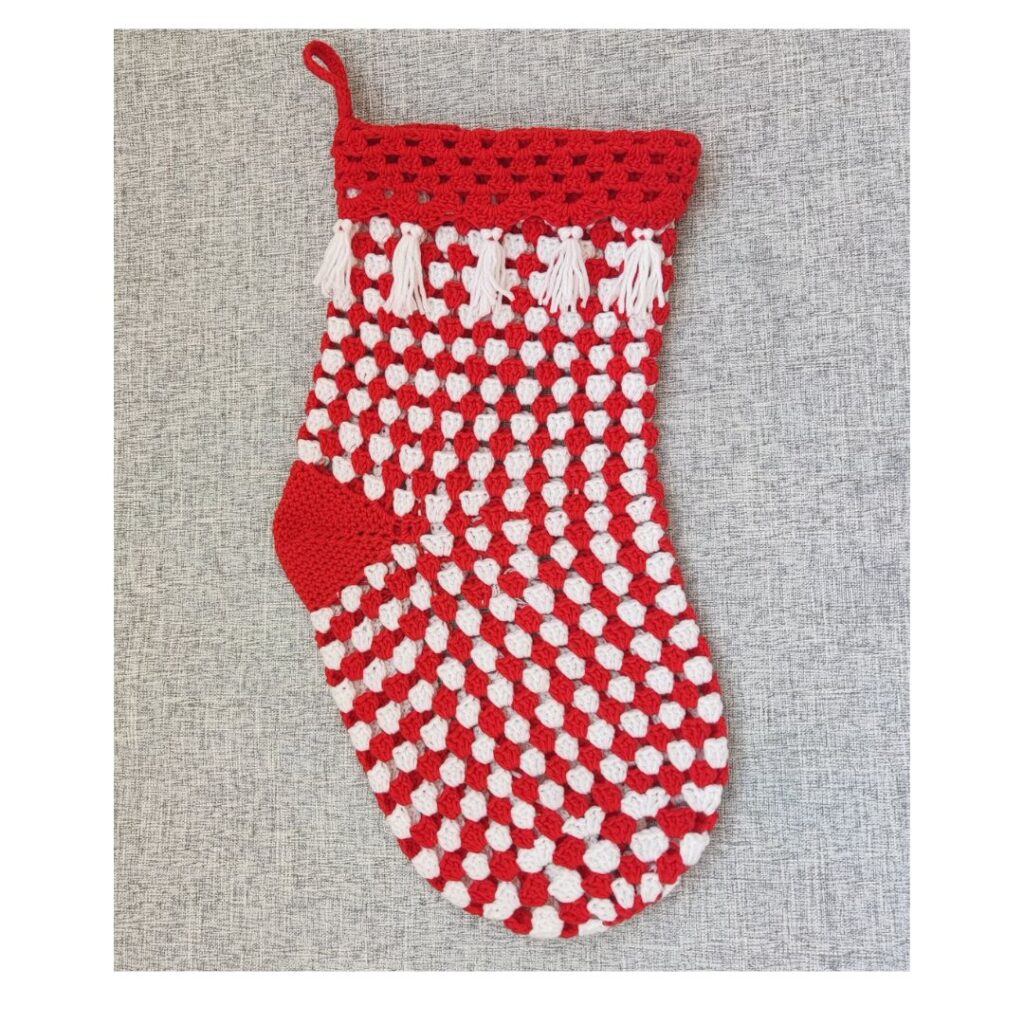
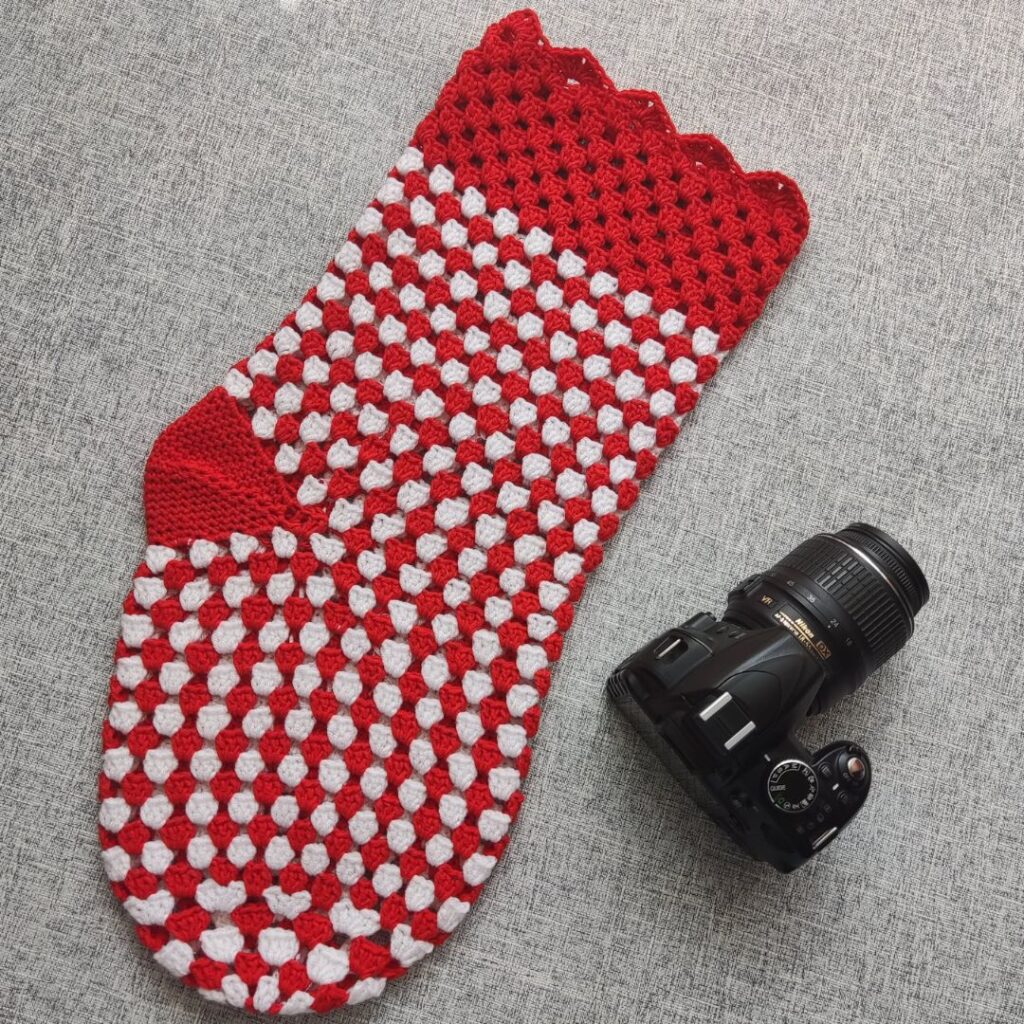
The finished dimension is 20″ by 8″, excluding the tassels! You can customize the dimensions of your stocking by going down or up your crochet hook sizes.
The granny stitch Christmas Stocking is such a fun one to make as it works up pretty quickly. You can go stash-busting with this pattern or simply use the traditional Christmas colors.
Speaking of Christmas decor, I have a decent amount of patterns, mostly free, here on my blog that you should make
The wall-mounted Christmas tree
Crochet Christmas tree
Christmas Ornaments and Presents
Crochet Santa mug cozy free pattern
Materials needed to make your own Crochet Granny Christmas stocking
Yarn – For this mega granny stocking pattern, any DK (#3) weight yarn can be used in colors of your choice.
This version of granny stocking was made using – Scheepjes Softfun, #3 (60% Cotton, 40% Acrylic. 140 m/ per 1.75 oz/50g skein)
The prototype was made using Red and White
Red – Color A
White – Color B
Estimated Yardage
440 yards in Color A
340 Yards in color B
Hook
5 mm Crochet Hook
Difficulty level – Intermediate
Terms – US Terminology
Crochet Granny Stockings Pattern notes
- Please kindly read through the pattern before starting.
- Similar #3 weight yarn can be substituted; please check the gauge.
- Chains at the beginning of the rounds count as a stitch.
Stitch Abbreviations
Chain – ch
Double crochet – dc
Single crochet – sc
Shell – 3 dc in the same stitch
If you love granny stitch, you should check out the following posts on my blog.

Granny square crochet pattern round-up, this post contains lots of beautiful stitches.
If you are ready to spice up your crochet techniques, you should check out the reversible granny stitch. This beautiful stitch and technique gives a totally new look to the beloved granny stitch.
Reversible granny stitch cowl and neck warmer
Reversible Granny stitch sweater – Kids and Adult sizes
Pattern instructions for the crochet granny stitch stocking
Round 1: With A, in a magic ring, ch 4 (counts as beg ch 3, plus ch 1, here and throughout), *dc, ch 1 into the ring, repeat from * 9 more times, join with sl st into 3rd ch of beg ch 3. 10 dc, 10 ch sps
Round 2: With B, ch 3 (counts as dc, here and throughout), dc in ch 1 sp, (ch 1, 2 dc) in each ch 1 sp around, join with sl st into 3rd ch of beg ch 3. 20 dc, 10 ch sps
Round 3: With A, Ch 4, skip the next 2 sts, (ch 1, 3 dc) in each ch 1 sp until the last ch 1 sp, ch 1, 2 dc in last ch 1 sp join with sl st into 3rd ch of beg ch 3. 30 dc, 10 ch sps
Round 4: With B, ch 5, 3 dc in first ch sp, (ch 2, 4 dc) in each ch 1 sp around, join with sl st into 3rd ch of beg ch 3. 40 dc, 10 ch sps
Round 5: With A, ch 4, skip the next 3 sts, (4 dc, ch 2) in each ch 2 sp until the last ch 2 sp, 3 dc in last ch 2 sp join with sl st into 3rd ch of beg ch 3. 40 dc, 10 ch sps
Round 6: With B, ch 3, 4 dc in first ch sp, *(ch 1, 4 dc) in next ch 2 sp, (ch 1, 5 dc) in next ch 2 sp, rep from * to end, join with sl st into 3rd ch of beg ch 3. 44 dc, 10 ch sps
Round 7: With A, ch 3, 2 dc in first st, *skip next 2 sts, (ch 1, 3 dc) in next st, (ch 1, 3 dc) in next ch sp, rep from * to end, join with sl st into 3rd ch of beg ch 3. 20 shells, 20 ch sps
Round 8: With B, ch 4, (shell, ch 1) in each ch 1 sp until the last ch 1 sp, ch 1, 2 dc in last ch 1 sp join with sl st into 3rd ch of beg ch 3. 20 shells, 20 ch sps
Round 9: With A, ch 3, 2 dc in same st, (ch 1, shell) in each ch 2 sp until the end, join with sl st into 3rd ch of beg ch 3. 20 shells, 20 ch sps
Rounds 10 – 21: Repeat Rounds 8 – 9
Round 22: Repeat Round 8
Do not fasten off
Section 2 – Split for Heel
Round 1: With A, ch 3, 2 dc in first st, *skip next 2 sts, (ch 1, 3 dc) in next ch sp, rep from * to 11 more times, ch 30, skip the remaining sts/ch sps, join with sl st into 3rd ch of beg ch 3. 13 shells
Leg
Round 2: With B, ch 4, skip next shell, *(shell, ch 1) in next ch 1 sp, rep from * 11 more times, ch 1, skip last shell, shell in first ch, **ch 1, skip next 3 chs, shell in next ch, rep from ** to last ch sp until the last 4 chs, ch 1, skip next 3 chs, 2 dc in last ch, join with sl st into 3rd ch of beg ch 3. 20 shells, 20 ch sps
Round 3: With A, ch 3, 2 dc in same st, (ch 1, shell) in each ch 2 sp until the end, join with sl st into 3rd ch of beg ch 3. 20 shells, 20 ch sps
Round 4: With B, ch 4, (shell, ch 1) in each ch 1 sp until the last ch 1 sp, ch 1, 2 dc in last ch 1 sp join with sl st into 3rd ch of beg ch 3. 20 shells, 20 ch sps
Rounds 5 – 18: Repeat Rounds 3 – 4
Rounds 19 – 24: With A, Repeat Rounds 2 – 3
Round 25: Repeat Round 2
Round 26: With A, ch 3, ch 4, *(3 dc, ch2, 3 dc) in next ch sp, sc in next ch sp, rep from * to end, join with a sl st to the 3rd ch from the beginning ch.
Fasten off.
Section 3 – Heel
Join A with a sl st to the ch 3 sp at the split for heel
Round 1: Ch 1, sc2tog in ch 3 sp and next st on the leg, 4 sc in next 7 ch 1 sps, sc2tog in next shell and next st, 4 sc in next 7 sts, join 58 sc
Round 2: Ch 1, sc2tog, sc in next 25 sts, sc2tog twice, sc in each st across until the last 2 sts, sc2tog, join with a sl st to the beginning ch. 54 sc
Round 3: Ch 1, sc2tog, sc in next 23 sts, sc2tog twice, sc in each st across until the last 2 sts, sc2tog, join with a sl st to the beginning ch. 50 sc
Round 4: Ch 1, sc2tog, sc in next 21 sts, sc2tog twice, sc in each st across until the last 2 sts, sc2tog, join with a sl st to the beginning ch. 46 sc
Round 5: Ch 1, sc2tog, sc in next 19 sts, sc2tog twice, sc in each st across until the last 2 sts, sc2tog, join with a sl st to the beginning ch. 42 sc
Round 6: Ch 1, sc2tog, sc in next 17 sts, sc2tog twice, sc in each st across until the last 2 sts, sc2tog, join with a sl st to the beginning ch. 38 sc
Round 7: Ch 1, sc2tog, sc in next 15 sts, sc2tog twice, sc in each st across until the last 2 sts, sc2tog, join with a sl st to the beginning ch. 34 sc
Round 8: Ch 1, sc2tog, sc in next 13 sts, sc2tog twice, sc in each st across until the last 2 sts, sc2tog, join with a sl st to the beginning ch. 30 sc
Round 9: Ch 1, sc2tog, sc in next 11 sts, sc2tog twice, sc in each st across until the last 2 sts, sc2tog, join with a sl st to the beginning ch. 26 sc
Leave a long tail of yarn and fasten off.
Turn to the wrong side.
With both lips over each other, sew together.
Fasten off and sew in the ends.
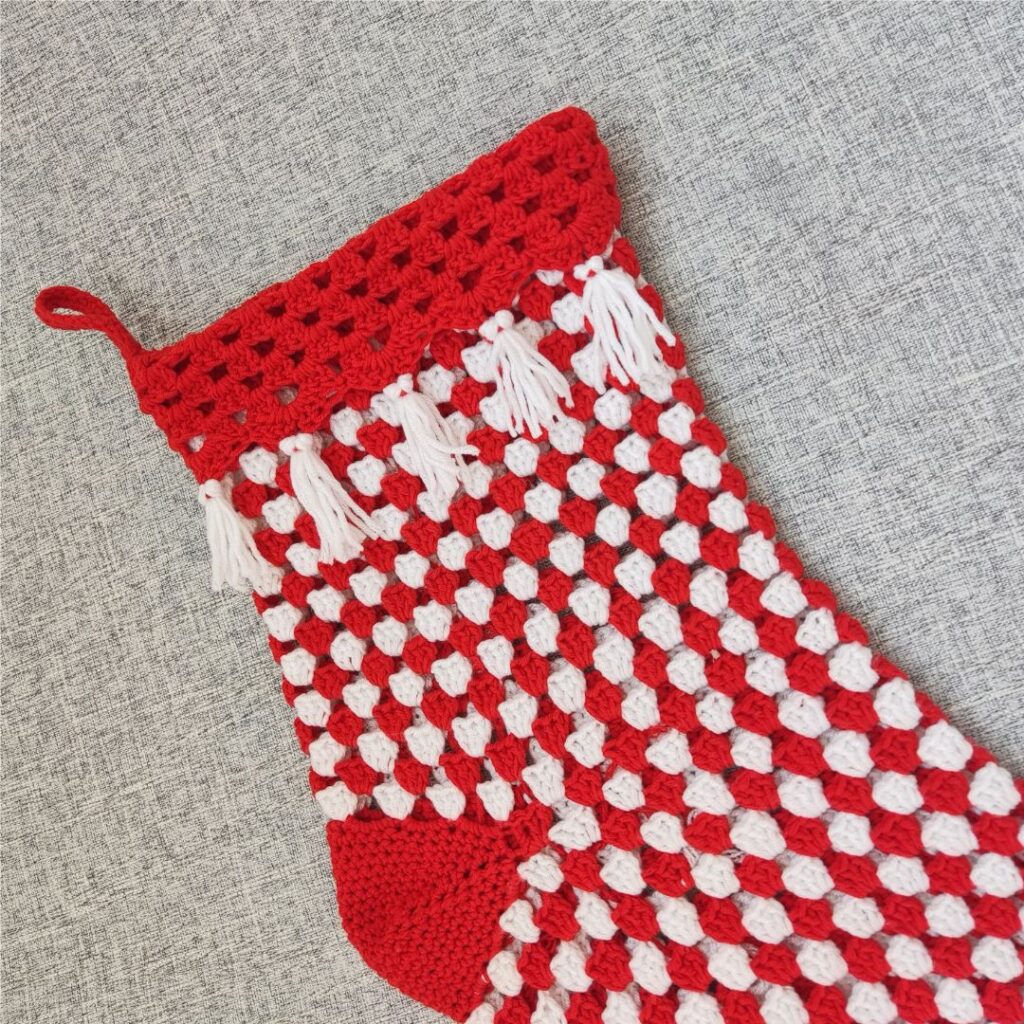
Adding Tassels to your Crochet Granny Stocking
The prototype was made using White yarn
Cut 12” long yarn into your desired pieces
For smaller tassels – use six pieces of tassels
For a bigger tassel – use ten pieces of tassels
With a hook, attach the tassels to the ch 2 sps on the edging made on the stocking.
Trim off excess yarn
Adding a hanger/rope
The prototype was made using red yarn
Chain 24, hdc in 3rd ch from hook and in each chain across, join with a sl st to the beginning chain
Secure the rope to the stocking.
I have secured mine to the inside of the stocking, just at the beginning of Round 19th of the stocking’s leg.
Fasten off
Sew in ends
Block your stocking
Hang beautifully.
I hope to see your beautiful version of the Crochet Granny Stocking; when you do make your stockings, do tag me.

Other fun Christmas-related crochet projects on the blog
Christmas Trees in 3 different sizes,
Wind spinner Christmas Tree Pattern
Christmas Coaster Free Pattern
Christmas Placemat free pattern
Christmas Stars in 3 different sizes
Christmas Baubles Free Pattern
Susanna