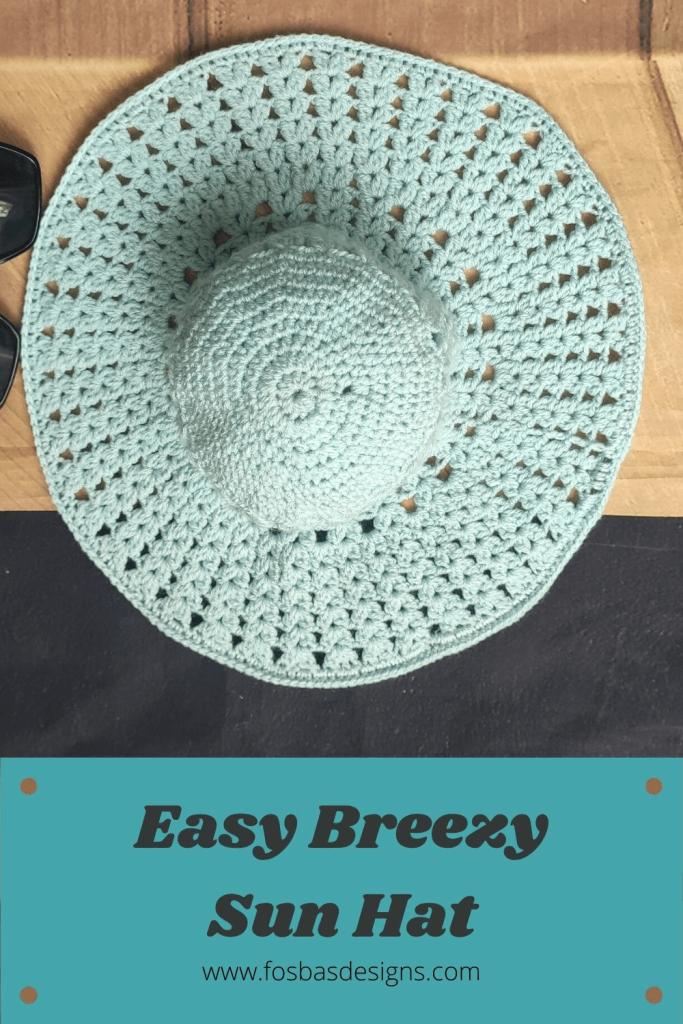
How to Crochet a Sun Hat
Crochet sun hats are beautiful crochet accessories to make in summer. This free pattern is beginner-friendly and super easy to make. You can even customize yours in sizes of your choice.
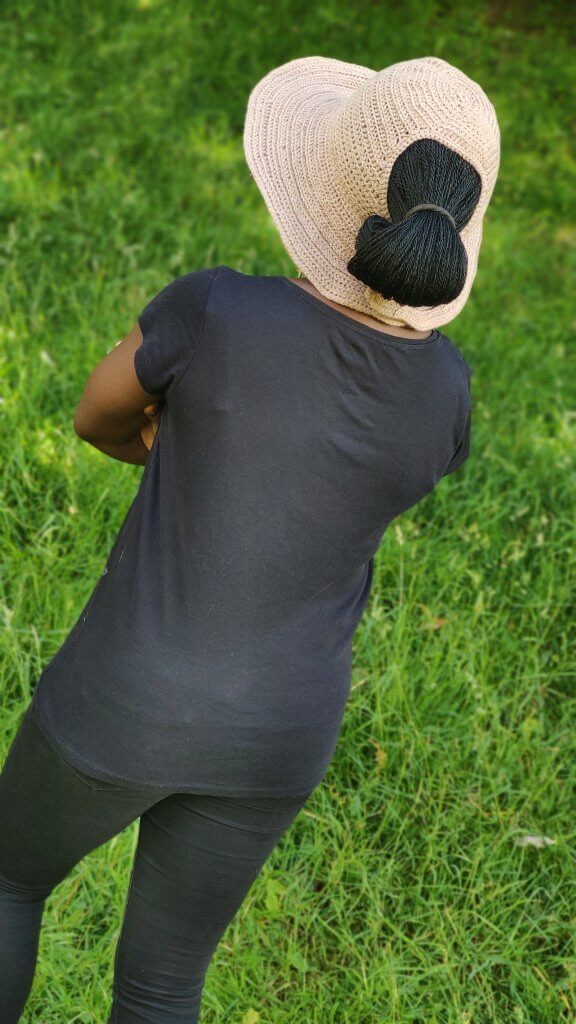
Have you ever made a crochet sun hat before? Sun Hats seems my favorite thing to make now that the weather is warming up.

Since you love this easy crochet sun hat, you should also checkout other sun hats available on the blog.

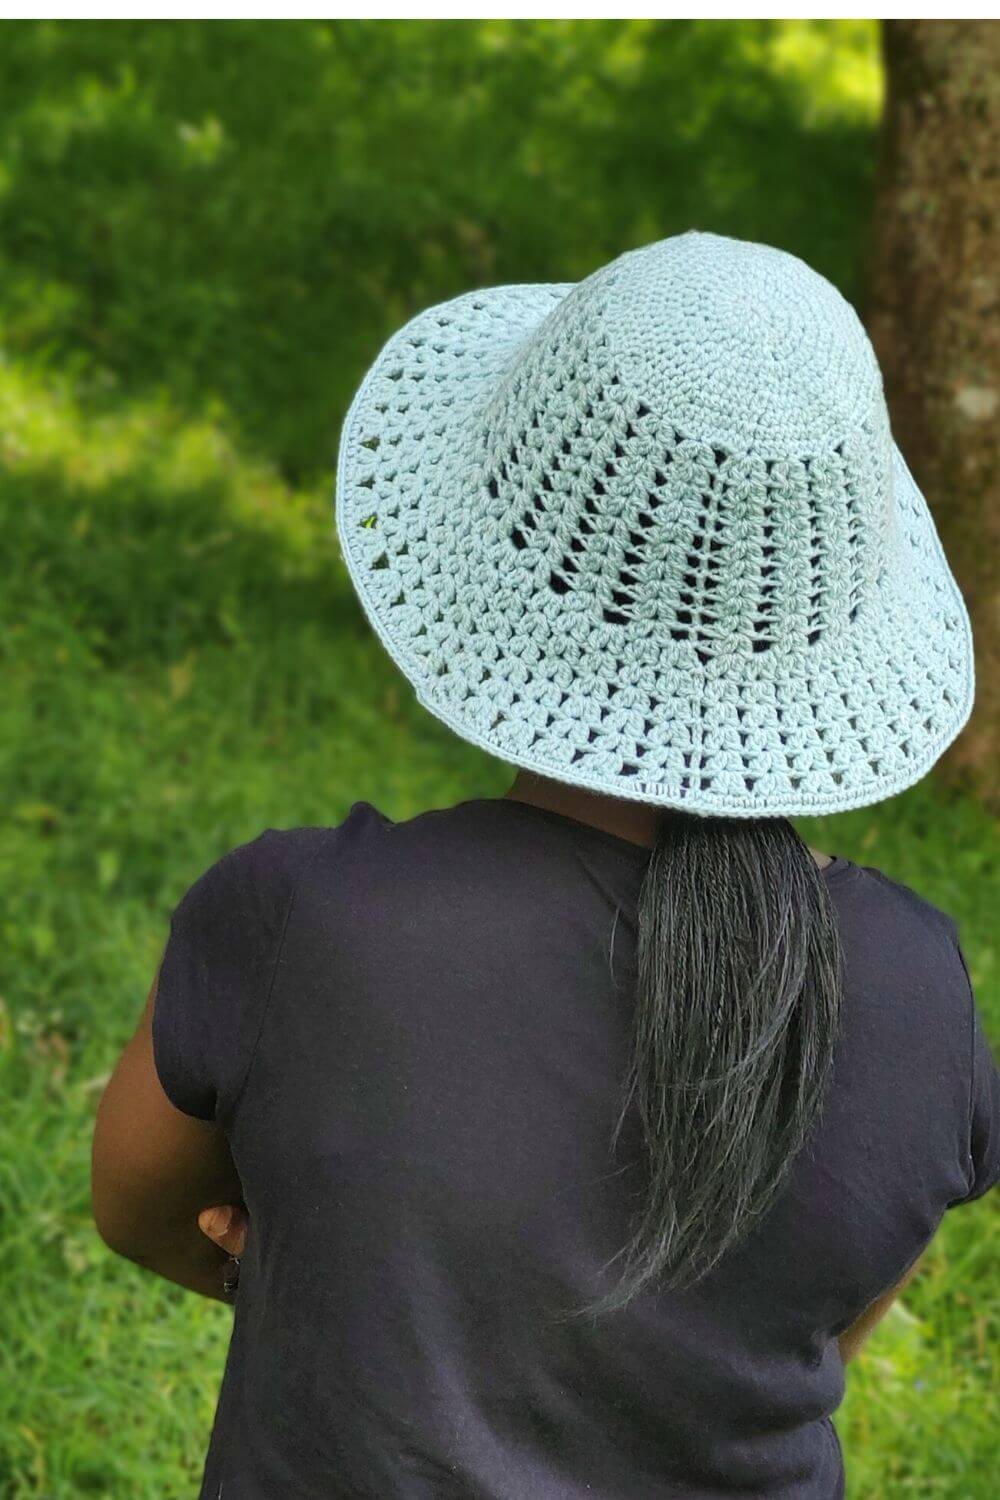
This easy breezy crochet Sun hat is full of beautiful textures, the best part is that it is easy to make as it is a repeat of basic stitch! The pattern uses simple stitches that you would be amazed at how quickly it works up.
Sizes available for this easy crochet sun hay pattern
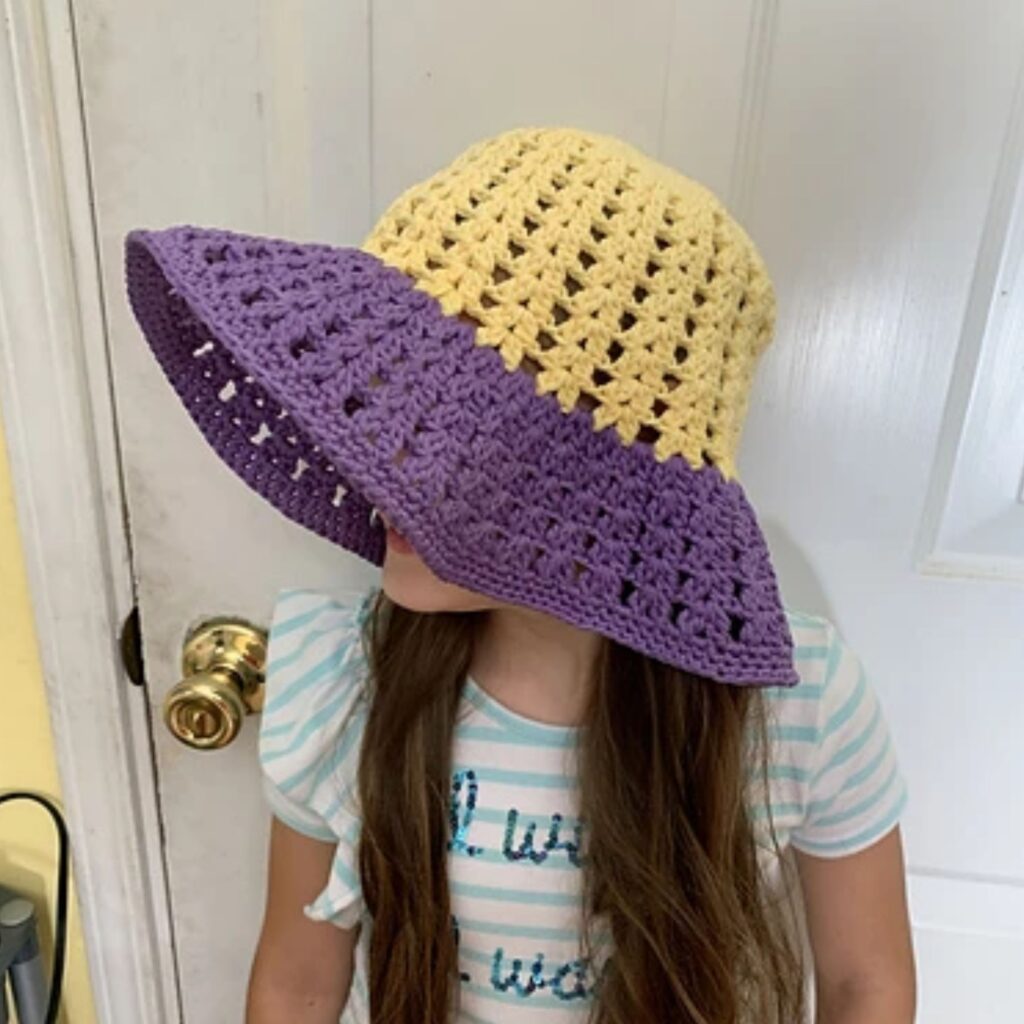
The hat is graded and tested in four different sizes which makes it perfect for a mummy and me set.
The sizes include – Infants, Toddler, Teen and Adult.
Best part is that, you get to check the fit after the very first few rounds!

How easy is it to make a crochet sun hat?
Crochet sun hats are easier to make when you pick the correct size for you. The stitches used in this particular sun hat are pretty easy to master, making it easier for a beginner to make this crochet sun hat.
This crochet sun hat pattern is perfect for anyone looking for how to crochet a sun hat, even if they have never made any sun hats before!
Materials for this crochet sun hat
- YARN
Sirdar Snuggly DK, #3 lightweight (100% Cotton, 116 yards/106 m per 1.8 oz/50g Ball)
3 (4, 4, 5) Balls in Sky Blue
ESTIMATED YARDAGE
120 (160, 200, 220) yards
HOOK AND OTHER MATERIALS
US size G (4 mm) Crochet Hook
Yarn needle
Wire (2 mm) about 30 (30, 40, 50, 60)” or
Fishing line, about 30 (30, 40, 50, 60)” or
Spray starch (Fabric or hair)
Plier or Crimp
Duct tape
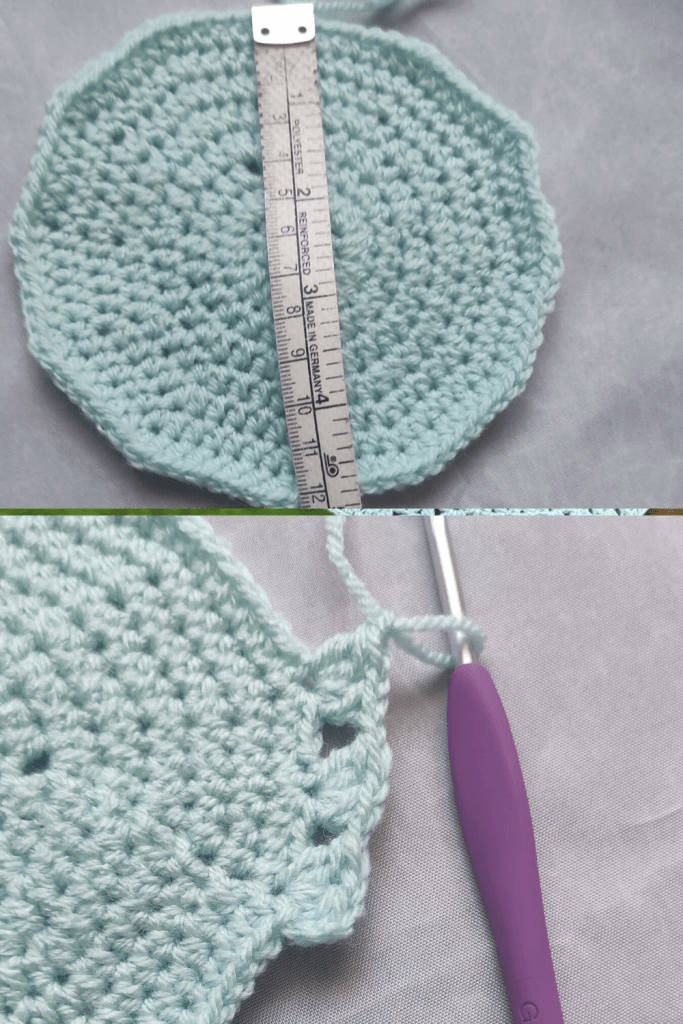
GAUGE
Rounds 1 – 6 = 3.5” Diameter
Adjust hook size if necessary, to obtain gauge.
DIFFICULTY LEVEL – Easy
TERMS – US Terminology
ADJUSTMENTS
Increase the number of rows if you are unable to meet the required diameter for the size you are making.
In as much as head measurements vary from individuals, do make sure you size your hat as you crochet. To do so, once you are in Round 3 of the body, Check the fitting of your hat to make sure it’s a good fit.
Too small? Go up a size
Too Big? Go a size down
PATTERN NOTES
Please kindly read through the pattern before starting.
Any #3 weight of yarns can be substituted.
Chains at the beginning of Rounds do not count as a stitch.
Each dc cluster is worked stacked on previous dc clusters, except for the first round of Brim, where dc has also worked in ch 1 sp between each dc cluster.
STITCHES ABBREVIATIONS
Chain(s) – ch(s)
Slip Stitch – sl st
Single Crochet – sc
Half double crochet – hdc
Double Crochet – dc
Double Crochet 2 stitches together– dc2tog
SPECIAL STITCH
Double crochet Cluster = [dc2tog, ch 1, dc2tog] in indicated stitch.
FINISHED MEASUREMENT
Size(s) XS (S, M, L)
| Size | Head Circumference | Brim |
| Infant (XS) | 16 | 2” |
| Toddler (S) | 17” | 3” |
| Child (M) | 19” | 3” |
| Teen/Adult (L) | 21” | 3” |
Instructions:
Infant Size
Round 1: In a magic ring, ch 2 (does not count as a stitch), 12 hdc in magic ring, join with a sl st to ch 2. 12 hdc.
Round 2: Ch 2, 2 hdc in each around, join with a sl st to ch 2. 24 hdc.
Round 3: Ch 2, hdc in each st around, join with a sl st to ch 2. 24 hdc
Round 4: Ch 2, *hdc in next, 2 hdc in next, repeat from * around, join with a sl st to ch 2. 36 hdc.
Round 5: Ch 2, *hdc in next 2 sts, 2 hdc in next, repeat from * around, join with a sl st to ch 2. 48 hdc.
Round 6: Ch 2, *hdc in next 3 sts, 2 hdc in next, repeat from * around, join with a sl st to ch 2. 60 hdc
The diameter should be about 3.5”
Round 7: Ch 2, hdc in each around, join with a sl st to ch 2. 60 hdc
Do not Fasten off, continue to Body for all sizes.
Toddler Size
Round 1: In a magic Ring, ch 2 (does not count as a stitch), 12 hdc in magic ring, join with a sl st to ch 2. 12 hdc.
Round 2: Ch 2, 2 hdc in each round, join with a sl st to ch 2. 24 hdc.
Round 3: Ch 2, hdc in each st around, join with a sl st to ch 2. 24 hdc
Round 4: Ch 2, *hdc in next, 2 hdc in next, repeat from * around, join with a sl st to ch 2. 36 hdc.
Round 5: Ch 2, *hdc in next 2 sts, 2 hdc in next, repeat from * around, join with a sl st to ch 2. 48 hdc.
Round 6: Ch 2, *hdc in next 3 sts, 2 hdc in next, repeat from * around, join with a sl st to ch 2. 60 hdc
Round 7: Ch 2, *hdc in next 4 sts, 2 hdc in next; repeat from * around, join with a sl st to ch 2. 72 hdc
The diameter should be about 4.25”
Rounds 8 – 9: Ch 2, hdc in each round, join with a sl st to ch 2. 72 hdc.
Do not fasten off, continue to Body for all sizes.
Child Size
Round 1: In a magic ring, ch 2 (do not count as a stitch), 12 hdc in magic ring, join with a sl st to ch 2. 12 hdc.
Round 2: Ch 2, 2 hdc in each round, join with a sl st to ch 2. 24 hdc.
Round 3: Ch 2, hdc in each st around, join with a sl st to ch 2. 24 hdc
Round 4: Ch 2, *hdc in next, 2 hdc in next, repeat from * around, join with a sl st to ch 2. 36 hdc.
Round 5: Ch 2, *hdc in next 2 sts, 2 hdc in next, repeat from * around, join with a sl st to ch 2. 48 hdc.
Round 6: Ch 2, *hdc in next 3 sts, 2 hdc in next, repeat from * around, join with a sl st to ch 2. 60 hdc
Round 7: Ch 2, *hdc in next 4 sts, 2 hdc in next; repeat from * around, join with a sl st to ch 2. 72 hdc
Round 8: Ch 2, *hdc in next 5 sts, 2 hdc in next, repeat from * around, join with a sl st to ch 2. 84 hdc
The diameter should be about 5”
Rounds 9 – 10: Ch 2, hdc in each round, join with a sl st to ch 2. 84 hdc
Do not fasten off, continue to Body for all sizes.
Teen/Adult Size
Round 1: In a magic ring, ch 2 (do not count as a stitch), 12 hdc in magic ring, join with a sl st to ch 2. 12 hdc.
Round 2: Ch 2, 2 hdc in each round, join with a sl st to ch 2. 24 hdc.
Round 3: Ch 2, hdc in each st around, join with a sl st to ch 2. 24 hdc
Round 4: Ch 2, *hdc in next, 2 hdc in next, repeat from * around, join with a sl st to ch 2. 36 hdc.
Round 5: Ch 2, *hdc in next 2 sts, 2 hdc in next, repeat from * around, join with a sl st to ch 2. 48 hdc.
Round 6: Ch 2, *hdc in next 3 sts, 2 hdc in next, repeat from * around, join with a sl st to ch 2. 60 hdc
Round 7: Ch 2, *hdc in next 4 sts, 2 hdc in next; repeat from * around, join with a sl st to ch 2. 72 hdc
Round 8: Ch 2, *hdc in next 5 sts, 2 hdc in next, repeat from * around, join with a sl st to ch 2. 84 hdc
Round 9: Ch 2, *hdc in next 6 sts, 2 hdc in next, repeat from * around, join with a sl st to ch 2. 96 hdc
The diameter should be about 6”
Round 10: Ch 2, hdc in each round, join with a sl st to ch 2. 96 hdc
Do not fasten off, continue with the body as with other sizes.
For all Sizes
Section 2: Body of the sun hat
Round 1: Ch 3, [dc2tog, ch 1, dc2tog] in first st, *skip next 3 sts, ch 1, [dc2tog, ch 1, dc2tog] in next st, rep from * to end, ch 1, join with a sl st to ch 3. 15 (18, 21, 24) dc clusters.
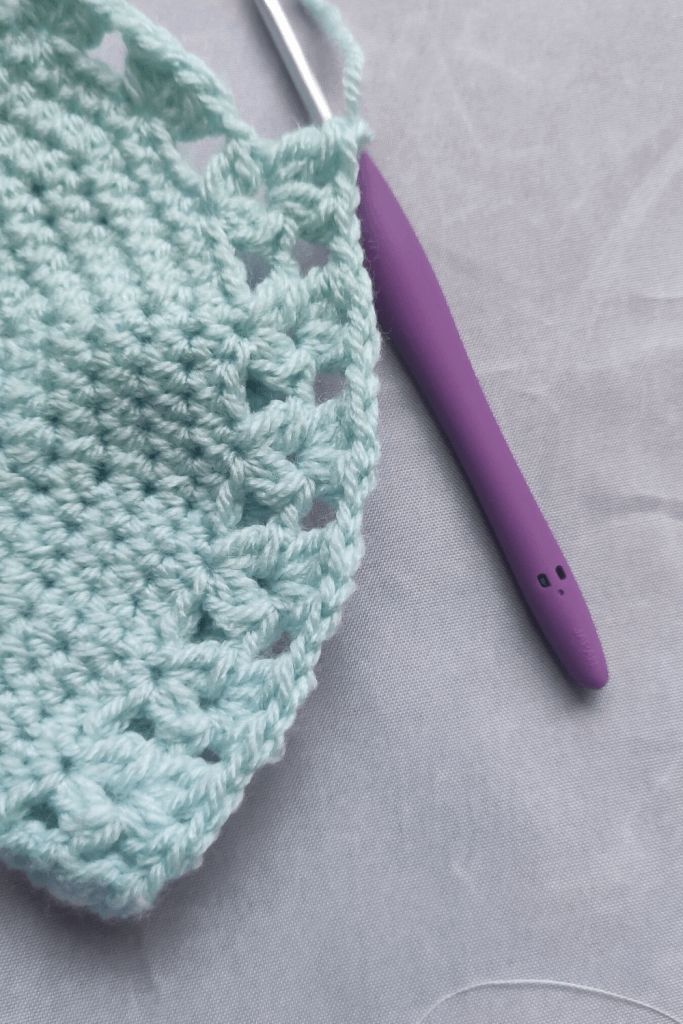
Round 2: Ch 3, *[dc2tog, ch 1, dc2tog] in ch 1 sp, ch 1, skip next ch 1 sp, rep from * to end, ch 1, join with a sl st to ch 3. 15 (18, 21, 24) dc clusters.
Check the fitting of your hat after Round 5
Rounds 3 – 6(8, 10, 10): Rep Round 2.
Do not fasten off
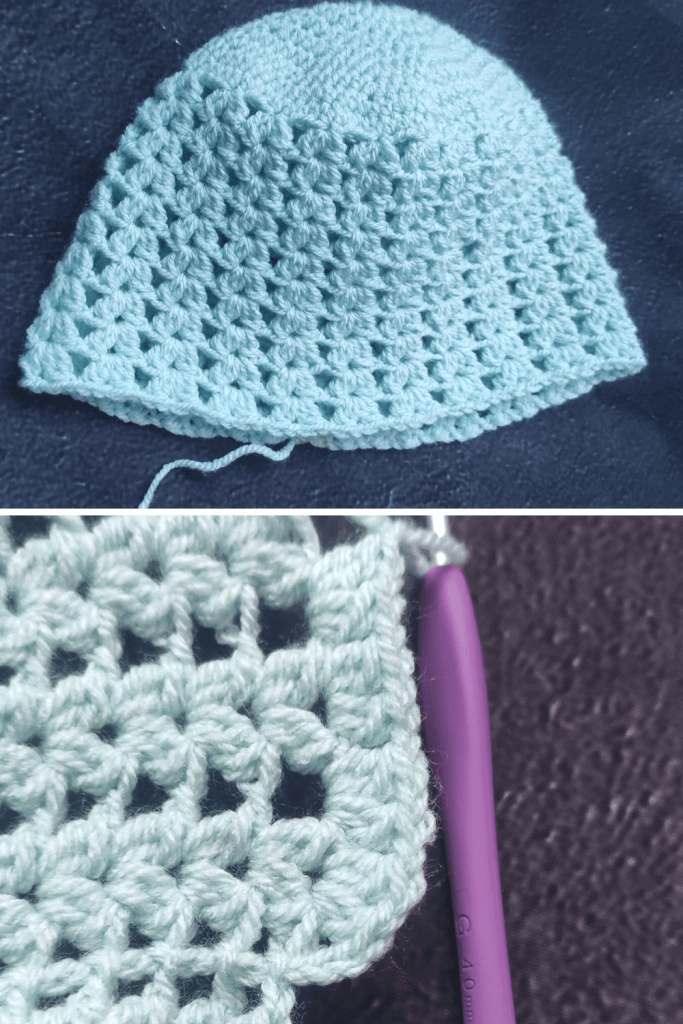
Section 3: Brim
Round 1: Ch 3, *[dc2tog, ch 1, dc2tog] in ch 1 sp from dc cluster from previous round, ch 1, [dc2tog, ch 1, dc2tog], in next ch 1 sp, ch 1, rep from * to end, ch 1, join with a sl st to ch 3. 30 (36, 42, 48) dc clusters.
Round 2: Ch 3, [dc2tog, ch 1, dc2tog] in ch 1 sp between dc cluster, ch 1, sk next ch 1 sp, rep from * to end, join with a sl st to ch 3. 30 (36, 42, 48) dc clusters.
Rounds 3 – 4 (6, 6, 6): Rep Round 2
Or till desired Rounds for your Brim circumference.
Round 5 (7, 7, 7): Ch 1, *sc in dc2tog, sc in next ch 1, rep from * to end, join with a sl st to ch 1. 120 (144, 168, 192) sc.
If using wire or fishing line, do not fasten off, continue to Round 6 (8, 8, 8).
If leaving your Sun hat as it is or stiffens fasten off.
Measure the brim diameter.
Measure and cut out the required wire/fishing line, add about 3”.
Round 6 (8, 8, 8): Ch 1, Working over wire/fishing line, sc in each st across the brim, till last 10 sts, wrap your duct tape around both ends of the wire/fishing line, sc in last 10 sts, join with a sl st to ch 1. 120 (144, 168, 192) sc.
Round 7 (9, 9, 9): Ch 1, sc in each st around, join with a sl st to ch 1. 120 (144, 168, 192) sc.

Fasten off.
To keep the Hat firm/in shape.
1. Stiffen it with either;
Fabric stiffener or Hair spray or Starch.
Suggested starch options
– Commercially prepared “fabric stiffeners”
– Hair spray, watered down glue Laundry starch
– Kitchen cornstarch
2. Add Wire or Fishing line to the last round.
How to Apply Starch to your Hat;
Prepare the Starch accordingly and apply it to your hat.
Shape your hat appropriately.
Allow drying.
This Prototype is Child Size with Wire used in Round 8 of the Brim. After which Hair spray was generously spread on the whole hat.
Remember to post your progress and finished sun hats and tag me @crochet_fosbas use #easybreezysunhat (IG) or on our collective crochet together page on Facebook.
You can get the ad-free copy of this pattern on Ravelry here
I hope making your crochet sun hat was fun? Do tag me with your makes from this pattern.

4 Comments
Comments are closed.