

Heartfold Hood Crochet Pattern: A Cozy Hood and Cowl in One
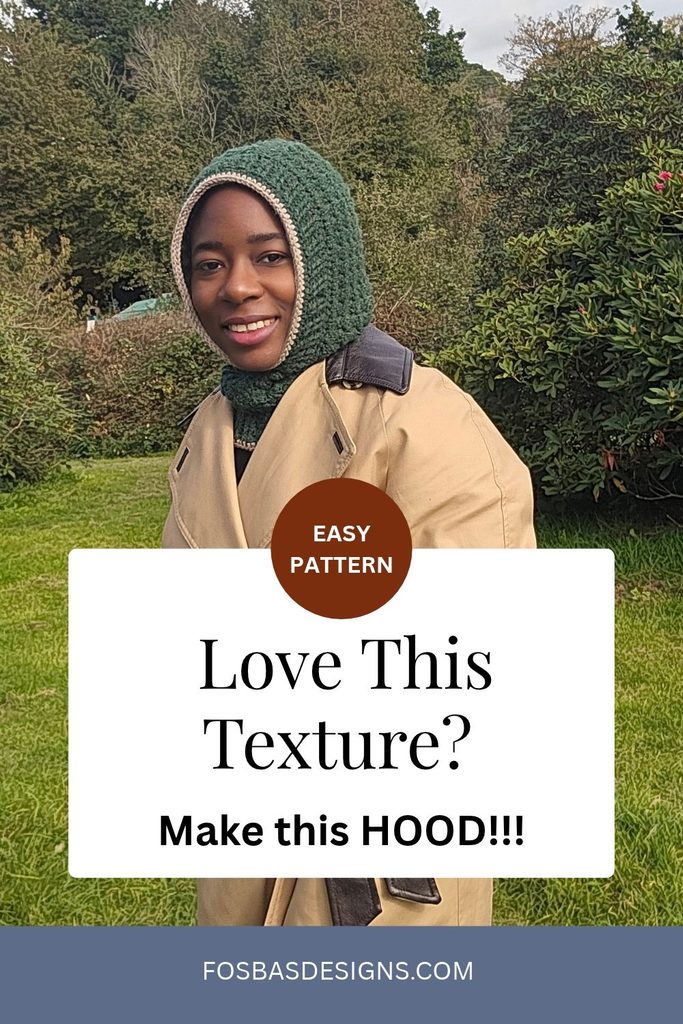
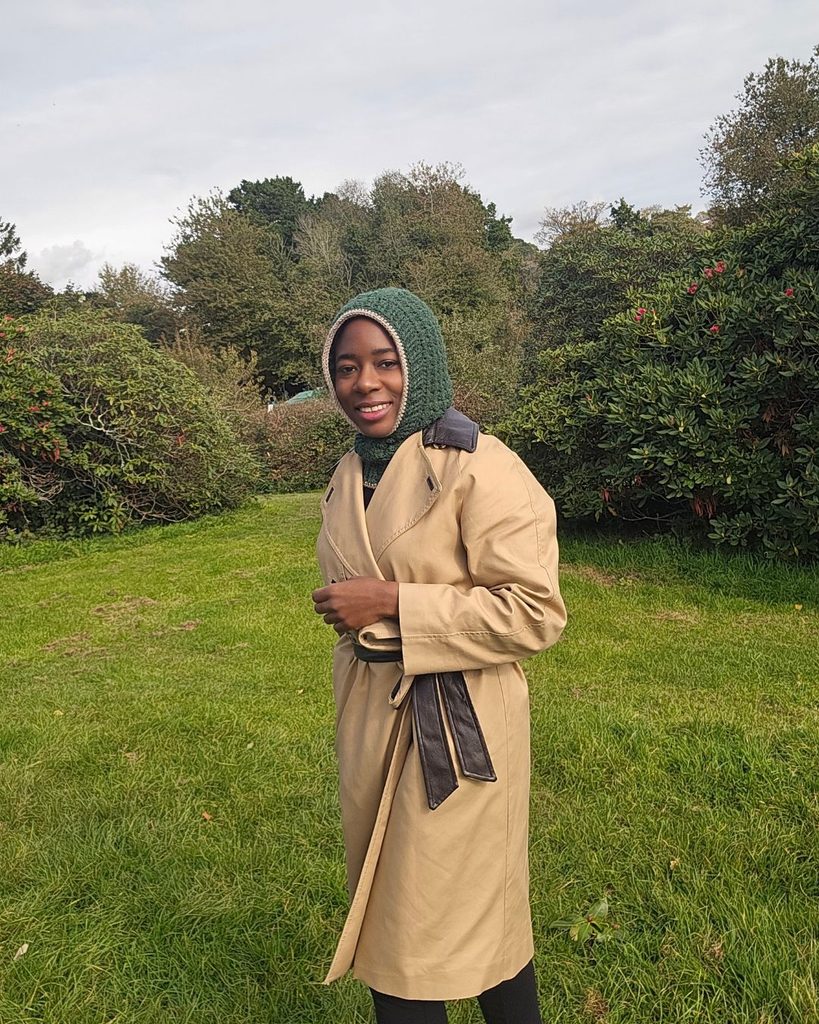
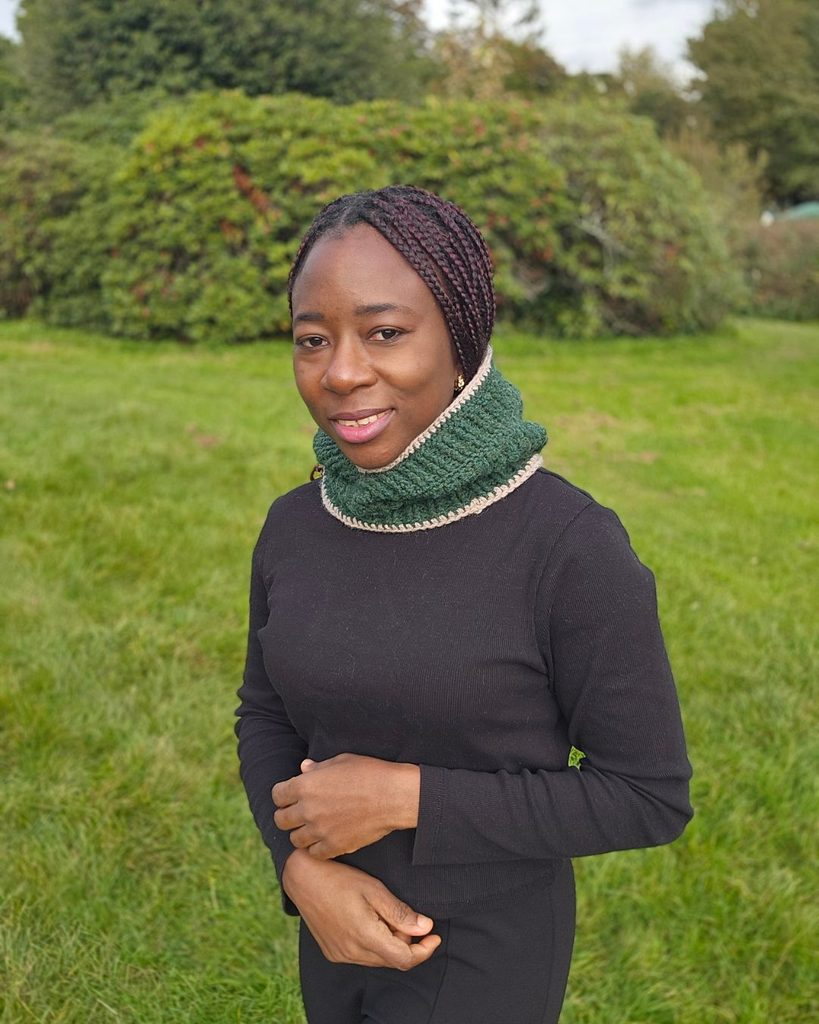
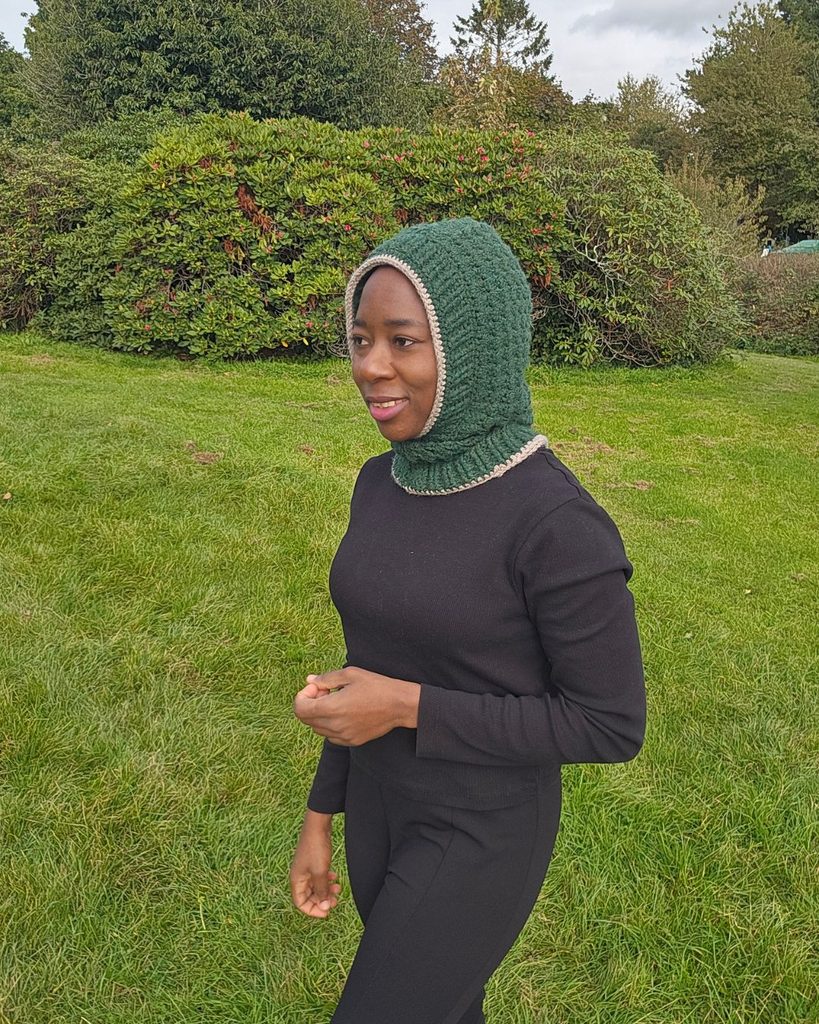
Cold mornings have a way of making every extra layer feel necessary. A hat, a scarf, something to tuck around your neck before heading out. My Heartfold Hood brings that cozy feeling together in one crochet project, with a textured hood and an attached cowl.
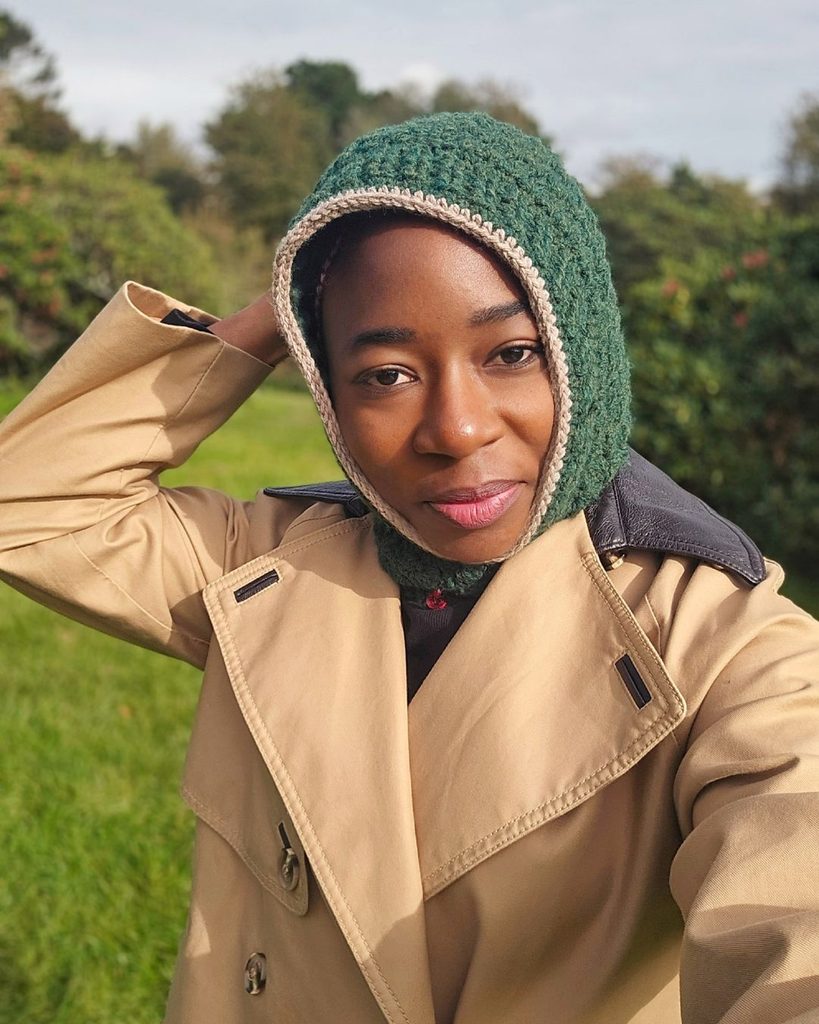
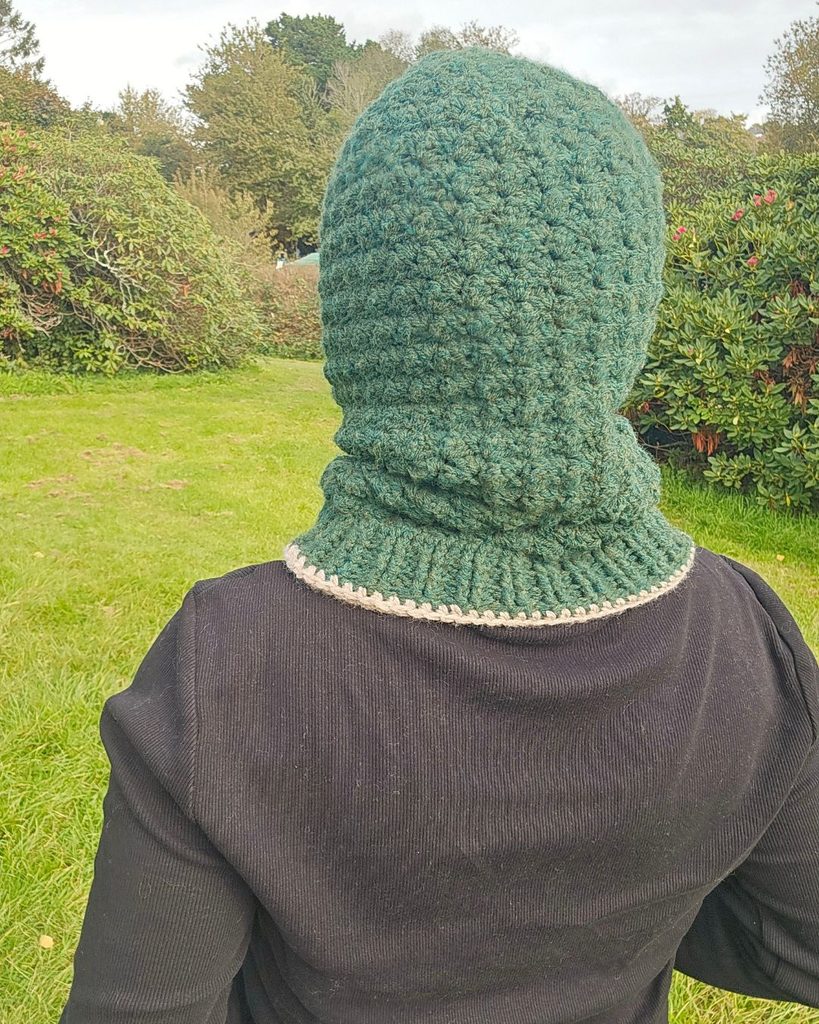
I made mine in Forest Green Heather with a Natural Heather border. That little contrast around the edges is one of my favorite details. It frames the hood beautifully and gives the textured stitches a lovely finish.
Get this pattern
The toddler-size instructions are included below, and the complete pattern includes Child and Teen/Adult Small sizes too. The Heartfold Hood is also available as a kit from Lion Brand, so you can get the yarn and pattern together.
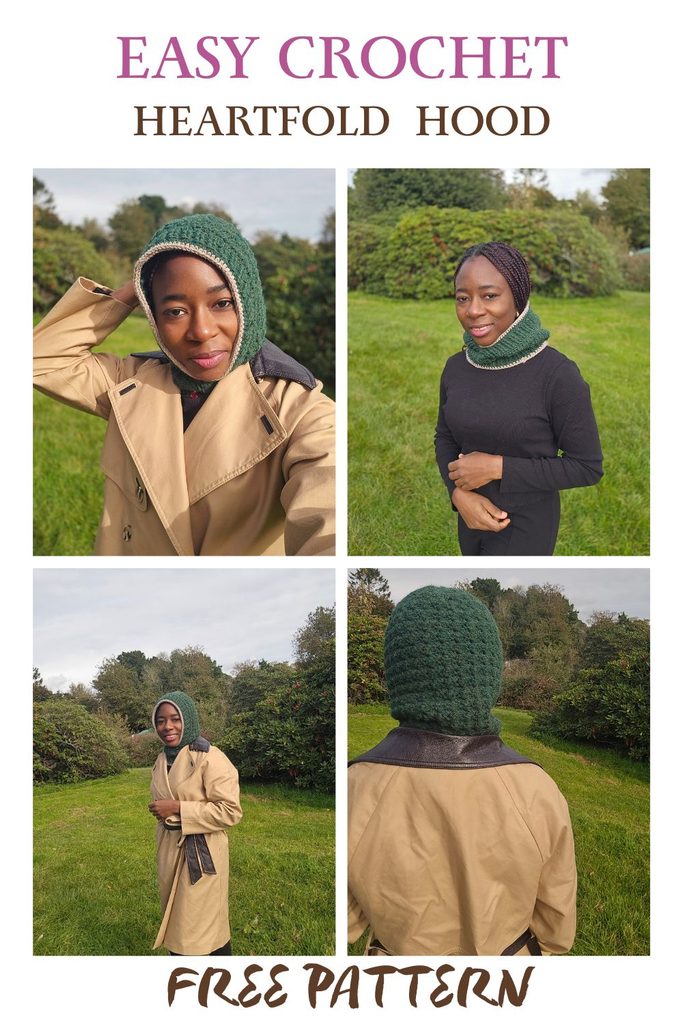
Meet the Heartfold Hood
If you enjoy projects with a repeating stitch pattern and a little shaping to keep things interesting, this one might find its way onto your hook.
The main fabric combines single crochet and double crochet, while post stitches create the ribbed edges. You’ll work the hood in rows, shape the crown, and join it before adding the brim and cowl. A contrasting border finishes the openings.
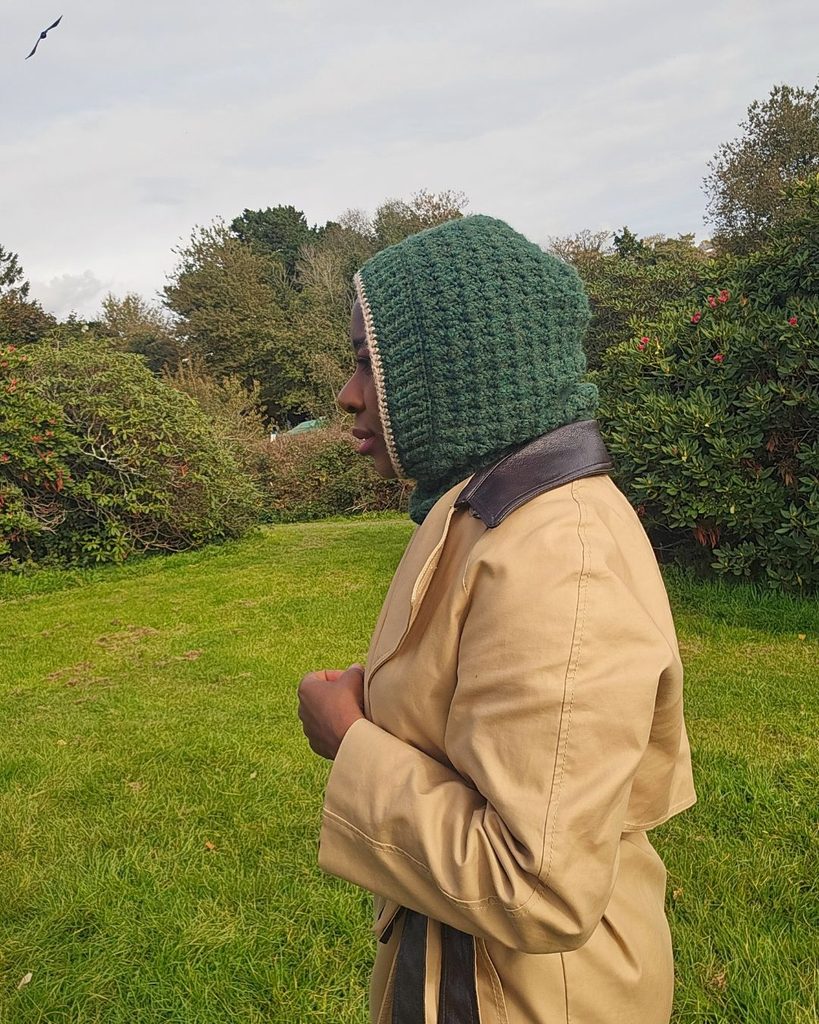
It would make a thoughtful handmade gift, but I would understand completely if you picked your own colors first!
Would you choose a contrasting border like mine, or keep the whole project in one color?
More Like This






Get the Lion Brand Kit
The Heartfold Hood is available as a kit from Lion Brand. Visit the kit listing to see the yarn options and choose your colors.
Shop the Heartfold Hood Kit at Lion Brand
Heartfold Hood Pattern Details
Skill level: Intermediate
Terminology: US crochet terms
Size included in this post: Toddler
Head circumference: 17 inches
The complete pattern also includes Child and Teen/Adult Small sizes.
Materials
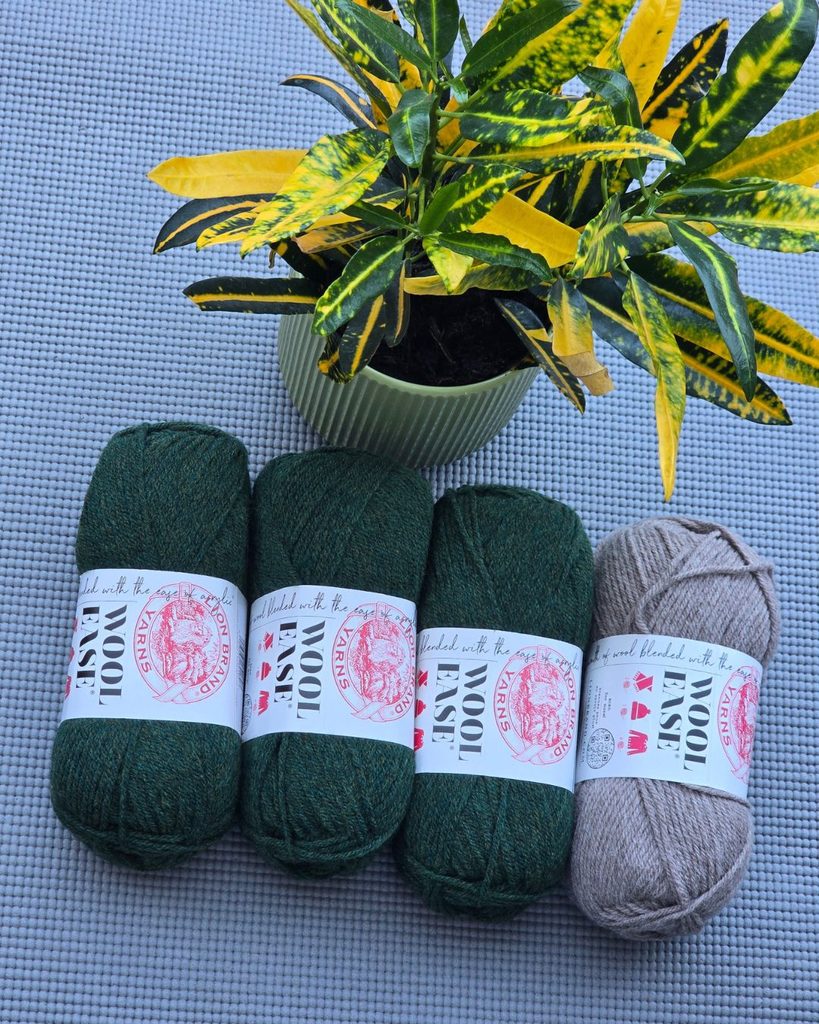
Main color:
- Lion Brand Wool-Ease pick your colors here
- Forest Green Heather
- 2 balls
Contrasting color:
- Lion Brand Wool-Ease
- Natural Heather
- 1 ball
Hook:
- 5 mm crochet hook
Gauge
Work a 4 × 4-inch swatch using the stitch pattern before blocking.
For the gauge swatch, chain 20 and follow the pattern in Section 1 for 12 rows.
Abbreviations
- ch/chs: chain/chains
- ch sp: chain space
- BPhdc: back post half double crochet
- dc: double crochet
- FPhdc: front post half double crochet
- hdc: half double crochet
- st(s): stitch(es)
- sl st: slip stitch
- sc: single crochet
- SM: stitch marker
- RS: right side
- WS: wrong side
Pattern Notes
Read through the pattern before beginning.
The hood is worked in rows and joined. The cowl is also worked in rows and then joined.
Beginning ch 2 does not count as a stitch. Beginning ch 3 counts as a stitch where indicated.
Adjustments
You can add more repeats in Section 1 for a deeper hood.
The hood brim can be adjusted by increasing or decreasing the repeats.
You can also increase or decrease the number of repeats in the cowl section.
Heartfold Hood Crochet Pattern
The following instructions are for the toddler size. Get the pdf pattern for the other sizes
Section 1: Hood
With the main color.
Row 1: Ch 56, sc in the second ch from the hook and in each ch across. Turn. 55 sc.
Row 2: Ch 2, 2 dc in the first st, *skip 2 sts, (sc, 2 dc) in the next sc; repeat from * until the last 3 sts. Skip the next 2 sts, sc in the last st. Turn. 18 sc, 36 dc.
Row 3: Ch 2, 2 dc in the first sc below, *skip the next 2 dc, (sc, 2 dc) in the next sc; repeat from * across the row, sc in the last st. Turn. 18 sc, 36 dc.
Rows 4–17: Repeat Row 3.
For a longer hood, add a few more rows.
Split for the Hood Crown
Right Side
Place the first stitch marker in the 9th sc and the second stitch marker in the 10th sc.
Row 1: Ch 2, 2 dc in the first sc below, *skip the next 2 dc, (sc, 2 dc) in the next sc; repeat from * until the stitch marker. Sc in the marked st. Turn. 8 sc, 16 dc.
Row 2: Ch 3, which counts as a stitch, *skip the next 2 dc, (sc, 2 dc) in the next sc; repeat from * across the row, sc in the last st. Turn. 8 sc, 15 dc.
Row 3: Ch 2, 2 dc in the first st, *skip the next 2 dc, (sc, 2 dc) in the next sc; repeat from * until the last 3 sts, sc in the last st. Turn. 7 sc, 14 dc.
Rows 4–7: Repeat Rows 2–3.
Fasten off.
Left Side
Join the yarn with a sl st in the second marked stitch. Work toward the outer edge.
Row 1: Ch 3, which counts as a stitch, *skip the next 2 dc, (sc, 2 dc) in the next sc; repeat from * across the row, sc in the last st. Turn. 8 sc, 15 dc.
Row 2: Ch 2, 2 dc in the first sc below, *skip the next 2 dc, (sc, 2 dc) in the next sc; repeat from * across the row, sc in the last st. Turn. 8 sc, 14 dc.
Row 3: Ch 3, *skip the next 2 dc, (sc, 2 dc) in the next sc; repeat from * across the row, sc in the last st. Turn. 7 sc, 14 dc.
Rows 4–7: Repeat Rows 2–3.
Fasten off.
Hood Edging
With RS facing, join the yarn with a sl st at the beginning of the foundation chain.
Work around the hood edges, excluding the foundation row. Continue up one side toward the crown split, then down the other side to the opposite end of the foundation row.
Row 1: Ch 1, sc in each st around, working (sc, ch 1, sc) at each corner.
Fasten off.
Joining the Hood
Turn the project to the WS. Sew the stitches together, starting at the shaping and continuing along the remaining stitches on the right and left sides of the hood.
Hood Brim
Work across the front opening.
With WS facing, join the yarn with a sl st at the beginning of the foundation chain.
Row 1: Ch 1, hdc in each st across. Turn.
Row 2: Ch 1, hdc in the first st, *FPhdc around the next 2 sts, BPhdc around the next st; repeat from * until the last st. Hdc in the last st. Turn.
Row 3: Ch 1, hdc in the first st, *BPhdc around the next 2 sts, FPhdc around the next st; repeat from * until the last st. Hdc in the last st.
Rows 4–5: Repeat Rows 2–3.
Row 6: Repeat Row 2.
Section 2: Cowl
With WS facing, join the yarn with a sl st at one end of the brim. Work in rows across the foundation row toward the other end of the brim.
Row 1: Ch 2, 2 dc in the first st, *skip 2 sts, (sc, 2 dc) in the next sc; repeat from * until the last 3 sts. Skip the next 2 sts, sc in the last st. Turn.
Row 2: Ch 2, 2 dc in the first sc below, *skip the next 2 dc, (sc, 2 dc) in the next sc; repeat from * across the row, sc in the last st. Turn.
Rows 3–9: Repeat Row 2.
Do not fasten off.
Cowl Ribbing
With WS facing.
Row 1: Ch 1, hdc in each st across. Turn.
Row 2: Ch 1, hdc in the first st, *BPhdc around the next 2 sts, FPhdc around the next st; repeat from * until the last st. Hdc in the last st.
Row 3: Ch 1, hdc in the first st, *BPhdc around the next st, FPhdc around the next 2 sts; repeat from * until the last st. Hdc in the last st. Turn.
Rows 4–5: Repeat Rows 2–3.
Row 6: Repeat Row 2.
Row 7: Ch 1, hdc in each st across.
Joining the Cowl
Leave approximately 5 yards of yarn and fasten off.
With WS facing, use a darning needle and mattress stitch to sew the cowl side edges together, working toward the hood opening.
Hdc in each st around the ribbing stitches. Join with a sl st to the beginning ch.
Fasten off.
Contrasting Cowl Border
With RS facing and the contrasting yarn, join with a sl st to the last row of the cowl.
Round 1: Ch 1, hdc in each st around. Join with a sl st to the beginning ch.
Round 2: Ch 1, sc in the third loop of each st around. Join with a sl st to the beginning ch.
Fasten off.
Contrasting Hood Border
With RS facing and the contrasting yarn, join with a sl st to the last row of the hood.
Round 1: Ch 1, hdc in each st around. Join with a sl st to the beginning ch.
Round 2: Ch 1, sc in the third loop of each st around. Join with a sl st to the beginning ch.
Fasten off.
Finishing
Weave in all ends and block to measurement.
Frequently Asked Questions
What size is included in this post?
The toddler size is included here, with a listed head circumference of 17 inches. The complete pattern also includes Child and Teen/Adult Small sizes.
Is the Heartfold Hood worked in one piece?
The hood is worked in rows with separate crown shaping, then joined. The brim and cowl are added afterward, and the cowl edges are seamed.
What yarn does this pattern use?
The pattern uses Lion Brand Wool-Ease. My sample combines Forest Green Heather with Natural Heather for the contrasting border.
Is there a kit available?
Yes! The Heartfold Hood is available as a kit from Lion Brand. You can find the yarn and pattern together through the kit listing.
Can I adjust the hood or cowl?
Yes. You can change the number of repeats to adjust the hood depth, brim, or cowl. Remember that adjustments may change the amount of yarn needed.
Show Me Your Heartfold Hood
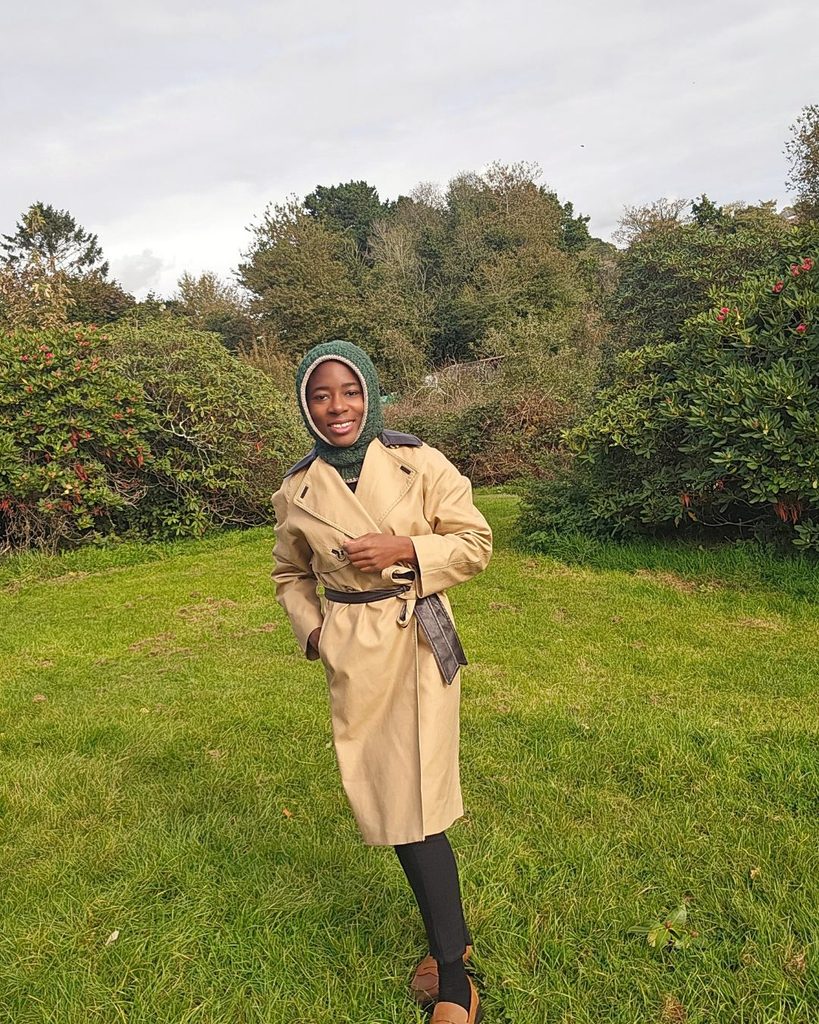
There is something especially satisfying about finishing a project that is ready to head straight out into the cold. Once the last ends are tucked away, your Heartfold Hood is ready for its first outing.
I would love to see the colors you choose. Share your finished hood and tag @fosbasdesigns, or leave a comment below to tell me who you’re making yours for.
Buy this pattern for $3.00, or get it free with a membership from $3 a month.
Buy the PDF
Hi, I’m Susanna!
I am Susanna, the designer and maker behind Fosbas Designs. Here, I share not only crochet designs but also the inspirations and process of each project. I am a happy mother of two handsome boys and a wife to my prince charming. These guys are…
More about me