
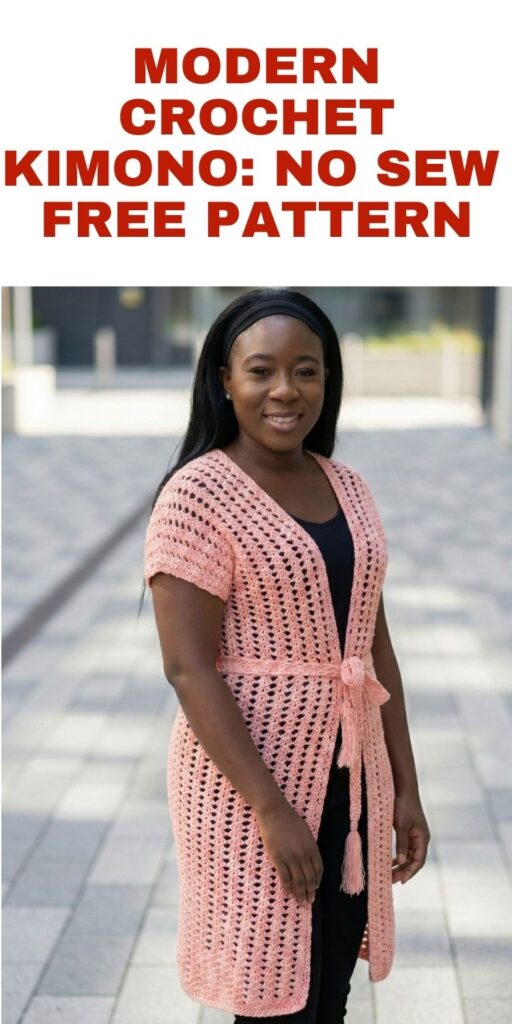
Easy Crochet Kimono: No Sew Pattern
Easy crochet kimono is a beginner project, perfect for anyone who has never made a crochet garment.
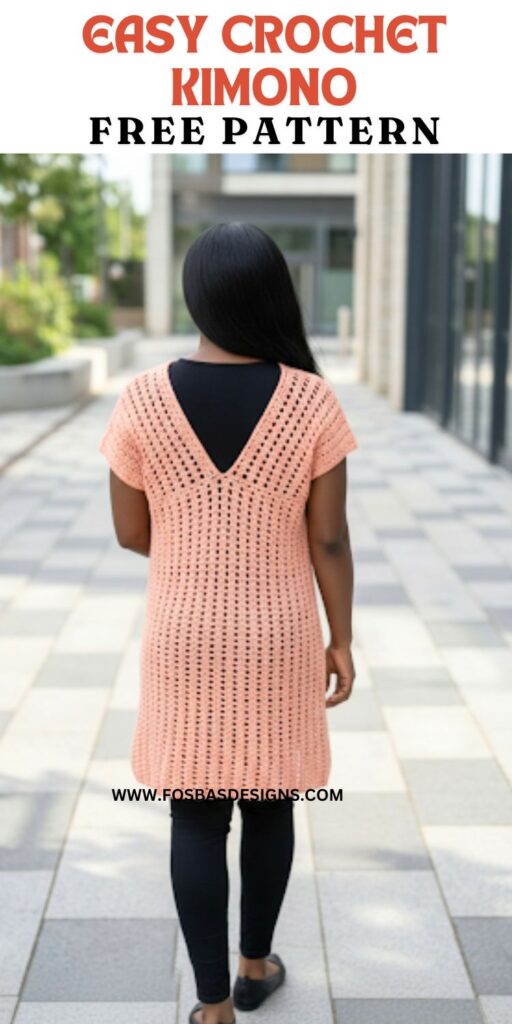
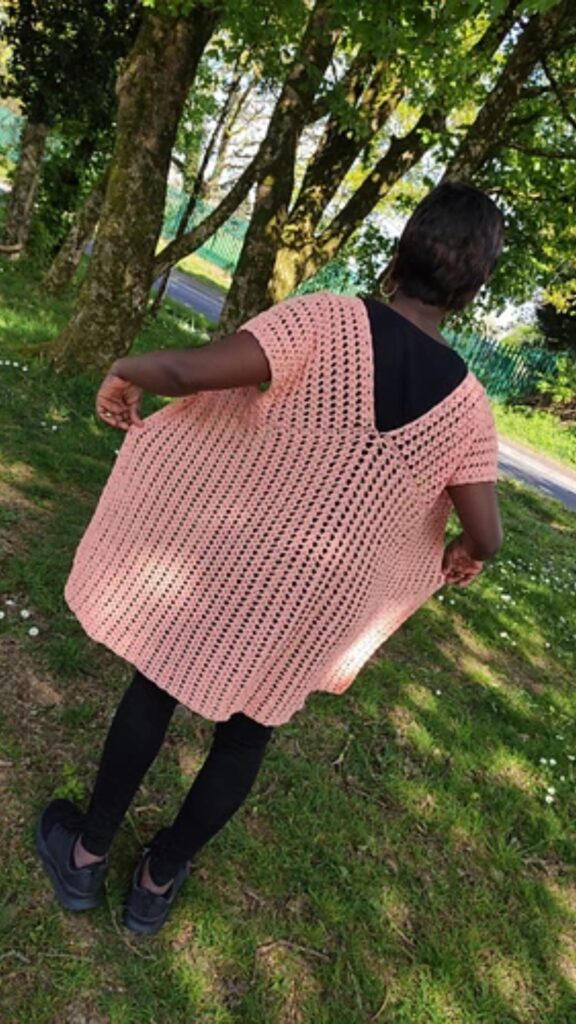
With the weather warming up, a lacy kimono is appropriate, no-sew crochet kimono would flatter any shape and size.

Recently, Crochet sweaters worked in one piece seem one of my favorite designs to make. I mean, who doesn’t love the easy way out when the finished look is just as perfect as the ones with sewing and lots of joining needed?
This easy crochet Kimono pattern is written for beginners as it uses repeats of basic stitches. If you work, make double crochet and chains, then you are good to go and ready to make your own Easy Crochet Kimono!
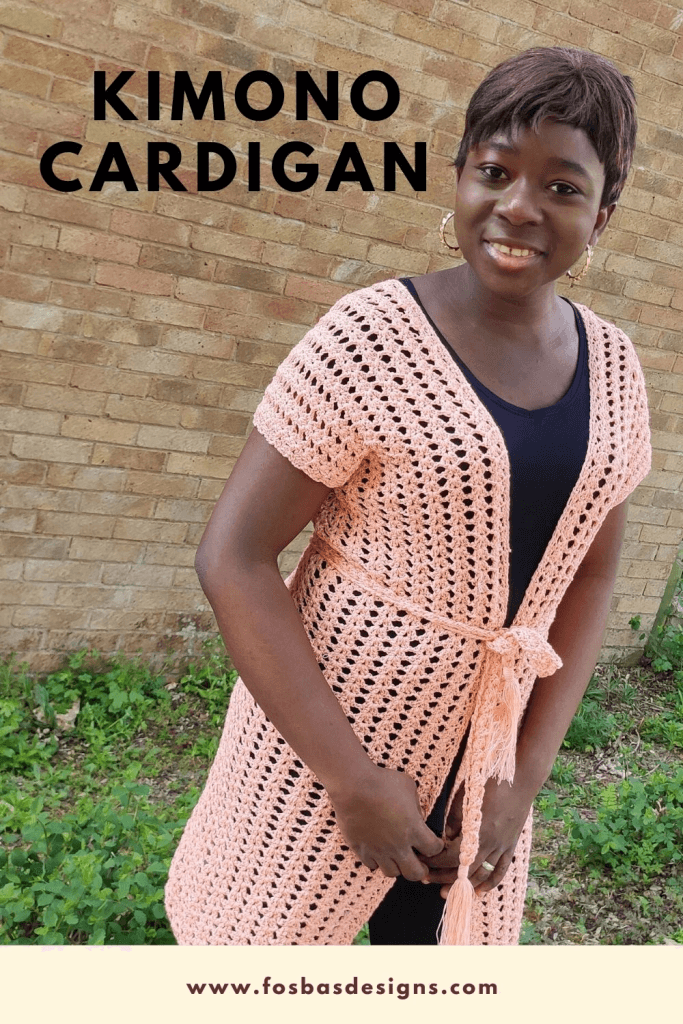
This easy crochet kimono cardigan is available as a free pattern; details can be seen below. If you would prefer the ad-free version, have a look at Ravelry
Other Summer crochet patterns to check out
The Simple Tee crochet pattern
Can I add my own Twist to this easy crochet kimono?
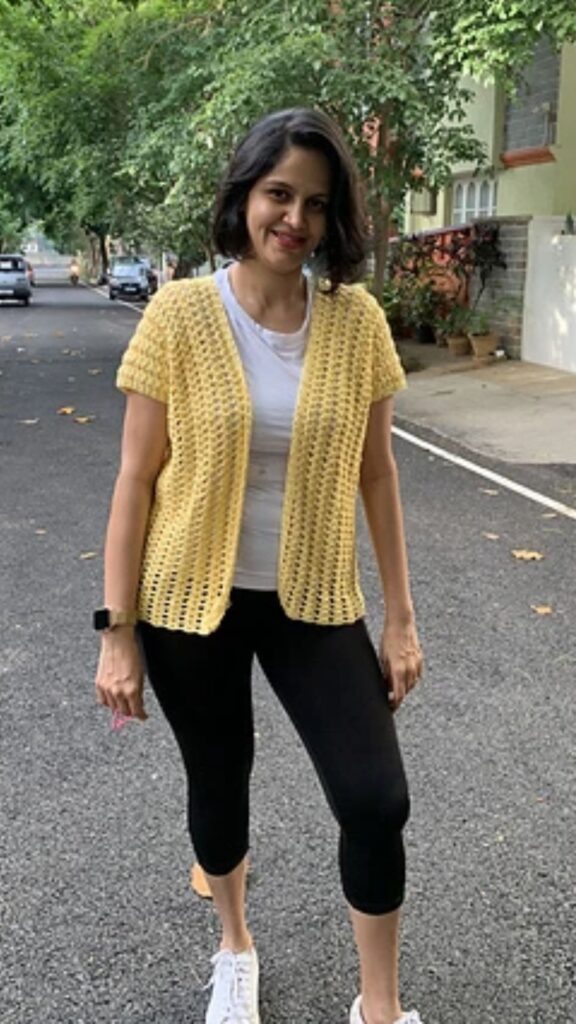
Absolutely, you can customize the length, some of my Testers made theirs just below the waist and it came out beautiful.
Here is Chandanakiran in here beautiful crochet kimono. She made hers waist level and it came out so beautiful.
Materials for the Easy crochet Kimono
Yarn
Knitcraft It’s only Natural Light, DK Yarn, #3 light weight (100% Cotton, 115 yards/105 m per 1.75 oz/50g skein).
6 (6, 8, 8, 8, 8, 10, 10, 10) balls in Peach.

Estimated Yardage
600 yards/549 m (690 yards/631 m, 720 yards/658 m, 800 yards/731 m, 840 yards/768 m, 920 yards/841 m, 1040 yards/951 m, 1100 yards/1006 m, 1150 yards/1052 m)
Hook and other materials
US size H (5 mm) Crochet Hook
Yarn needle.
Pattern Notes
Please kindly read through the pattern before starting.
Similar #3 weight yarn can be substituted; please check the gauge.
Chains at the beginning of the rows do not count as a stitch, unless stated.
Rose Kimono on Ravelry
Difficulty Level – Intermediate
Terms – US Terminology
Stitches Abbreviations
Chain(s) – ch(s)
Double crochet – dc
Stitch(es) – st(s)
Special stitches = Dc cluster = (2 dc, ch 1, 2 dc) in indicated stitch

Finished Measurement
Size(s) – XS (S, M, L, XL, 2XL, 3XL, 4XL, 5XL)
Bust Measurement: 30 (34, 38, 42, 46, 50, 54, 58, 62)”
Length of cover up: 30 (31, 32, 33, 34, 35, 36, 37, 38)”
Arm hole Measurement: 15.5 (16, 16.5, 17, 17.5, 18, 18.5, 19, 19.5)”
Modeled garment is shown in Medium, with 2” of Positive Ease.
I can’t wait to see all the beautiful Kimono’s popping up on my feed. Do tag me with your makes.
Instructions for this easy crochet kimono free pattern
Section 1: Yoke (make 2)
Chain 37 (41, 45, 49, 53, 57, 61, 64, 69)
Row 1: Dc in 3rd ch from hook and in each ch across, turn.
35 (39, 43, 47, 51, 55, 59, 62, 67) dc
Row 2: Ch 2, dc in first 2 sts, *skip next 3 sts, dc cluster in
next st, ch 1, rep from * to last 9 sts, skip next 3 sts, dc
cluster in next st, skip next 3 sts, dc in last 2 sts, turn. 4 dc, 7
(8, 9, 10, 11, 12, 13, 14, 15) dc clusters, 6 (7, 8, 9, 10, 11, 12,
13, 14) ch- 1 sp.
Row 3: Ch 2, dc in first 2 sts, skip next 2 sts, *dc cluster in ch
1 from previous dc cluster, ch 1, skip next 5 sts, rep from * to
last dc cluster, dc cluster in ch 1 sp, skip next 2 sts, dc in last 2
sts, turn. 4 dc, 7 (8, 9, 10, 11, 12, 13, 14, 15) dc clusters, 6 (7,
8, 9, 10, 11, 12, 13, 14) ch- 1 sp.
Each panel should measure 7.5 (8.5, 9.5, 10.5, 11.5, 12.5,
13.5, 14.5, 15.5)” across, as the final measurement would
be 4 times this measurement.
Rows 4 – 21 (23, 25, 27, 27, 29, 29, 31, 31): Repeat Row 3
Fasten off. Make second half, do not fasten off.
Section 2 – Body
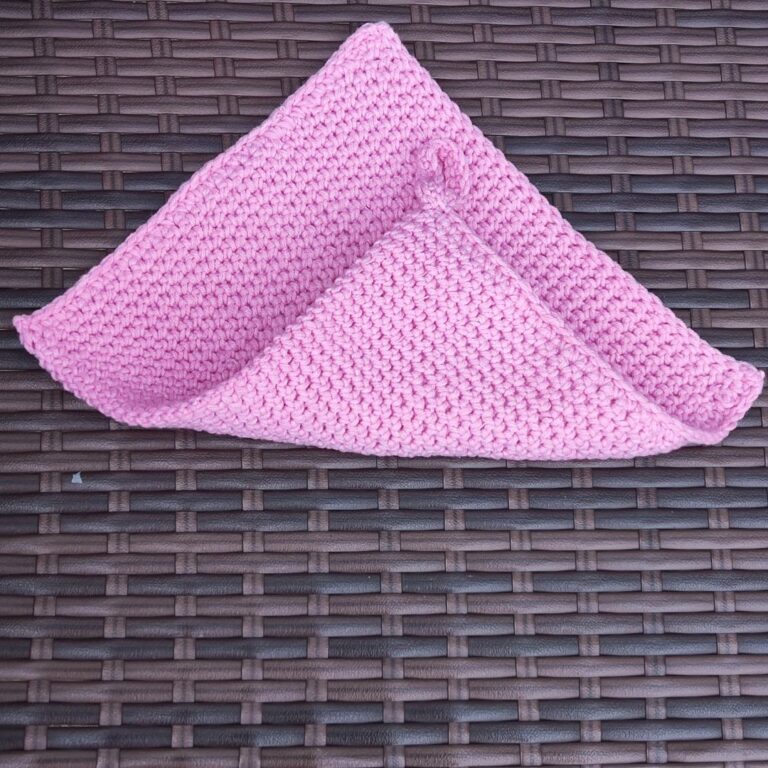
• Fold each panel in half as seen in Figure 3.
• Place stich markers on both outer edges (part with
red arrow labelled 2 and 3) and the 3rd stitch marker
to join the inner sides of both panels together.
Measure the side opening to see if it is a perfect fit
for your arms, if not add few more rows to each panel
before joining for the body.
• If the armpit opening is too wide, you can sew
together for a better fitting.
Row 1: Start from first half, Ch 2, dc in first 2 sts, skip next 2
sts, *dc cluster in ch 1 from previous dc cluster, ch 1, skip
next 5 sts, rep from * 6 (7, 8, 9, 10, 11, 12, 13, 14) more
times, skip next 2 sts, dc in next 2 sts, continue to the back
(place stitch marker), dc in first 2 sts, skip next st, dc cluster
in next st, ch 1, skip next 3 sts, **dc cluster in next st, ch 1,
skip next 3 sts, rep from ** to last 2 sts on this half, dc in last
2 sts, continue to next half (place stitch marker), dc in first 2
sts, skip next st, rep from ** to last 2 sts of this panel, dc in
last 2 sts, continue to last half (place stitch marker), dc in
first 2 sts, rep from * to end, turn. 16 dc, 28 (32, 36, 40, 44,
48, 52, 56, 60) dc clusters, 24 (28, 32, 36, 40, 44, 48, 52, 56)
ch – 1 sp.
Row 2: Ch 2, dc in first 2 sts, skip next 2 sts, *dc cluster in
next st, skip next 5 sts, ch 1, rep from * to next stitch marker,
skip next 3 sts, dc cluster in next st (stitch with marker), ch 1,
skip next 4 sts, rep from * to last dc cluster, dc cluster in ch 1
sp, skip next 2 sts, dc in last 2 sts, turn. 4 dc, 31 (35, 39, 43,
47, 51, 55, 59, 63) dc clusters, 30 (34, 38, 42, 46, 50, 54, 58,
62) ch – 1 sp.
NOTE – Row 2 has 3 additional dc clusters worked in the
sides and back (stitches with the maker)
Row 3: Ch 2, dc in first 2 sts, * dc cluster in next st, skip next 5 sts, ch 1, rep from * to last 2 sts, dc in last 2 sts, turn. 4 dc, 31 (35, 39, 43, 47, 51, 55, 59, 63) dc clusters, 30 (34, 38, 42, 46, 50, 54, 58, 62) ch – 1 sp.
Row 4 – 46 (46, 46, 46, 52, 52, 52, 2, 52): Repeat Row 3 till your desired length.
Fasten off, sew in ends. Block to measurements.
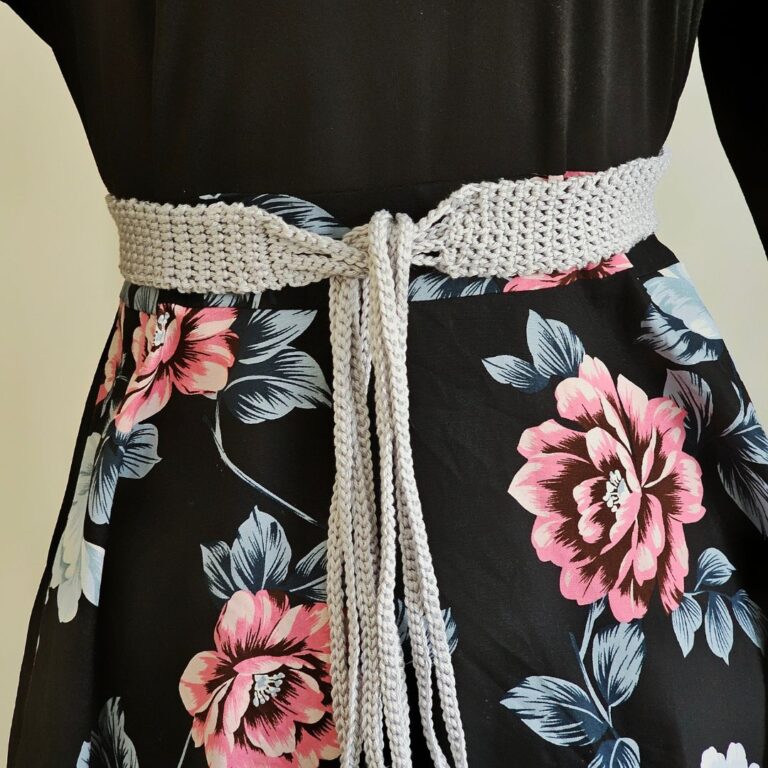
Rope
Row 1: Ch 6, in 4th ch from hook work (2 dc ch 1, 2 dc), ch 1,
skip next ch, dc in last ch, turn. (2 dc, 2 ch 1 sp, 1 dc cluster)
Row 2: Ch 4 (counts as dc + ch 1), skip next 3 sts, (2 dc, ch 1,
2 dc) in next ch 1 sp, ch 1, skip next 2 sts, dc in last st, turn. (2
dc, 2 ch 1 sp, 1 dc cluster)
Rows 3 – 92: Repeat Row 2
Fasten off sew in ends.
Make 2 Tassels and sew to the end of the rope.
I would love to see your beautiful versions of this easy crochet Kimono, do tag me with your makes.

2 Comments
Comments are closed.