Crochet Stocking Hat
Crochet stocking hat is always a fancy use of yarn to make a beautiful accessory. A few weeks ago, I designed the Elf beanie and cowl, which is like having a beanie long enough to also serve as a neck warmer. Immediately, I knew a shorter version would follow.
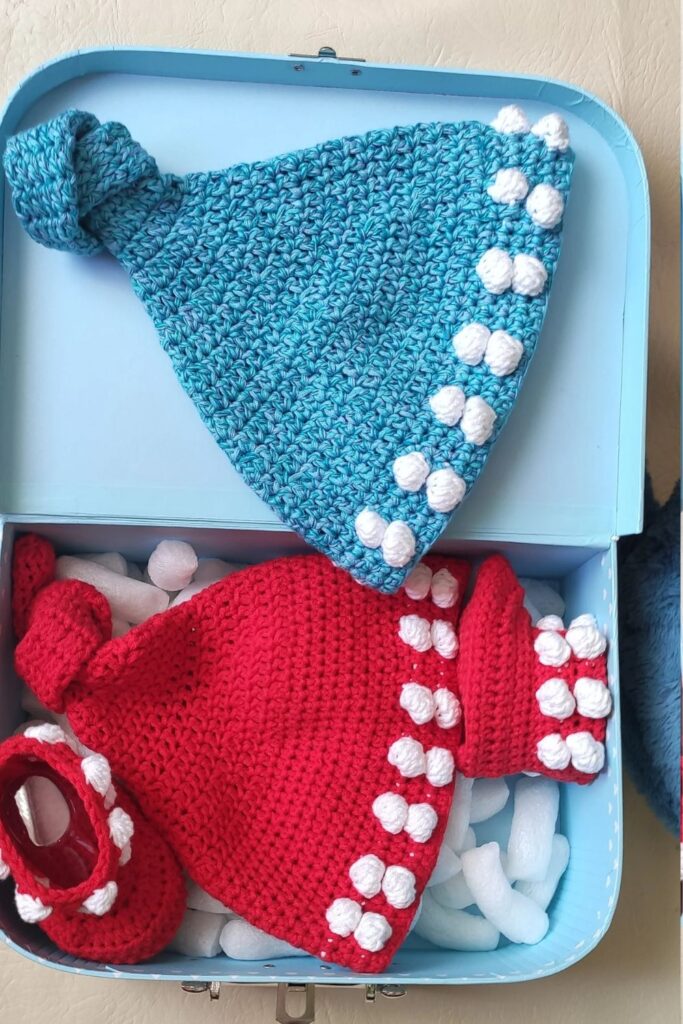
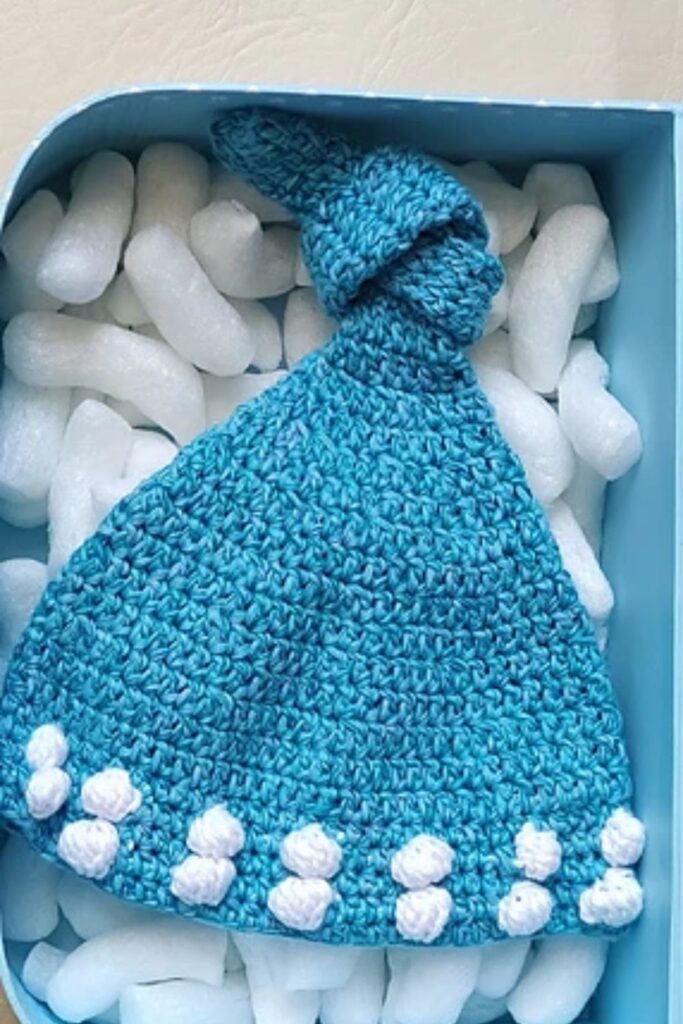
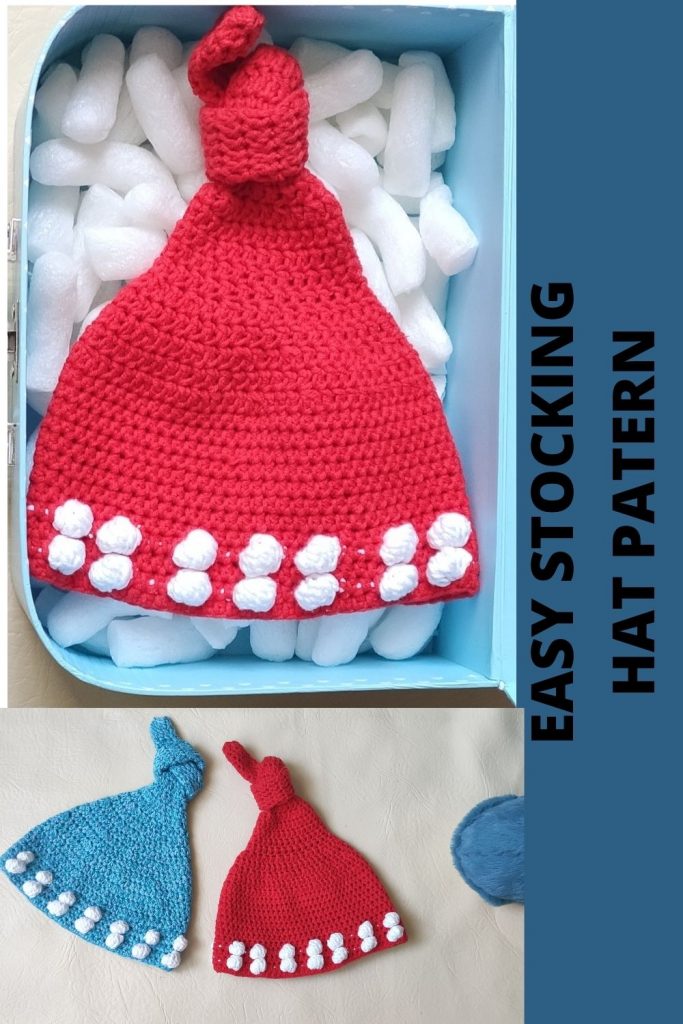
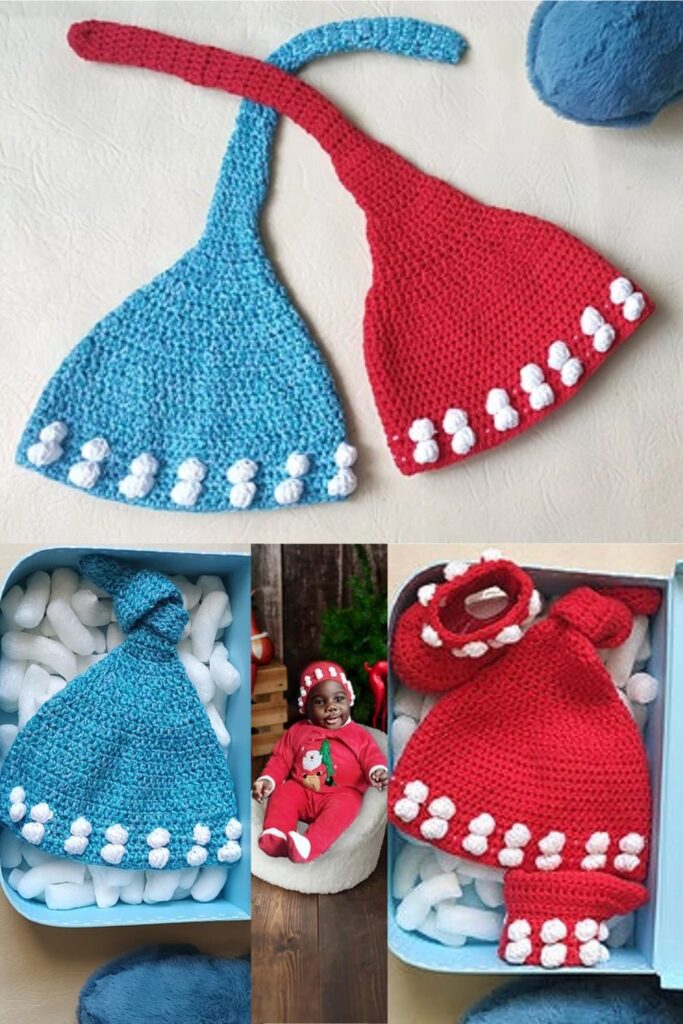
This bobble stocking beanie is the shorter version. This would make a beautiful, knotted beanie or simply make it into your desired length and add a pom.
The crochet stocking hat pattern is such a cute piece that makes it a perfect custom for baby’s first Christmas.

Ever wondered how to crochet a stocking hat?
Crocheting a cute stocking hat is so easy, this version was started from the brim and crocheted upwards towards the crown. This method makes it so easy to adjust the length of the tail and you are able to make a small or big knot.
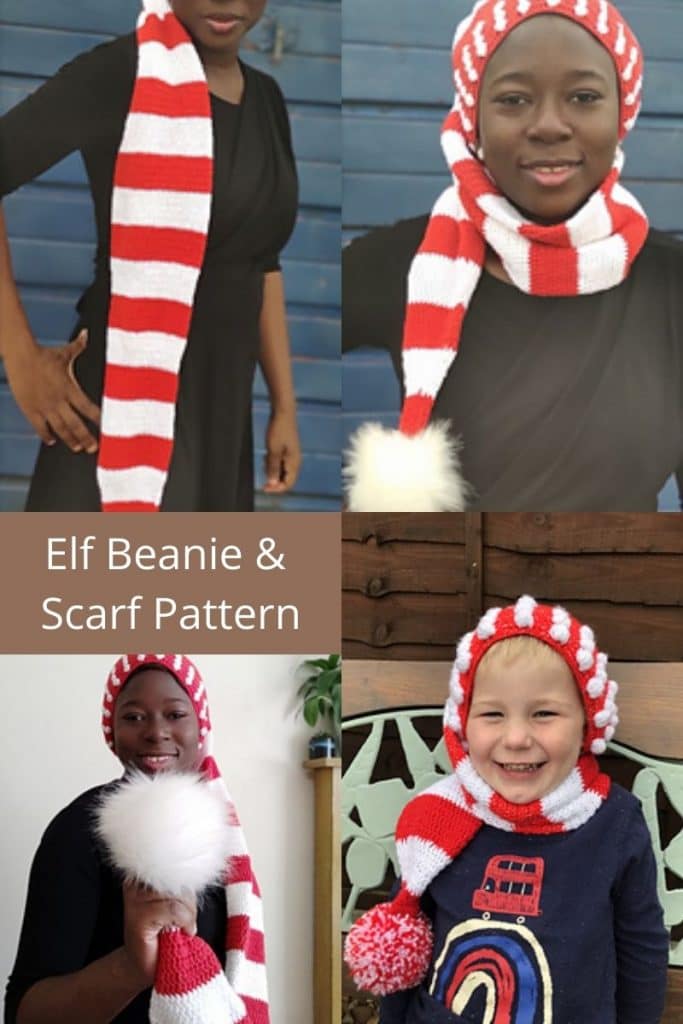
If you are looking for a rather longer version of the crochet stocking hat, look no further, I have one that doubles as both beanie and cowl (neck warmer). Have a look at the Elf beanie and cowl here.
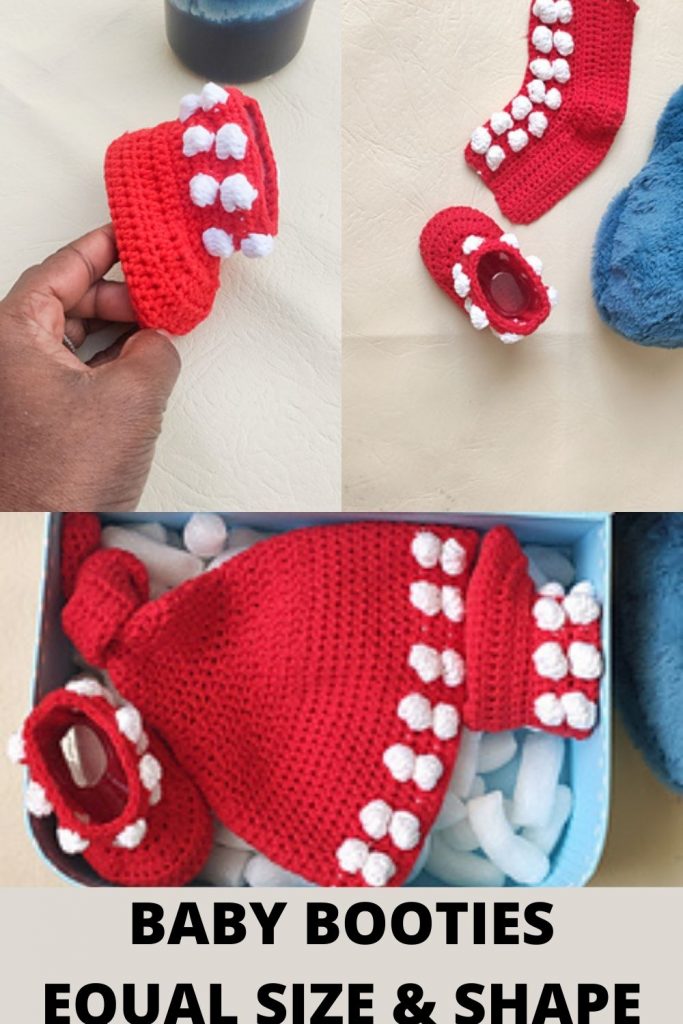
In addition to the bobble stocking beanie, I have designed matching booties for infants. The booties are made in rows, for uniformity in size and shape. If you’ve ever struggled with archiving a similar shape of baby shoes, this technique would teach you how to make crochet baby booty with a similar shape.
Sizes of the crochet stocking hat available – The bobble crochet stocking hat is graded in 5 different sizes.
| Size | Head Circumference | length |
| Infant | 16” | 17” |
| Toddler (S) | 17” | 18” |
| Child (M) | 19” | 18” |
| Teen (L) | 21” | 18” |
| Adult Small (XL) | 22” | 18” |
| Adult Large (XXL) | 23” | 18” |
This crochet stocking hat pattern is available as a free pattern, scroll down for the material and instruction. You could however get the premium version. You can get the PDF on either ETSY or Ravelry using the link below.
Easy Crochet Stocking Hat Pattern on Ravelry
MATERIALS FOR THIS EASY BOBBLE STOCKING HAT PATTERN
Yarn – This prototype was made using DK (double Knit, #3). You can make yours in any Dk available to you.
The prototype made with Scheepjes Softfun, #3 (60% Cotton, 40% Acrylic. 140 m/ per 1.75 oz/50g skein)
1 (1, 2, 2, 2, 2) Skeins in Red (A)
1 (1, 2, 2, 2, 2) Skeins in White (B)
Estimated Yardage
160 (200, 220, 240, 260, 280) Color A
30 (40, 50, 60, 70, 80) Color B
Hook and other Materials
- US size G (4 mm) Crochet Hook
- Pom or Tassel
Gauge
18 sts over 10 Rows, made in hdc = 4” X 4”, before blocking.
Adjust hook size, if necessary, to obtain gauge.
Pattern Notes
- Please kindly read through the pattern.
- Similar #3 weight yarn can be substituted. Please check the guage.
- Chains at the beginning of the rounds do not count as a stitch.
- The pattern is worked in Rounds throughout.
- Stitch count is written after each round with the smallest infant written first and the other in the ().
- Stitch count written in black is for all sizes but at some points, the stitch counts are color-coded for clarity, i.e Infant (Toddler, Child, Teen, Adult Small, Adult large)
Stitches Abbreviations
Chain(s) – ch(s)
Half double crochet – hdc
Double crochet – dc
Double crochet 2 stitches together– dc2tog
7 Treble crochet stitches together – 7trtog
Slip stitch – sl st.
Repeat – rep
Special stitch
Bobbles = 7trtog – *Yarn over hook twice, insert hook into indicated st, yarn over, draw yarn through, yarn over and pull through 2 loops, (yarn over, draw yarn through another 2 loops) repeat from * 6 more times, “you should have 8 loops around your hook”, yarn over, pull through all the loops at once.
Difficulty Level – Intermediate
Terms – US Terminology
Construction Notes
This beanie is worked in Rounds.
The pattern is worked brim up.
You can customize the length to your preference.
The pom can be replaced with a tassel.
Adjustments/fittings
Length: increase or decrease the repeats for a longer or shorter tail.
Circumference: Too tight? Go up a size. Too loose: go down a size.
Fitting: Check to make sure you have a good fit around your head after round 2.
Instruction for the crochet stocking hat pattern
Section 1: Brim
With A (Red) Chain 70 (80, 85, 90, 95, 100), join with a sl st to the beginning chain making sure not to have a twist. Round 1: Ch 2, hdc in each st across, join with a sl st to beginning ch. 70 (80, 85, 90, 95, 100) hdc
Round 2: Ch 2, with A, *hdc in next 4 sts, with B make 1 bobble, rep from * to end, join with a sl st to beginning ch. 14 (16, 17, 18, 19, 20) bobbles, 56 (64, 68, 72, 76, 80) hdc
Round 3: With A, ch 2, hdc in each st across, join with a sl st to beginning ch. 70 (80, 85, 90, 95, 100) hdc
Rounds 4 – 5: Rep Rounds 2 – 3
Skip to the body for infant size
For other sizes, you can also skip having 4 rounds of Bobbles.
Rounds 6 – 9: Rep Rounds 2 – 3Fasten off B
Section 2: Body
Round 1: Ch 2, hdc in each st across, join with a sl st to beginning ch. 70 (80, 85, 90,
95, 100) hdc
Rounds 2 – 8 (10, 12, 12, 12, 12): Ch 2, with A, hdc in each st across, join with a sl st to
beginning ch. 70 (80, 85, 90, 95, 100) hdc
Round 9 (11, 13, 13, 13, 13): Ch 2, *dc2tog, dc in next 3 sts, rep from * to end, join with
a sl st to beginning ch. 56 (64, 68, 72, 76, 80) dc
Round 10 (12, 14, 14, 14, 14): Ch 2, dc in each st across, join with a sl st to beginning ch. 56 (64, 68, 72, 76, 80) dc
Round 11 (13, 15, 15, 15, 15): Ch 2, *dc2tog, dc in next 2 sts, rep from * to end, join with a sl st to beginning ch. 42 (48, 51, 54, 57, 60) dc
Round 12 (14, 16, 16, 16, 16): Ch 2, dc in each st across, join with a sl st to beginning ch. 42 (48, 51, 54, 57, 60) dc
Round 13 (15, 16, 17, 17, 17): Ch 2, *dc2tog, dc in next st, rep from * to end, join with a sl st to beginning ch. 28 (32, 34, 36, 38, 40) dc
Rounds 14 (16, 17, 18, 18, 18): – 18 (19, 21, 21, 23, 25): Ch 2, dc in each st across, join with a sl st to beginning ch. 28 (32, 34, 36, 38, 40) dc
Round 19 (20, 22, 22, 24, 26): Ch 2, *dc2tog, dc in next st, rep from * to end, join with a sl st to beginning ch. 19 (21, 23, 24, 25, 27) dc
Round 20 (21, 23, 23, 25, 27) – 24 (24, 27, 27, 31, 31): Ch 2, dc in each st around, join with a sl st to beginning ch. 19 (21, 23, 24, 25, 27) dc
Round 25 (25, 28, 28, 32, 32): Ch 2, *dc2tog, dc in next st, rep from * to end, join with a sl st to beginning ch. 13 (14, 15, 16, 17, 18) dc
Round 26 (26, 29, 29, 33, 33): Ch 2, *dc2tog, dc in next st, rep from * to end, join with a sl st to beginning ch. 9 (9, 10, 11, 11, 12) dc
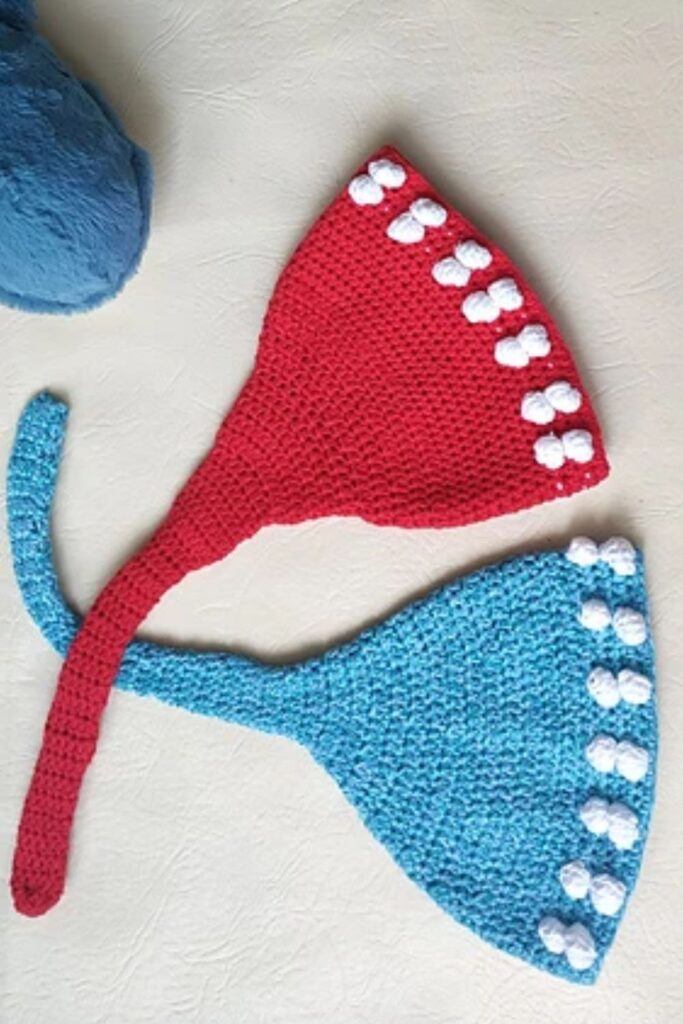
Tail
Rounds 1 – 20: Ch 2, dc in each st around, join with a sl st to beginning ch. 9 (9, 10, 11,
11, 12) dc
Increase or decrease the number of repeats
- Cut a long tail of yarn, sew in the
remaining sts. - Knot the tail or sew in the pom
or tassel.
Fasten off
- Sew in ends
- Wear with pride.
I would love to see your beautiful hat made from this crochet stocking pattern. Kindly tag me with your makes.

