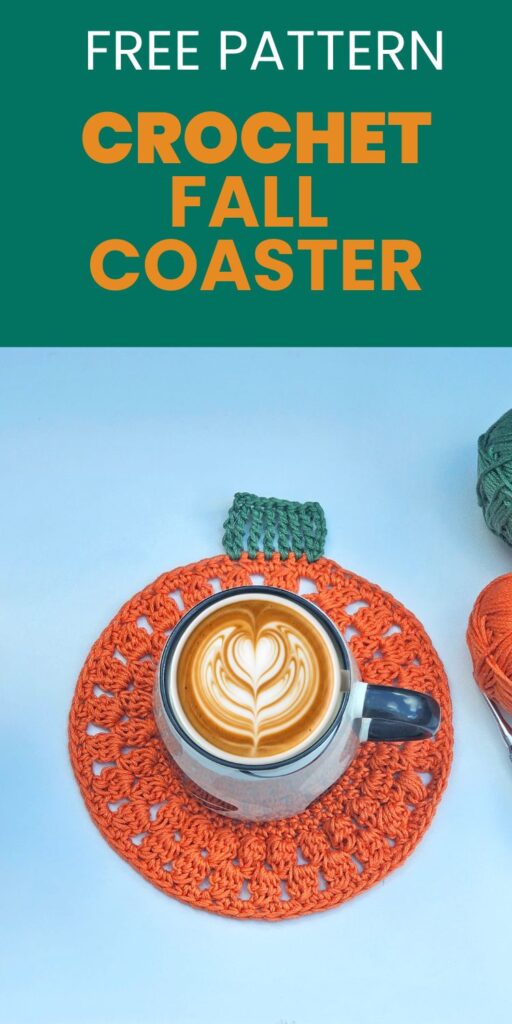
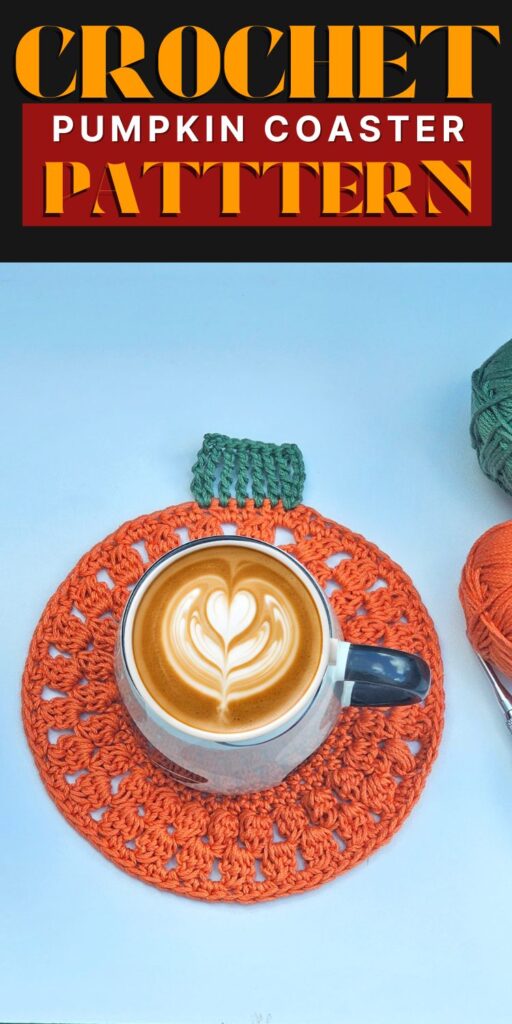
Crochet Pumpkin Coasters Free Pattern
Fall is the perfect time to bring cozy handmade touches into your home, and these crochet pumpkin coasters are the cutest addition to your autumn décor!
Whether you’re hosting Thanksgiving dinner or simply enjoying a pumpkin spice latte, this easy crochet coaster pattern adds warmth and personality to your table.
It’s quick, beginner-friendly, and perfect for using up leftover yarn from other projects.
Why You’ll Love This Pumpkin Coaster Pattern
These crochet pumpkin coasters are simple yet full of charm.
You’ll love how fast they work up — perfect for last-minute gifts, market prep, or seasonal decorating.
The round pumpkin shape adds a playful element, while the textured stitches create just the right amount of thickness to protect your surfaces.
Plus, they’re easy to customize with different yarn colors — think white pumpkins, deep orange tones, or even glitter yarn for a festive twist!
Materials and Yarn Recommendation
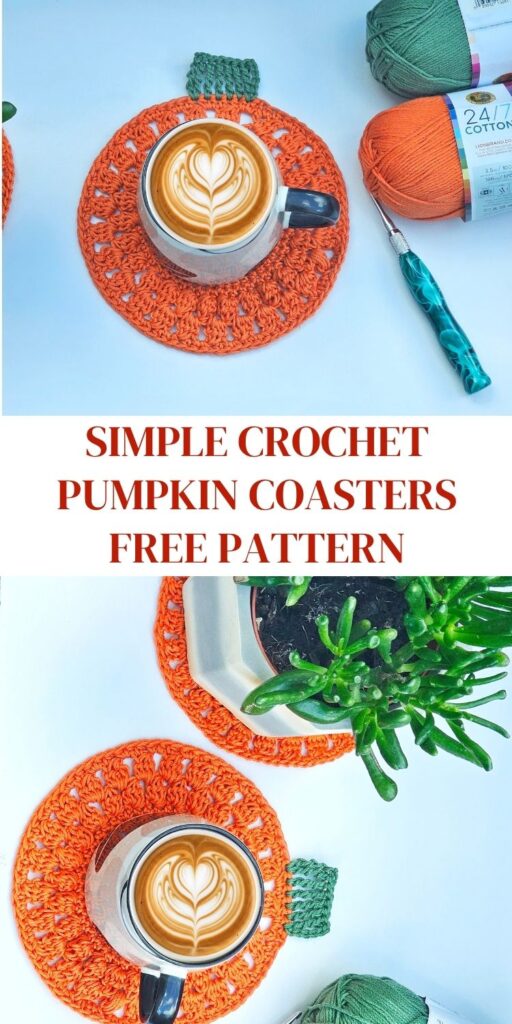
For this pattern, you’ll need a medium-weight cotton yarn, which provides durability and absorbs condensation beautifully.
Cotton also ensures your coasters stay flat and washable, ideal for daily use. You’ll need a 5 mm crochet hook, a yarn needle, and a pair of scissors — that’s it! Simple tools for a quick project that looks like a store-bought accent piece.
Yarn – The prototype was made using Lionbrand 24/7 Cotton, (#4, 100% Cotton, 186 yards per 3.5 oz/100g Ball)

Yardage
40 yards in color A
5 yards in color B
Hook and other materials
4 mm crochet hook
Stitch marker – 1 pcs
Gauge
16 sts over 10 Rows = 4” across, made using hdc, before blocking.
Pattern Notes
- Please kindly read through the pattern before starting.
- Any #4 weight yarn can be substituted
Skill Level – Easy
Terms – US Terminology
Construction notes
- This project is done in 2 sections.
- Section 1: The coaster base is in a continuous round (spiral). The joining is skipped to give a smooth spiral.
- Section 2: The pumpkin stalk is made in a contrasting color and in rows.
Finished measurements
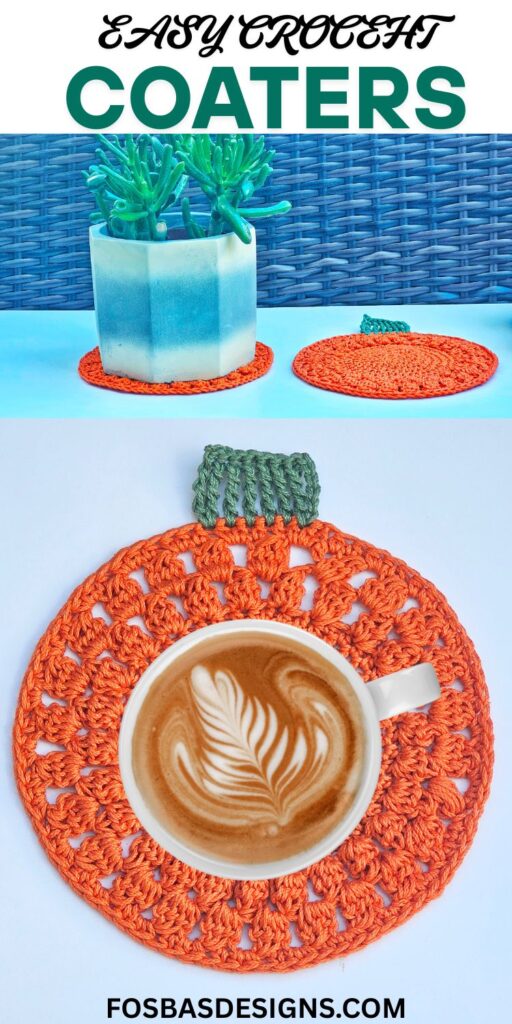
7” in diameter, excluding the stalk.
Stalk = 1”
Pro Tips for the Best Crochet Coasters
To achieve a smooth round shape, maintain consistent tension throughout each round. If your coaster curls, try going up a hook size or lightly blocking it after finishing. For a neat finish, weave in your ends securely, especially near the stem, to prevent unraveling. Want a modern touch? Try adding a subtle border in contrasting green or gold yarn.
Personalizing Your Pumpkin Coasters
Make your pumpkin coasters unique by experimenting with color and size!
Use chunky yarn for larger table mats or fine cotton for mini espresso coasters.
Add embellishments such as embroidered vines, stitched faces for Halloween, or small leaves for a farmhouse look.
You can even join several together to create a pumpkin-themed table runner.
How to Store Your Crochet Coasters
Store your coasters flat in a cool, dry place when not in use.
Avoid folding them to maintain their shape, and if they lose their flatness, lightly steam block them.
Cotton coasters can be washed gently by hand or on a low cycle, then air-dried to keep their structure and color intact season after season.


Join my crochet channel for daily updates at your finger tips
1 FREE DOWNLOAD PER MONTH
WITH JUST $3 PER MONTH!
- Pick your desired pattern each month.
- It can be a new or old pattern.

2 FREE DOWNLOADS PER MONTH
WITH JUST $5 PER MONTH!
- Pick your desired patterns each month.
- It can be a new or old pattern.
- You get 2 patterns per month.

3 FREE DOWNLOADS PER MONTH
WITH JUST $8 PER MONTH!
- Pick your desired patterns each month.
- You get 3 free patterns per month.
- It can be a new or old pattern.

How to make Crochet Pumpkin Coasters Free Pattern
Section 1: Base
With Color A
Round 1: In a magic ring, ch 2, (does not count as a stitch), 8 hdc in magic ring. 8 hdc
- No need to join after each round; place a stitch marker.
- Move the marker after each round.
Round 2: 2 hdc in each around. 16 hdc
Round 3: *hdc in next, 2 hdc in next, repeat from * around. 24 hdc
Round 4: *hdc in next 2 sts, 2 hdc in next, repeat from * around. 32 hdc
Round 5: *hdc in the next 3 sts, 2 hdc in the next, and repeat from * around. 40 hdc
Round 6: *hdc in next 4 sts, 2 hdc in
next st, repeat from * around. 48 hdc
Round 7: *hdc in the next 5 sts, 2 hdc in the next, and repeat from * around. 56 hdc
Sl st in next st to close the height difference.
Turn, crocheting from the wrong side for Rounds 8 and 9.
Round 8: Ch 3, 3dctog in same st as ch 3, *ch 2, skip next st, 4 dctog in next st, rep from * around, skip last st, ch 2, join with a sl st to the top of beginning ch 3. 28 4dctog and ch sps
Round 9: Ch 3, 3dctog in same st as ch 3, *ch 2, skip next st, 4 dctog in next ch sp, rep from * around, skip last st, ch 2, join with a sl st to the top of beginning ch 3. 24 4dctog and ch sps
Turn, crocheting from the right side
Round 10: Ch 1, *hdc in next st, 2 hdc in ch 2 sp, rep from around, join with a sl st to the beginning chain.
Set aside.
Section 2 – Stalk
With Color B
Join B with a sl st to the last st
Row 1: Ch 5, dtr in same st as ch 5 sp, dtr in next 5 sts, dtr in last st. 8dctr
Fasten off.
Crochet Pumpkin Coasters FAQs
Can beginners make these coasters? Absolutely! This pattern uses basic crochet stitches like double crochet and chain stitches, making it perfect for new crocheters.
What yarn works best? Cotton yarn is ideal since it’s absorbent and holds shape well.
Can I make these in different sizes? Yes! Adjust the hook size or add rounds to make larger or smaller pumpkins.
Do they need blocking? Only lightly — they hold shape nicely, but blocking gives a professional finish.
These crochet pumpkin coasters are a delightful seasonal project that brings handmade charm to any fall table.
Quick, beginner-friendly, and endlessly customizable, they’re the perfect way to celebrate autumn while practicing your crochet skills.
Make a few sets for friends, family, or your next market booth — they’re sure to be a hit all season long!