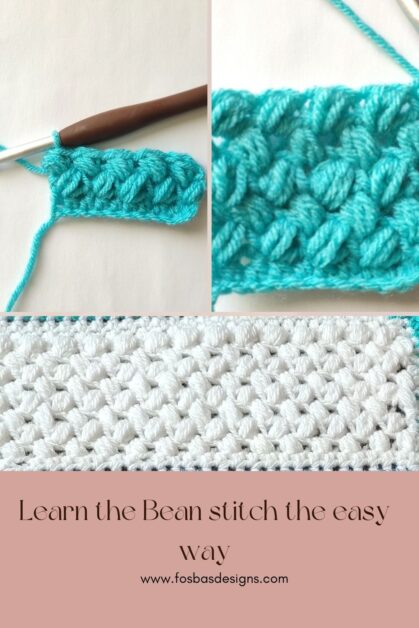
How to Crochet the Bean Stitch – The Easy Way
Ever seen this textured stitch and wondered if you can make a replica of the stitch? Well, you can and would be a pro at making the bean crochet stitch after this easy-to-follow tutorial.
Do you know that this beautiful bean stitch has so many other variations? Like the large bean stitch, modified bean stitch, and even the mini bean stitch? Also, the bean stitch is suitable to be made either in rows or in rounds? Keep reading, to perfect the different variances of bean crochet stitch.
Large bean stitch – This is referred to as the bean stitch in this tutorial all through.
Mini Bean stitch – This is a less bulky version of the bean stitch. I have written out a detailed tutorial below on how to make this beautiful stitch – the mini bean stitch.
Do you know that the mini bean crochet stitch is also call Elizabeth Stitch?
The modified bean stitch
Bean stitch in round – This is similar to how you make the stitch in rows, you only have to join after each round. This method would make a beautiful crochet bean stitch cowl, crochet bean stitch cup cosy and so on. Have a look at the tutorial below.
People also ask if there’s any difference between the bean stitch and puff stitch. The answer is that yes, there is a difference. Even though both the bean and Puff stitch are both textured and look alike.
The puff stitch usually has more loops and can be made straight whereas the bean stitch is only made leaning on one side.
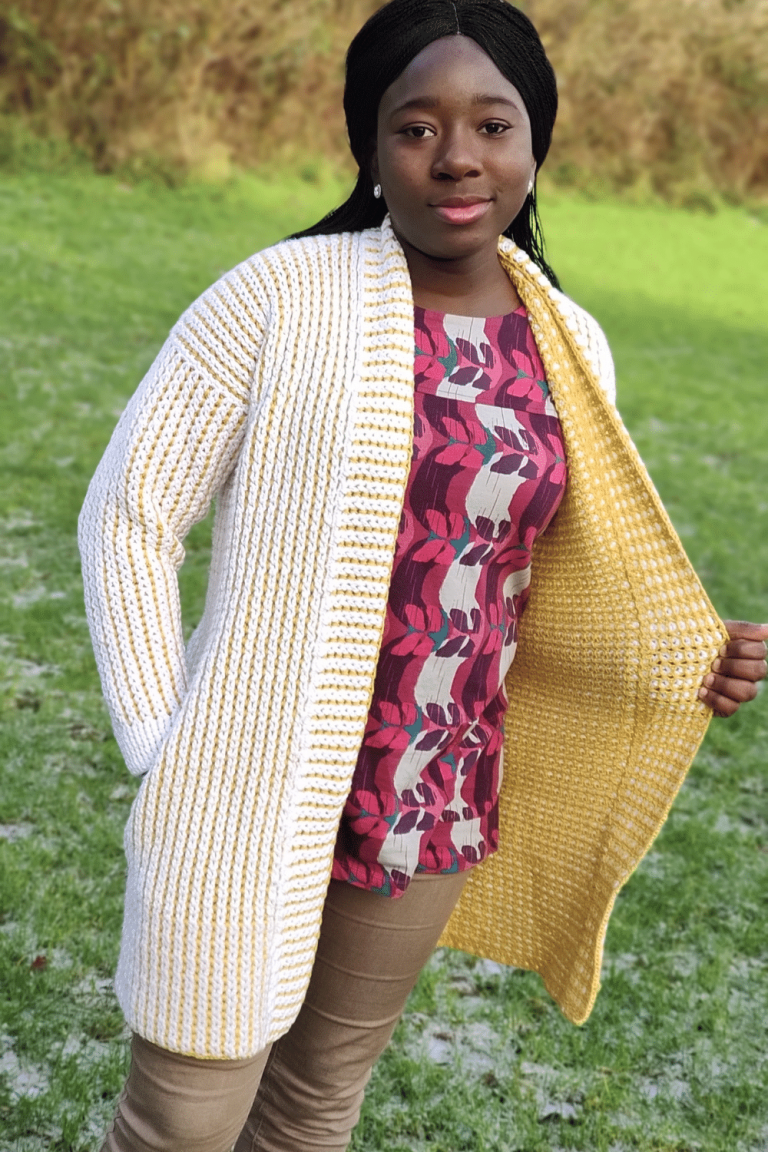
This is an awesome stitch and fun to make with a beautiful texture and simple repeat of just ONE row or round! Thick enough for extra warmth with the end project having no right or wrong sides.
There are no limits to projects that can be made using the bean crochet stitch. Projects like – Scarfs, shawls, sweaters, ear warmers, washcloths, and even blankets. To be honest, the list is endless!
Things you need to know before making a project using the bean stitch include the following:
The bean stitch can be made either in rows or in rounds. There are a few things that differentiate these methods.
When crocheting in Rows, keep in mind that you have an odd number of foundation chains. Take, for example, if you want to make a washcloth with the bean stitch, you can start with either 21 chains or any other odd number of chains.
The bean stitch eats (uses more) yarn than the average crochet stitch, but it is definitely worth it. So you might put this into consideration before selecting the yarn you would be using.
Instruction for the Bean Stitch
Yarn – Any weight of yarn can be used, this tutorial was made using Brava Worsted Weight, #4 (100% Acrylic, 218 yards per 3.5oz/100g).
Hook – 6 mm
Terms – US Terminology
Level of difficulty = Easy
Stitches Abbreviations
Chain – ch
Half double crochet – hdc
Now to the detailed instruction for the bean stitch.
Row 1: Chain in multiples of 2 +1, hdc in 3rd ch from hook and in each ch across, turn.
Row 2:
Step 1: Ch 2, Insert hook into next st and pull up a loop (2 loops on the hook)
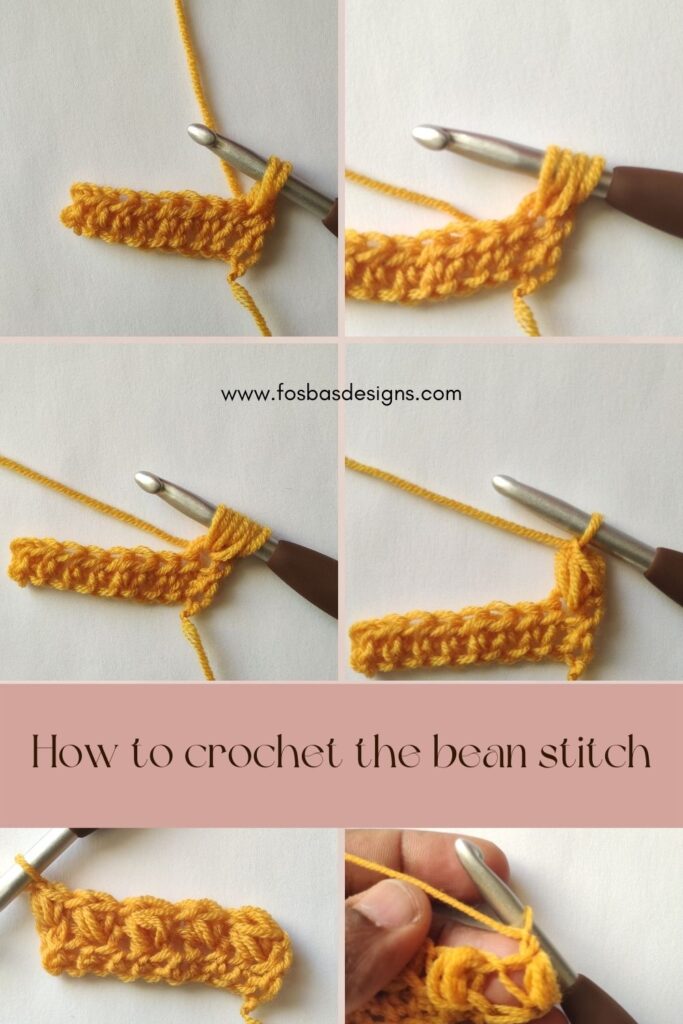
Step 2: Yarn over, insert the hook into the same stitch and pull up a loop (4 loops on the hook)
Step 3: Yarn over, insert the hook into the same stitch and pull up a loop (6 loops on the hook)
Step 4: Yarn over and pull through all 6 loops on the hook.
Step 5: Chain 1 to secure the stitch.
The first bean made
Step 6: Skip the next stitch then make another bean stitch.
Step 7: Continue skipping a stitch and then making another bean stitch as indicated in the pattern.
Row 3: Ch 1, bean st in each ch-1 sp of each bean st across, turn.
Repeat Row 3 until you have your desired length.
Now, you can practice the bean crochet stitch by making anything!
This is how the instruction usually comes, all you need to do is, start with an odd number of foundation chains. I.e multiples of 2 +1
Want to try a project that uses the bean stitch? have a look at the Tranquility dawn Blanket here
Instruction for the Mini Bean Stitch
Now to the detailed instruction for the mini bean stitch.
Row 1: Chain in multiples of 2 +1, hdc in 3rd ch from hook, and in each ch across, turn.
Row 2:
Step 1: Ch 2, Insert hook into next st and pull up a loop (2 loops on the hook)
Step 2: Yarn over, insert the hook into the same stitch and pull up a loop (4 loops on the hook)
Step 3: Yarn over and pull through all 4 loops on the hook.
Step 4: Chain 1 to secure the stitch.
The first bean made
Step 5: Skip the next stitch then make another mini bean stitch.
Step 7: Continue skipping a stitch and then making another mini bean stitch as indicated in the pattern.
Row 3: Ch 1, bean st in each ch-1 sp of each mini bean st across, turn.
Repeat Row 3 until you have your desired length.
I hope you have been able to spot the major difference between the bean stitch and the mini bean stitch?
How to crochet the Bean stitch in rounds – Stepwise Instructions
Round 1: Chain in multiples of 2 +1, hdc in 3rd ch from hook and in each ch across, join with a sl st to the beginning chain.
Round 2:
Step 1: Ch 2, Insert hook into next st and pull up a loop (2 loops on the hook)
Step 2: Yarn over, insert the hook into the same stitch, and pull up a loop (4 loops on the hook)
Step 3: Yarn over, insert the hook into the same stitch, and pull up a loop (6 loops on the hook)
Step 4: Yarn over and pull through all 6 loops on the hook.
Step 5: Chain 1 to secure the stitch.
The first bean made
Step 6: Skip the next stitch then make another bean stitch.
Step 7: Continue skipping a stitch and then making another bean stitch as indicated in the pattern, until the end of the round, join with a sl st to the beginning chain.
Now, here is a tip to archieving similar texture and look in your bean stitches mad ein rounds. You have to turn after each round. Yes, I know we do not turn in rounds, but this method would guarantee an even, and similar look of the stitches.
Round 3: Ch 1, bean st in each ch-1 sp of each bean st across, join with a sl st to the beginning chain.
Repeat Round 3 until you have your desired length.
Now, you can practice the bean crochet stitch by making anything!