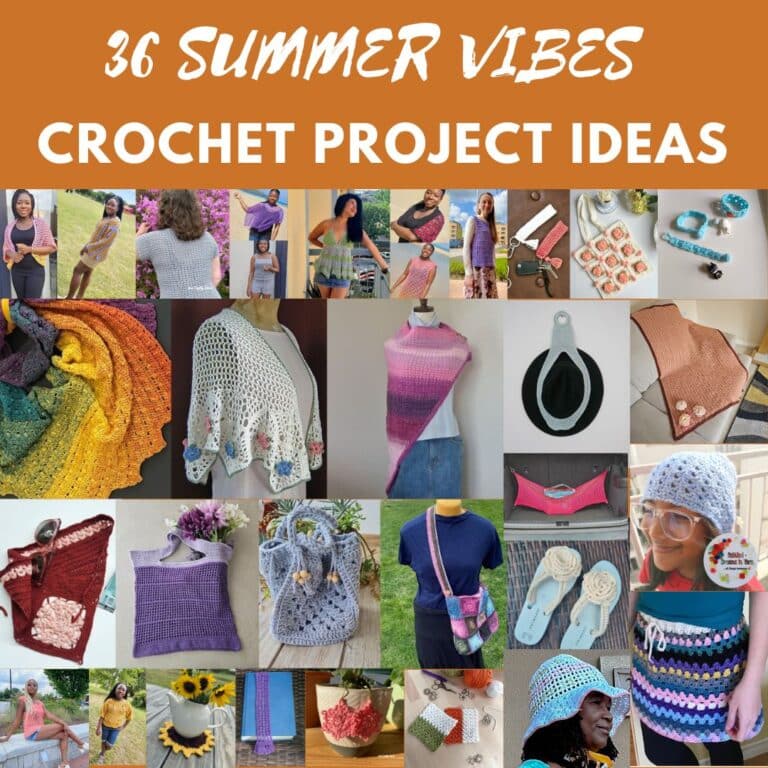
Easy crochet alpine stitch beanie pattern
I decided to give the much-loved crochet alpine stitch beanie pattern a makeover. This beanie is my very first published pattern, released 5 years ago.

Alpine Stitch Beanie Finished Measurements
| Size | Circumference |
| Toddler | 15” |
| Child | 17” |
| Teens Adult Small Adult Large | 19” 21” 23” |

Check out more projects in the 12 weeks of Christmas crocheting here.

Reading through the pattern, I noticed a lot of changes! My design, writing style, and photos have drastically improved, and I am grateful for how far I have come with design.
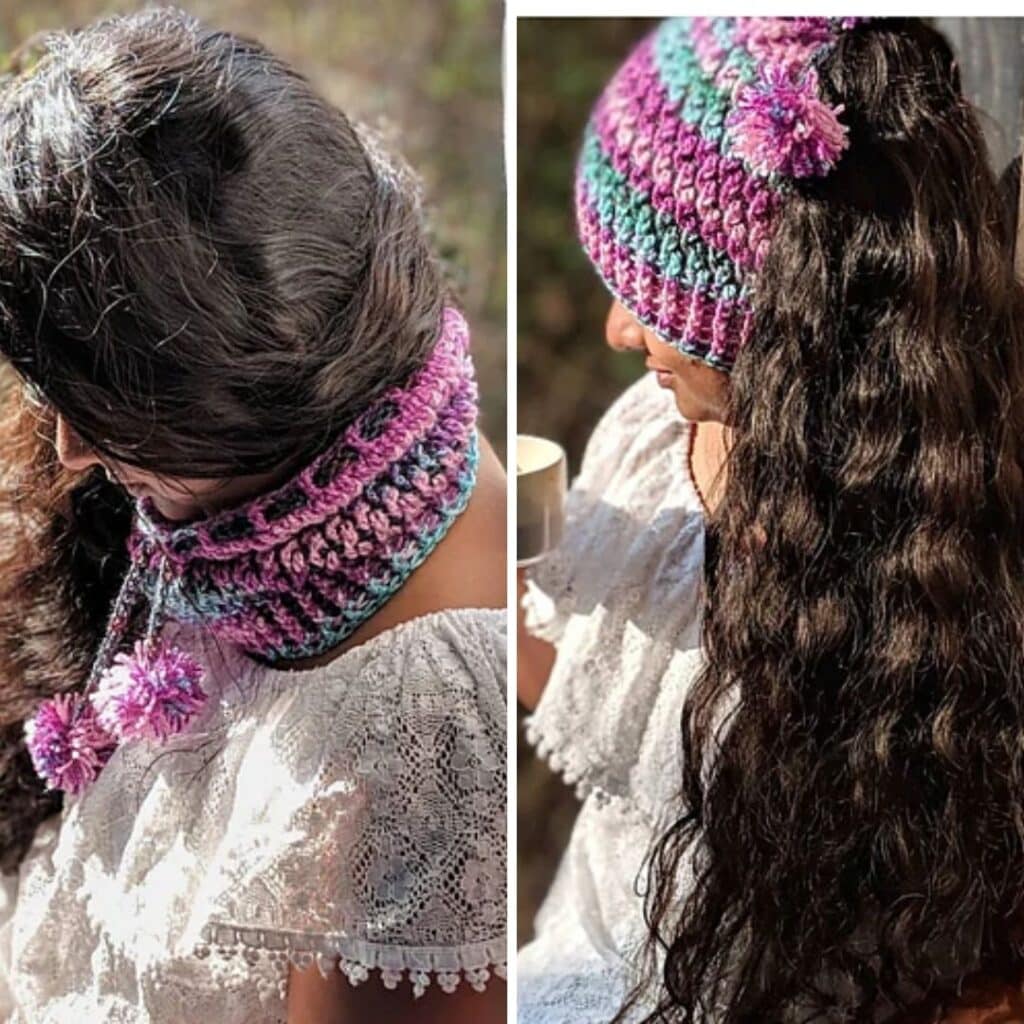
But something remains constant: I have always loved convertible projects! I mean you can style this crochet Alpine hat in 3 different ways:
- As a cowl
- As a Beanie
- As a messy bun hat!


Materials needed for the crochet alpine stitch beanie pattern
You can use any DK yarn weight for this project. This prototype was made using Stylecraft DK, (#3, 100% Acrylic, 295 m / 322 yards per 3.5 oz/100g Ball)
Estimated yardage
Color A – 140 (160, 180, 200, 220, 260) yards
Colors B – 100 (120, 140, 160, 180, 200) yards
Hook and other materials
- 5 mm Crochet Hook
- Yarn needle
Gauge
16 sts over 10 rows = 4 x 4” made in dc, before blocking.
Adjust hook size if necessary, to obtain gauge.
His and Her’s crochet alpine stitch beanie pattern notes
- Please kindly read through the pattern before starting.
- Any # 3 weight yarn can be substituted
Skill Level – Advanced Beginner
Terms – US Terminology

Stitches for the alpine stitch beanie-free pattern
ch – ch
Stitch(es) – st(s)
Slip Stitch – sl st
Single Crochet – sc
Double crochet – dc
Front Post double crochet – FPdc
Back Post double crochet – BPdc
Repeat – Rep
Foundation SC – Fsc
Special Stitch
Alpine Stitch – Have a look at the detailed tutorial here = How to Crochet Alpine Stitch – Video and Written Tutorial – Fosbas Designs


How to crochet the crochet alpine stitch hat
Section 1: Brim with eyelet
Using color (A)
Chain 68 (72, 80, 88, 96)
Join with a sl st. make sure it does not have a twist
Check the fit of the chains around your head; you can adjust the amount of chains in multiples of 4 for a perfect fit.
Round 1: Ch 1, sc in each ch around, join with a sl st to the beginning ch sp. 68 (72, 80, 88, 96) sc
Round 2: Ch 4 (counts as dc + ch 1), skip the next st, dc in next st, *ch 1, skip next st, dc in next st, rep from * to the end, ch 1, skip last st, join with a sl st to the beginning ch sp. 34 (36, 40, 44, 48) ch sps/dc
Round 3: Ch 3, *dc in the ch 1 sp, dc in next st, rep from * to the end, join with a sl st to the beginning ch sp. 68 (72, 80, 88, 96) dc
Round 4: Ch 3, *FPdc into the next 2 sts, BPdc into the next 2 sts rep from * to the end of the round, join with a sl st to the beginning ch sp. 30 (34, 36, 40, 48) FPdc/BPdc
Rounds 5 – 6: Rep Row 4
Section 2: Body
Round 7: Ch 3, *FPdc in next st, dc in next st, rep from * to till the end, join with a sl st to the beginning ch sp. 34 (36, 40, 44, 48) FPdc/dc
Drop color A
Change to color B
Round 8: Ch 1, sc in each st till the end of the round, join with a sl st to the beginning ch sp. 68 (72, 80, 88, 96) sc
Drop color B
Change to color A
Round 9: Ch 3, dc in next st, *FPdc in the corresponding FPdc 2 rounds below, skip the corresponding st on the round you are crocheting into, dc in next st, rep from * to the end, join with a sl st to the beginning ch sp. 34 (36, 40, 44, 48) FPdc/dc
Drop color A
Change to color B
Round 10: Ch 1, sc in each st till the end of the round, join with a sl st to the beginning ch sp. 68 (72, 80, 88, 96) sc
Drop color B
Change to color A
Round 11: Ch 3, *FPdc in the corresponding dc 2 rounds below, skip the corresponding st on the round you are crocheting into, dc in next st, rep from * to the end. Join with a sl st to the beginning ch sp. 34 (36, 40, 44, 48) FPdc/dc
Drop color A
Change to color B
Round 12: Repeat Round 10
Drop color B
Change to color A
Round 13: Ch 3, dc in next st, *FPdc in the corresponding dc 2 rounds below, skip the corresponding st on the round you are crocheting into, dc in next st, rep from * to the end, join with a sl st to the beginning ch sp. 34 (36, 40, 44, 48) FPdc/dc
Rounds 14 – 21 (25, 29, 29, 29): Repeat Rounds 10 – 13
If making a slouchy beanie, the number of rows can be increased
Fasten off color B
Section 3: Brim
With color A
Round 22 (26, 30, 30, 30): Ch 2, dc in each st around, join with a sl st to the beginning ch sp. 68 (72, 80, 88, 96) dc
Rounds 23 (27, 31, 31, 31) – 25 (29, 33, 33, 33): *FPdc in the next 2 sts, BPdc in the next 2 sts, rep from * to the end of the round, join with a sl st to the beginning ch sp. 34 (36, 40, 44, 48) FPdc/dc
Round 26 (30, 34, 34, 34): Ch 1, sc in each st around, join with a sl st to the beginning ch sp. 68 (72, 80, 88, 96) sc
Weave in the ends.
Section 4: Tie/Rope
Fsc 80 (84, 90, 100, 108), adjust the numbers of chains for a perfect fit. Leave a long yarn if adding a pompom.
Make two Tassels
Thread in the rope made into the eyelets created before attaching the pompom or buttons to secure the rope.
There you have the crochet alpine beanie pattern.
About the Designer
Say Hi on Instagram and Subscribe To my email List for pattern discounts and freebies. For questions, send such to [email protected]. Read more about me here.