How to Crochet Alpine Stitch – Video and Written Tutorial
The crochet alpine stitch is an easy stitch with a beautiful texture and is super fun to use in crochet projects.

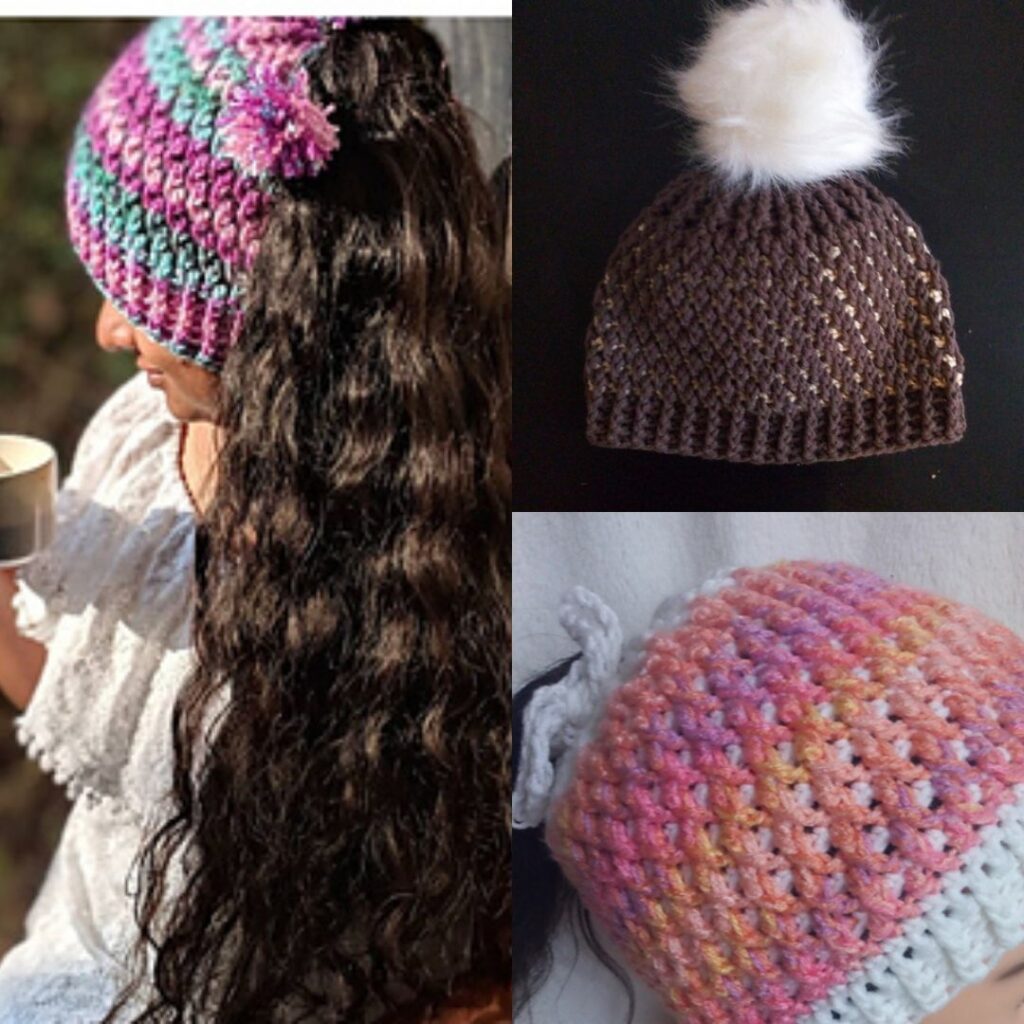
Surprisingly, the Alpine stitch is one of the first crochet stitches in the beanie I designed. It makes beautiful baby blankets and crochet sweaters. I hope you find this detailed free pattern with a step-by-step photo tutorial helpful.

The crochet alpine stitch can be made in rounds or rows! After reading this detailed post, you will be a pro at crocheting your projects using the Alpine stitch in rounds or rows.
Not a fan of front crochet post stitches? Don’t worry; that is the whole essence of this post. Stepwise photos are included to help you navigate the steps and become confident at making various crochet projects using alpine stitch.
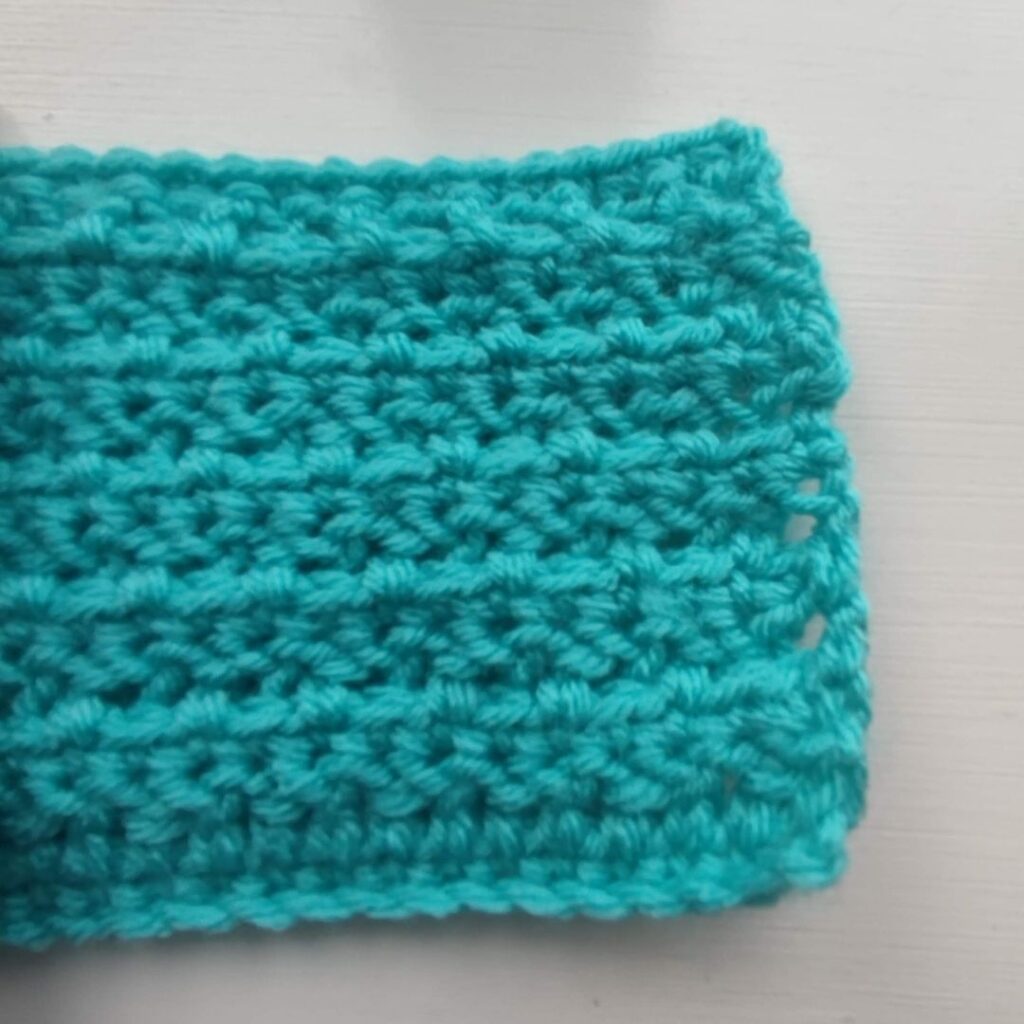
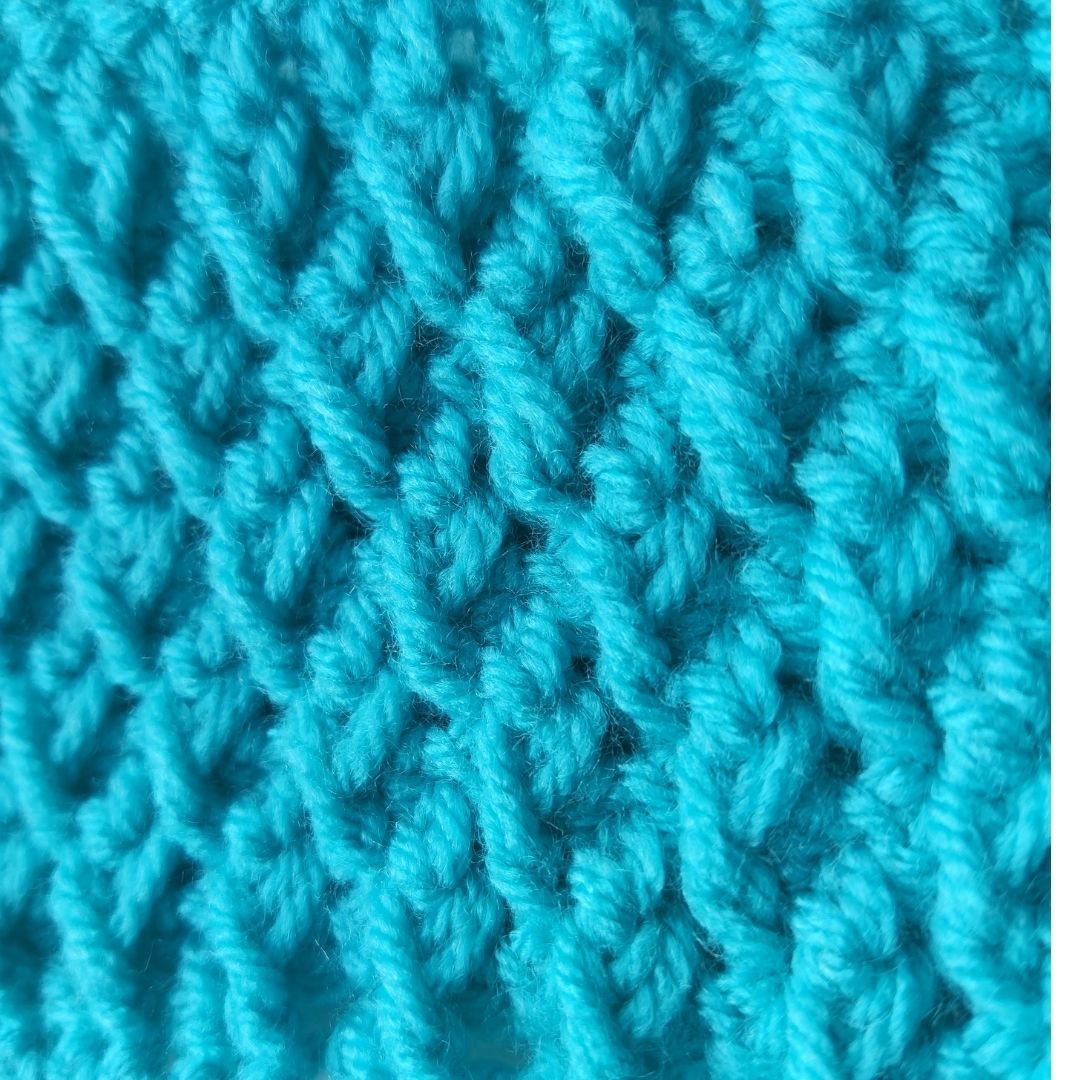
The alpine stitch creates a beautiful reversible effect. Have a look at the “wrong side” of this swatch. It looks so smooth without the ridges created by the front posts.
Best yarn for Alpine stitch
You can use any yarn weight for this stitch. The texture of this stitch shows (becomes more prominent) when made using either a DK weight yarn, worsted weight yarn or bulky weight yarn. Use a corresponding crochet hook.
The Alpine stitch is not the worst yarn eater, meaning you do not need a lot of yarn to make Alpine stitch blankets or any other projects.
The alpine stitch can be worked either in rows or in rounds. The major difference is how you join and start the round when working in rounds.
Crochet projects that can be made using the Alpine stitch pattern
I would love to start by saying the list of crochet projects that can be made using this beautiful stitch is endless. You can practically make anything using the alpine crochet stitch.
Projects on my list include;
- Crochet blanket
- Crochet beanie
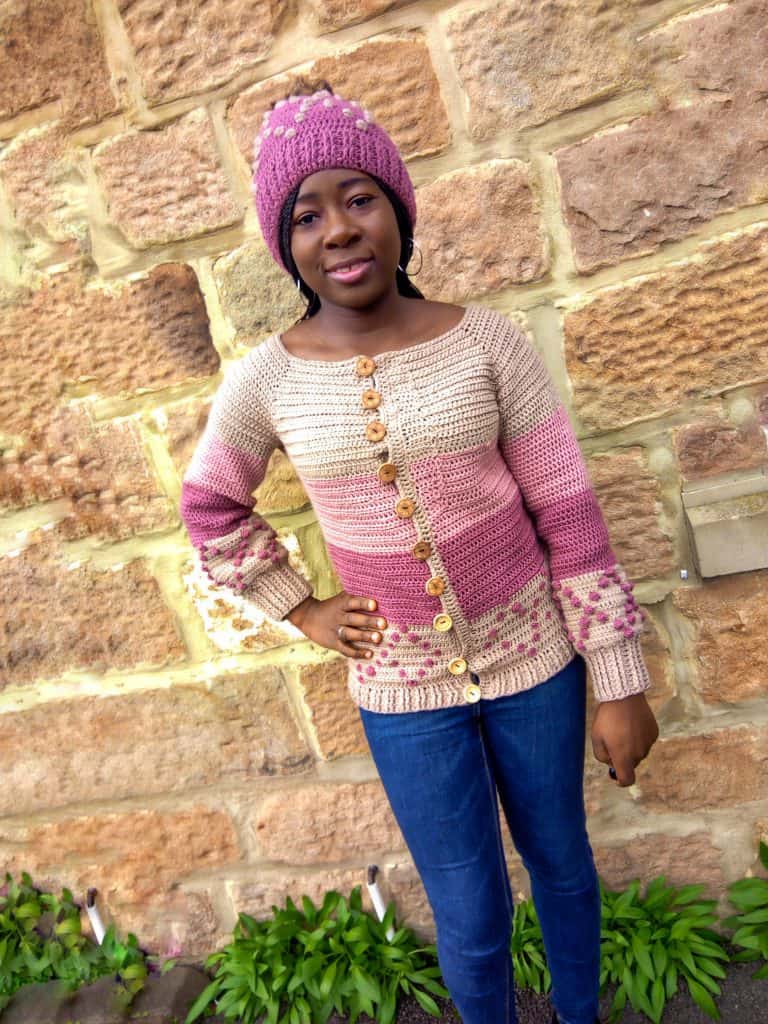
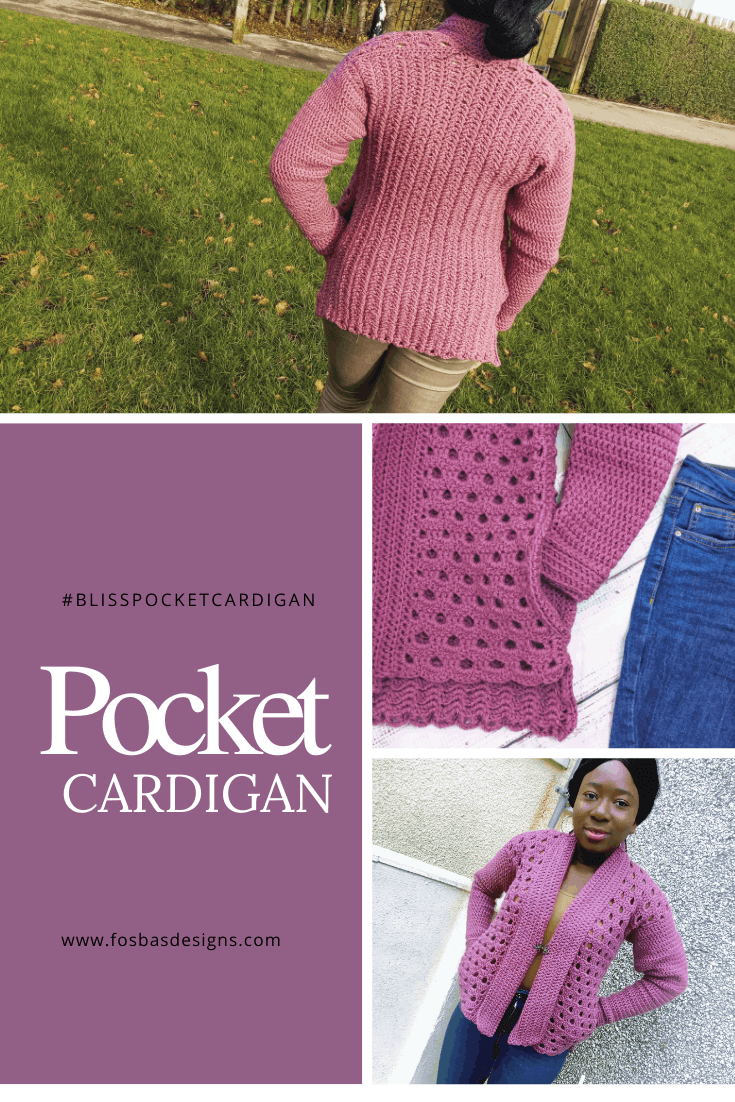
- Crochet alpine stitch sweater/cardigan
- Crochet washcloth
- Crochet scarves are not left out.
The alpine stitch can be worked either in rows or in rounds. The major difference is how you join and start the round when working in rounds.
Tips for achieving the perfect alpine stitch
Gaps between your projects – Often noticeable when using FPtr stitch.
Solutions – Try replacing FPdc with a FPtr.
If the gap persists, you can try to tighten your tension.
When you notice that your project keeps curling
There would be some curlings at the edges, which can be noticed when making your project using the alpine stitch. To eradicate the curls, you can either do one of the following or all (lol)
A. Go up hook size – This usually makes the stitches loosen up. However, when you cannot change hook sizes, you can try the next option after completing your project.
B. Block your project once completed; this does wonders, and your project flattens!
C. Work a round of edging around your project to flatten your project.
The beauty of the alpine crochet stitch is that it can be made using just about any weight with the corresponding hook size. Make sure to play around with yarn and hook sizes until you pick up the perfect match.
Alpine stitch is explained in simple terms – This crochet stitch is made over a repeat of 4 basic rows. With the front post, double crochet is always made around the dc from 2 rows below, and the sc is made into the corresponding stitch a row below. See the stepwise instructions/photos.
Materials needed include;
- Yarn – This tutorial used Brava, a #4 medium-weight yarn.
- Hook – 5 mm
- Scissors.
- Stitches needed for your alpine stitch
- Stitch – st
- Chain – ch
- Single Crochet – sc
- Double Crochet Stitch – dc st
- Front post double crochet – FPdc
- Front post treble crochet – FPtr
- Tips for getting the perfect-looking Alpine Stitch
- The front post stitches are crocheted into double crochet stitches from 2 rows below. This means that you “leave” the stitches (single crochet) that you ordinarily were meant to crochet into when crocheting.
- After the FPdc, the next stitch is double-crocheted into the row below. This is the row you would crochet into.
- Alternate the stitches, FPdc into 2 rows below, dc into the stitches a row below.
- Aim for an equal length of post stitches. You might need to pull your loops a little more than you would.
- If you have a tight tension, try replacing all front post double crochet (FPdc) with front post treble stitches (FPtr).
Instructions for alpine stitch – using an odd number of chains
Foundation chain – Chain an odd number of stitches
Row 1: Sc in 2nd chain from hook and in each chain across, turn.
Row 2: Ch 2, dc in each stitch across, turn
Row 3: Ch 1, sc in each st across, turn
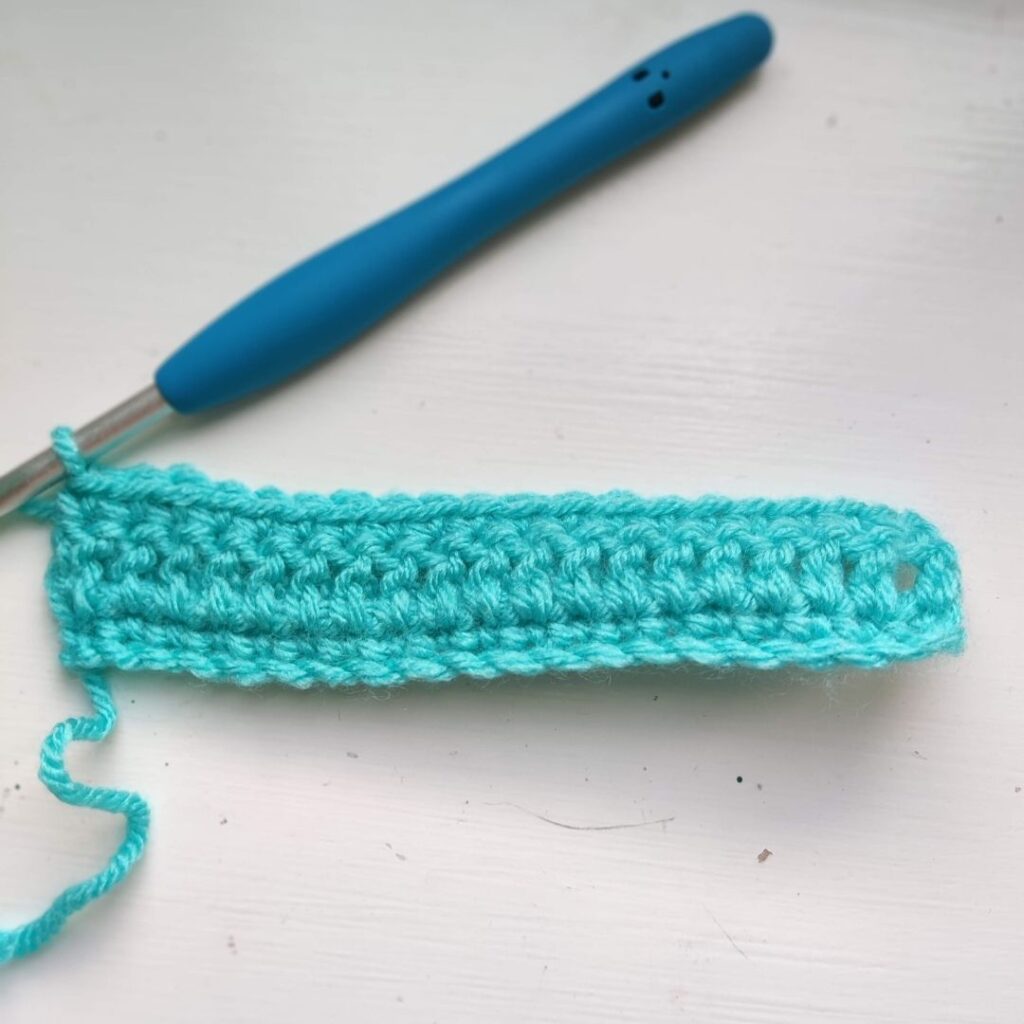
Base made, now to the start of the beautiful textures, front posts!
The next row is crocheted around the stitches (double crochet) made in Row 2.
Make sure to match the heights of the stitches made in this row and make your stitches as tall as possible.
Row 4: Ch 2, dc in first st, *FPdc around next st from 2 rows below (note that the corresponding st from row 3 would be skipped, dc in next st from a row below, rep from * until the last st, FPdc around last st, turn.
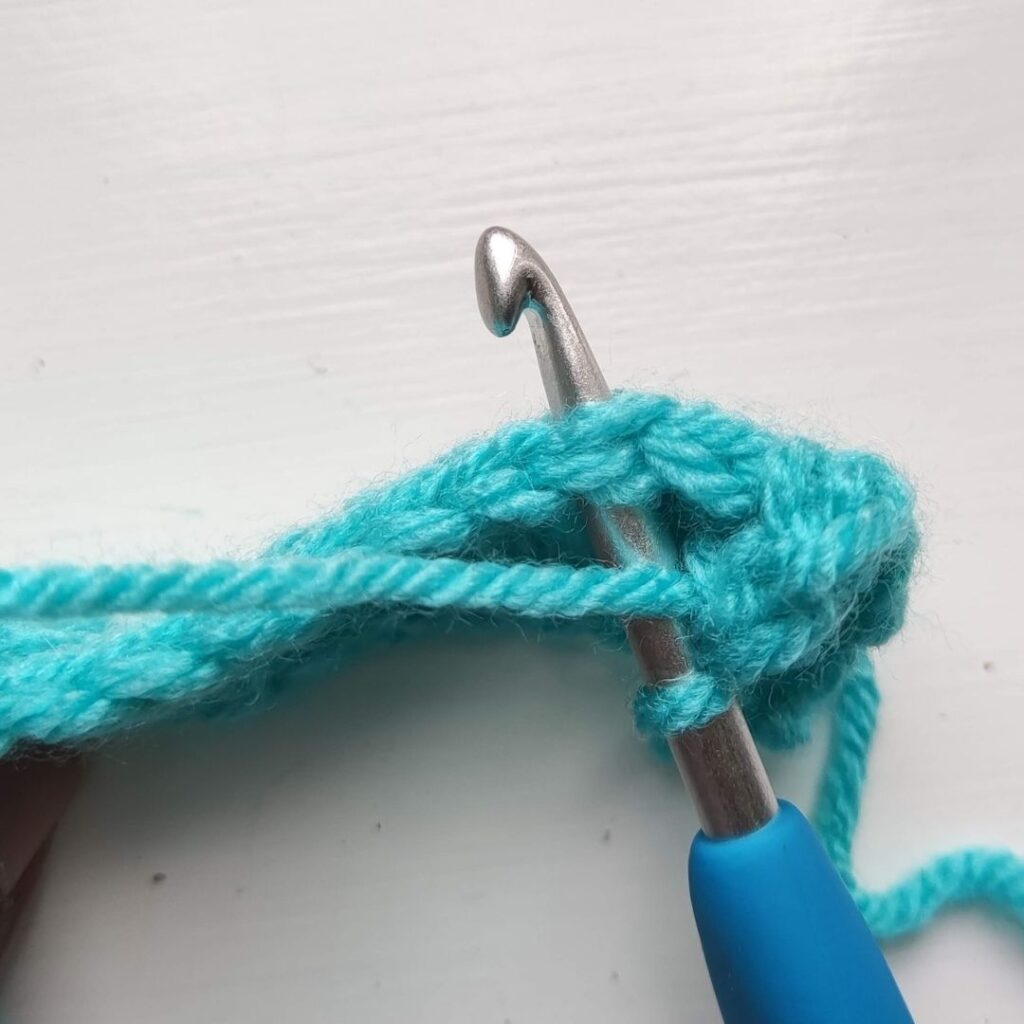
Have a look at how to crochet the front post double crochet below
FPdc Tutorial

Row 5: Ch 1, sc in each st across, turn.
Row 6: Ch 2, FPdc around the first dc from 2 rows below, *dc in next st from one row below, FPdc around the next dc from 2 rows below, repeat from * across, turn.
Do not get confused with row 6. In this row, the FPdc is made around the dc from row 4, skipping the FPdc, which appears “raised.”
Repeating Rows 3 to 6 until you have your desired length. Make sure to end with a single crochet row.
Fasten off and weave in ends.
Optional – You can add a border.
To crochet the front post stitches (FPdc)
Step 1: Yarn over and insert hook into the second stitch from row 2.
Step 2: Yarn over, and pull up a loop, yarn over and pull up another loop through the first 2 loops
Step 3: Yarn over and pull up a loop through the remaining loops.
The first front post double crochet is completed (FPdc)
Alpine stitch using an even number of chains
Foundation Row – Chain an even number of stitches
Row 1: Sc in 2nd chain from hook and in each chain across, turn.
Row 2: Ch 2, dc in each stitch across, turn
Row 3: Ch 1, sc in each st across, turn.
Row 4: Ch 2, FPdc around first st from 2 rows below (note that the corresponding st from row 3 would be skipped, *dc in next st from a row below, FPdc around next st from 2 rows below, rep from * across, turn.
Row 5: Ch 1, sc in each st across, turn.
Row 6: Ch 2, *dc in first st from one row below, *FPdc around the first dc from 2 rows below, dc in next st from one row below, repeat from * across, turn.
Make sure to alternate the FPdc with the dc; that’s all that rows 3 and 6 are all about.
Also, note that FPdc is always made around double crochets from 2 rows below!!
Crochet alpine stitch in rounds
Alpine stitch in rounds is not so common, but this method creates a beautiful texture, just as when made in rows.
When crocheting the alpine stitch in rounds, you only repeat 2 rounds, unlike when you repeat 4 sets when crocheting in rows.
Projects that can be made using alpine stitch in rounds include crochet beanies, cowls, bags, and even pouches
You need an even number of stitches when crocheting in rounds.
How to crochet the alpine stitch in rounds
Chain an even number of chains
Round 1: Ch 2, dc in each of the chains around, join with a sl st to the top of the beginning chain.
Round 2: Ch 2, *FPdc into the first stitch, dc into the next, repeat from * until the end of the round, and join with a sl st to the top of the beginning chain.
Round 3: Ch 1, sc into each stitch until the end of the round, and join with a sl st to the top of the beginning chain.
Round 4: Ch 2, *dc into next st, FPdc around next dc made in round 2 (2 Rows below), repeat from * to end of the round, join with a sl st to the top of beginning chain
Alternate rounds 3 and 4
Other variations of crochet alpine stitch
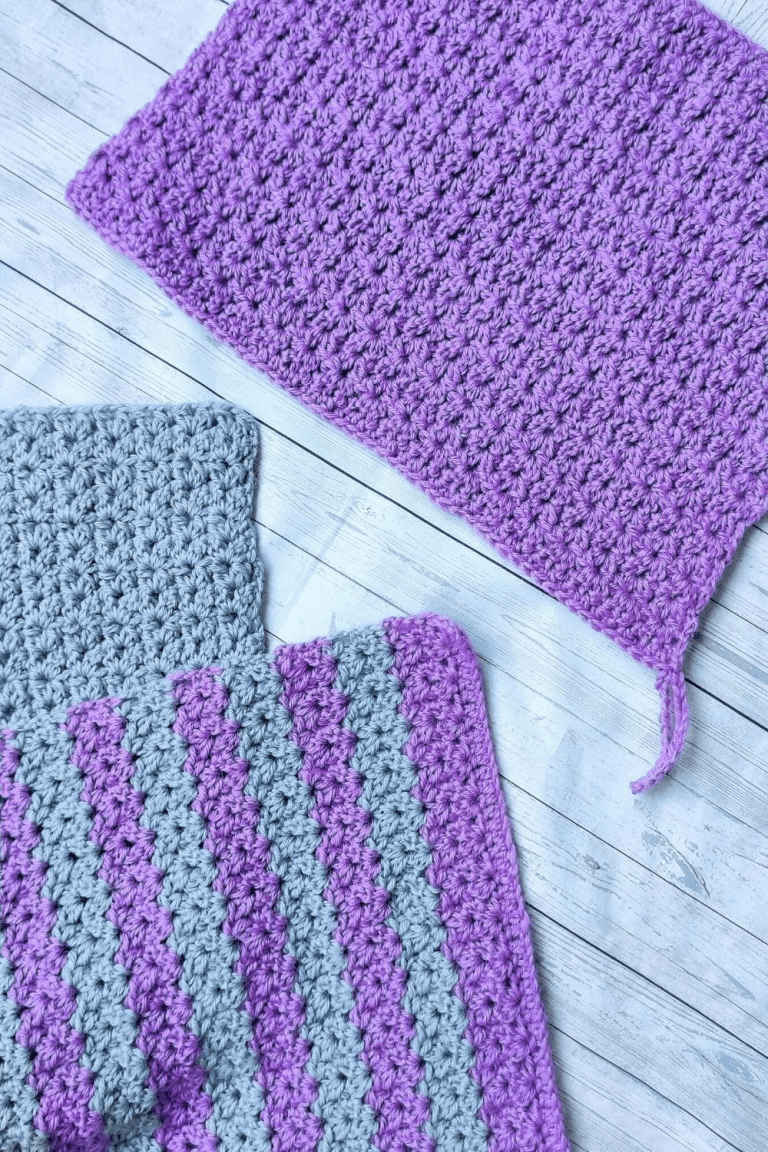
Do you know you can crochet alpine stitch using more than one color? I love this. Switching to more colors creates a seemingly different look while retaining its beautiful texture.
You would need at least two colors to use multiple colors for your alpine stitch project. Make your single crochets in a color, and the post stitches together with the double crochets in the second color.
This creates a beautiful color palette and a unique look.
I would love to see what you make using the alpine stitch. Be on the lookout for a blanket using the 2 colors and a video tutorial in a few days!
Xoxo,
Susanna.