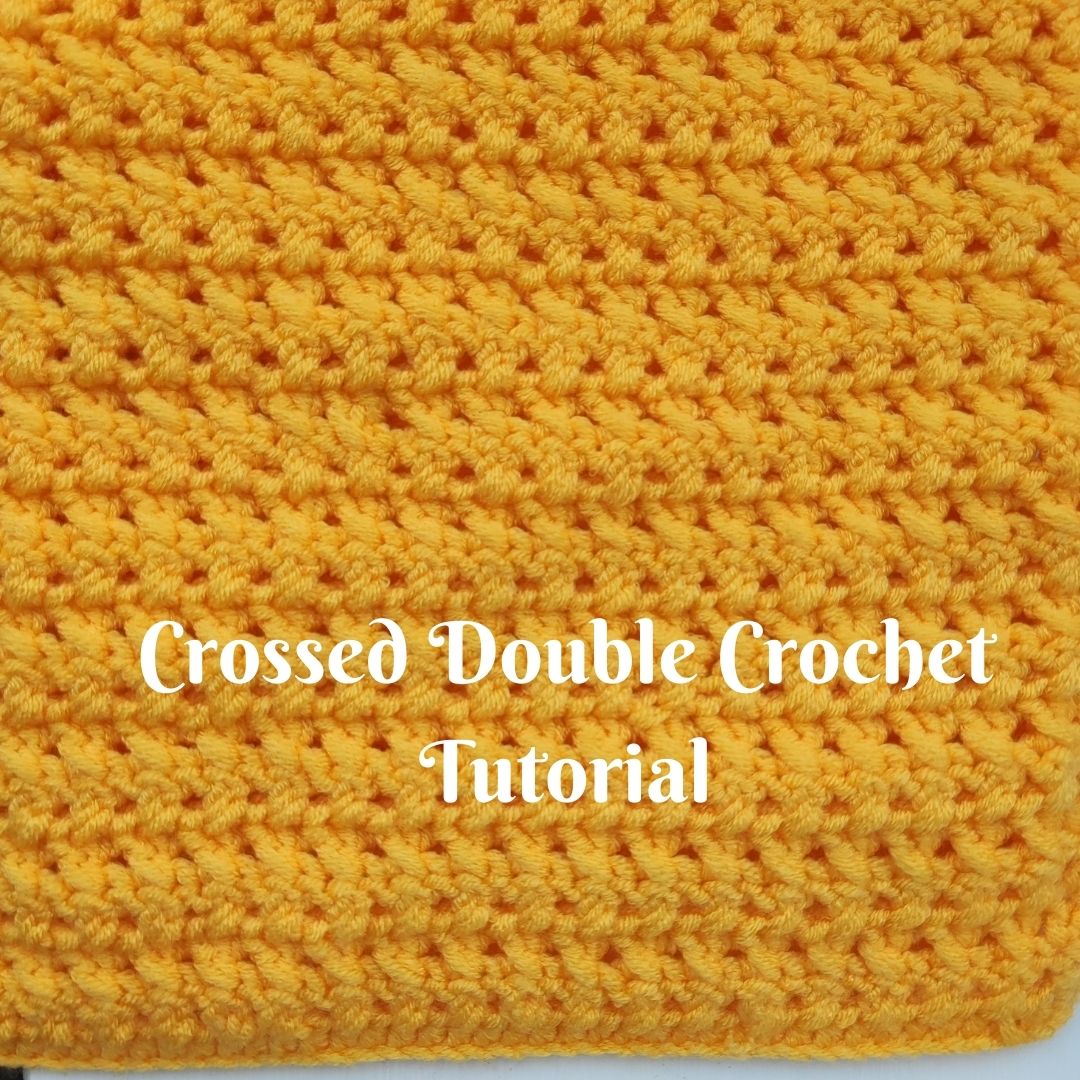
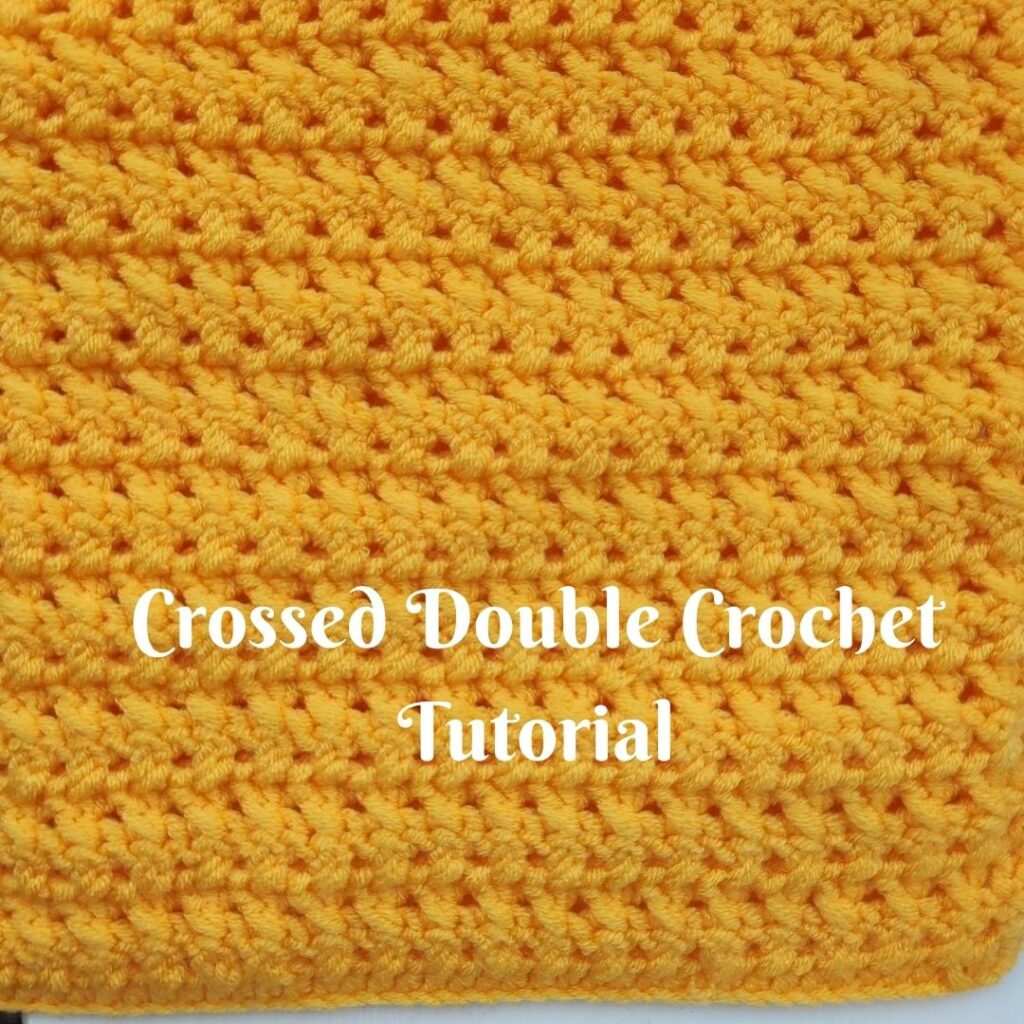
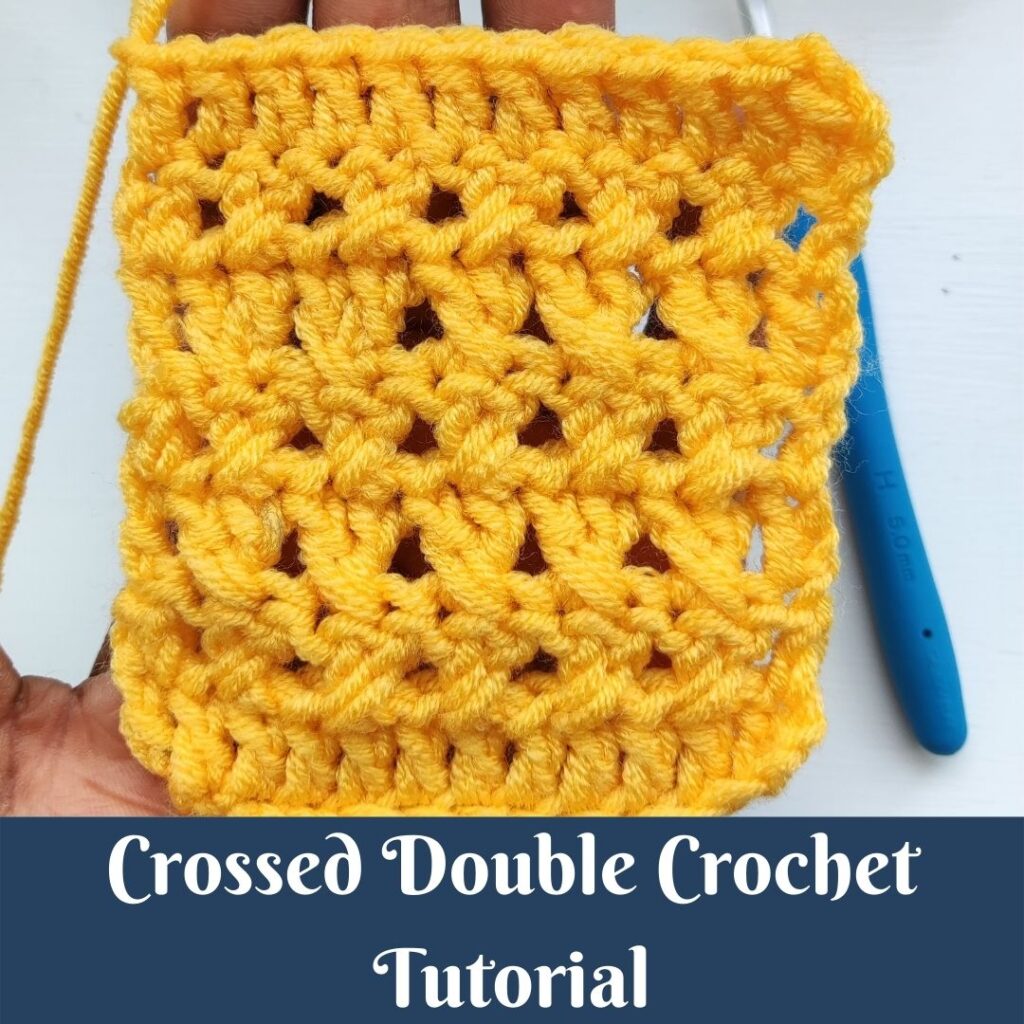
How to crochet the Crossed Double Crochet
The crossed double crochet stitch is one of the simple crochet stitches with a beautiful and crossed texture to it.
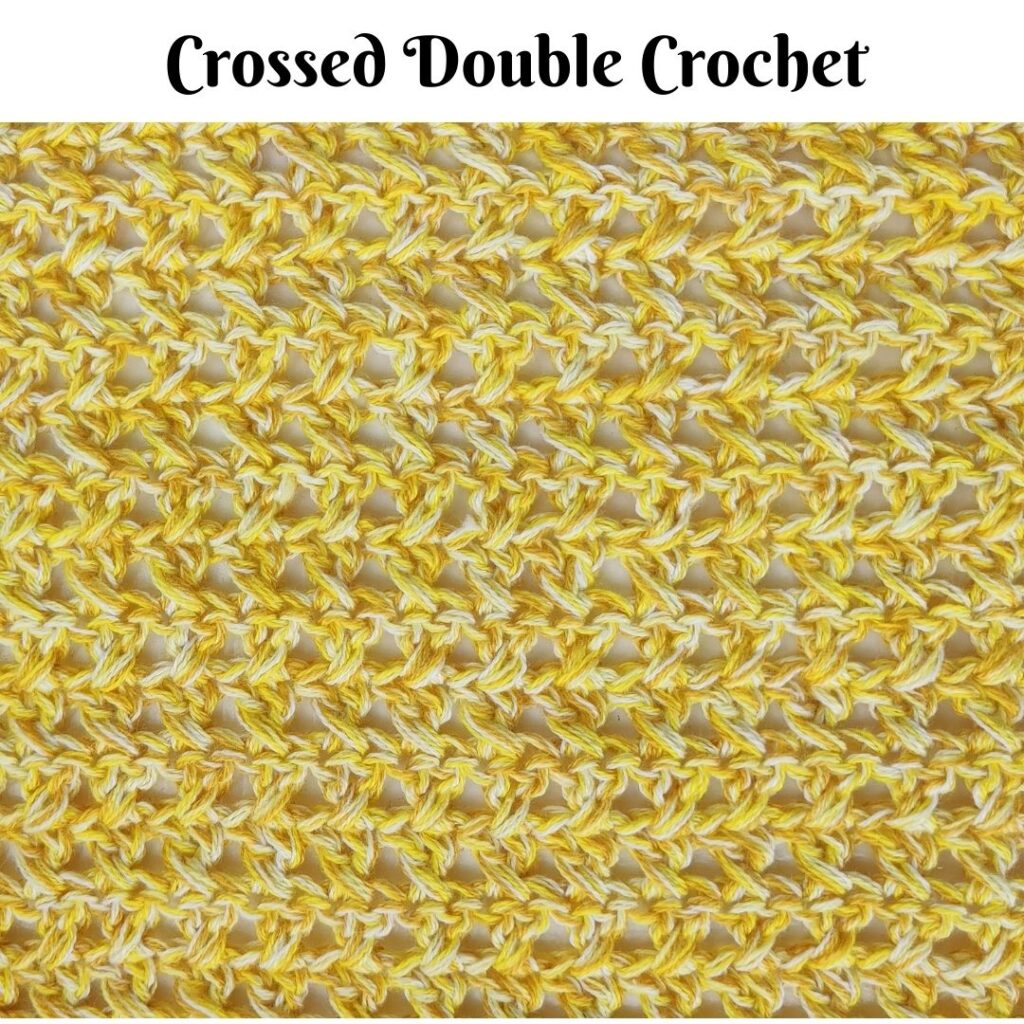
This beautiful stitch can be made using any weight of yarn and a matching hook. I have discovered that when you want an open, lace-looking stitch you can do one or all of the followings.
- Use a lightweight yarn instead.
- Go up one or more hook sizes than what the yarn/pattern calls for.
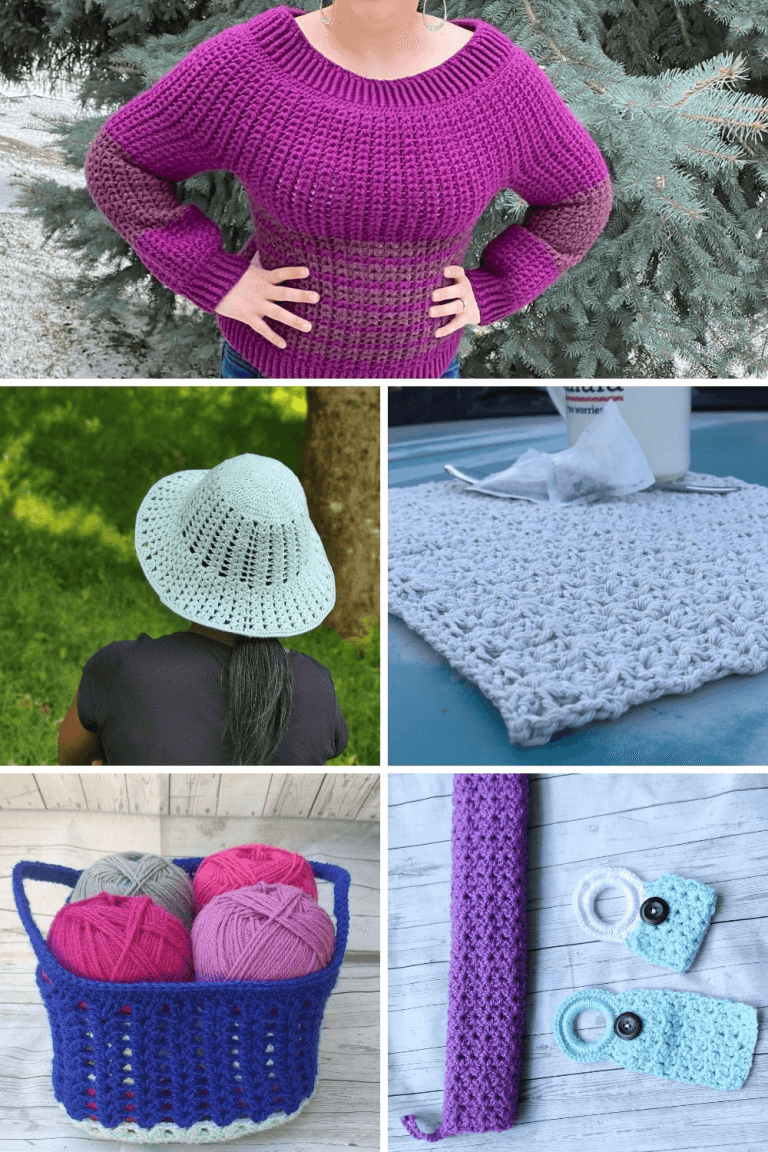
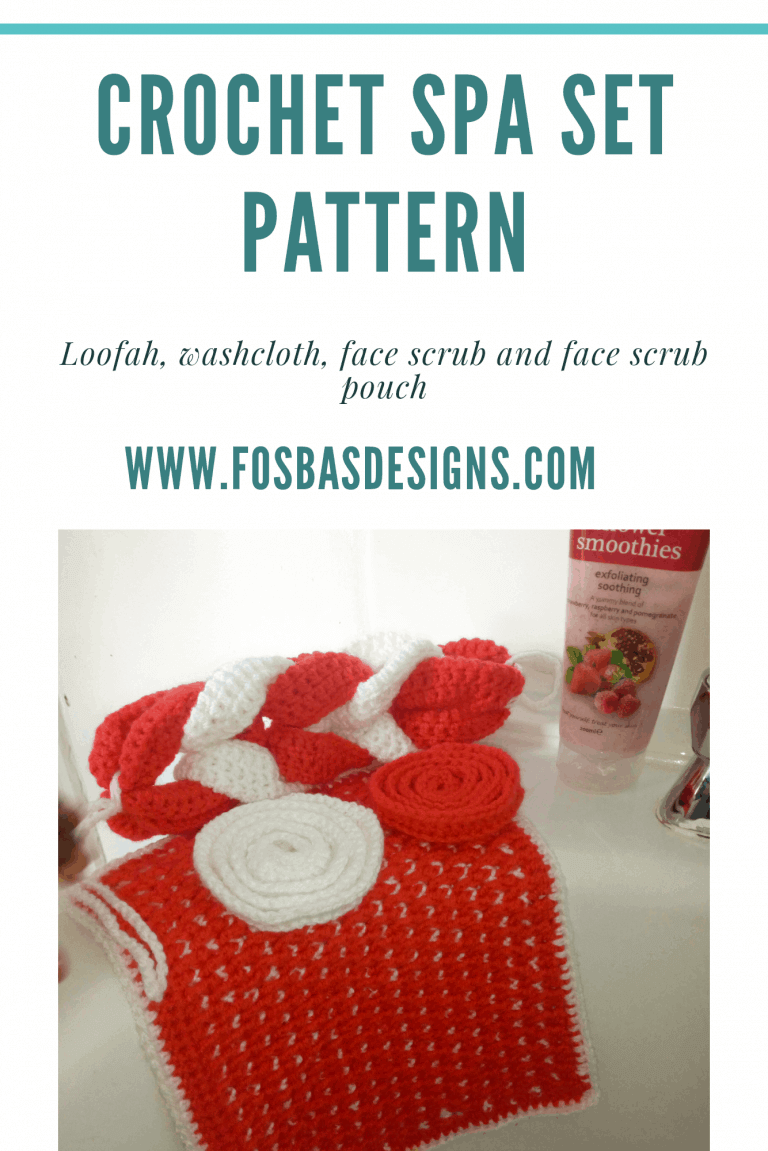
Project ideas that can be made using the crossed double crochet
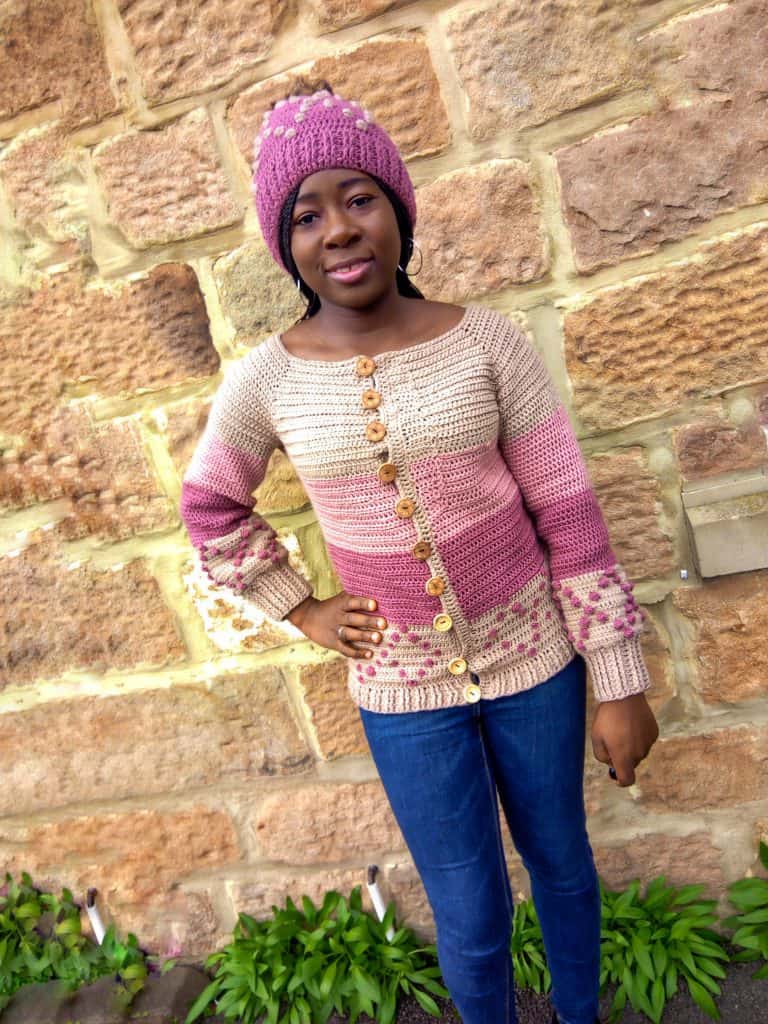
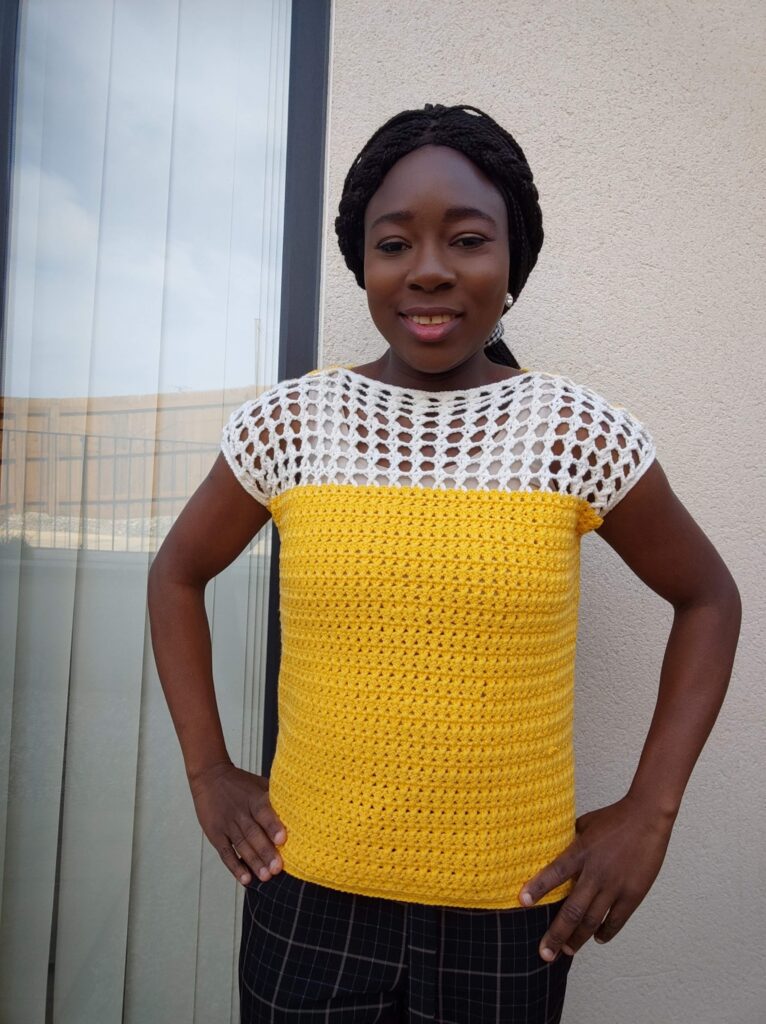
You can practically make any crochet project using this stitch. The list is endless. Almost all crochet projects that can be made using double crochet can be made using this stitch. These range from – crochet blankets, beanies, scarfs, tops, and cardigans.
The honeycombed lace top is designed with the stitch.
How easy is the crossed double crochet stitch?
This is a beginner-friendly crochet stitch. For anyone that can crochet the double crochet stitch, this stitch would not be too difficult to make. The crossed double crochet stitch is mainly just like when you make the double crochet.
The only difference is that you skip a stitch and crochet into the next stitch, after which you crochet into the skipped stitch, making a beautiful “X” look.
Crossed Double Crochet – How to make it
I love the look of this stitch. It makes beautiful lace as opposed to making just double crochets. For the purpose of this tutorial, crossed double crochet is abbreviated as (cdc).
This stitch is made over 2 stitches. This means that you need an even number of stitches when making your foundation chains.
The first leg of double crochet is made after skipping a stitch. The second leg is then crocheted into the skipped stitch to create the “X” look. Hence the name crossed, as the two double crochets actually cross over each other.
Crossed double crochet (cdc) = skip next st, dc in next st, crocheting over the dc just made into the skipped st, yarn over, insert hook into skipped stitch and yarn over (3 loops on the hook), yarn over, pull through 2 loops, yarn over, pull through the remaining 2 loops.
Materials needed
Yarn – Any weight of yarn can be used for this beautiful stitch
Hook – corresponding to the yarn selected
Scissors.
Here is a video tutorial to help you make your own version of crossed double crochet.
Stitch abbreviations
Chain – ch
Stitch – st
Double crochet – dc
crossed double crochet – cdc (also referred to as xdc)
Instructions on how to make the crossed double crochet
Chain an even number of stitches
Step 1: Double crochet in the 3rd chain from the hook and in the remaining chains, turn.
Step 2: Ch 2 (does not count as a stitch, here and throughout), yarn over, insert hook into the first stitch, pull up a loop (3 loops on hook), yarn over, pull up the first 2 loops, yarn over, pull up a loop through the remaining loops on your hook (first dc made).
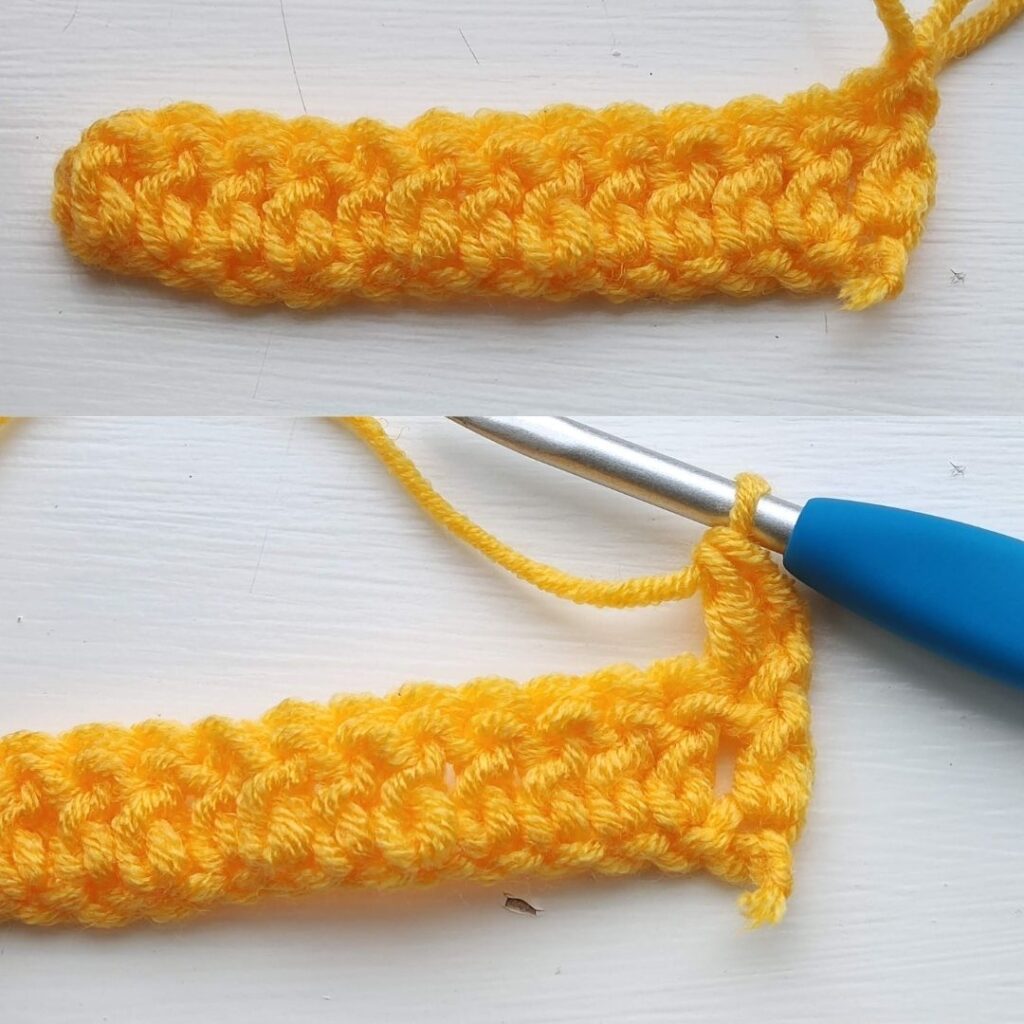
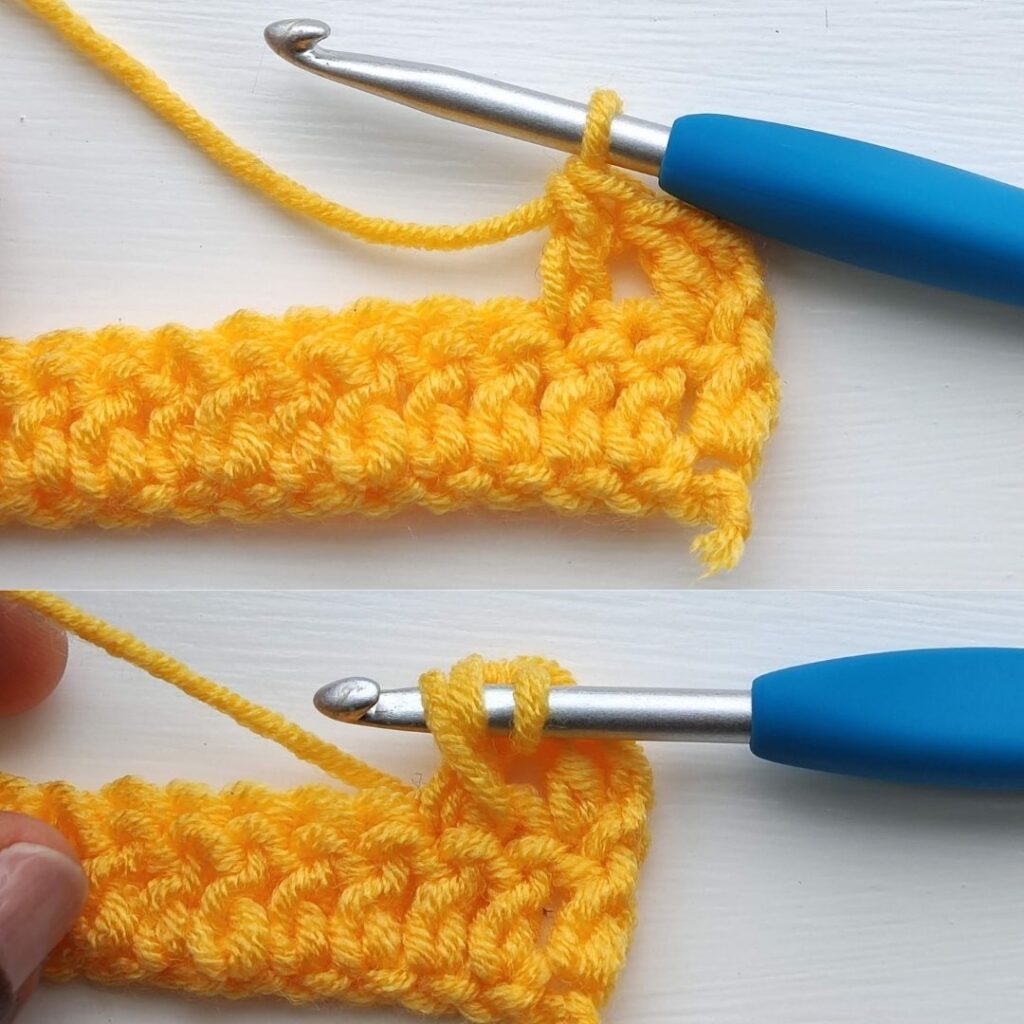
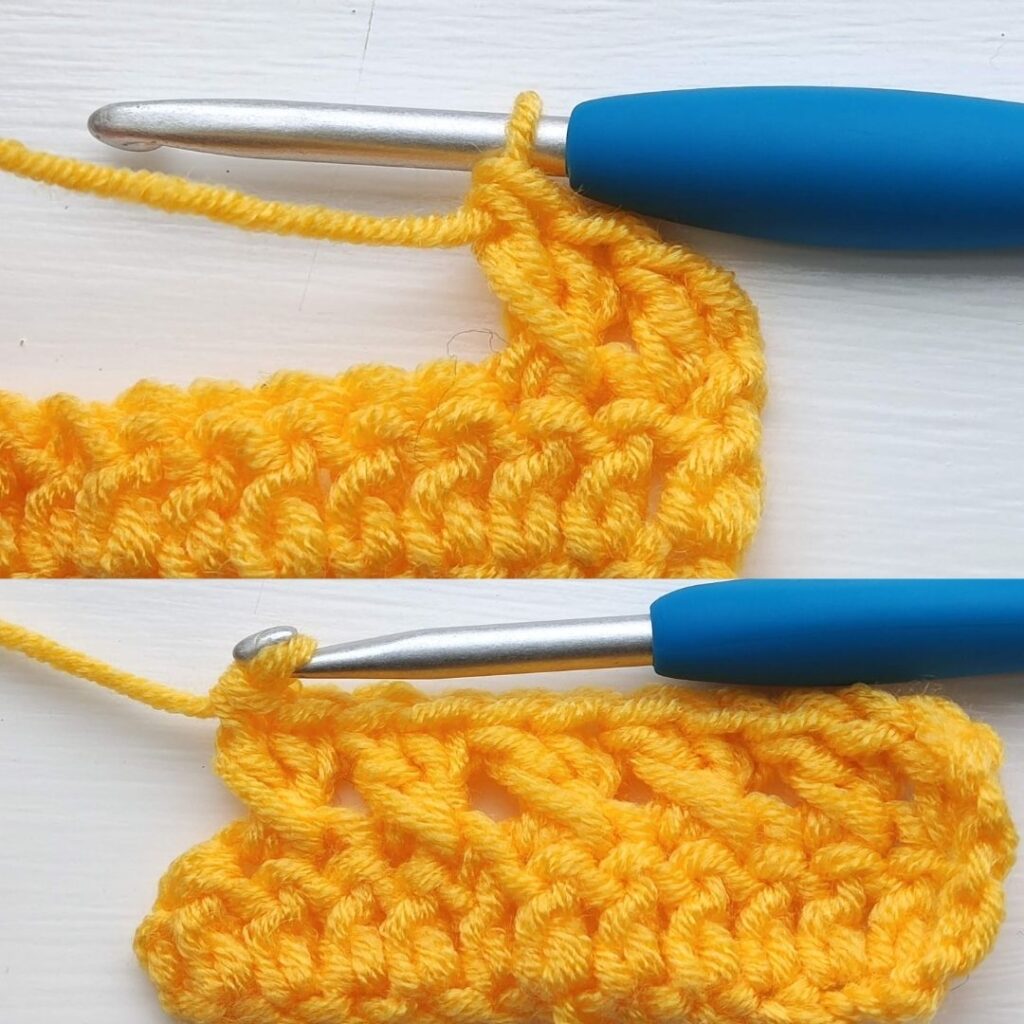
Step 3: Skip next st, dc in next stitch
Step 4: Crocheting over the dc just made into the skipped st, insert hook into the skipped stitch, pull up a loop (3 loops on hook), yarn over, pull up the first 2 loops, yarn over, pull up a loop through the remaining loops on your hook (crossed dc completed).
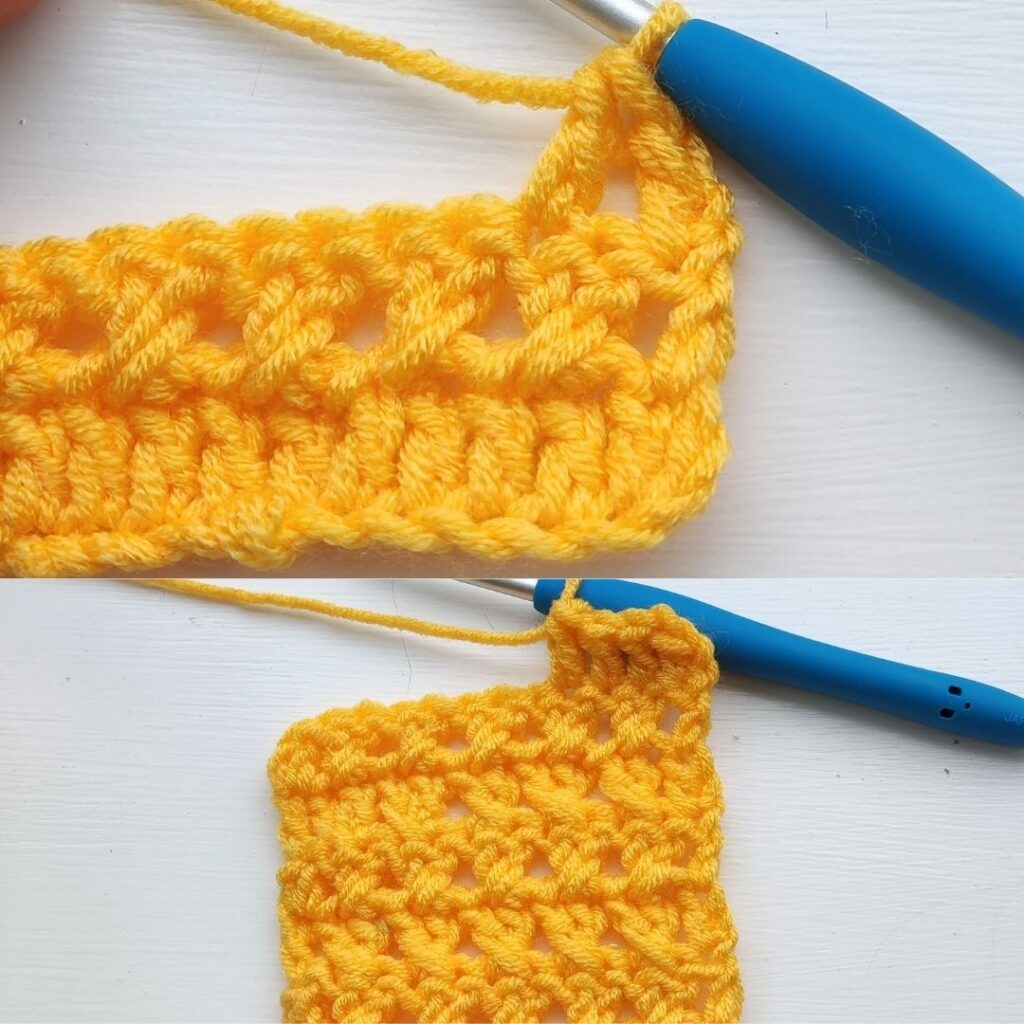
Step 5: Repeat step 2, step 3, and step 4 until you get to the last st.
Step 6: dc in the last stitch.
The first row of crossed double crochet was made.
The above steps can be repeated until you get your desired number of rows.
Crossed double crochet with photos tutorials
Chain an even number of stitches
Row 1: Dc in 3rd chain from hook, and in each chain across, turn.
Row 2: Ch 2, dc in first st, cdc across until last st, dc in last st, turn.
Row 3: Ch 2, dc in first st, cdc across until last st, dc in last st, turn.
Repeat row 3 until you have your desired number of rows or length.
Optional – You can make a border by crocheting a row of half double crochet to make the panel similar to the start.
Optional – Block your design.
I hope you love this simple tutorial?
What projects would you be making with this stitch?