
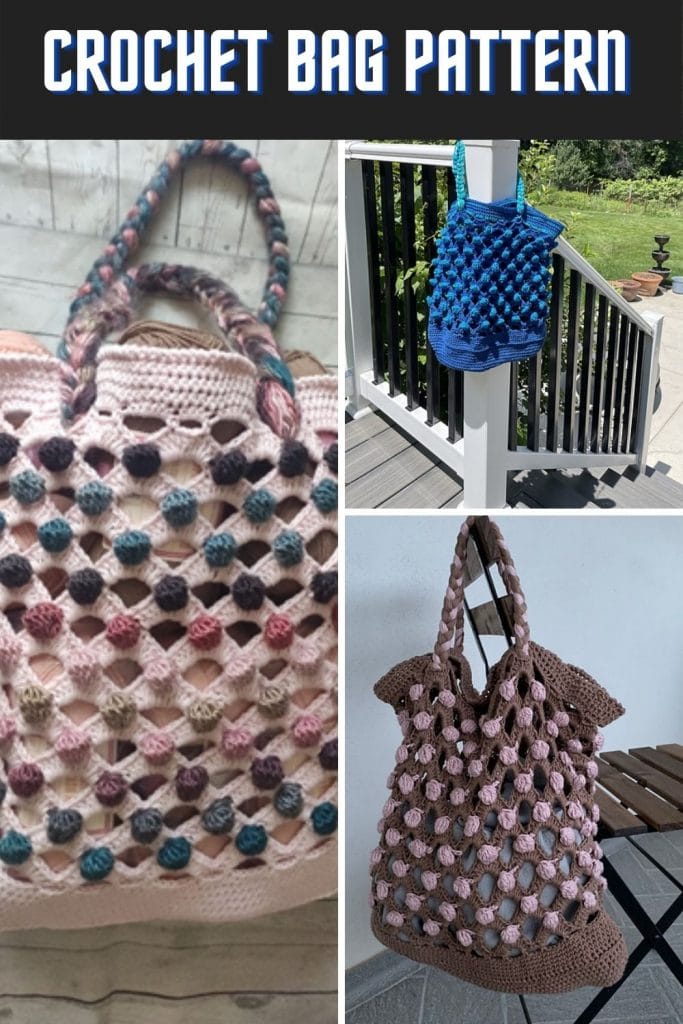
Chunky Crochet Bag Pattern
A few months ago, I came up with this cute, chunky crochet bag pattern for my plenty of crochet work in progress (WIP) that I need to carry along while leaving the house.
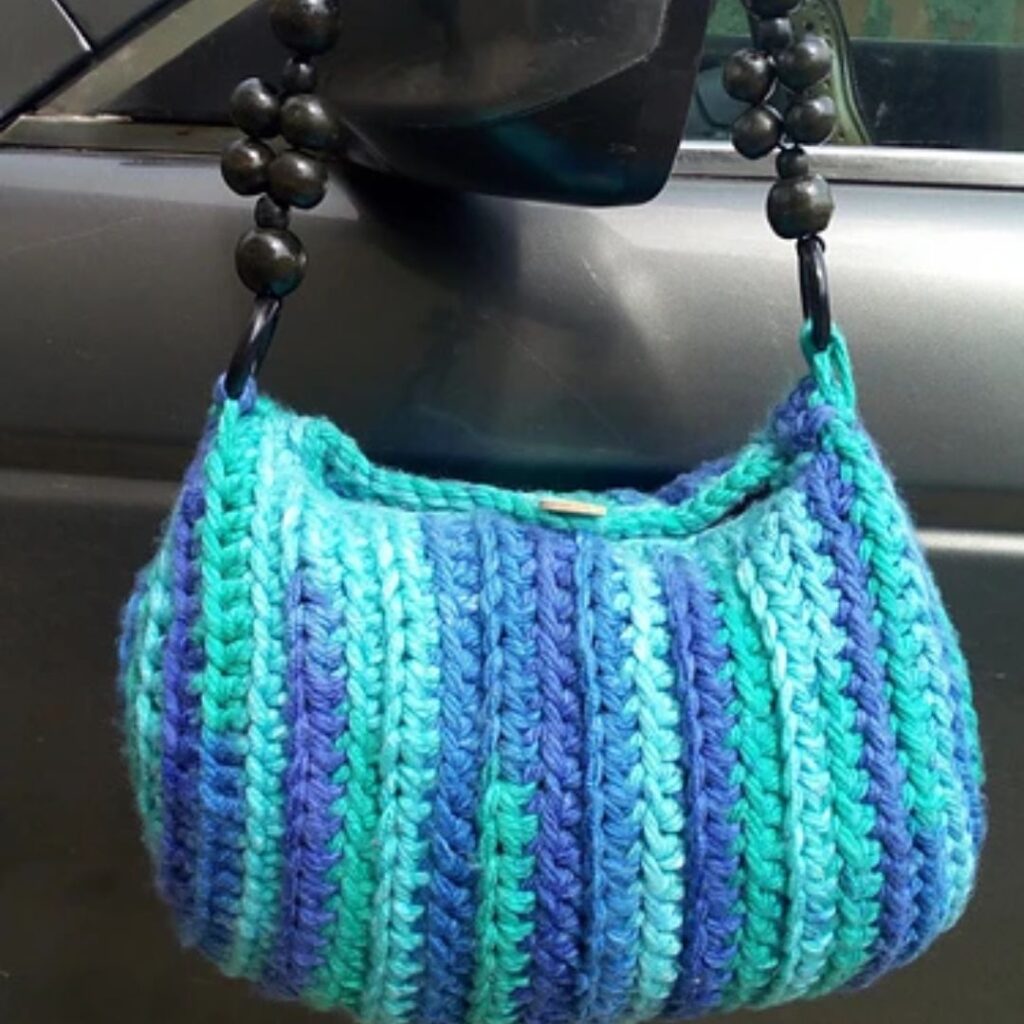
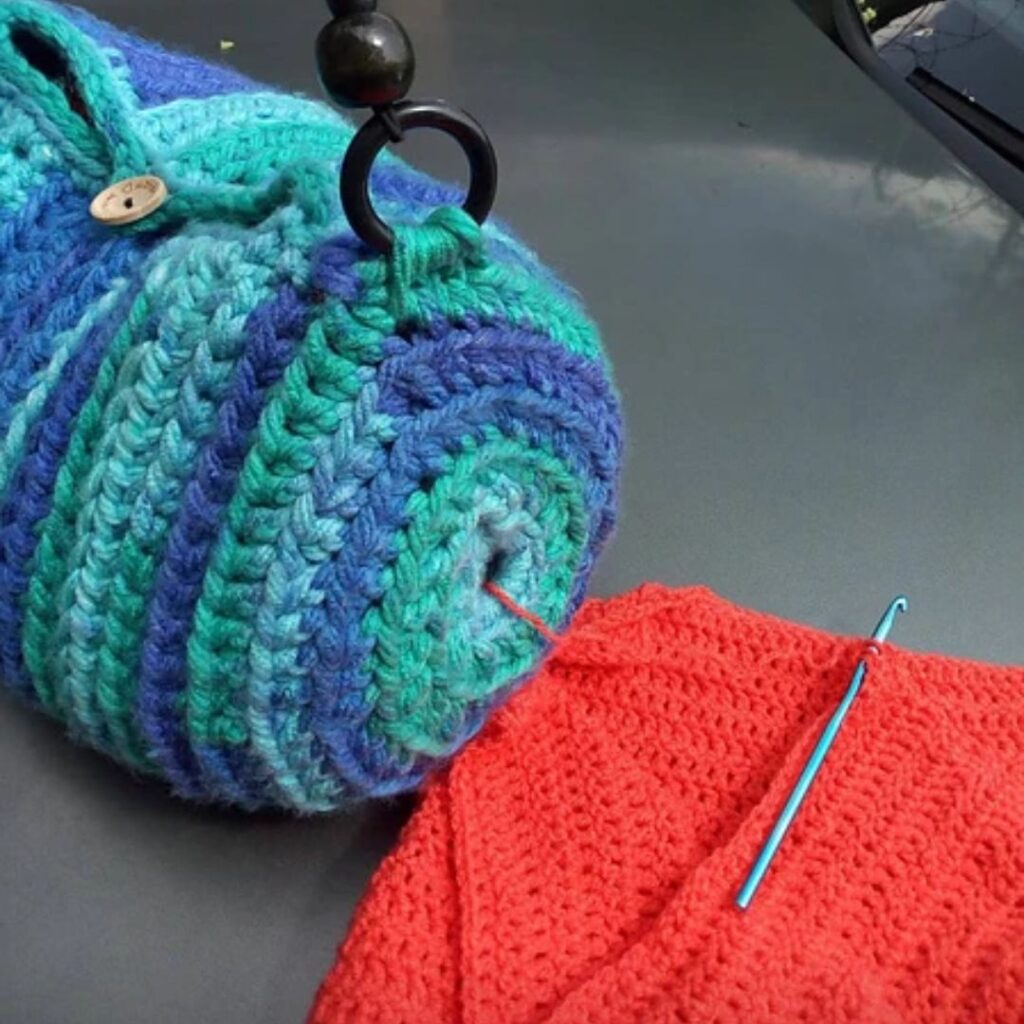
It has been a lifesaver since then. I added a twist, to allow me to have my yarn come out from the bag while my yarn is still inside the bag! I think this is genius of me, what do you think?
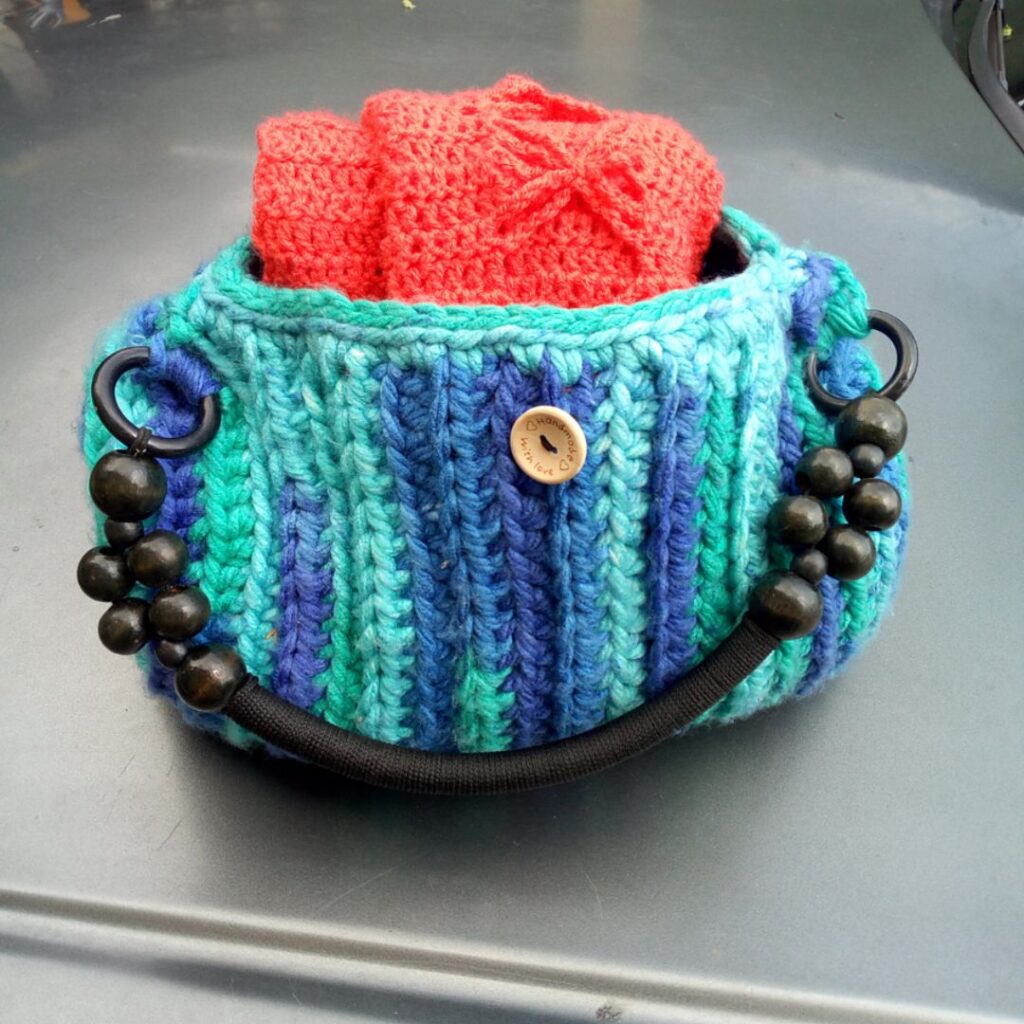
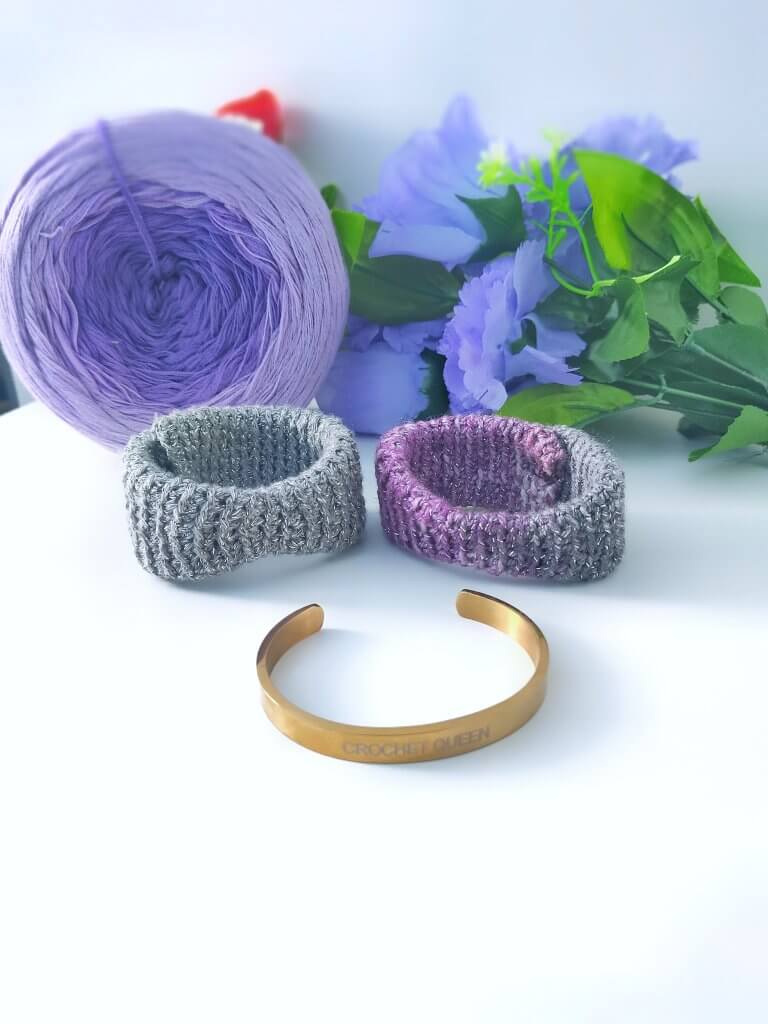
The picture below shows the little opening by the sides, where I have my yarn easily accessible without my skeins/balls getting out of the bag. Sure, every crocheter needs this chunky bag in their collection.
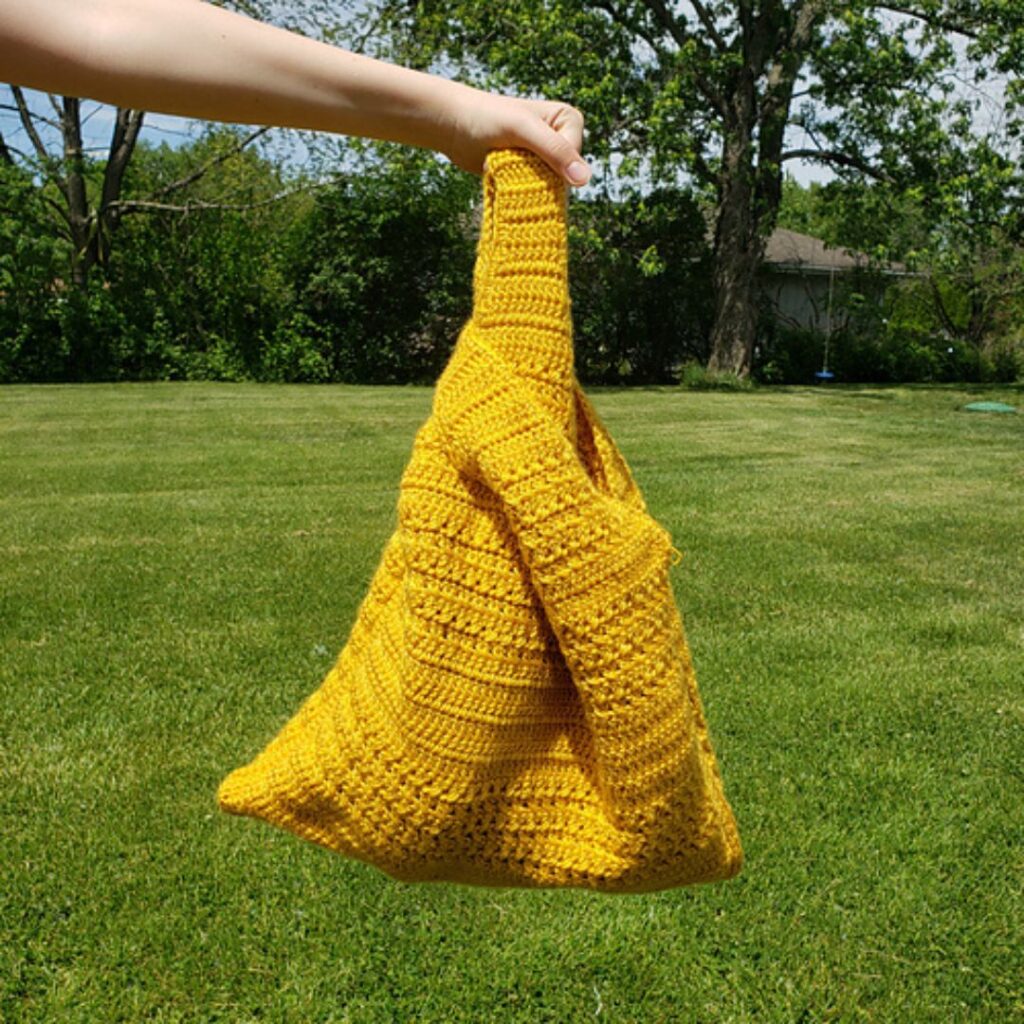
Another thing that makes this chunky crochet bag pattern unique is that the pattern works up so fast as it uses a super chunky yarn and a size 8.00 mm hook
The chunky crochet bag pattern is available as a free tutorial, scroll down for the instruction. You can get the ad-free version on either Etsy or Ravelry using the buttons below.


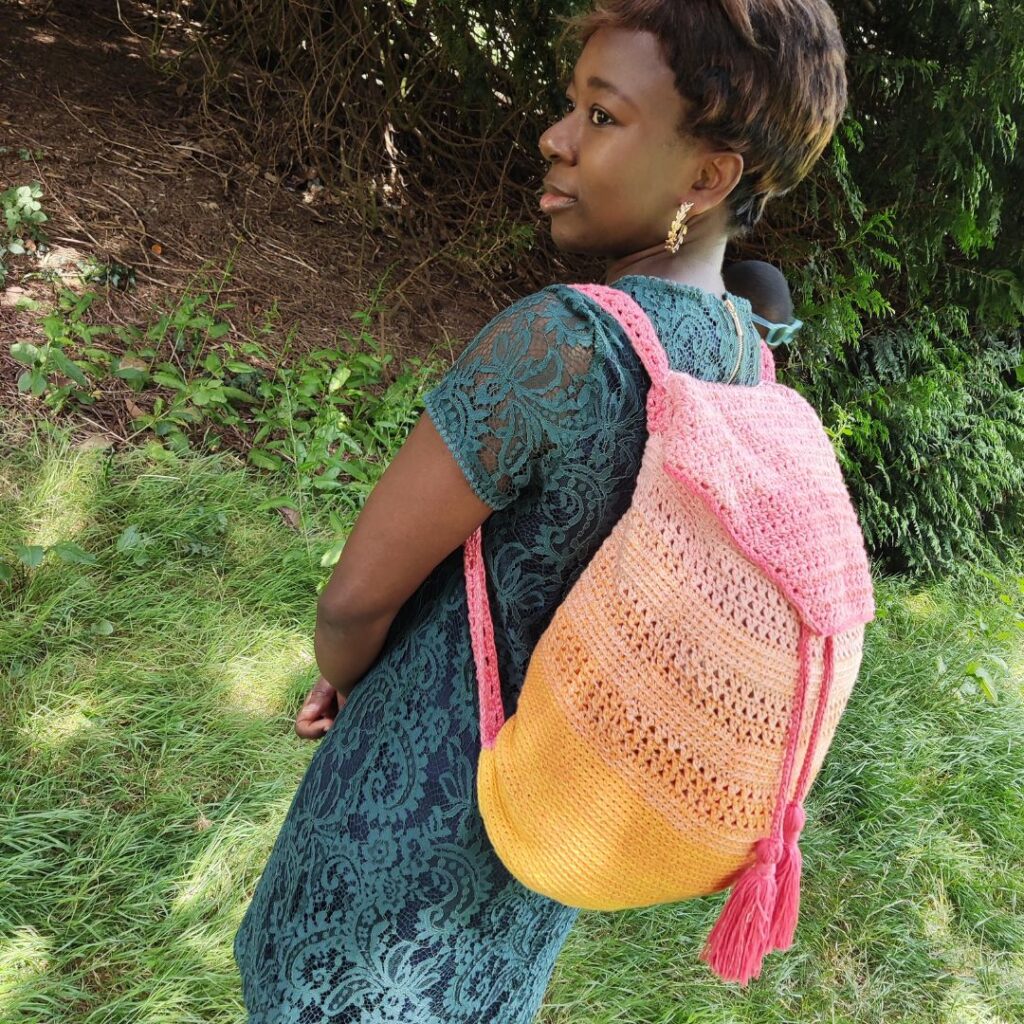
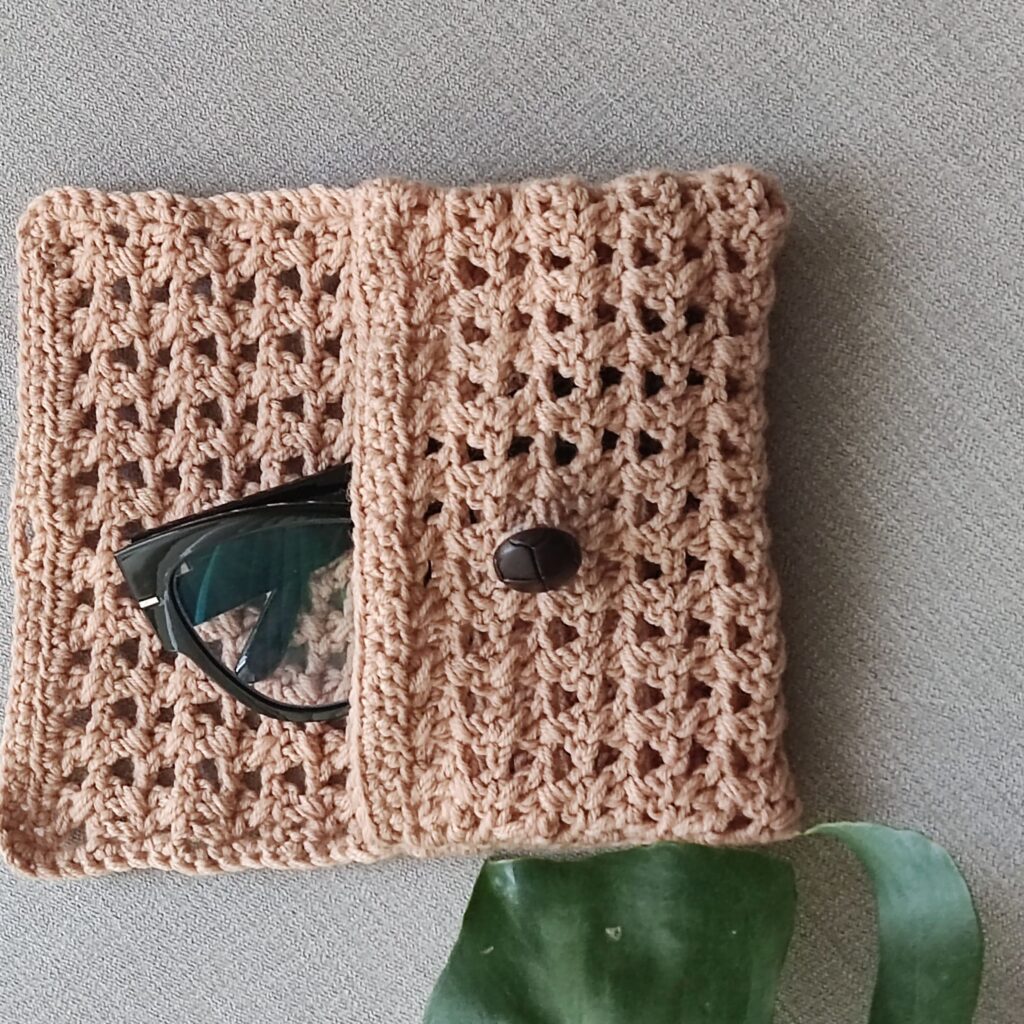
Oher crochet bags on the blog to check out are Crochet Japanese Knot Bag, Crochet Beach Bag, Crochet Roo Backpack Pattern, and easy eyeglasses pouch pattern
Materials for this easy chunky crochet bag pattern
Yarn – Any bulky weight yarn is ideal for this chunky crochet bag pattern. The prototype was made using Cygnet Seriously Chunky (52 yards/ 48 meters per 100 g/3.5 oz)
(3) in Toucan
Gauge – 8 hdc over 4 rows makes 3” by 3”
Hook – Size 8.00 mm hook for the body, size 6.5 mm for the handle.
If you love this pattern, you might also love these;
2. Real Bobble Beanie Pattern.

Other materials needed for this chunky crochet bag pattern
- Stitch markers
- Yarn needle
- Scissors
- Bag handle
- Metal hooks/claps (or key rings)
Stitch Abbreviations
- Chains – ch(s)
- Single crochet – sc
- Half double crochet – Hdc
- Back loop only – BLO
- Front loop only – FLO
- Slip stitch – sl st
- Fasten off – FO
Finished dimensions of this chunky crochet bag: 12” (width) by 9” (height)
Height excludes the handle
Difficulty – Easy
Get the PDF Pattern on Ravelry or on ESTY
Chunky crochet bag pattern notes
- Chains at the beginning of the row count as a stitch
- Both sides are worked in BLO, while the body of the bag is made using FLO and BLO.
- Pattern construction – starts with a side in rounds, the body is then worked by turning after each row, and finally, the other side is made.
- Do not join after the rounds/rows, except where stated. Simply move the stitch marker at the end of each round
- The handle can be made as instructed using yarn or sewing in a pre-made handle

Crochet chunky bag pattern
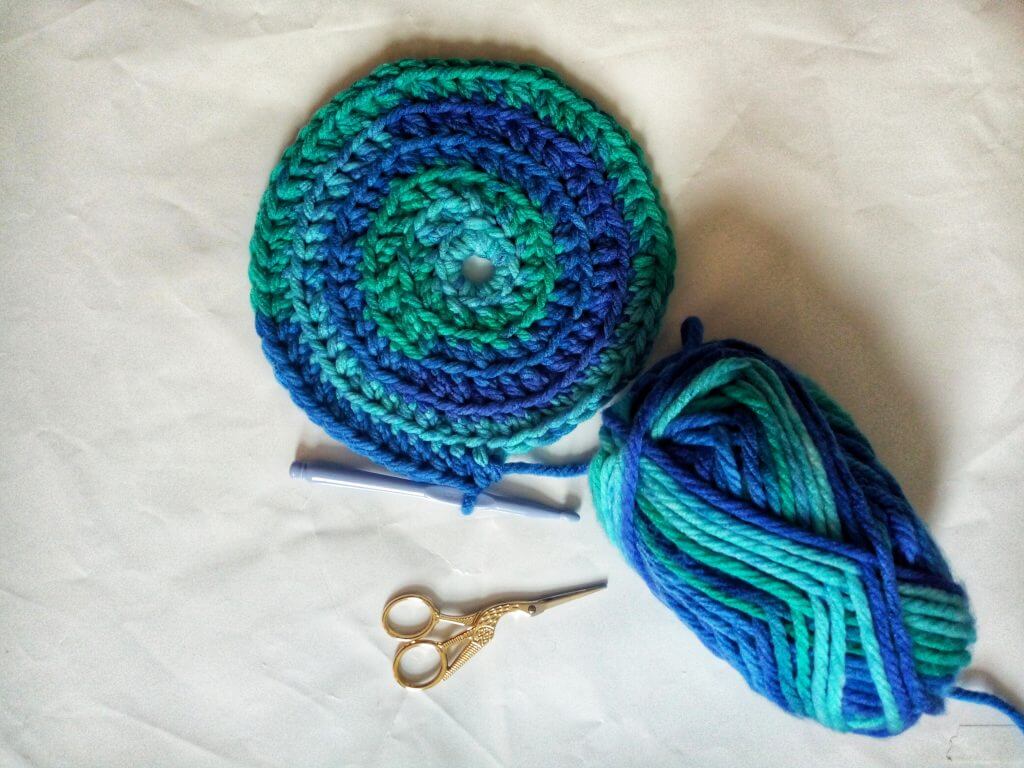
First side –
Row 1: Ch 4, join to form a ring (there would be a little opening) 10 hdc into the ring (10 hdc)
Row 2: Working in BLO, 2 hdc in each st across (20 hdc)
Row 3: *2 hdc, hdc in next st, repeat from * to the end of the round (30 hdc)
Row 4: *2 hdc, hdc in next 2 sts, repeat from * to the end of the round (40 hdc)
Row 5: *2 hdc, hdc in next 3 sts, repeat from * to the end of the round (50 hdc)
Chunky Crochet Bag Pattern
Row 6: Hdc in each st across (50 hdc)
Row 7: Working in FLO, Ch 1, hdc in each st, turn
Row 8: Ch 1, working in BLO, hdc in each st, turn (50 hdc)
Body
Row 9 – 21 Repeat row 7 and 8 alternating
Second side
Working in a spiral without joining or turning, simply move the stitch marker with every row –
Round 22: Working in BLO, ch 2, hdc in each st (50 hdc)
Round 23: *Hdc in next 3 sts, hdc2tog, repeat from * to the end of the round (40 hdc)
Round 24: Hdc in each st across (40 hdc)
Round 25: *Hdc in next 2 sts, hdc2tog, repeat from * to the end of the round (30 hdc)
Round 26: Hdc in each st across (30 hdc)
Round 27: *Hdc, hdc2tog, repeat from * to the end of the round (20 hdc)
Round 28: Hdc2tog across (10 Hdc)
Fasten Off
Working on the bag opening
Join yarn with a sl st to the edge (corner), ch 1, sc in each edge across, join with a sl st to the first chain, do not Fasten off
Buttonhole
Ch 1, working through the BLO, sl st in next 12 sts, chain 5, skip next 2 sts, sl st in each of the remaining sts
Fasten off, sew in the edges
Get the PDF Pattern on ESTY or on RAVELRY
Sew in the button to the other side
Handle
Option 1 (if using yarn handle)
Using 6.5mm – chain 130, slip in 2 metal rings, join with a sl st to the first chain to form a ring.
Secure the metal rings by sewing them individually to the edge/corner of the bag
Option 2 (using a pre-made bag handle)
Sew in a ready-made handle to the sides of the bag.
I would love to see your makes, kindly tag me with your version of this easy Chunky crochet bag, made from my pattern!!!

3 Comments