Japanese knot bag crochet pattern
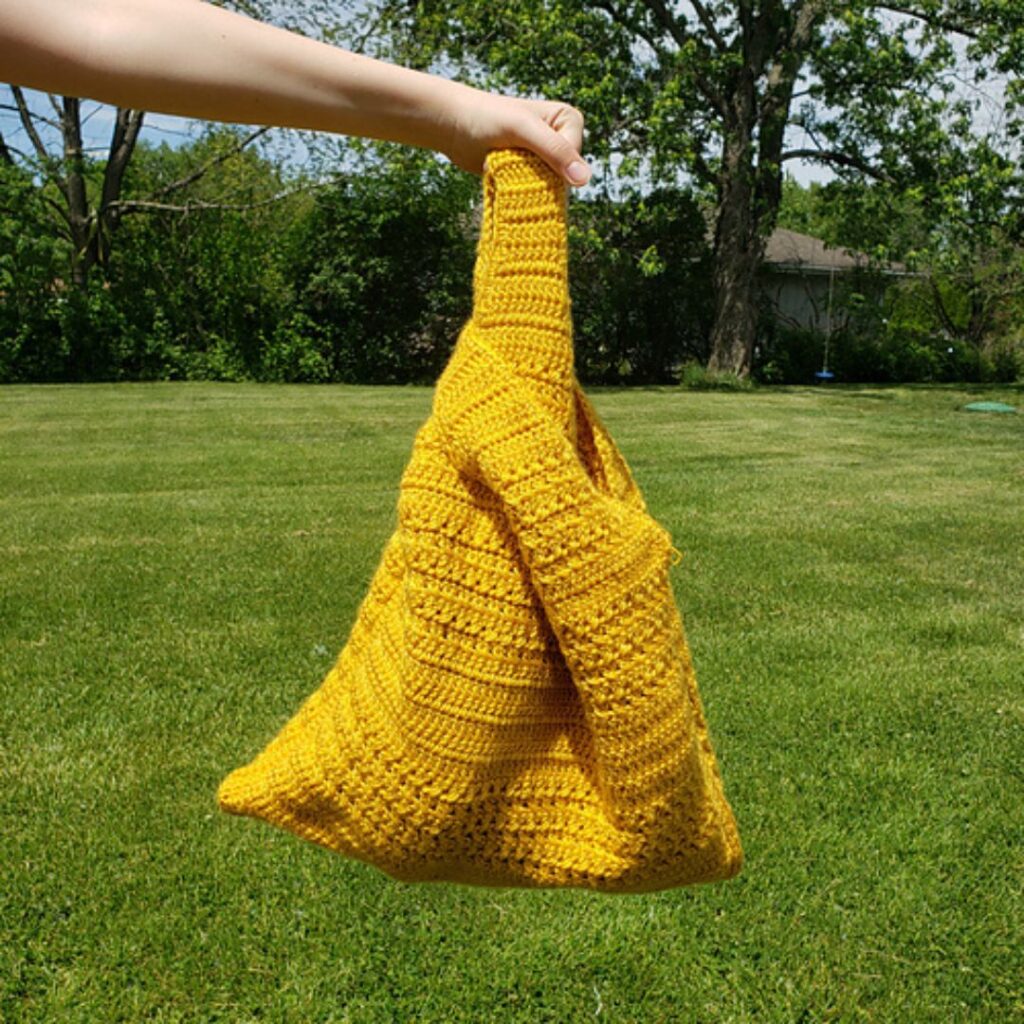
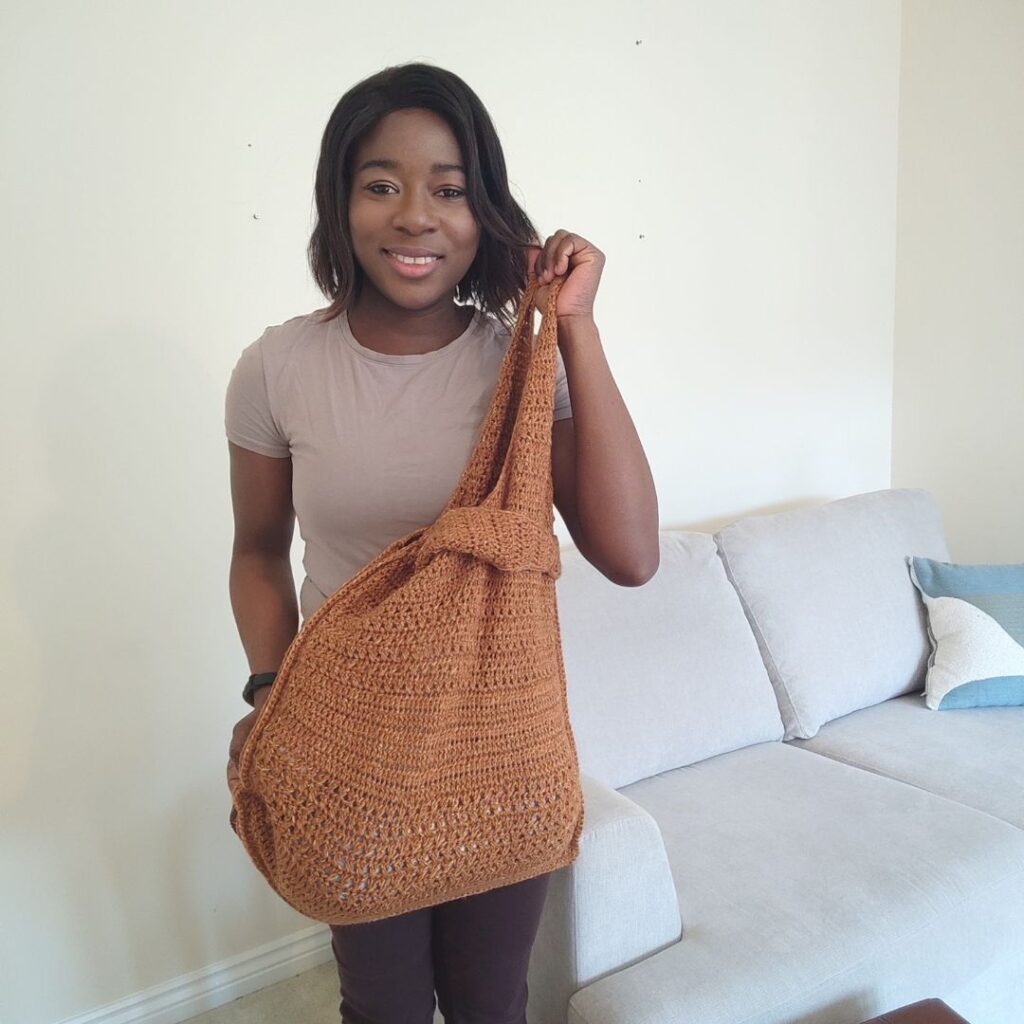
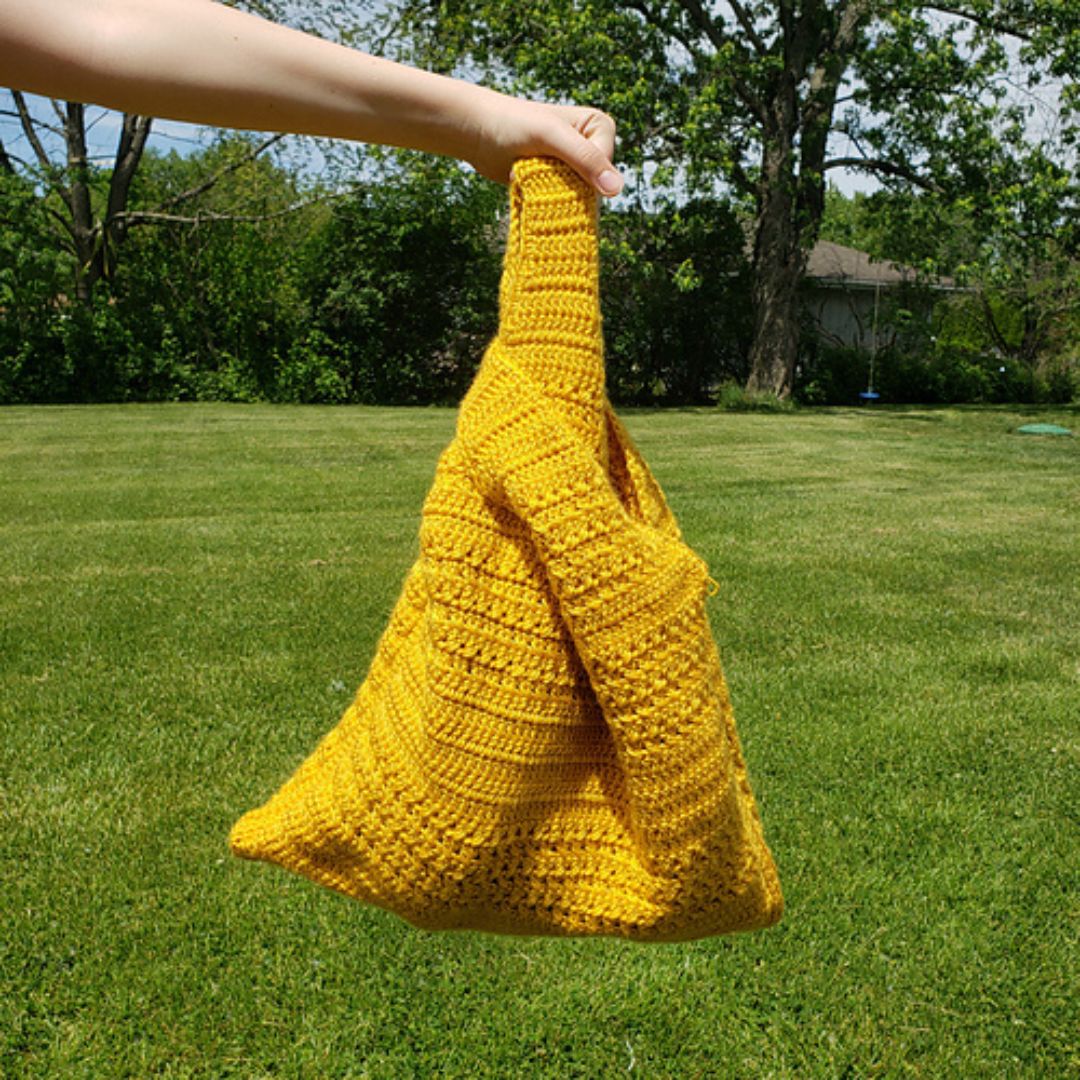
I am thrilled to share my version of the Japanese knot bag crochet pattern with you! This time, with a twist as this bag converts to a crochet top!
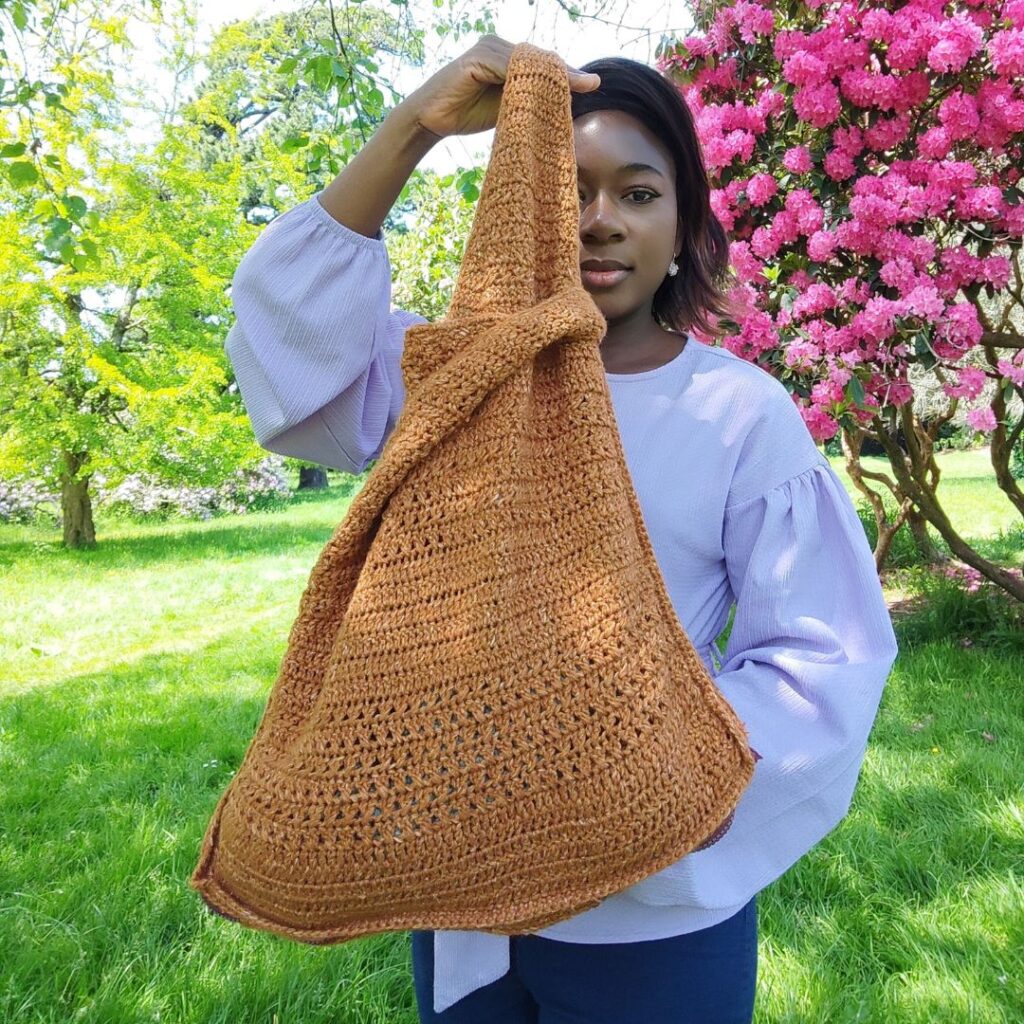
This crochet knot bag is made with a twist! The handles are of equal length but not too long and perfect when carried using just one handle.
The Japanese Knot crochet bag comes in 3 different sizes also! I made the biggest size and I love it.
Japanese Knot Bag Pattern Inspiration
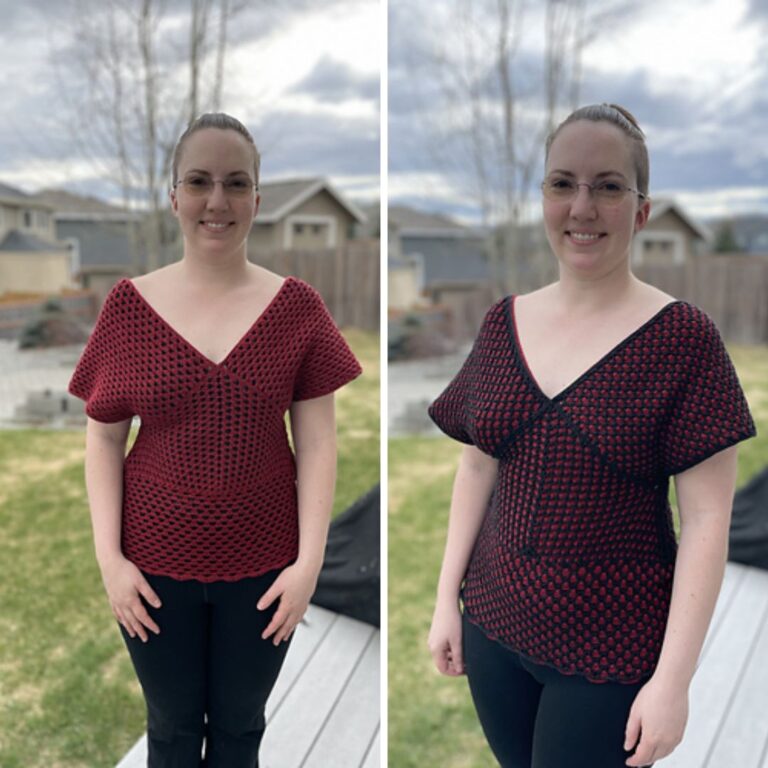
After designing the Tank in a bag, I knew it will be great to have this bag converts to a Top! Yes, your Japanese Knot Bag can be worn as a top!
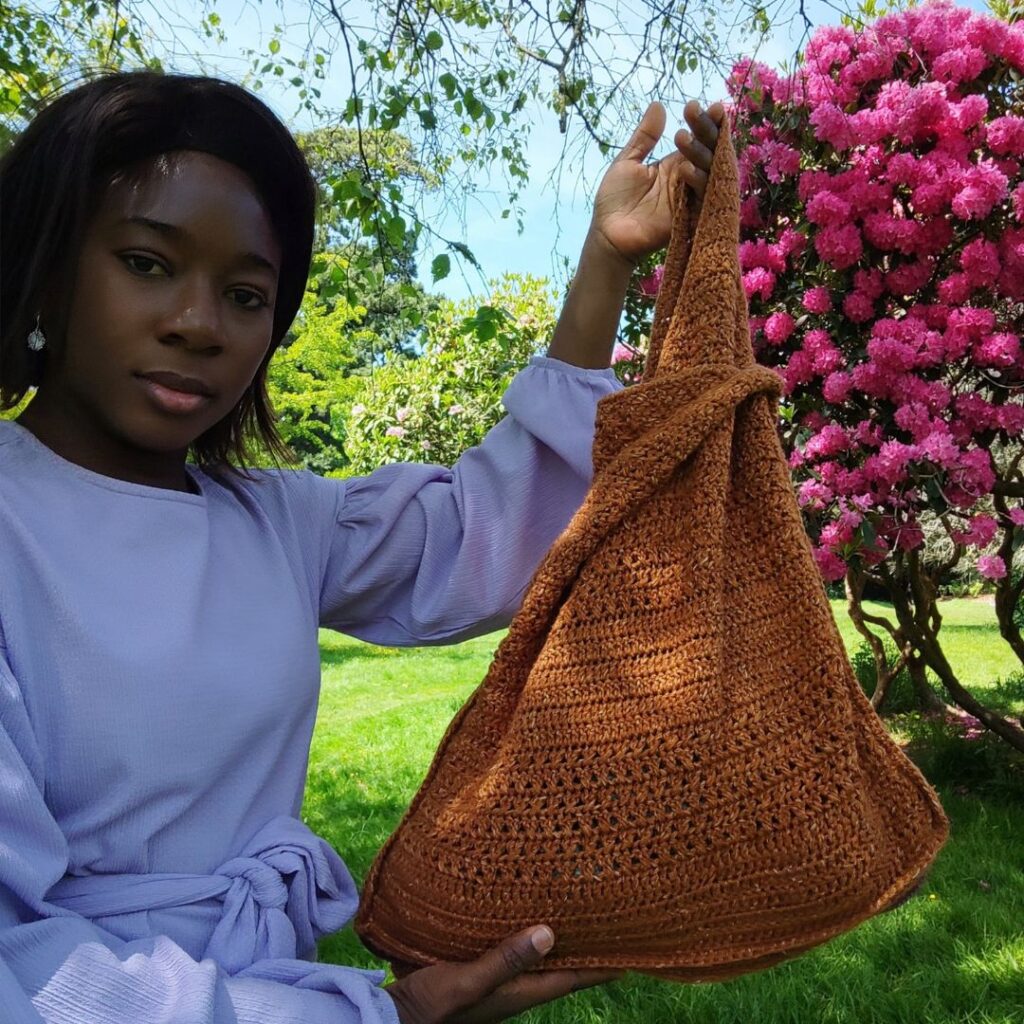
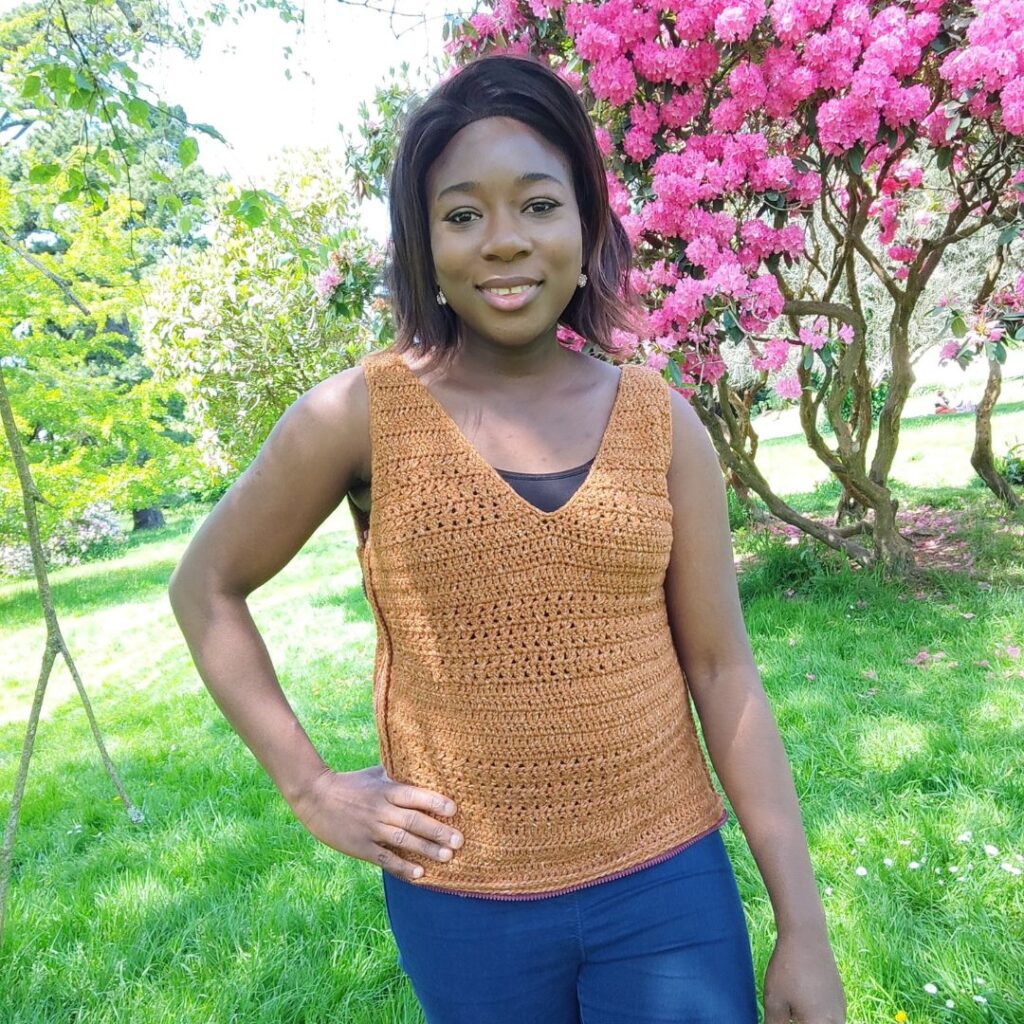
Same Bag worn as a Tank TOP! Check out the details for the top here
The Japanese Knot Bag is a free pattern, scroll down for the instruction. You can however get the ad-free version using the link below.

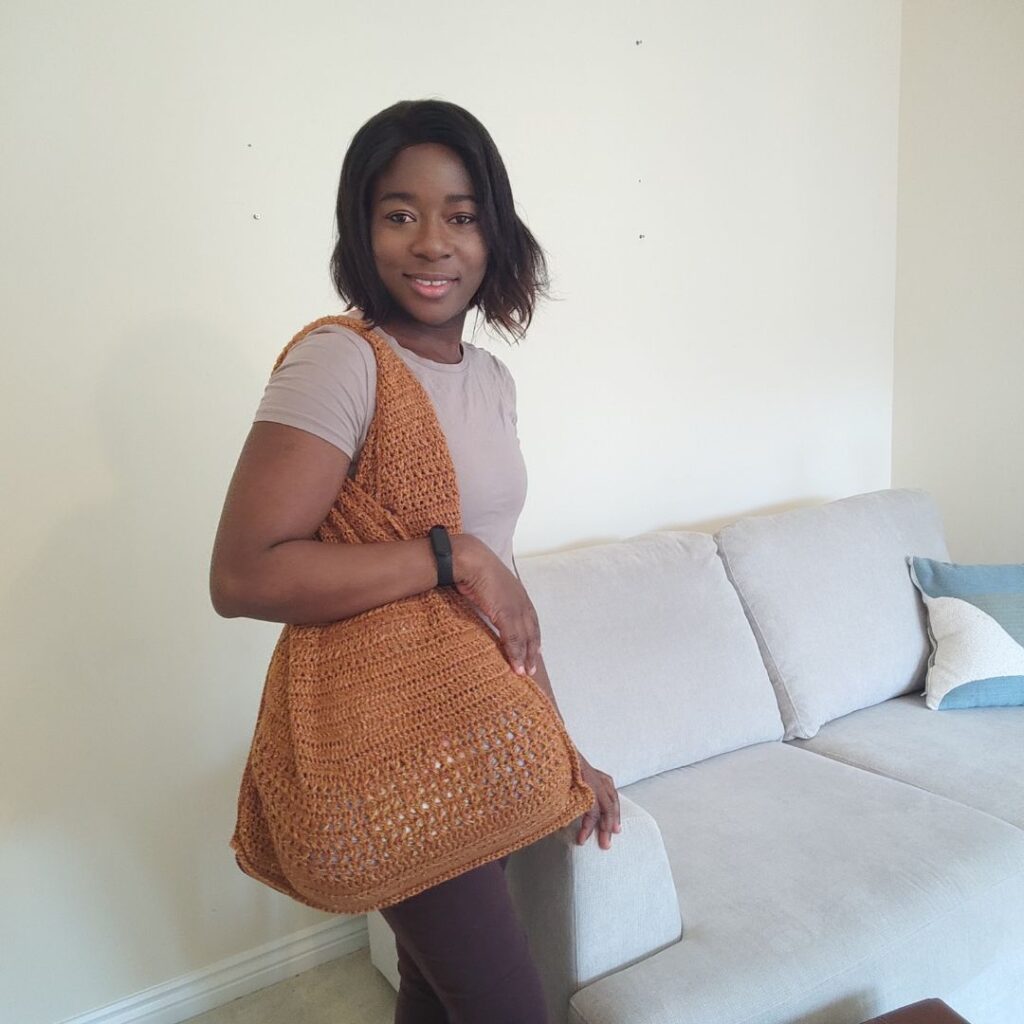
Tank Knot Bag pattern finished size
Size(s) – XS (S, M)
Japanese Knot Bag Measurement at the widest part: 30 (34, 38)”
Bag handle: 11 (12, 13)”
Length Bag: 18 (20, 20)”
Supplies for your Japanese Knot Bag Pattern
Yarn– Any worsted-weight yarn can be substituted for this project. I used LB jeans for mine.
Lion Brand Jeans, Worsted weight, #4 (100% Acrylic, 246 yd/225 m per 3.5 oz/100g Ball)
Estimated Total Yardage
800 (900, 1000) Yards
Hook – 6 mm Crochet Hook
Gauge
15 sts over 8 Rows = 4 x 4” made in dc, before blocking.

Japanese Knot Bag Pattern Pattern Notes
- Please kindly read through the pattern before starting.
- Beginning chains do not count as a stitch throughout the pattern.
- Stitch count is written after each row/round with the smallest XS written first and the other in the ().
- The stitch count written in black is for all sizes but at some points, the stitch counts are color-coded for clarity, i.e. XS (S, M)
Difficulty Level – Intermediate
Terms – US Terminology
Chain/chains – ch/chs
Chain space – ch sp
Stitch(es) – st(s)
Slip Stitch – sl st
Single Crochet – sc
Double crochet – dc
Double two stitches crochet together – dc2tog
Special Stitches
Crossed double crochet – skip next st, dc in next st, crocheting over the dc just made, work dc into the skipped st
Finished Measurements
Size(s) – XS (S, M)
Japanese Knot Bag Measurement at the widest part: 30 (34, 38)”
Bag handle: 11 (12, 13)”
Length Bag: 18 (20, 20)”
Japanese Knot Bag Construction Notes
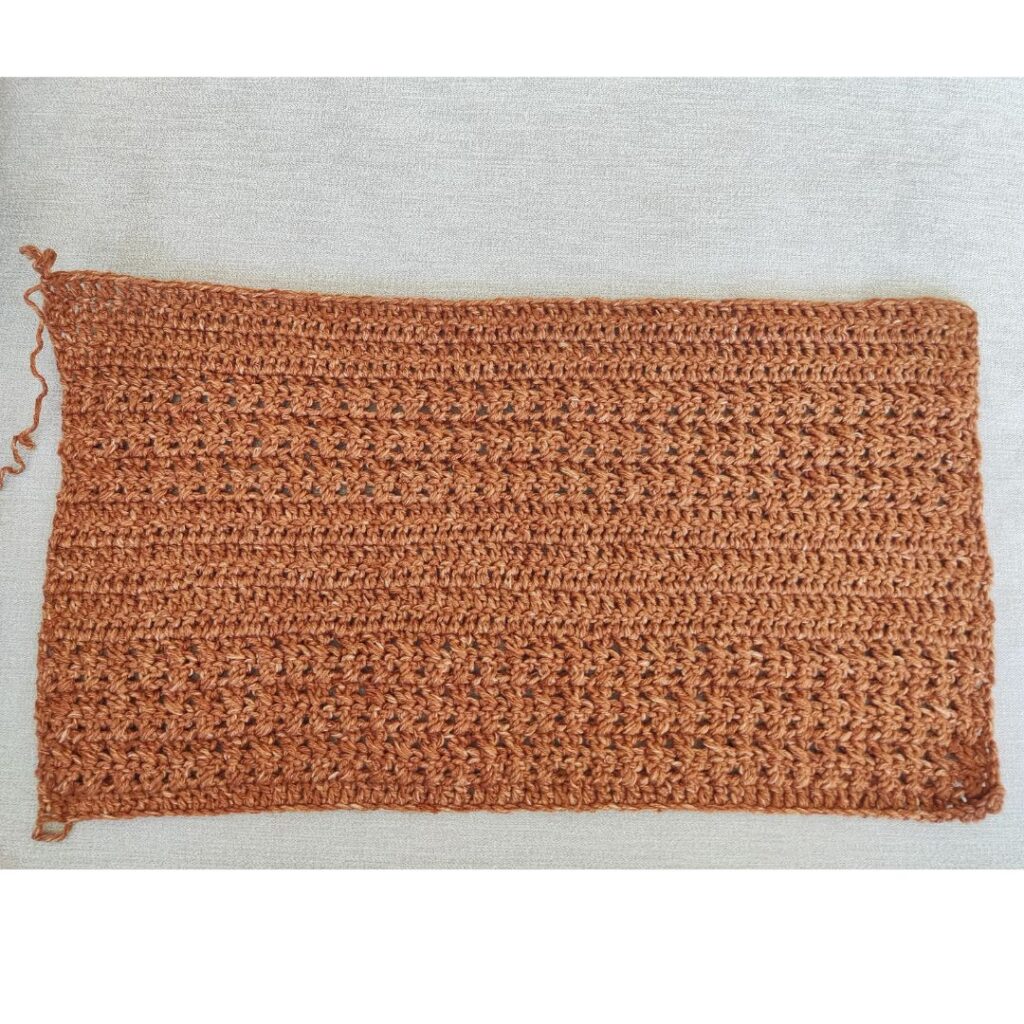
- This bag is made in flat (rows) after which the panels are joined together.
- The project is worked from the base upwards.
Adjustments for your Knot bag
- You can increase or reduce the repeats before shaping the handle and opening you prefer.
- For a very small bag – XXS, Skip Rows 13 – 24
Japanese Knot Bag Pattern Instruction
Section 1
Make 2
Chain 56 (64, 72)
Row 1: Dc in 3rd ch from hook and in each ch across, turn. 54 (62, 70) dc
Rows 2 – 6: Ch 2, dc in each st across, turn. 54 (62, 70) dc
Rows 7 – 12: Ch 2, dc in first st, xdc across until the last st, dc in the last st, turn. 26 (30, 34) xdc, 2 dc
Rows 13 – 18: Ch 2, dc in each st across, turn. 54 (62, 70) dc
Rows 19 – 24: Ch 2, dc in first st, xdc across until the last st, dc in the last st, turn. 26 (30, 34) xdc, 2 dc
For XS (S) Skip to Row 31 below
For M alone = Rows 25 – 30: Ch 2, dc in each st across, turn. 70 dc
For all sizes
Row 31: Ch 2, dc in each st across, turn. 54 (62, 70) dc
Section 2
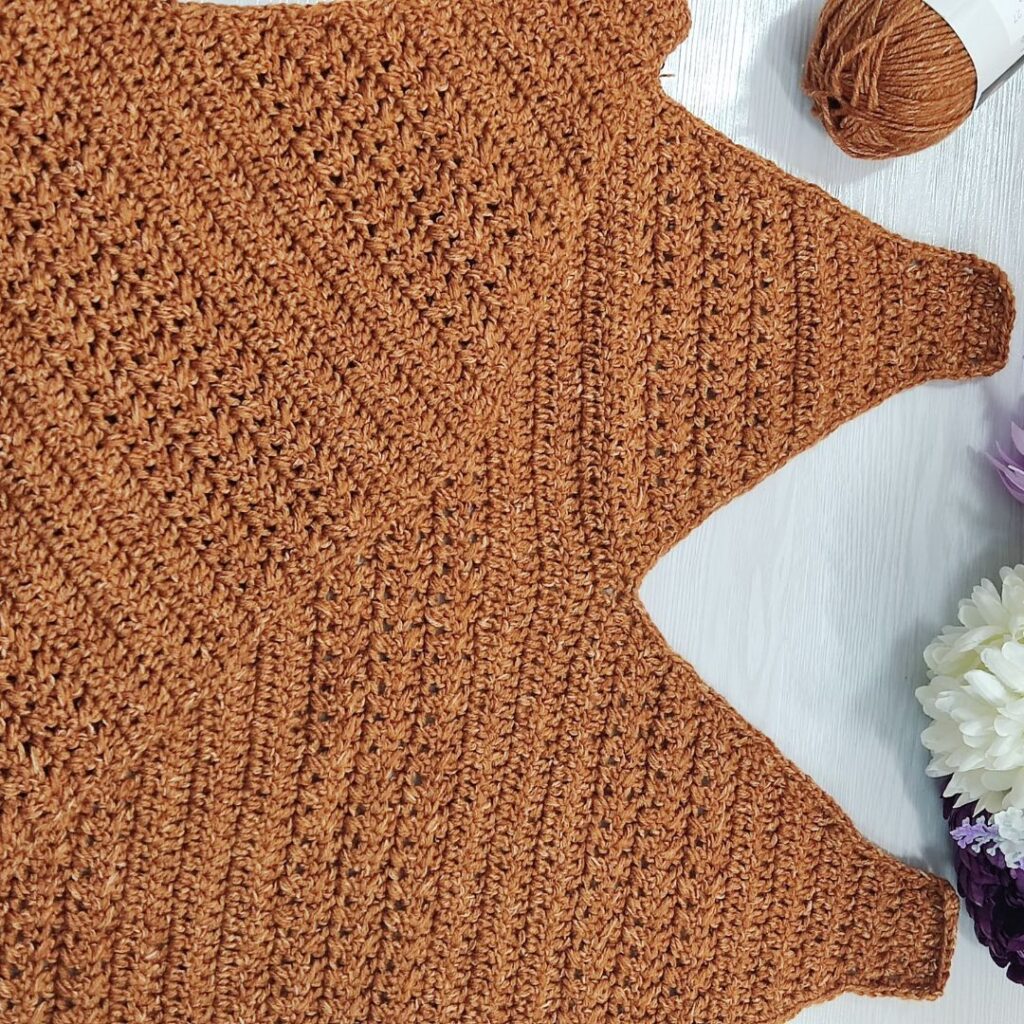
- Shape for the handle and bag opening.
- Right side
Row 38: Ch 2, dc in each st across, turn. 54 (62, 70) dc
Row 39: Ch 2, dc in first st, dc2tog, dc in next 20 (24, 28) sts, dc2tog, dc in next st, leave the remaining sts unworked, turn. 24 (28, 32) dc
Row 40: Ch 2, dc in first st, dc2tog, xdc across until the last 3 sts, dc2tog, dc in last st, turn. 9 (11, 13) xdc, 4 dc
Row 41: Ch 2, dc2tog, xdc across until the last 2 sts, dc2tog, turn. 9 (11, 13) xdc, 2 dc
Rows 42 – 45: Rep Rows 40 – 41 – 5 (7, 9) xdc, 2 dc
Rows 46 – 47 (49, 51): Ch 2, dc2tog, dc in each st until last 2 sts, dc2tog, turn. 8 (8, 8) dc
Rows 48 (50, 52) – 50 (51, 53): Ch 2, dc in each st across, turn. 8 (8, 8) dc
Please note that the straps is a little longer in the actual piece than shown in the photo
- Left side
Join yarn with a sl st to the edge of the piece, crocheting towards the center.
Repeat Rows 39 to 50 (51, 53)
Edging of your Japanese Knot Bag
Crocheting around the whole piece
Round 1: Ch 1, sc in each st around, aim for 2 sc in each ch sp/dc st around, (sc, ch 1, sc) at each corner, join
Fasten off
Finishing
Seam(s)
Turn both panels made in section 1 to the wrong side.
- Place the front panel over the back panel.
- Sew the sides of the bag together, starting from the handle down to the foundation chain and upwards to the other handle.
Please note that the Bag strap is a little longer in the actual piece than shown in the photo
Sew the handle of the bag together.
- Weave in all ends.
- Block to measurement.
I can’t wait to see your beautiful makes! Come share your projects with me and the crochet community on Facebook and on Instagram.
Fosbas



This looks great. My question is – are the measurements for bust sizes?
Hi Dorothy,
Yes – the measurement are similar to that of the top, that is why it converts to fit an adult.
Finally a knit bag big enough to put my “stuff” in, thank you for this and all your amazing patterns.
Glad to be of Help. I Love functional Bags!!!
Sorry, auto correct.. Knot not knit. 💜