Blocking in Crochet – The easy methods
Blocking crochet projects is one of the tricks to achieving a beautiful and professional look of your makes. This post includes details and pro tips to help you block your crochet projects effortlessly.
Block your finished project to measurement – a common phrase in most of my patterns! Do people truly follow this instruction? This post intends to show you the benefits of blocking your finished pieces from measurements.
What is blocking in crochet?
Blocking is the process of shaping either your crochet or knit project into your desired finished shape or measurement. This is the act of either using water or heat and sometimes a gentle stretch into shape, putting your finished crochet design into the desired measurements.
Blocking uses moisture to soften your piece and then keeping this piece in place by pining it or using wires to keep it in place until it’s dry.
How long does it take to block a project?
Blocking can be as quick as about 5 minutes when you use the steaming method and as long as 24 hours when using the wet method. With the iron steam method, you get to have your finished blocked project immediately. It is advisable to leave your project to dry completely before using it as it provides a lasting effect.
The total duration to complete your blocking is influenced by the following variables
- The method you are using – is it the wet or dry method? As the name implies, the dry method would take a shorter time compared to when using the wet method.
- The weather – When using the wet method in winter, it would take far longer to completely dry out your project as compared to when blocking in the summer.
- The type of yarn used in making the project
- The kind of project you are blocking – A blanket would take longer to block than a baby cardigan.
- Yarn composition – Cotton or Acrylic yarn or a blend. The more porous the yarn is, the longer it takes to completely block your project.
Projects that do well with blocking
Truth is, you can block almost any item. My favorite projects to block include my crochet garments – cardigans, sweaters, dresses, accessories like shawls, scarfs, and even blankets!!!
Swatches – Some crochet patterns would require the gauge to be blocked before you take the measurements. Note that the dimensions would be different and impact your decision when making the actual project.
Garments – crochet garments look neater and more presentable when you block them.
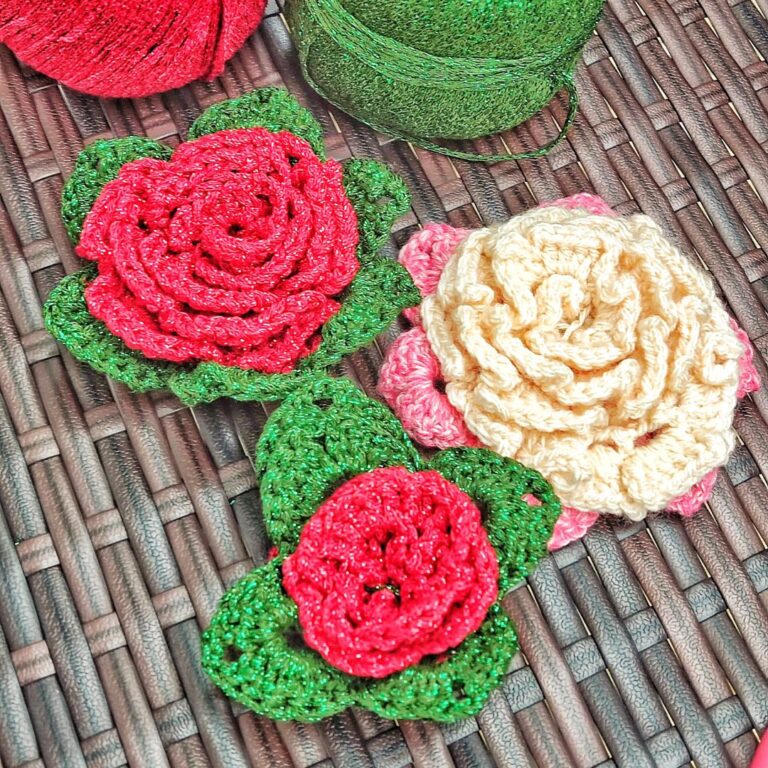
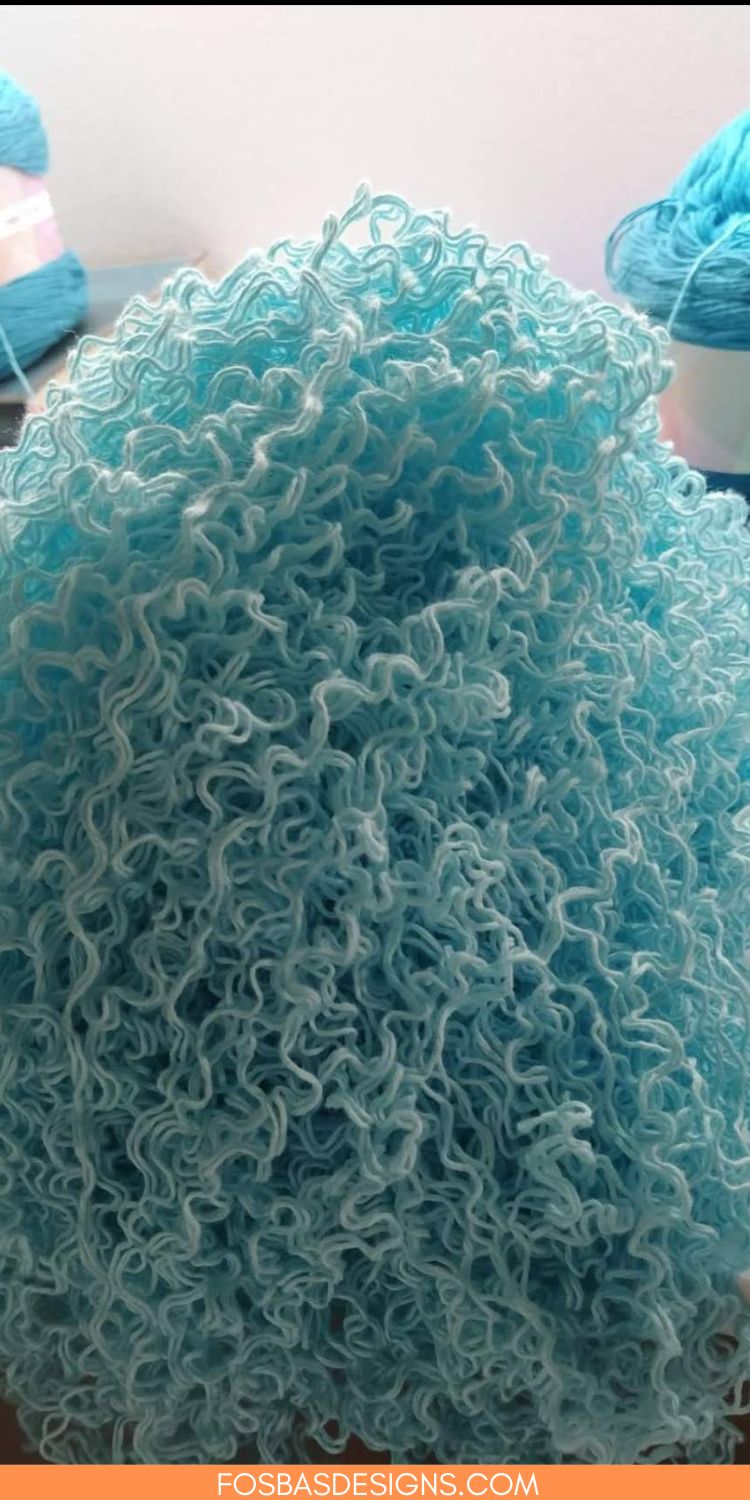
Projects made with lace stitches – When these kinds of projects are blocked, the lace stitches open up beautifully.
Why do I need to block my crochet projects?
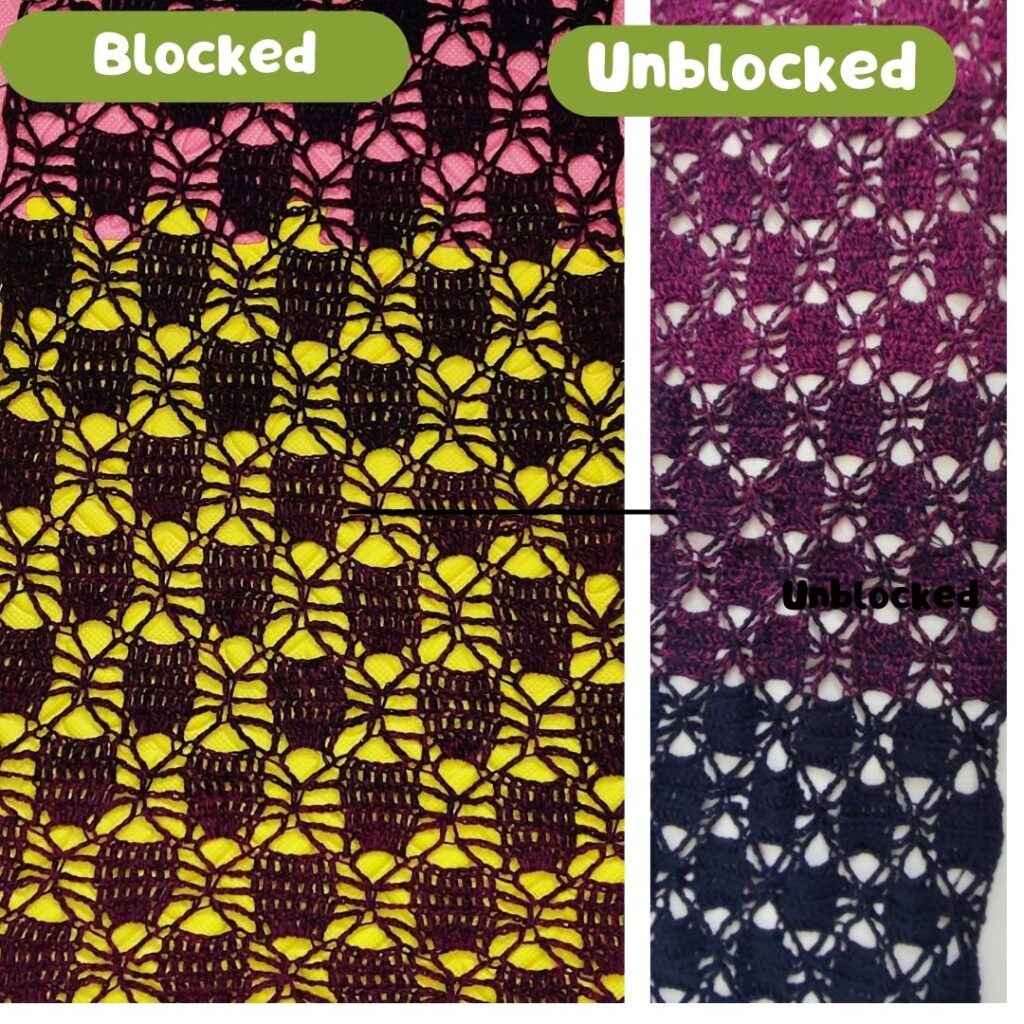
There are various types and compositions of yarn, these impact the final look of the completed project.
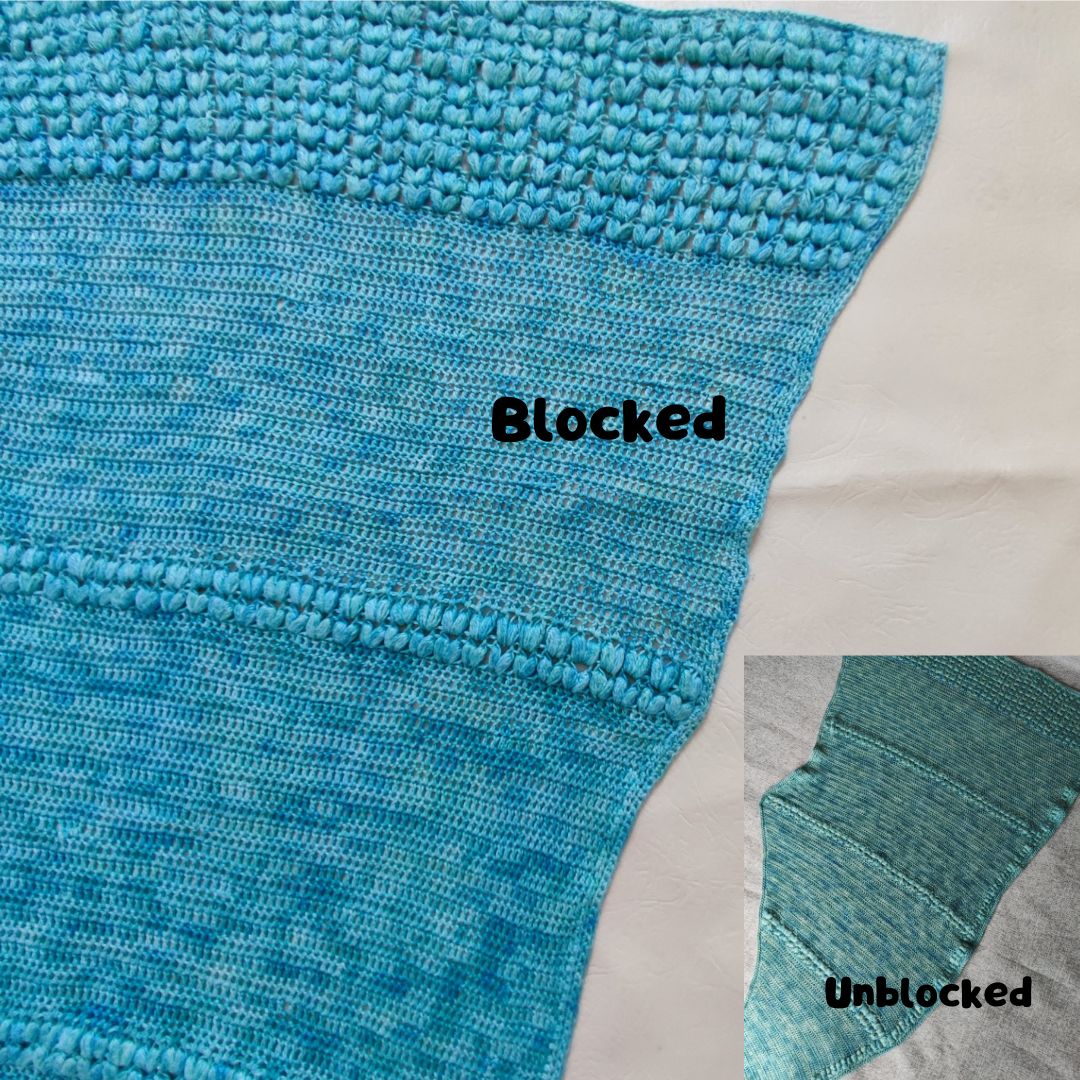
Blocking helps you to achieve an even shape
Blocking helps to match up the seams and make the finished project look perfect and most times seamless or makes the seams not obvious.
Helps to reduce wrinkles in the finished projects.
Gives a neat and finished look to your projects.
Helps to improve the drape in your project.
If you want to take your crochet projects to the next level of professionalism, blocking is one of the magics of doing this.
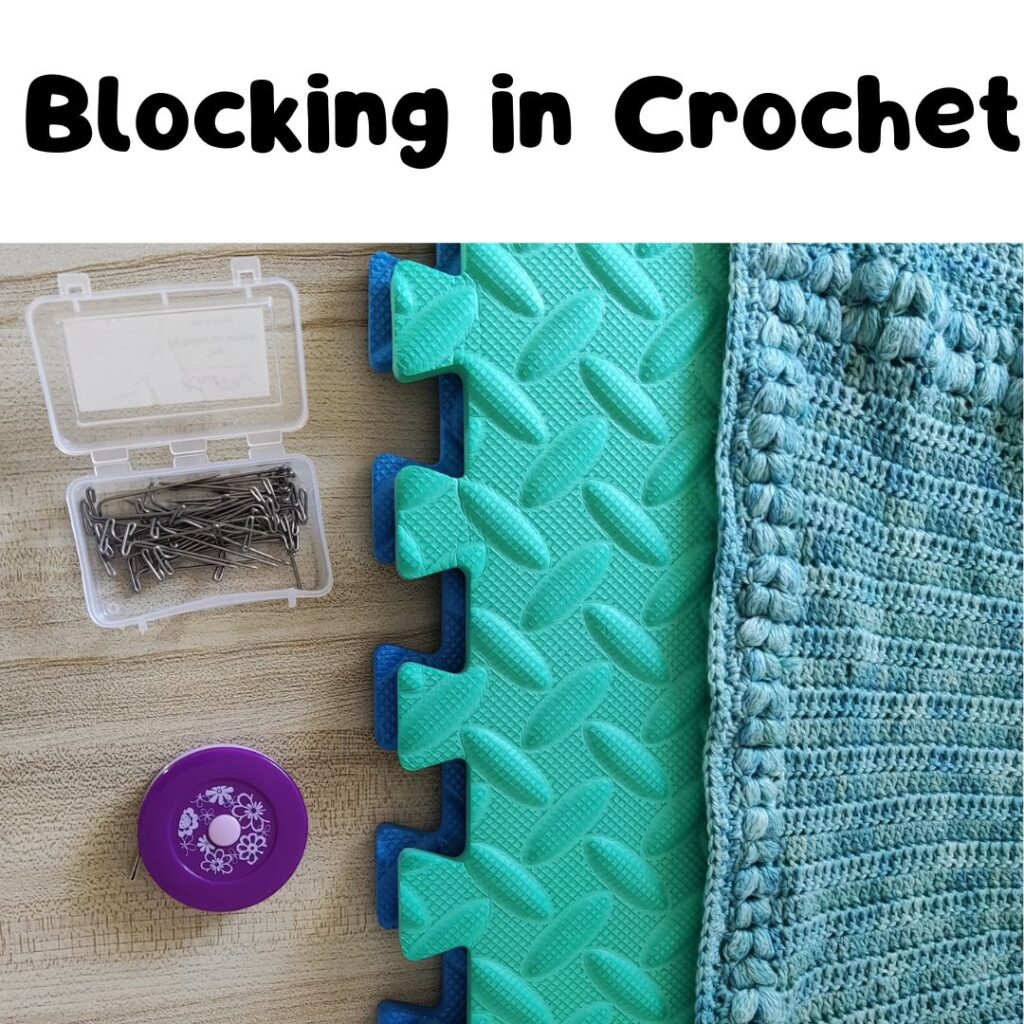
What do I need to block my projects?
Blocking your panels or finished pieces does not really need sophisticated gadgets. You can block with the regular stuff you have at home. The following ate useful when blocking
- Your project (obviously) – This can be the swatch, a panel, or the completed project. You should decide if you want to have the panels blocked individually or when completed.
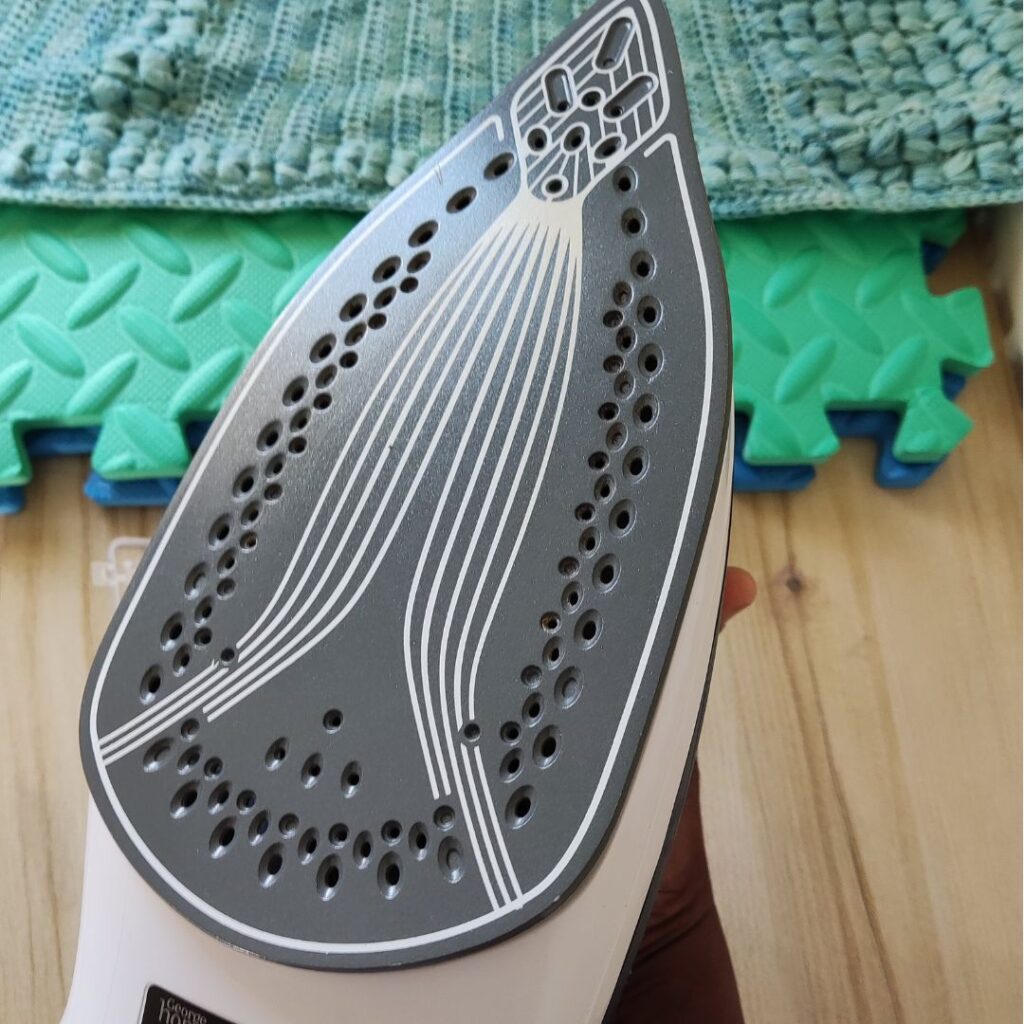
- Steamer – This is the same as the steamer used for clothes. If you do not have one, you can use a steam iron in its place.
- Steam iron – I love my steam iron! It comes in handy for a quick fix of my progress and finished pieces.
- Blocking pins/needles (T needles) – When doing wet blocking, T needles comes in handy. You use these pins to secure your project to the blocking board.
- Blocking board – These are useful in keeping your project in a place until it is completely dry.
- Towel – To keep the fiber in the project intact, it is advisable not to squeeze the water out of your project. A towel comes in handy as you can use it to soak up the water. Gently roll the towel over
- Water – For wet blocking, water is needed. The temperature would be determined by the content of your yarn.
- Sink or Basin or Bowl – Any deep container that is wide enough for your project and that can hold water. You need a bowl wide enough for the project you intend to block.
- Tape measure – When blocking your project into the desired measurement, you need a tape measure to measure and mark out the points you want the project to be pined into.
How to block crochet project
You can block on the go! This is one of my most loved methods. I love the quick fix blocking of my projects. This method comes in handy when I have a tight deadline. I simply block my garments and take photos either modeled or staged immediately.
Types of blocking
1. Quick Streaming blocking method – This is the fastest method when it comes to blocking your crochet projects. You need your project, a steamer or iron steam, a blocking board, and Pins.
The steam method of blocking is a quick and faster method when it comes to blocking your makes.
Get your equipment’s ready and your project sorted.
Materials needed for steam blocking
Crochet project Steamer or Steam Iron Blocking Board T Pins (Optional)
You can do without the blocking board and the T pins when using the steaming method.
Step 1 – If using blocking boards, set the board into place.
Step 2 – Pick up your project and place it in the center of the board.
Step 3 – plug your steamer or steam iron
Step 4 – Get ready for action. Pick up the steamer or steam iron, and make sure to have about 2 inches away from the project, so as not to damage your project.
Step 5 – Apply the steam at intervals to your project
Step 6 – Pause at intervals and apply some gentle tug to your project.
Step 7 – Measure out the desired dimension and gently pull it into shape.
Repeat Steps 5 to 7 until you are satisfied.
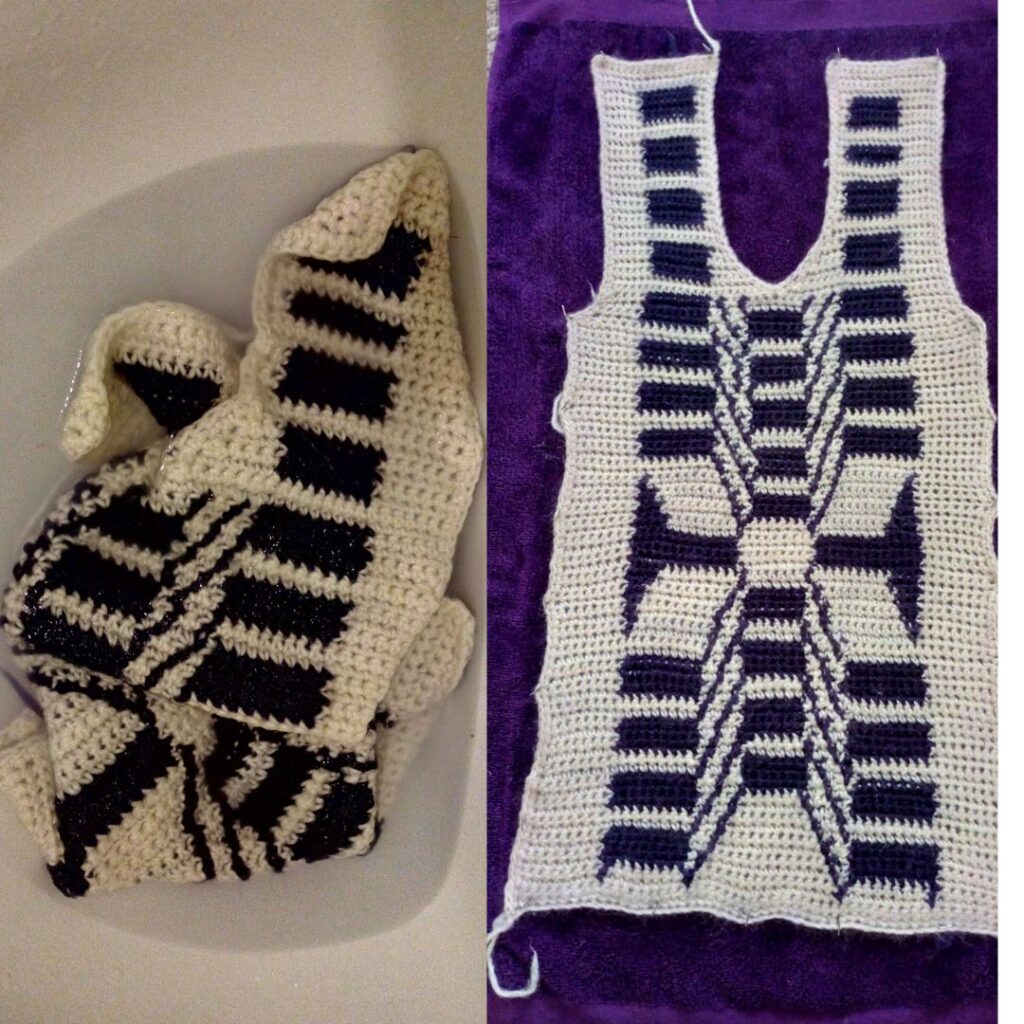
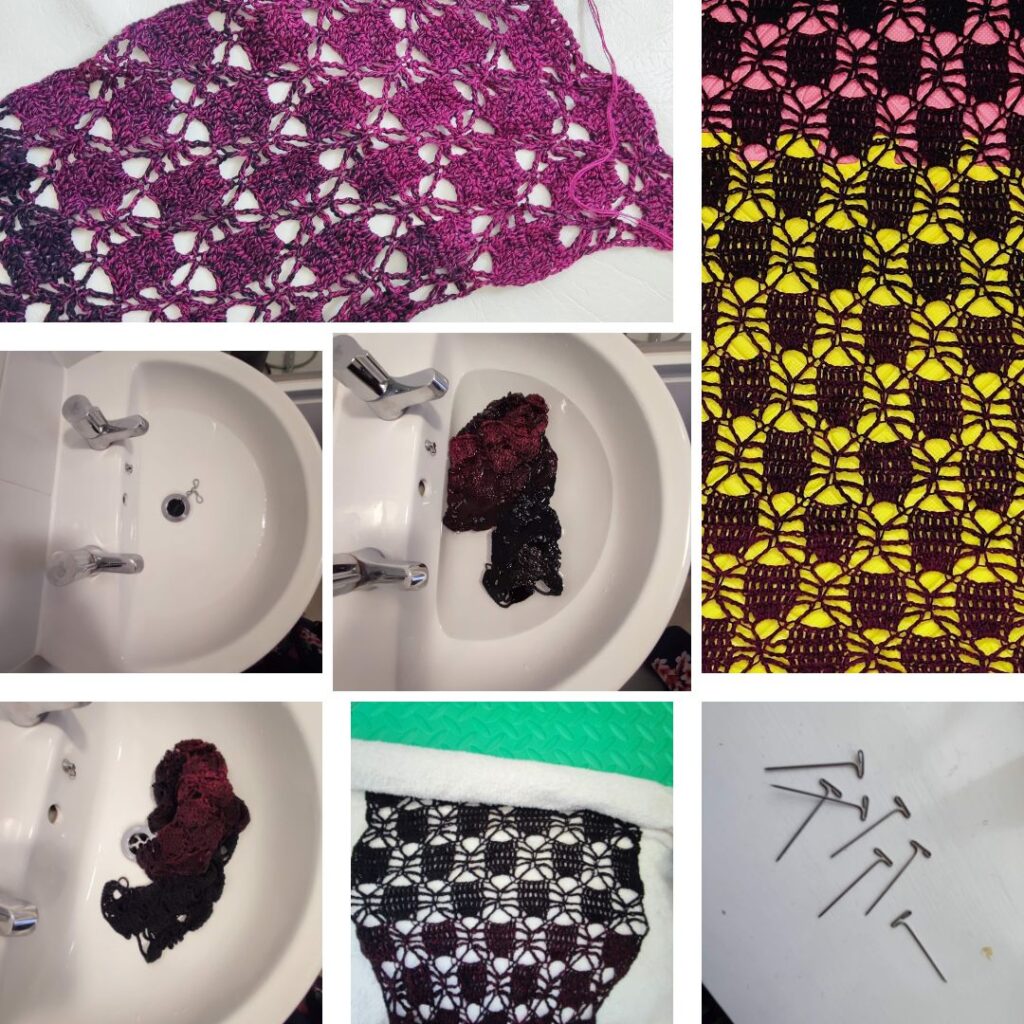
2. Wet Method of blocking – This is the process of blocking your project by immersion in water.
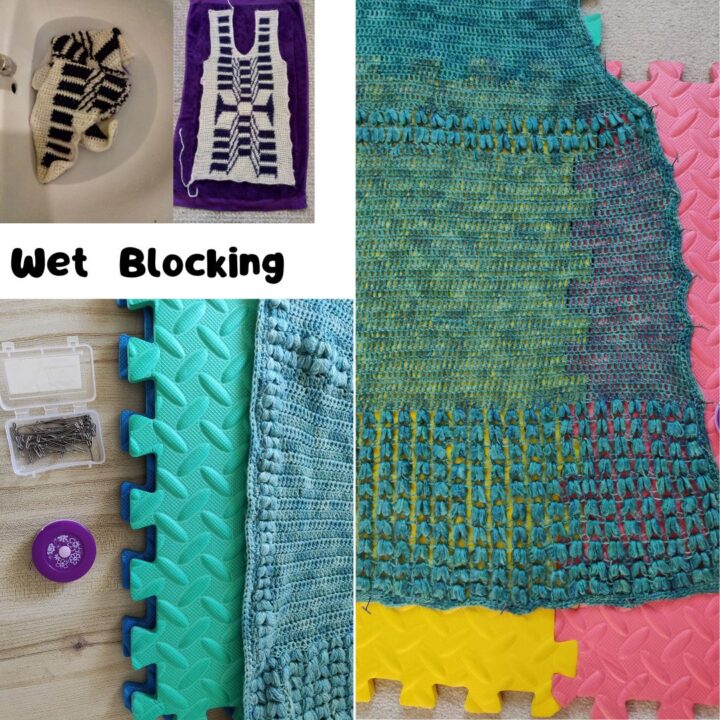
Wet method of Blocking
The wet method of blocking is a beautiful way of fixing your project into the desired dimension and shape. How excellent is it to have a way to ''mend'' or ''fix'' errors in your finished project instead of frogging or starting all over again.
Materials
- The project to be bloacked
- T Needles or pins
- Blocking boards
- Tape measure
- Bowl or Sink
- Water
Instructions
- Step 1 - Gather your equipment's and projects
- Step 2 - Pick a location or space that can be spared for as long as it takes for your project to dry.
- Step 3 - Fill the sink to 3/4 with water
- Step 4 - Soak your project for about 5 minutes
- Step 5 - Drain off the water
- Step 6 - Pick up your towel and place the soaked project on it.
- Step 7 - Gently roll the towel over the project
- Step 8 - Set up the blocking board and place the project on it.
- Step 9 - Measure out the project, using your anti rust pins, pin the project to measurement on the blocking mat.
- Step 10 - Allow to dry.
- Step 11 - Once completely dry, remove the pins and use your project with pride.
Notes
Note that the total time varies according to the type of project you are blocking.
3. Spray method n- This is a mini version of the wet method. The main difference is that you are not immersing your project in a bowl of water. This method is perfect for lightweight projects or just a part of a project and perfect for a quick fox.
Are there projects that can not be blocked?
Note that it is not compulsory to block your crochet projects. If you are happy with the final look, you do not need to block.
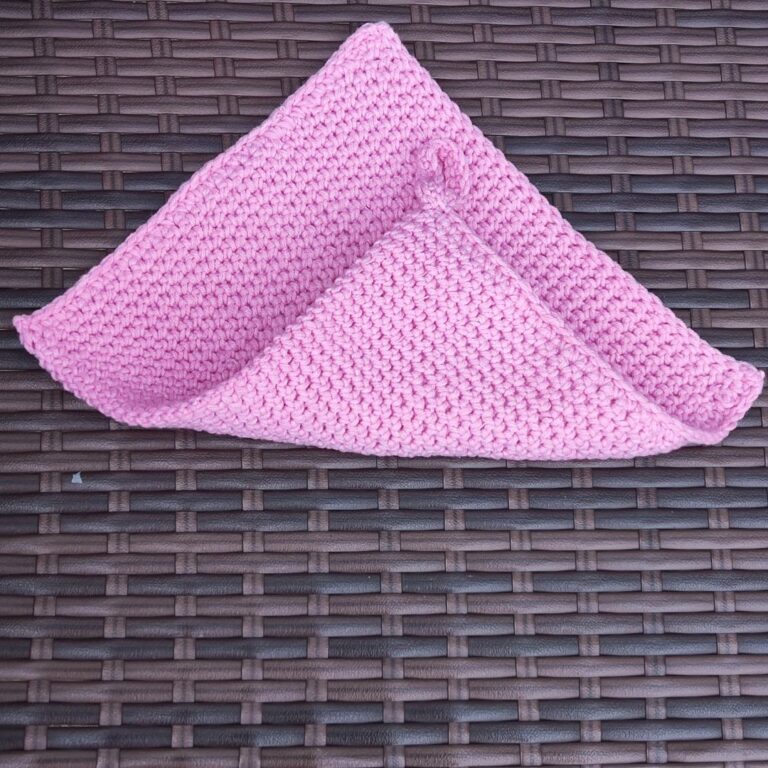
Smaller items like washcloths, dish towels, soap pouches, face towels, and sometimes, blankets would not benefit from blocking.
Is blocking permanent?
No – with either the wet or spray method of blocking, you would have to repeat the process each time you desire to have your finished piece in that particular size.
For most crochet projects, you do not need to block repeatedly after each wash. However, projects that use open lace would benefit from repeated blocking.
Can I block projects made using Acrylic yarn?
The answer is yes! A lot of people have a misconception about not blocking projects made using acrylic yarn. I have had a lot of success with blocking my projects made using acrylic yarn.
I found that using the steam method – which can be as simple as iron steam produces a quick fix to the projects made using acrylic yarns.
They however do not benefit from wet blocking as acrylic yarn can not hold water.
Blocking projects made using cotton yarn
Projects made using cotton yarn can be blocked using any of the methods listed above. The cotton yarn has a poor memory that is – they do not return to its previous position. This can be channeled into a shape you stretch them into and as such, turned into a positive for blocking.
From multiple projects that I have made using cotton, I found using the wet method works well for cotton yarn.
Make sure to gently pull it into shape and pin it down until it is dry.
Blocking crochet projects in summary
In conclusion, blocking does magic to your crochet piece and is one of the secrets to having a professional product. Either when you use steam, wet, or spray method, you can achieve an even, wrinkle-free.
What has been your experience with blocking your crochet projects? Share with me below in the comments