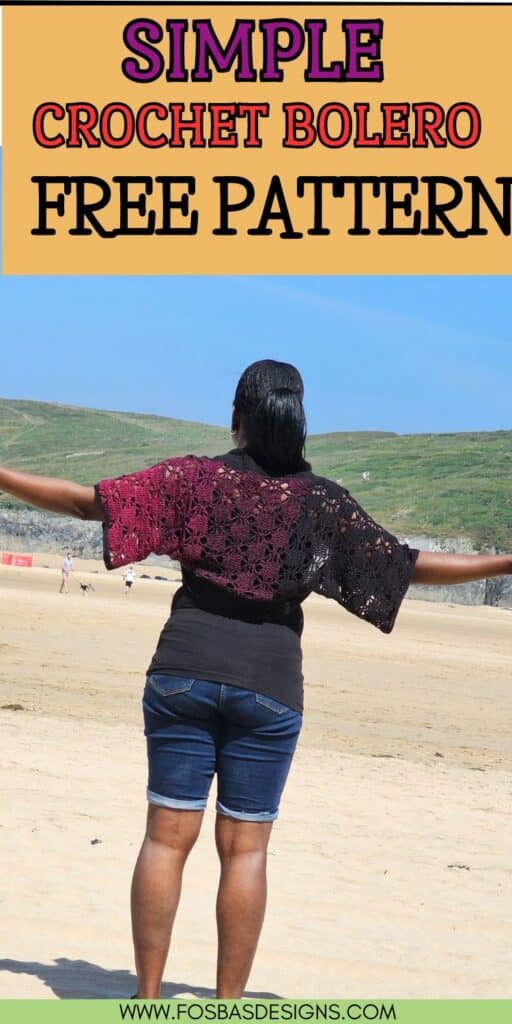
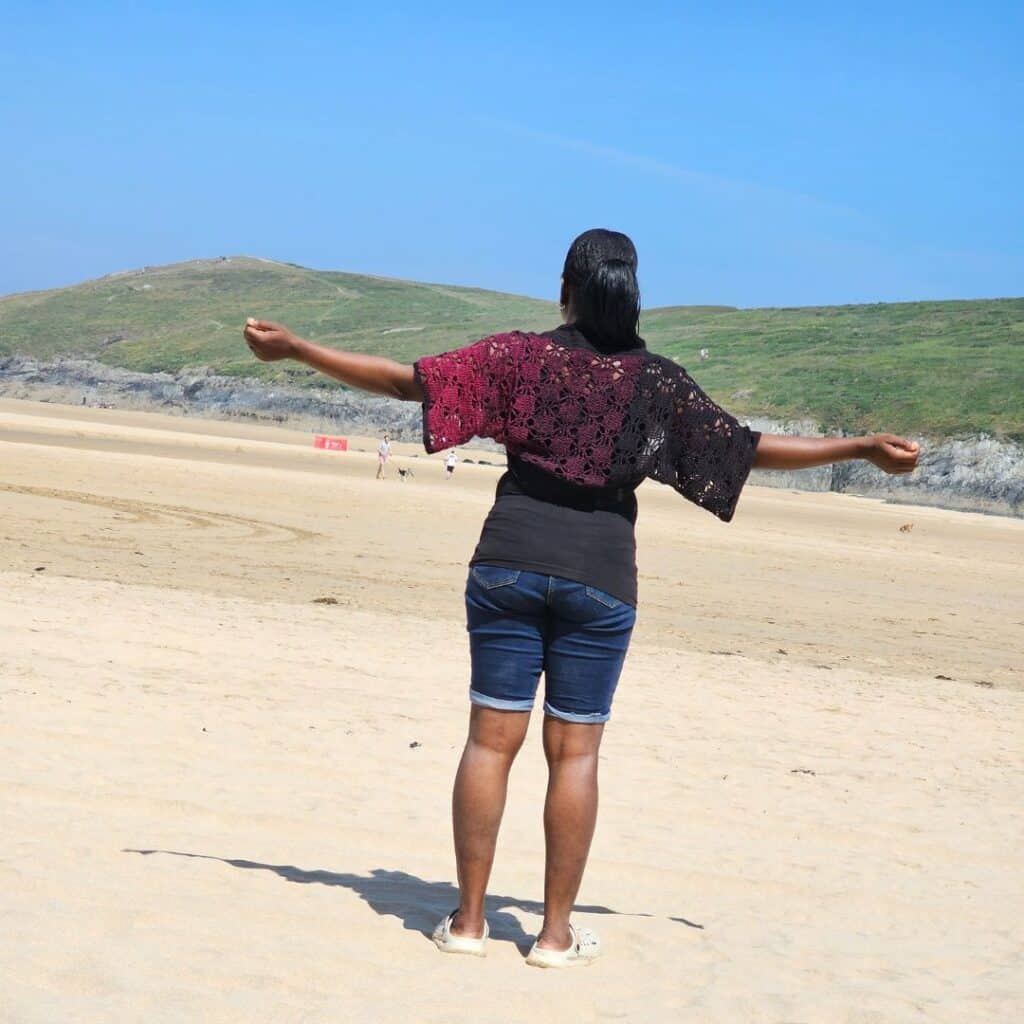
Crochet Bolero Free Pattern
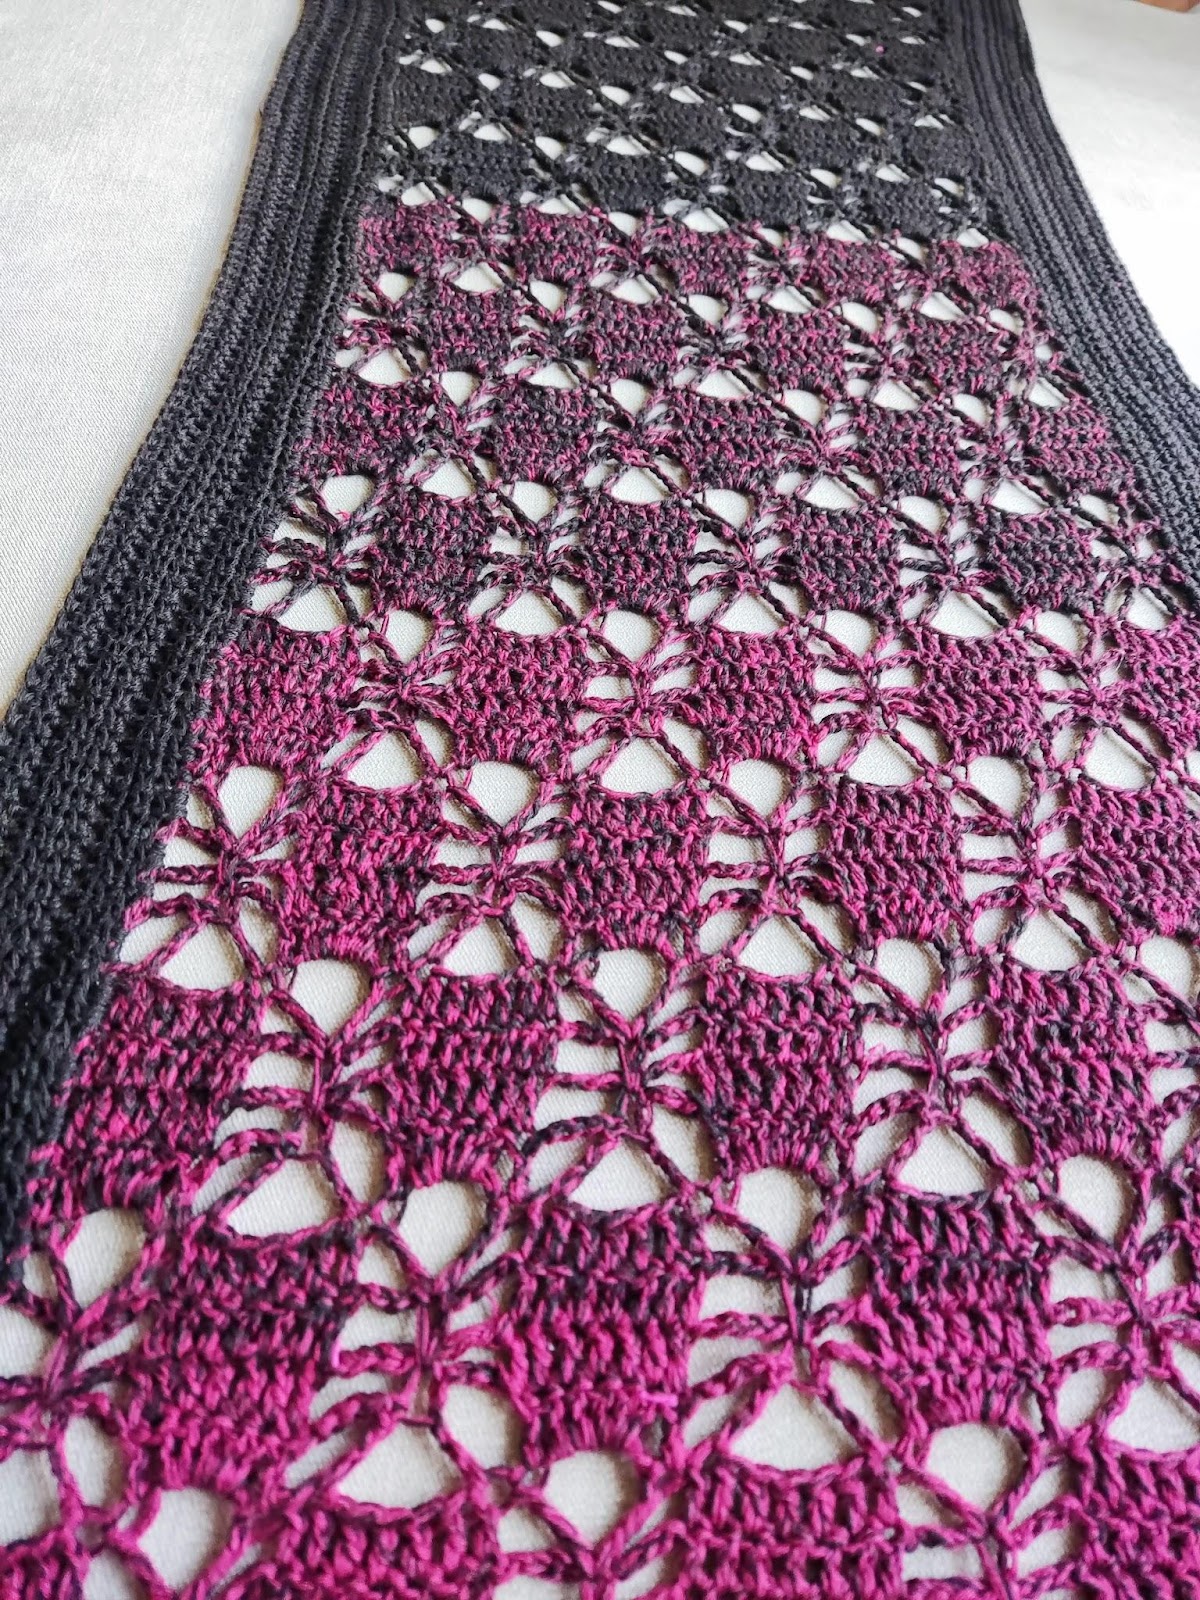
I am excited to share this summer crochet bolero free pattern with you. The lace details in this shrug are one of my favorite crochet open lace works, as they are delicate yet elegant.

I love the simplicity of this project. You only need to make a rectangle and sew the sides together to create a sleeve opening.
Sizes available for the Phlox Crochet Bolero Shrug Pattern
Size(s) and color codes – XS (S, M, L, XL, 2XL, 3XL, 4XL, 5XL)
(XS, S, M) = (28)” (L, XL, 2XL) = (31)” (3XL, 4XL, 5XL) = (33).”
The modeled garment is shown in (XS, S, M) 34 – 42 (46 – 54), (58 – 66)”
The modeled garment is shown in 34 – 42
Materials needed for this summer crochet bolero pattern
YARN – I wanted a lightweight shrug that is perfect for sunny days. To achieve this, this pattern is written and tested using sport-weight yarn.
Cotton Kings Sultan, #2 (100% Cotton, 874 yards/ 800 m per 7oz/200g Cake)
Estimated Total Yardage
700 (900, 1300) Yards
Hook
US size G (4 mm) Crochet Hook

Gauge
18 sts over 12 rows = 4”/10 cm Square made in dc, before blocking.
Adjust hook size if necessary, to obtain gauge.
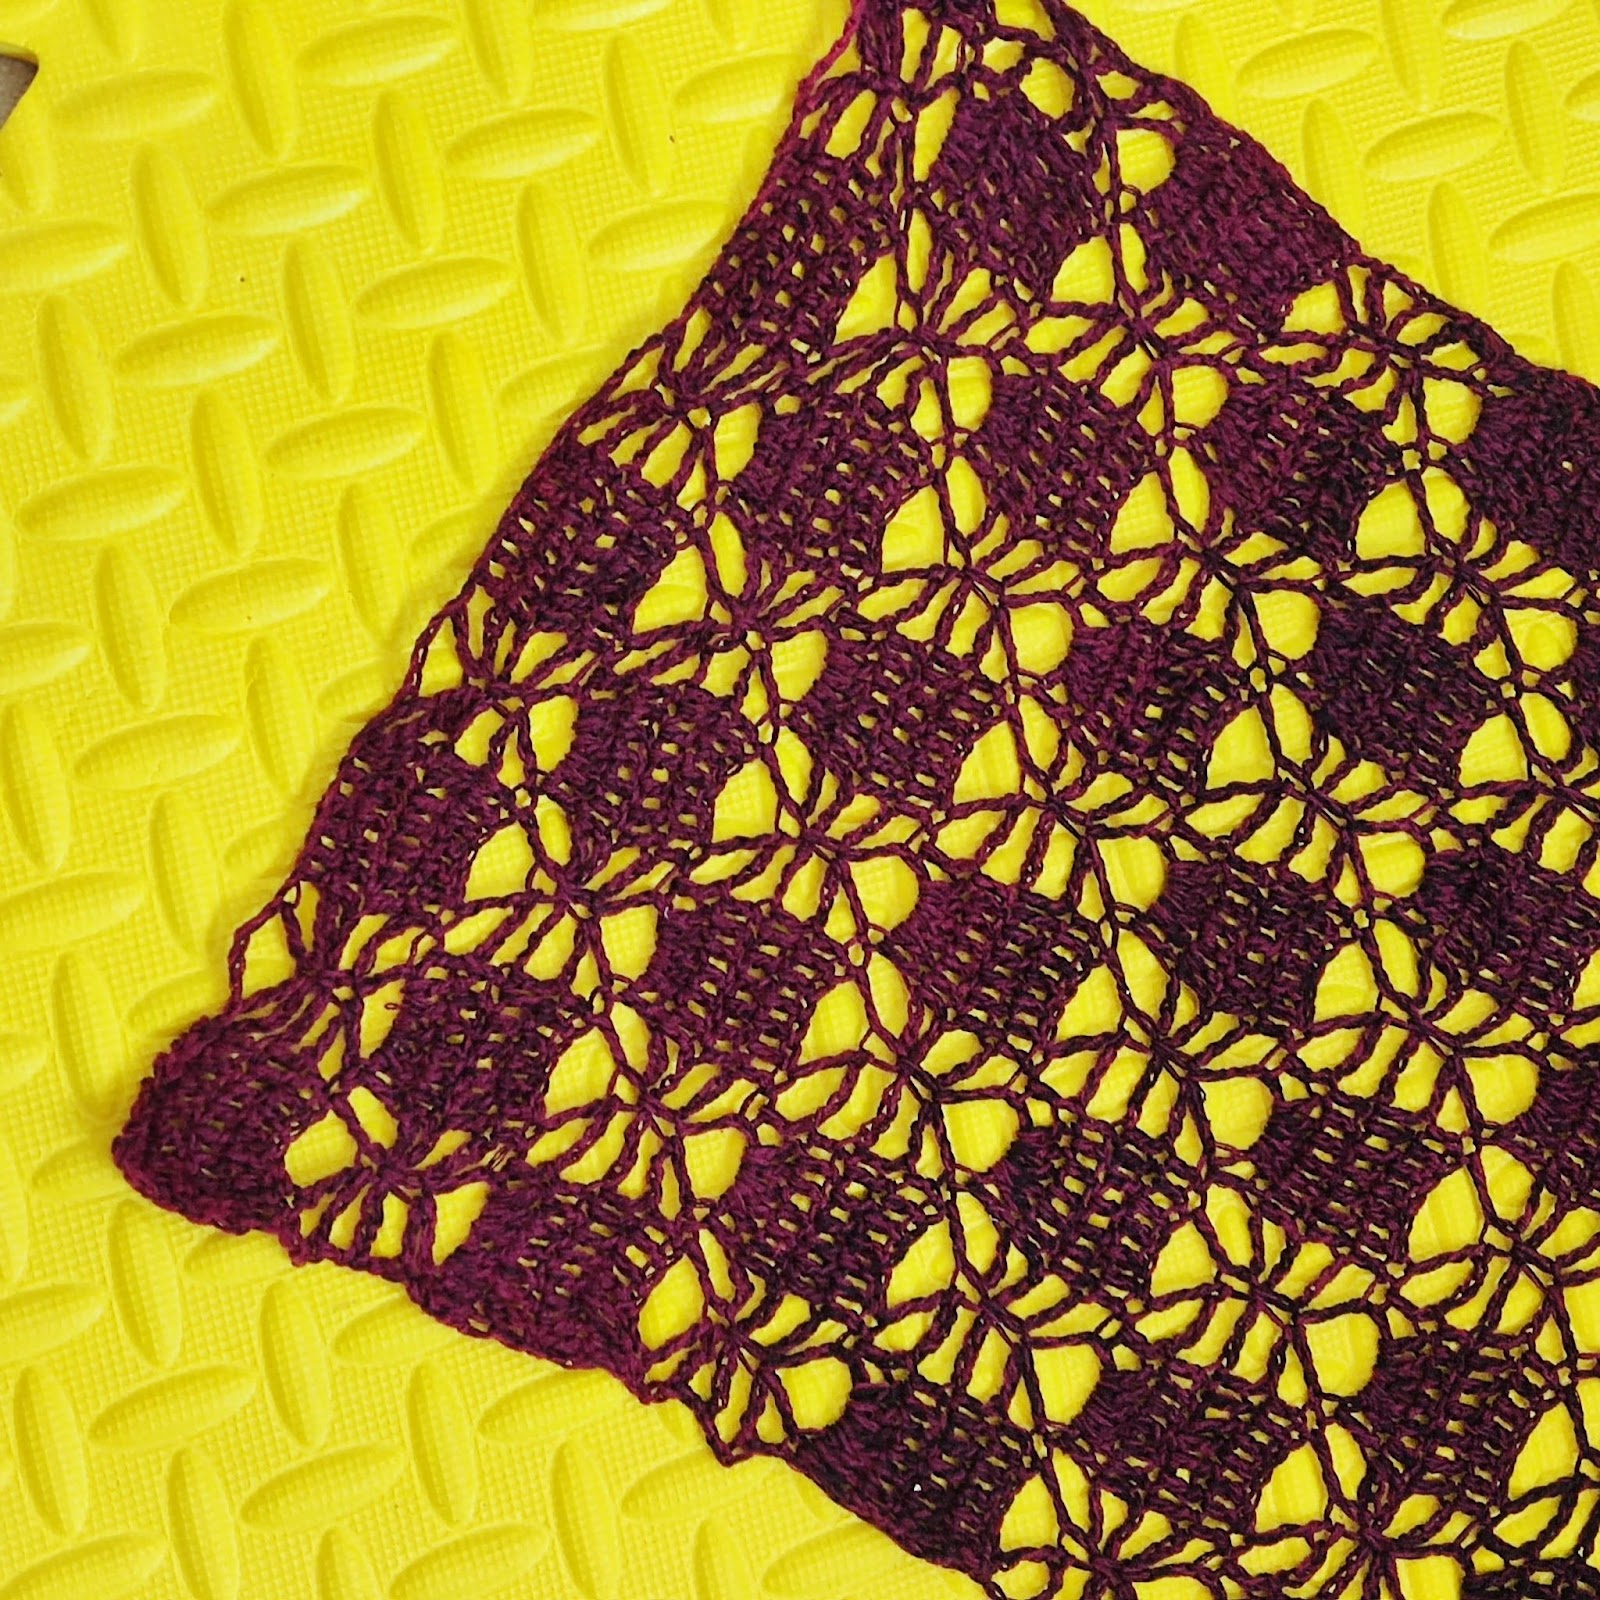
Crochet Bolero Free Pattern Notes
1. Please kindly read through the pattern before starting.
2. Chains at the beginning of the rows do not count as a stitch unless stated.
Ch 7 (counts as dc + ch 4 sp),
Ch 10 (counts as dc + ch 7 sp)
Difficulty Level – Intermediate
Terms – US Terminology
Stitches Abbreviations
Chain(s) – ch(s)
Slip stitch – sl st
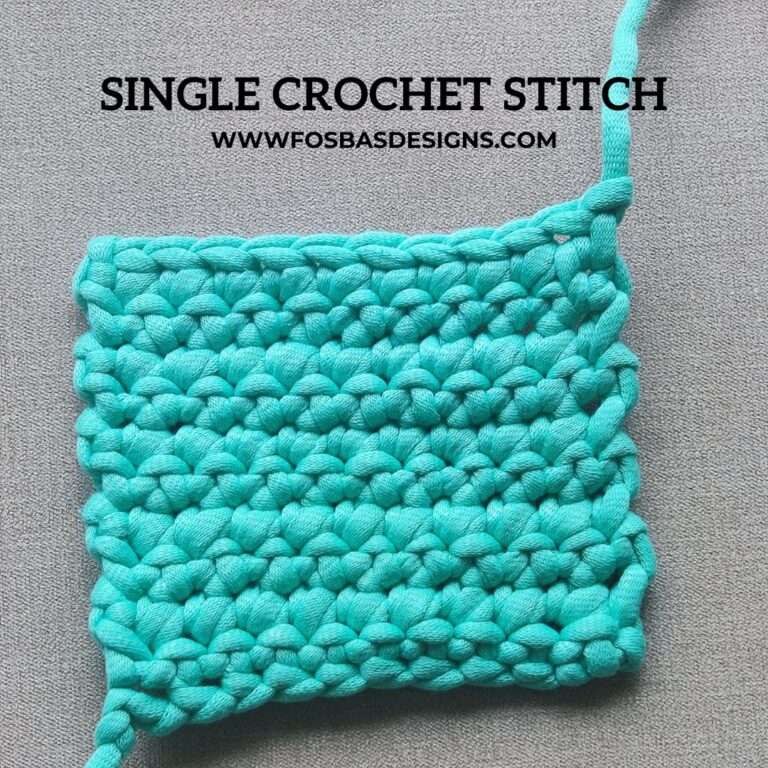
Single Crochet – sc
Half Double Crochet – hdc
Double Crochet – dc
Treble – Tr
Repeat – rep

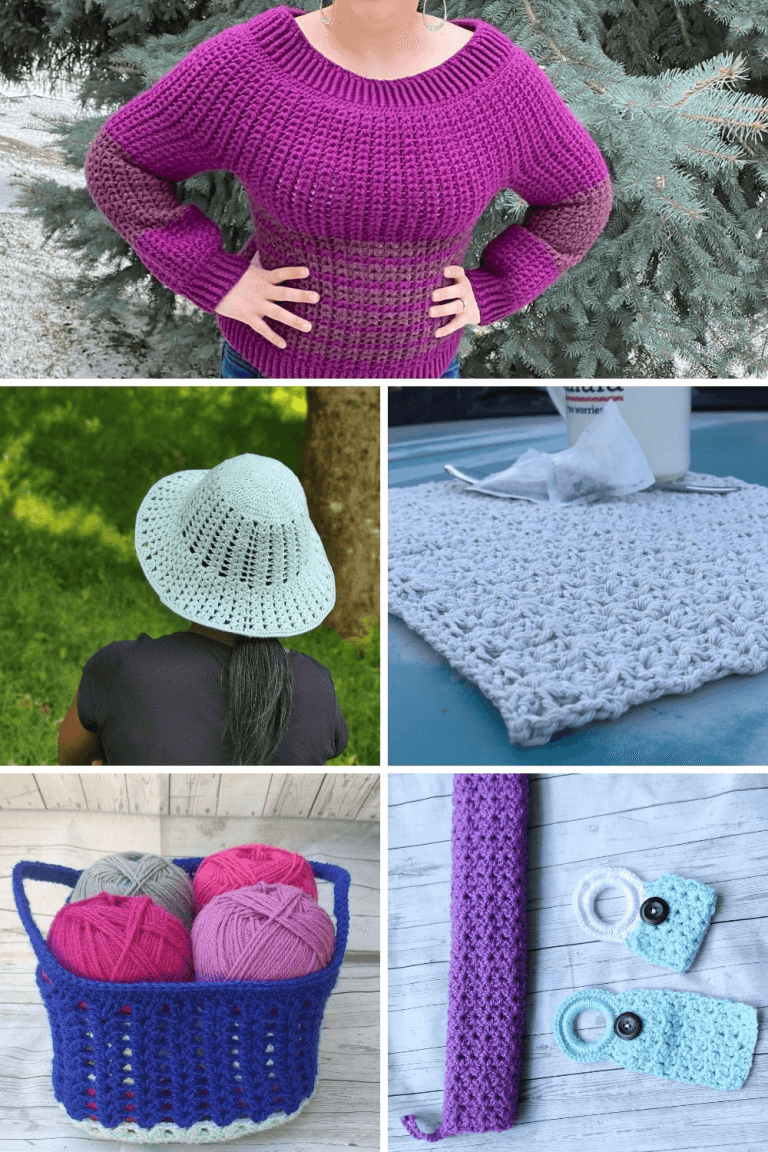
This pattern and 35 other summer project ideas are featured on the Summer Vibes blog hop. Check out all the fun projects here.
Get the ad-free print-friendly PDF on either Ravelry and also on Etsy


Crochet Bolero Pattern
For all sizes, the plus sizes can use the number in the () for a longer bolero.
Chain 68 (82)
Row 1: Dc in 5th ch from hook (counts as the first st) and in next 6 chs, *ch 4, tr in next ch, skip next 5 chs, tr in next ch, ch 4, dc in next 7 chs, rep from *to last ch, dc in the last ch, turn.
8 (12) tr
8 (12) ch 4-sp
37 (51) dc
Row 2: Ch 3 (do not count as a stitch here and throughout the pattern), dc in the first 8 sts, *ch 7, skip (ch 4, 2 tr and next ch 4 sp), dc in next 7 sts, rep from *to 8 sts, dc in the
last 8 sts, turn.
4 (6) ch 7-sp
37 (51) dc

Row 3: Ch 3, dc in first 8 sts, *ch 4, skip first ch 3 sp, sc in st between the 2 tr from 2 rows below, skip next ch sp, ch 4, dc in next 7 sts, rep from * to 8 sts, dc in last 8 sts, turn.
8 (12) ch 4-sp
37 (51) dc
4 (6) sc
Note:
- This panel width should measure approximately = 15 (25)”
Row 4: Ch 3, dc in first 8 sts, * skip next ch 4 sp, tr in next st (sc), ch 5, tr in same st, skip next ch sp, dc in next 7 sts, rep from * to last 8 sts, dc in last 8 sts, turn.
8 (12) tr
37 (51) dc
4 (6) ch 5-sp
Row 5: Ch 7 (counts as dc + ch 4 sp), tr in next st, skip next 5 sts, tr in next st, ch 4, *dc in next (st, in each of ch 5 from previous row and in next st), ch 4, tr in next st, skip next 5 sts, tr in next st, ch 4, rep from * to last st, dc in last st, turn.
10 (14) ch 4-sp
10 (14) tr
30 (44) dc
Row 6: Ch 10 (counts as dc and ch 7), *skip (ch 4, tr and ch 4 sp) dc in next 7 sts, ch 7, rep from * to last st (3rd ch from ch 7 sp), dc in last st, turn.
5 (7) ch 7-sp
30 (44) dc
Row 7: Ch 7, sc in st between the 2 tr from 2 rows below, ch 4, skip ch sp, *dc in next 7 sts, ch 4, sc into tr from 2 rows below, skip ch sp, ch 4, rep from * to the last st, dc in last st, turn.
10 (14) ch 4-sp
30 (44) dc
5 (7) sc
Row 8: Ch 3, dc in first st, *tr in sc (st between the 2 tr from 2 rows below), ch 5, tr in same st, skip ch 4, dc in next 7 sts, rep from * to last st, dc in last st, turn.
10 (14) tr
30 ( 44) dc
5 (7) ch 5-sp
Row 9: Ch 3, dc in first 2 sts, 5 dc in ch 5 sp, dc in next st, *ch 4, tr in next st, skip next 5 sts, tr in next sts, ch 4, dc in next st, 5 dc in ch 5 sp, dc in next st, rep from *to last st, dc in last st, turn.
8 (12) tr
8 (12) ch 4-sp
37 (51) dc
Rows 10 – 64: Rep Rows 2 – 9
Repeat Rows 2 – 9 until you have the desired length long enough across your elbows. 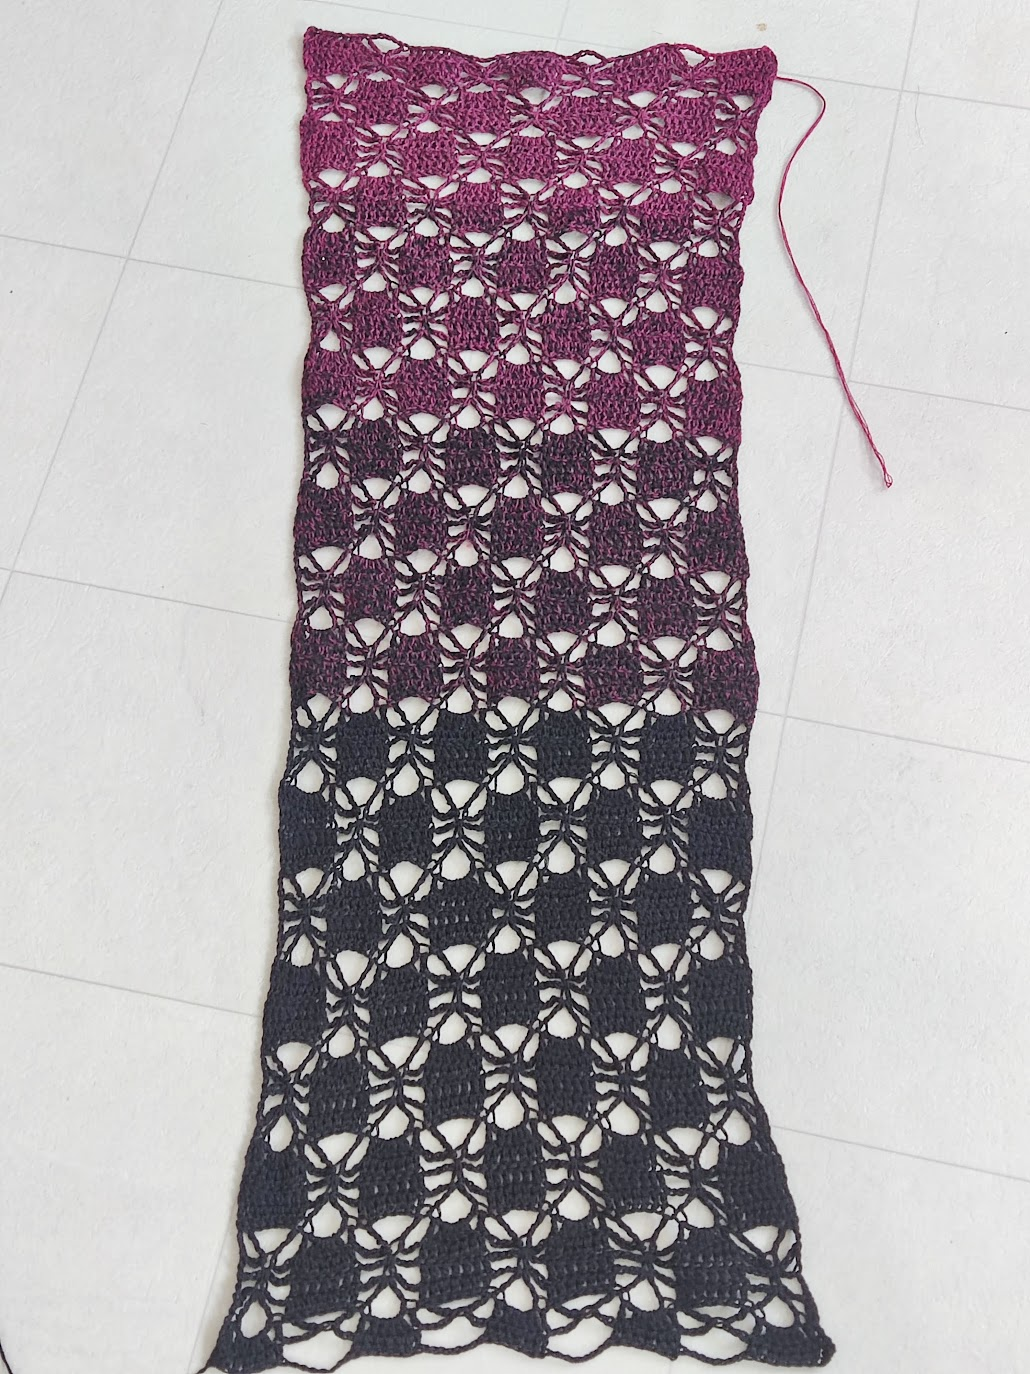
Row 65: Repeat row 2.
Row 66: Repeat row 3.
Row 67: Repeat row 4.
Row 68: Ch 1, sc in first 8 sts, sc in next st, *5 sc in ch 5 sp, sc in next 9 sts, rep from * to the end
Do not fasten off.
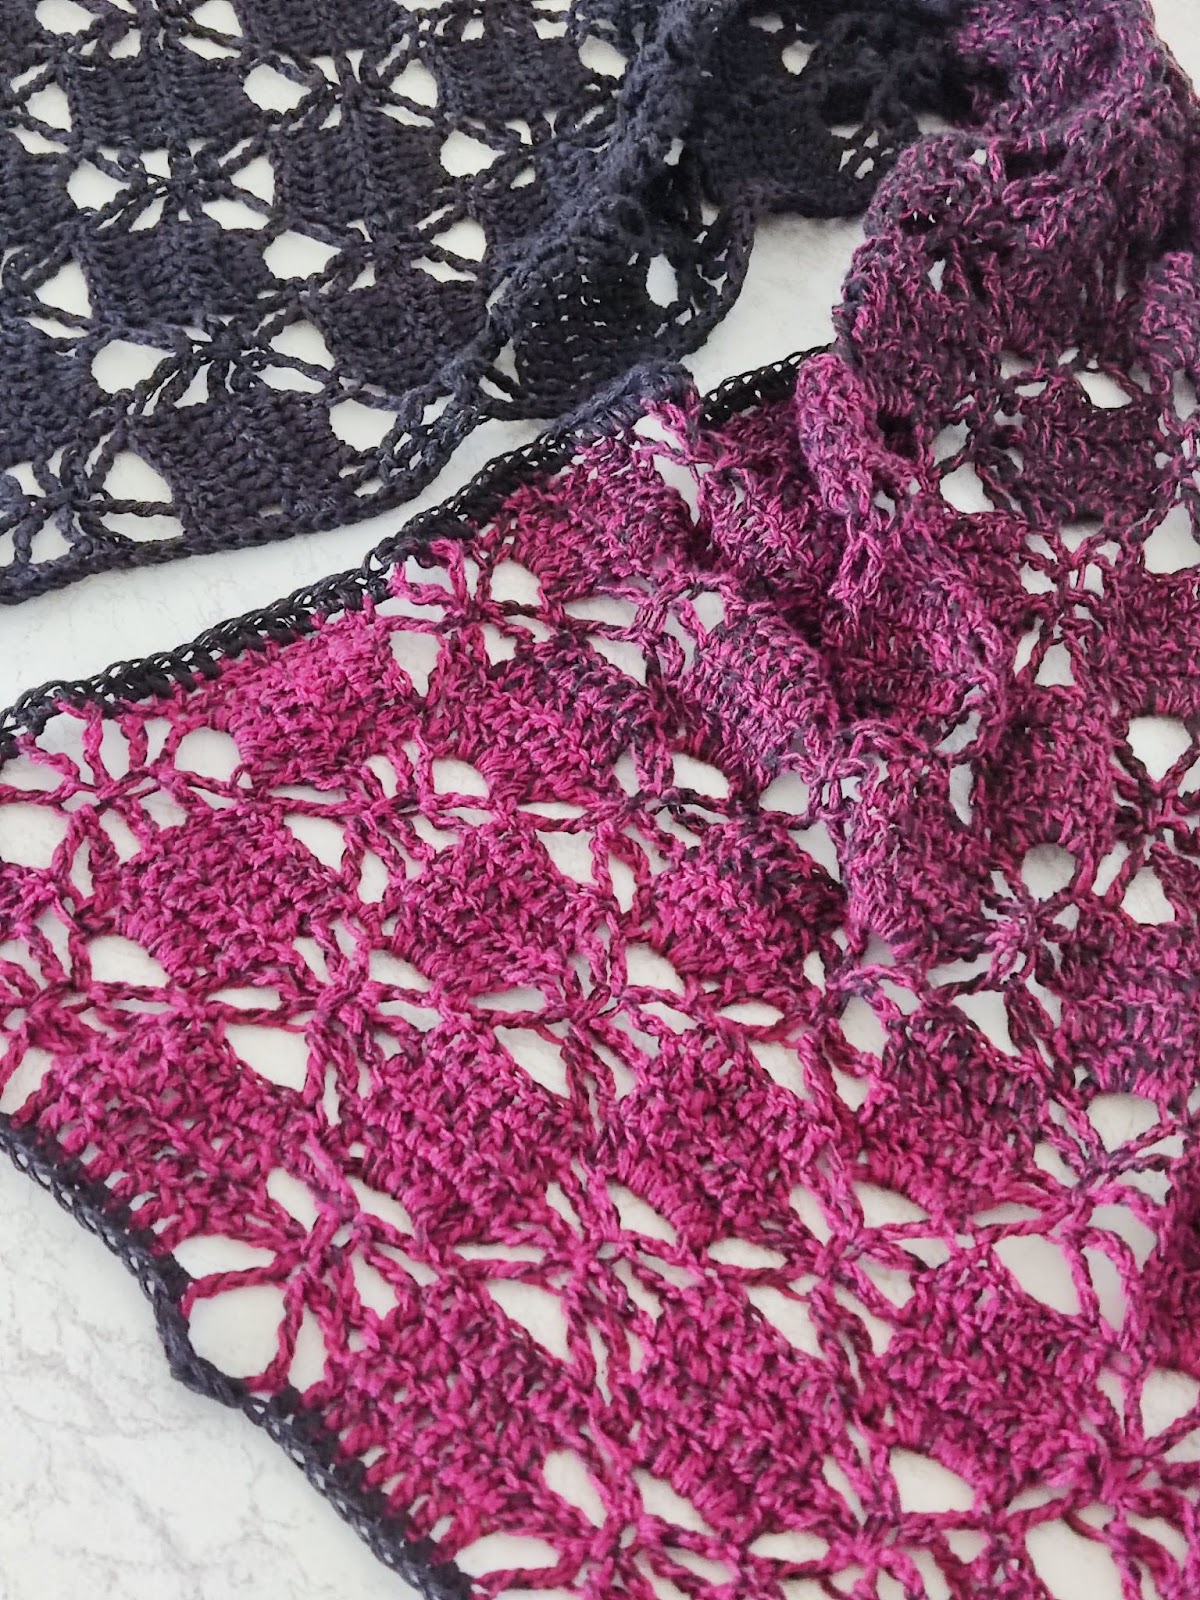
Section 2 – Edging
Crocheting around the whole piece.
Edging
Round 1: Ch 1, sc in each st around the 4
sides, ch 2 at each corner, aim for 2 sc in
each st/ch sp 4 sp, join with a sl st to the
beginning ch.
Fasten off
Sides
Crocheting across the long side, one after the other
Row 1: Ch 2, hdc in each st across, turn
Rows 2 – 8 (12): Ch 2, hdc in each st across, turn.
Fasten off
Join yarn with a sl st to the other side of the long panel.
Repeat as for the other side.
The width across the short end would be the sleeve opening.
Measure the panel – You should have half of your Hip measurement.
If too small, add a few more rows of hdc on each side.
Block to measurement
Finishing your crochet bolero
Fold the 4 corners of the rectangle so that the tip of the two corners meet.
Sleeve Opening
- Measure 9 (10)” away from the tip of the fold. This will be the sleeve opening.
- Sew/join the remaining part
- Repeat on the other side.

Collar
Crocheting around the open part of the shrug
Round 1: Ch 2, Hdc evenly around the perimeter of the collar area, join with a sl st to the beginning ch.
Round 2: Ch 1, sc in each st around, join with a sl st to the beginning ch.
Fasten off, sew in ends.
There you have your sunnd days shrug. I would love to see your version from this Phlox crochet bolero pattern.
About the Designer
Say Hi on Instagram and Subscribe To my email List for pattern discounts and freebies. For questions, send such to [email protected]. Read more about me here.