
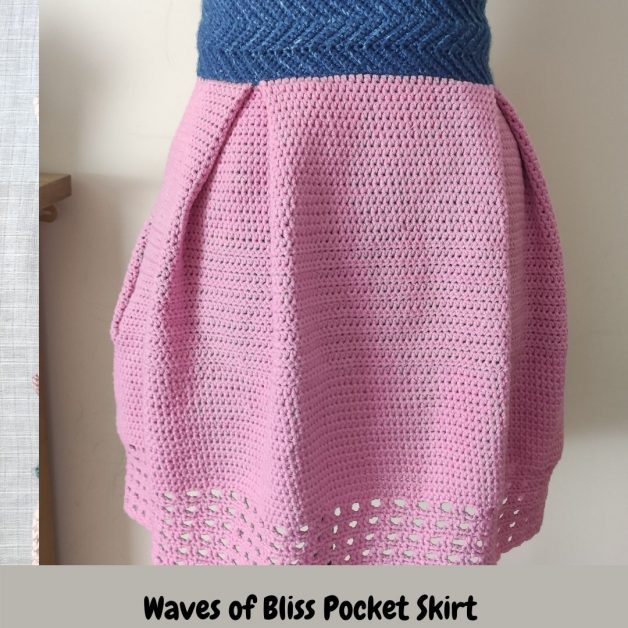
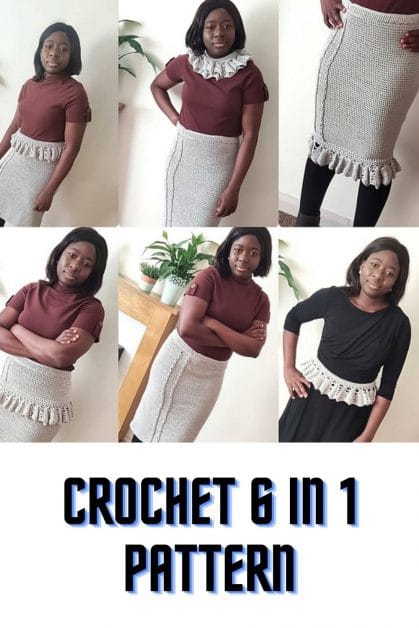
Crochet Pocket Skirt Pattern
This free crochet skirt pattern is for every pocket-loving person. And to every skirt-loving lady, you would love this. Designing this skirt with pockets and flares was a dream come true. I have always wanted to add pockets to my garments. Finally, I am excited to share my easy crochet pocket skirt pattern with you.
The inspiration behind the design
The Waves of Bliss Summer top was designed a few months ago, and I love everything about it. The Neckline, the stitches, and the colors used. Check out the top details here.
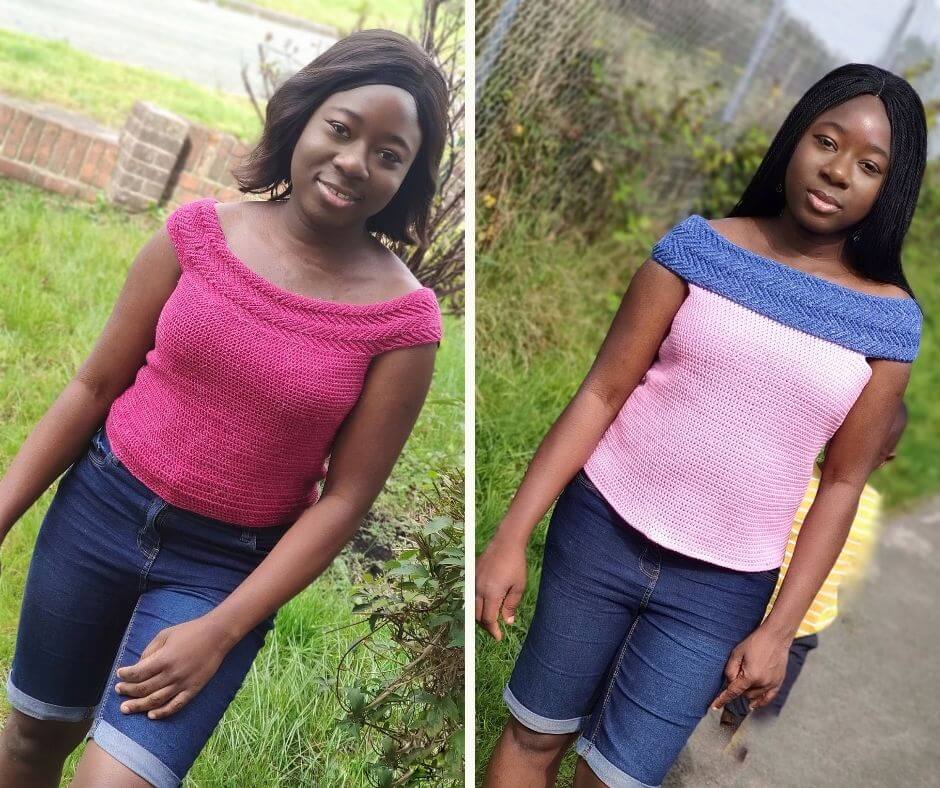
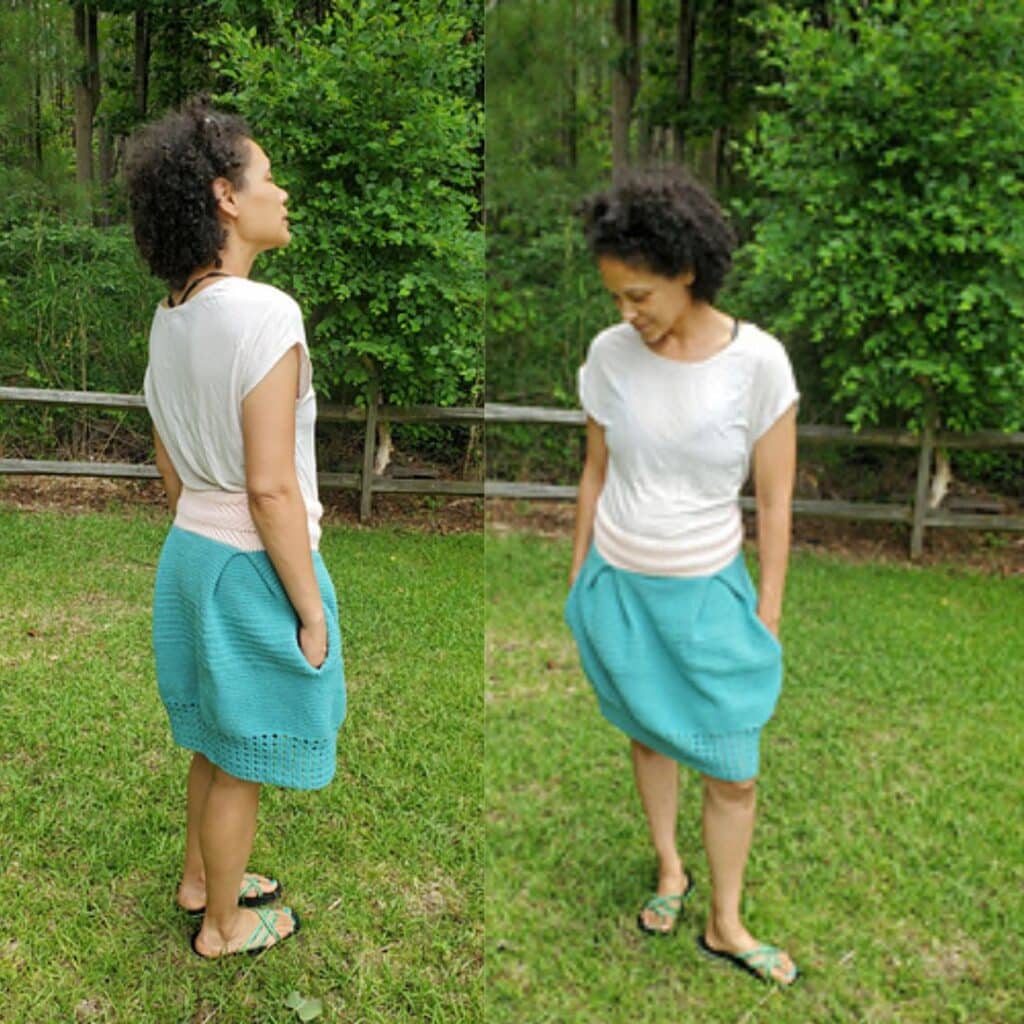
The Waves of Bliss pocket skirt is much loved, as it allows me to keep stuff in my pockets when I’m out of the house.
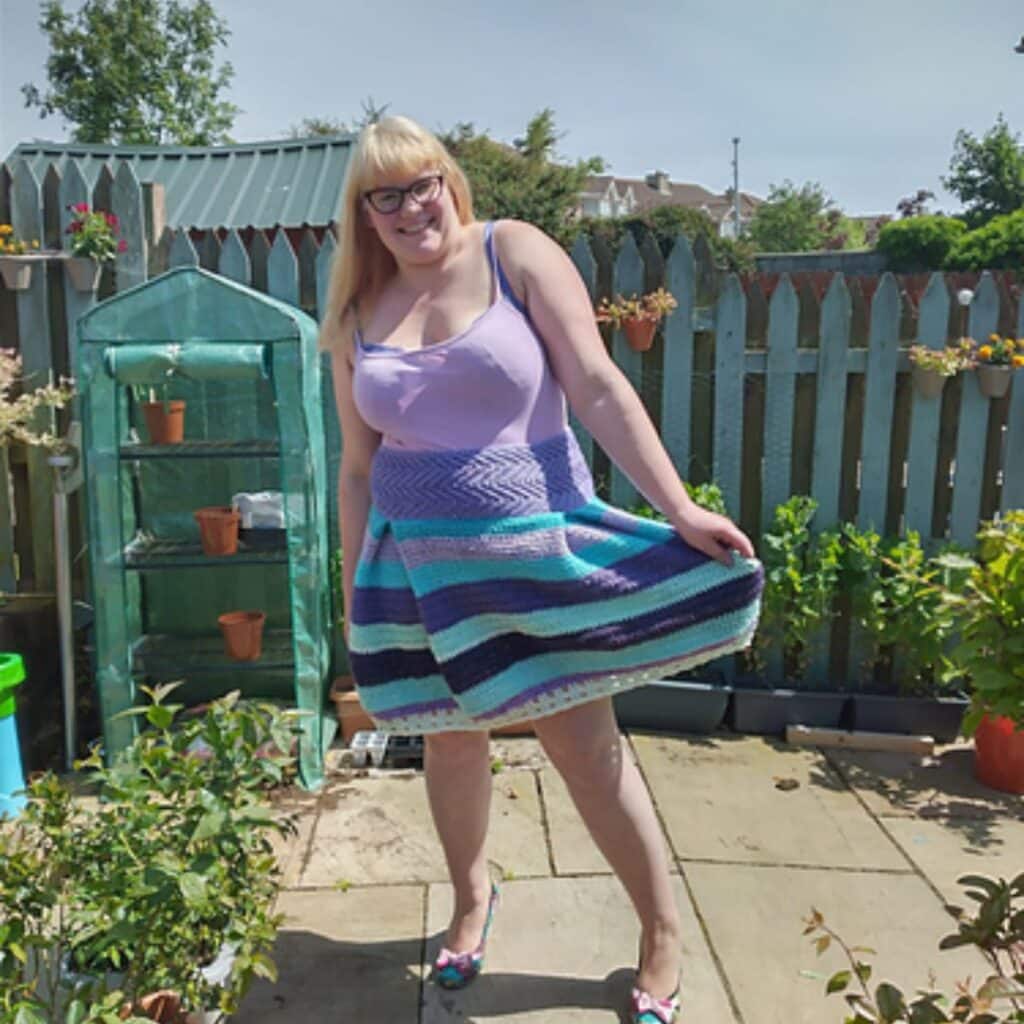
The color possibilities are endless. Another positive is that this skirt pattern does not require sewing or joining!

The crochet pocket skirt’s name comes from the top pattern, ” Waves of Bliss pocket skirt pattern.”

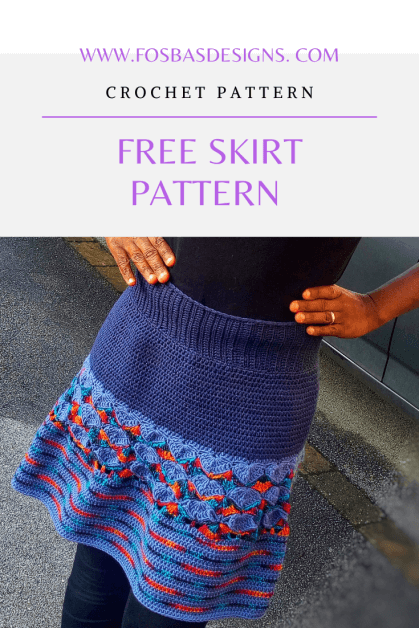
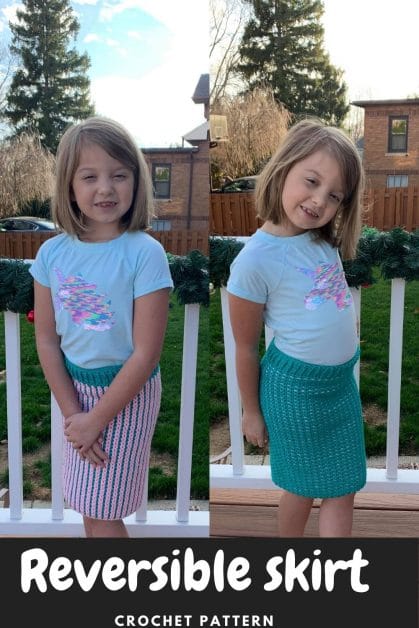
Since you love the Waves of Bliss crochet pocket skirt pattern, you might also love the following crochet skirts on my blog.
Easy Pinafore skirt-free pattern
The reversible crochet skirt pattern

Materials for this easy crochet pocket skirt pattern
Suggested yarn for the crochet skirt pattern.
I wanted a fast project, so I decided against lightweight yarn like fingering weight, sock weight, etc. For this beautiful crochet skirt pattern, I have used #4, worsted weight yarn as it works up so quickly and does not end up being super bulky. I would advise using a similar yarn weight when making yours. All of my Testers used #4, worsted weight yarn in making their own beautiful versions of this skirt.
Lion Brand Jeans, #4 Worsted weight (100% Acrylic, 246 yards/225 m per 3.5 oz/100g Ball)
● 1 (1, 1, 2, 2, 2, 2, 2, 2) Ball(s) in Blue
● 2 (3, 4, 4, 4, 4, 5, 5, 5) Balls in Pink
Total Estimated Yardage
720 yards/568 m (984 yards/900 m, 1230 yards/1125m, 1300 yards/1189 m, 1370 yards/1257 m, 1470 yards/1344 m, 1550 yards/1417 m, 1600 yards/1463 m, 1700 yards/1554 m)
Hook and other Materials
– US size H (5 mm) Crochet Hook
– Yarn needle
– Stitch Markers (4 pieces)

Gauge
16 sts over 14 Rows = 10 cm
square/4” made in hdc, before blocking.
Adjust hook size if necessary, to obtain gauge.
Get the PDF copy of this pattern on Ravelry
Pattern Notes
- Please kindly read through the pattern before starting.
- Similar #4 weight yarn can be substituted; please check the gauge.
- Chains at the beginning of the rows do not count as a stitch except where stated.
- Stitch count is written after each row/round with the smallest XS written first and the other in the ().
- Stitch count written in black is for all sizes but at some points, the stitch counts are color coded for clarity, i.e XS (S, M, L, XL, 2XL, 3XL, 4XL, 5XL).
- Progress pictures are shown in different colors as I made 2 skirts. Please don’t get confused seeing different colors for the steps shown below.
Difficulty Level – Intermediate.
Terms – US Terminology
Stitches Abbreviations used in this crochet pocket skirt pattern
Chain(s) – ch(s)
Single Crochet – sc
Single Crochet 2 stitches together – sc2tog
Single Crochet 3 stitches together – sc3tog
Half double crochet – hdc
Back Loop Only – BLO
Skip – Sk
Finished Measurement
Size(s) and color codes – XS (S, M, L, XL, 2XL, 3XL, 4XL, 5XL)
Waist Measurement – 27 (28, 30, 32, 34, 36, 38, 40, 42)”
Length of Skirt: 21 (21, 21, 21, 23, 23, 25, 25, 25)”
The modeled garment is shown in Medium, with 1” of Positive Ease.
Construction Notes
- This skirt is worked in 2 sections: the first section (waistband) is worked in rows into a long piece and sewed together, while the second (body) is in rounds, with the pockets made halfway (in rows).
- The pattern is worked from top-down, so you can easily customize yours to fit as you go.
Adjustments/fittings
1. Waistband: Repeat till you have a comfortable fit around your waist.
2. Length: increase or decrease the repeats for the part for the skirt.
I would love to see your makes from this easy crochet pocket skirt pattern and any or all of the other skirt patterns. When you do make them, kindly tag me on @crochet_fosbas (Instagram).
Tag me with your makes, I would love to see your versions of this Crochet skirt pattern!
Instructions for this easy crochet pocket skirt pattern
Section 1: Waist Band
Row 1: Chain 27, sc in 2nd ch from hook, sc in each ch across, turn. 26 sc
Row 2: In BLO, ch 1 (do not count as a stitch, here and throughout), sc in next 6 sts, 3 sc in next st, sc in next 12 sts, 3 sc in next st, sc in last 6 sts, 30 sc
Row 3: In BLO, ch 1, sk first st, sc in next 6 sts, 3 sc in next st, sc in next 6 sts, sc2tog, sc in next 6 sts, 3 sc in next st, sc in next 5 sts, sc2tog, turn. 31 sc.
Row 4: In BLO, ch 1, sk first st, In BLO,sc in next 6 sts, 3 sc in next st, sc in next 6 sts, sc3tog, sc in next 6 sts, 3 sc in next st, sc in next 5 sts, sc2tog, turn.31 sc.
Rows 5 – 100 (108, 124, 140, 156, 172, 188, 200, 208): Repeat 4
Or till you have a good fit around your Waist.
Check – Wrap your work around your Waist to check if you have a good fitting before proceeding.
Turn, working across the sides.
Make sure to have a sc in each row.
Row 1: Ch 1, sc in each st on the edges, turn. 100 (108, 124, 140, 156, 172, 188, 200, 208) sc
Row 2: Ch 1, sc in each st across. 100 (108, 124, 140, 156, 172, 188, 200, 208) sc
Fasten off and repeat row 1 – 2 on the other side.
Joining
· Fold into 2, with the beginning of row 1 against last row.
· Place stitch markers to secure both ends together.
· Sew/join using a darning needle through both sides.
· Fasten off.
Section 2: Body of Skirt
- Join B with a sl st to the first st.
- If you have more than 100 (108, 124, 140, 156, 172, 188, 200, 210) sc, you’d need to divide your stitch counts evenly. Each flare is over 18 stitches.
- Total stitch count minus (18×4) ÷ 4 = the number of stitches between your flare.
- For a wider Flare, you can increase the stitches.
- Fasten off A, Join B
- Working in rounds from here on.
- Here is a video showing how I made my Pleats – https://youtu.be/nIFaBSaONp8
Round 1: Ch 2, * working in Both Loops, hdc in next 7 (9, 13, 17, 21, 25, 29, 32, 34) sts, in FLO, hdc in next 9 sts, turn, working into the base of same st as the previous 9 sts, hdc in to those 9 sts, turn, in BLO, hdc in next 18 sts, turn, working into the base of the last 9 sts, hdc in to those 9 sts, turn, In FLO, hdc in next 9 sts, rep from * to end, join with a sl st to beginning stitch. 244 (252, 268, 284, 300, 318, 332, 344, 354) hdc
Round 2: Ch 2, hdc in each st around, join with a sl st to beginning ch.244 (252, 268, 284, 300, 318, 332, 344, 354) hdc
Round 3 – 6: Rep Round 2.
Do not fasten off.
Split for Pocket
Place stitch marker on – 1st and 122 (126, 134, 142, 150, 159, 166, 172, 177) sts
Front Panel
Row 1: Ch 2, hdc in each st till 2nd Stitch marker, leave the remaining stitches unworked, turn. 122 (126, 134, 142, 250, 159, 166, 172, 177) hdc
Row 2: Ch 2, hdc in each st across, turn.122 (126, 134, 142, 250, 159, 166, 172, 177) hdc
Row 3 – 16: Rep Row 2
Fasten off.
Back panel
- Join yarn with a sl st to the second stitch marker, working towards the first stitch marker and repeat as for the front panel.
- Do not fasten off.
Body
Round 1: Ch 2, hdc in each st in back panel, continue into front panel, join with a sl st to beginning ch. 244 (252, 268, 284, 300, 318, 332, 344, 354) hdc
Round 2: Ch 2, hdc in each st around, join with a sl st to beginning ch.244 (252, 268, 284, 300, 318, 332, 344, 354) hdc
Round 3 – 14 (16, 18, 20, 20, 20, 20, 20, 22): Rep Round 2.
Lower lace
Round 1: Ch 3, *dc in next 2 sts, ch 2, skip next 2 sts, rep from * to end, join with a sl st to beginning ch. 122 (126, 134, 142, 150, 159, 166, 172, 177) dc, 61 (63, 67, 71, 75, 79, 83, 86, 88) ch 2 sp
Round 2: Ch 1, *sc in next 2 sts, ch 2, skip next ch sp, rep from * to end, join with a sl st to beginning ch. 122 (126, 134, 142, 150, 159, 166, 172, 177) sc, 61 (63, 67, 71, 75, 79, 83, 86, 88) ch 2 sp
Round 3: Ch 3, *dc in next 2 sts, ch 2, skip next ch sp, rep from * to end, join with a sl st to beginning ch. 122 (126, 134, 142, 150, 159, 166, 172, 177) dc, 61 (63, 67, 71, 75, 79, 83, 86, 88) ch 2 sp
Rounds 4 – 15: Rep Rounds 2 – 3
Or till the desired length.
Working on the opening left for the pocket in rounds, on right side
Join yarn with a sl st to the stitch with maker on the pocket opening.
Round 1: Ch 1, sc in each st down, continue working up the other side, sc in each st till end. join with a sl st to ch 1 sp.
Round 2: Ch 2, working in BLO, hdc in each st around, join
Rounds 3 – 15: Working in a continuous round, place stitch marker and move with each round. hdc in each st.
· Sl st into the next stitch to close the height difference.
· Leave a long Tail cut yarn.
· On the wrong side, using a darning needle, sew both sides close.
Repeat on the other side.
Frequently asked questions about crocheting a skirt pattern
- Can I substitute any other type of yarn with the same weight? YES, I have only used Lionbrand as that is te yarn available to me. You are welcome to use any other brand of yarn at your disposal.
- Can I use another weight of yarn? It is not advisable to use another weight of yarn as this skirt measurements, quage was based on #4 worsted weight yarn and also tested using similar weight. However, for the experienced crocheters, you might want to measure as you crochet.
- I have never made a pleated skirt, how easy is this pattern? This is my very first pleated skirt and I am convidient you can make yurs also. I have made a simple video tutorial showing how to make the pleats and also provided informations on how to customise your own skirts with pleats that you might love.
- Can I use single/multiple color(s)? Sure, you are welcome to make your own versions of this skirt in colors of your choice. No matter the the color(s) you decide on using, this skirt would come out so beautiful.
- How long doe sit take to crochet this? In as much as we all crochet at different spead, I would suggest to bugget between 2 – 3 weeks. The time it would tak eyou to complete your skirt depends on so many things like – the size you are making, the spead at which you crochet, the amount of time at your disposal.
I hope you have fun making your own version of this pocket crochet skirt pattern? When you do make this pocket crochet skirt, kindly tag me with your beautiful versions.
Xoxo,
Susanna.


One Comment