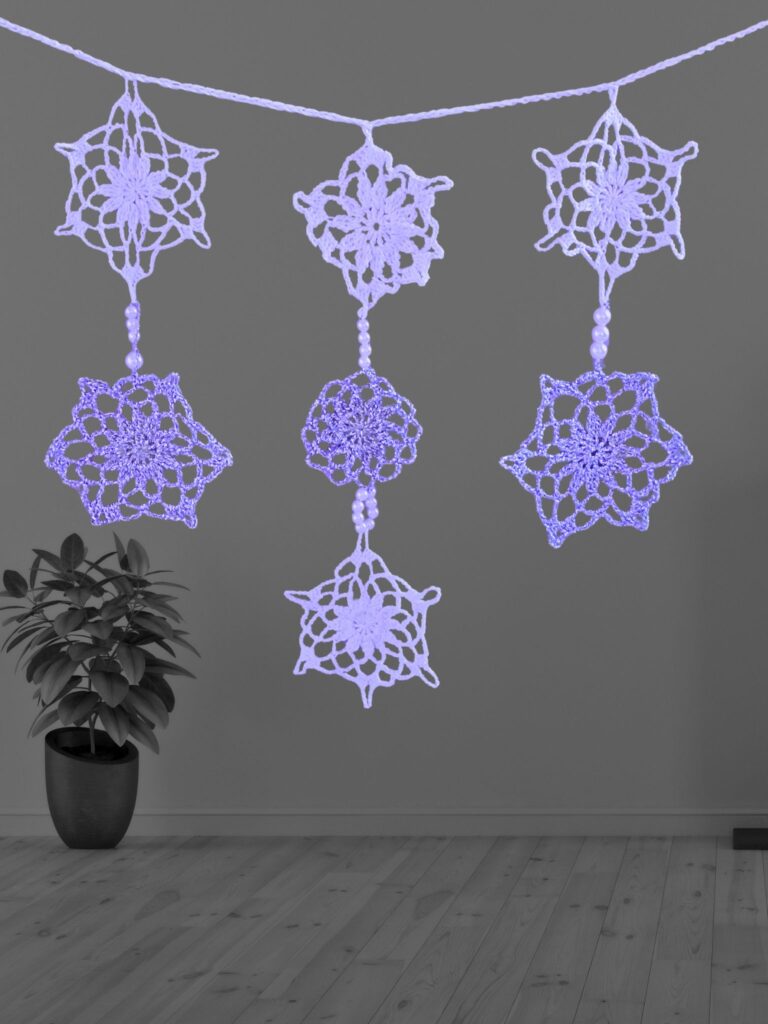
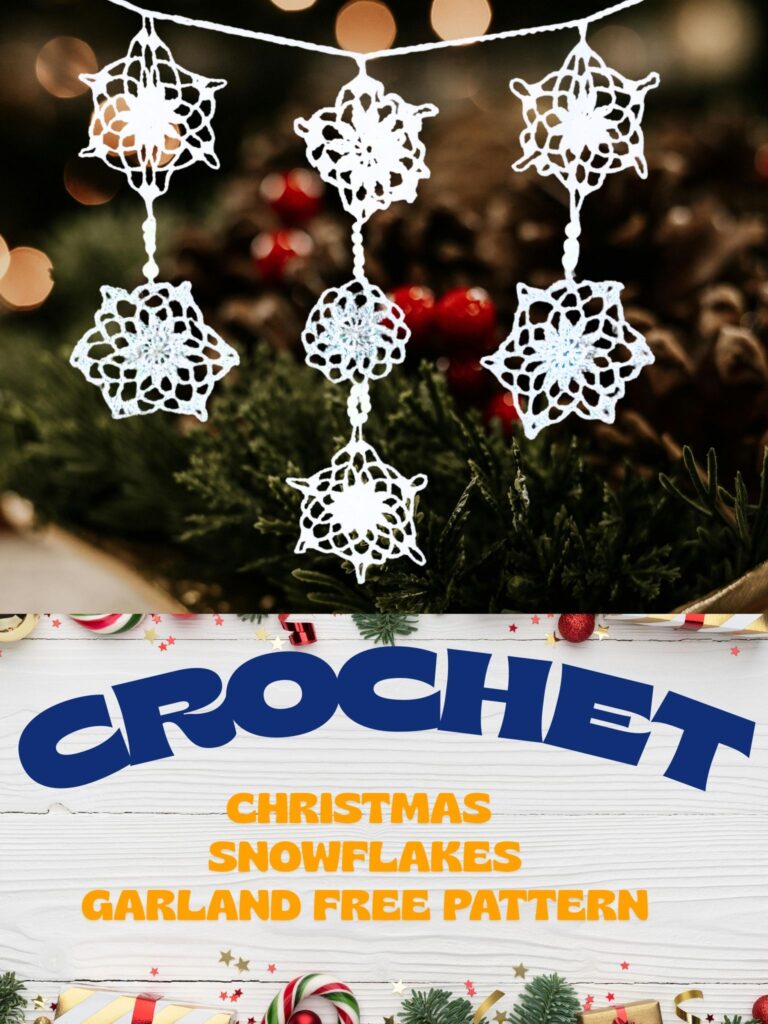
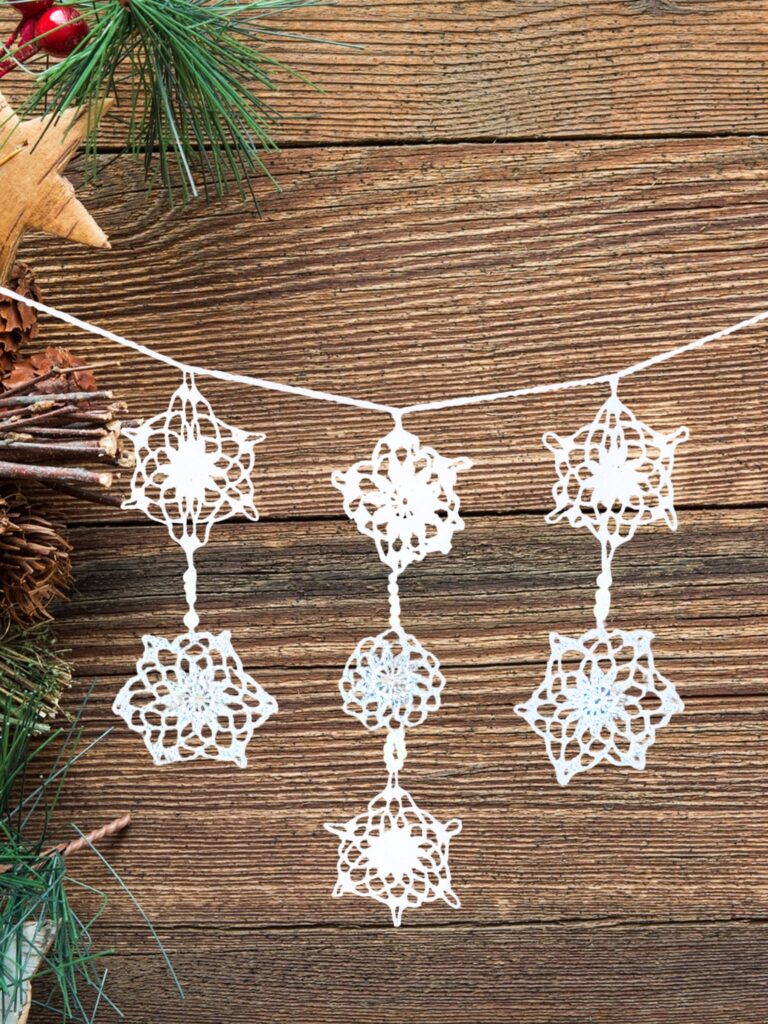
Crochet Snowflake Garland Free Pattern
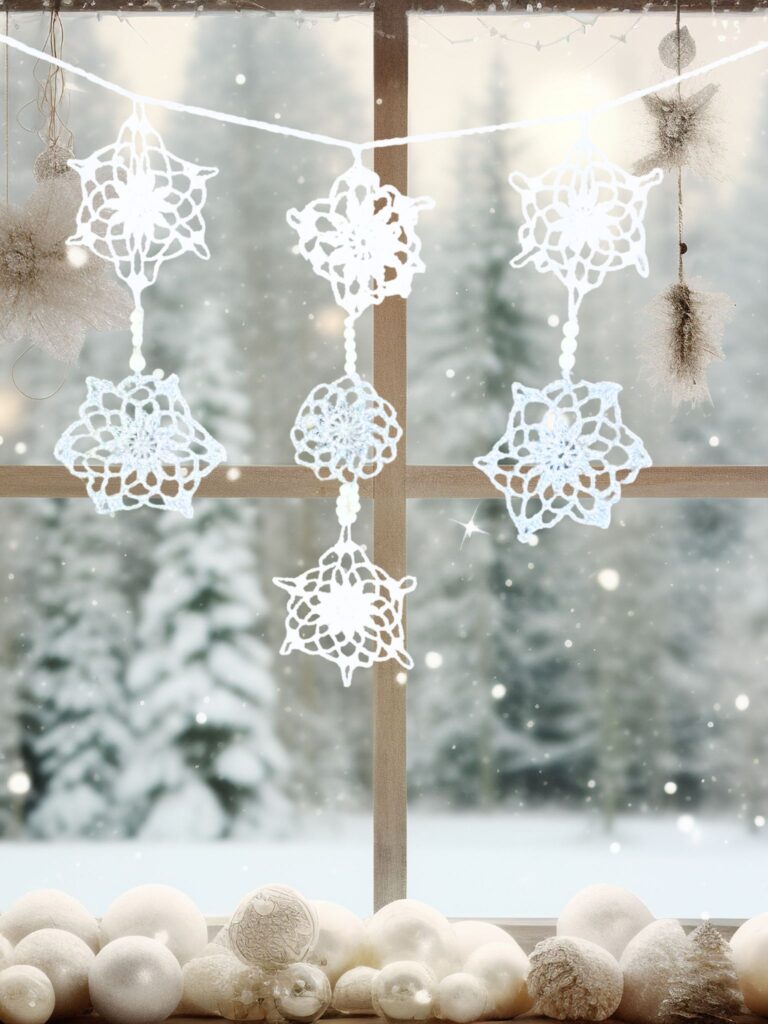
Crochet snowflakes are a holiday classic, quick to make, beautifully delicate, and endlessly versatile. This garland pattern turns simple stitches into lace like motifs that look magical draped across mantels, windows, shelves, or even the Christmas tree.
Each snowflake works up fast, making it perfect for beginners while still satisfying for seasoned makers. Customize the garland to any length or color scheme, and enjoy adding a handmade snowy sparkle to your festive décor.
Why You’ll Love This Snowflake Garland Pattern
There’s something special about handmade winter decorations, and this crochet garland is no exception.
You’ll love this pattern because the motifs are lightweight, join easily, and showcase intricate stitchwork without being complicated.
You can use traditional white for a frosty look, metallic yarns for sparkle, or bold holiday colors to match your décor.
This project also makes a lovely, eco-friendly alternative to store-bought garlands and can be reused year after year.
Materials needed for the Crochet Snowflake Garland
Yarn – Any yarn weight yarn in colors of your choice can be used
The prototype was made using Lion Brand 24/7 cotton, #3 (DK) weight yarn.
Estimated Total Yardage
15 – 20 yards per snowflake
Hook – 3.5 mm, 5 mm Crochet Hooks
Other materials
Beads (15 – 18 mm)
Darnign needle
Starch – Optional
Gauge
Not crucial for this project.
Pattern Notes
- Please kindly read through the pattern before starting.
- Beginning chains do not count as a stitch throughout the pattern.
- The stitch count is written after every round.
Difficulty Level – Easy
Terms – US Terminology
Stitches Abbreviations
Chain/chains – ch/chs
Single Crochet – sc
Half double crochet – hdc
Double crochet – dc
Treble crochet – tr
Slip Stitch – sl st
Treble 3 stitches together- tr3tog
Finished Measurement
Large snowflakes = 5” by 5”
Small snowflakes = 4″ by 4″
Variations & Creative Ideas
- Add pearl beads between snowflakes for a frosty, elegant finish.
- Use glittery yarn for winter weddings or festive celebrations.
- Create separate snowflakes to use as tree ornaments, gift toppers, or party decorations.
- Make multi-color garlands for kids’ rooms or classroom winter décor.
Adjustment
You can adjust the size by using a thicker weight of yarn or a thinner yarn.
Adjust the hook size in relation to the yarn.


Join my crochet channel for daily updates at your finger tips
Crochet Snowflake Garland Free Pattern
Make 3 pieces using 3.5 mm and 3 pieces with 5 mm
Round 1: In a MR, ch 4 (counts as dc+ch 1), *dc, ch 1, repeat from * for a total of 12 dc, sl st to 3rd ch. 12 dc, 12 ch 1 sps.
Round 2: Ch 4, 2trtog in ch 1 sp, *ch 5, 3trtog in next ch 1 sp, rep from * around, ch 5, join with a sl st to the top of the first tr set. 12 trtog, 12 ch 5 sps
Round 3: Sl st in first ch 5 sp, ch 9, sc in next ch sp, *ch 7, sc in next ch sp, rep from around until the last ch sp, join with a sl st to the 2nd ch from the ch 9 sp. 12 ch sps, 12 sc.
Round 4: Sl st in ch 9 sp, ch 3 (counts as the first st here and throughout), 3 dc, ch 5, 4 dc in same ch sp, *ch 5, sc in next ch sp, ch 5, (4 dc, ch 5, 4 dc) in next ch sp, rep from* around, join with a sl st to the top of ch 3 from the beginning. 48 dc, 18 ch sps, 6 sc.
You need 2 – 3 for each row of the garland.
Block your snowflake
Turning Snowflakes into a Garland
Part 1 – Making Rows of Snowflakes
- Adjust the chain lengths as needed.
- Beads are optional—you can skip them or substitute them with other decorative items.
Steps:
- Thread a darning needle with yarn. Pick up one large snowflake and secure the yarn into any corner (ch‑5 space).
- String 4–6 beads, then attach the yarn to a corner of the next snowflake.
- Repeat Step 2 until you have the desired number of snowflakes in a row.
- Fasten off and secure tightly.
- Set aside the finished row.
- Make additional rows of snowflakes using the same method.
Part 2 – Joining Rows into a Garland
- Chain 25.
- Slip stitch into any corner of the top snowflake from the first row, chain 20.
- Repeat Step 2 until all rows of snowflakes are joined together.
- Chain 25, fasten off, and secure.
Optional
You could starch your stars and allow them to dry.
How to Use and Customize Your Crochet Snowflake Garland
One of the best parts about this project is how customizable it is.
You can make short garlands for small spaces or long ones for large windows and mantels. Add beads between motifs for extra sparkle, or work your snowflakes in gradient yarn for a magical ombre effect.
You may also stiffen them with fabric stiffener to create structured hanging ornaments before attaching them to the garland string.
Blocking & Finishing Tips
Blocking is key to achieving beautifully shaped snowflakes.
Lightly steam block or use a pin-and-spray method to open up the lace pattern and ensure each point is well defined.
If you want a firmer look, an optional light stiffening can be used.
Once dry, assemble your garland by attaching each snowflake evenly along the main chain or cord.
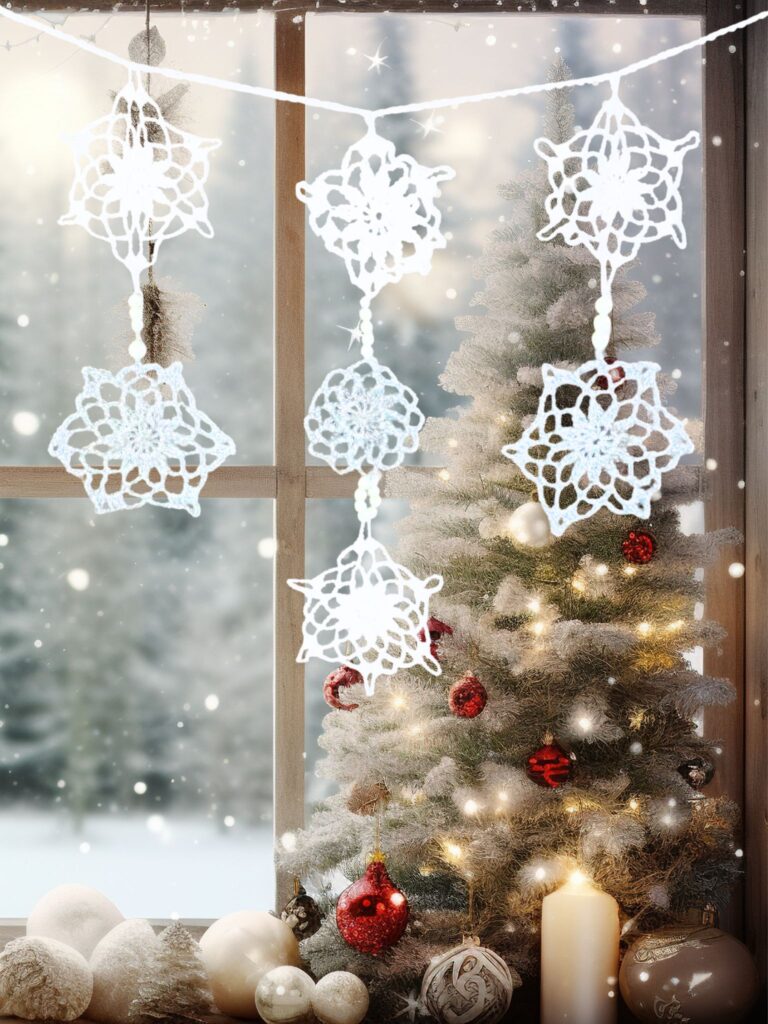
This Snowfall Crochet Snowflake Garland is a simple yet stunning project that adds warmth and handmade charm to your winter decorating.
Whether you make one for yourself or gift it to someone special, the delicate motifs bring a soft, snowy touch to any setting. I hope this pattern inspires you to create a magical winter display filled with crochet snowflakes that look as though they drifted straight out of a snow globe.
1 FREE DOWNLOAD PER MONTH
WITH JUST $3 PER MONTH!
- Pick your desired pattern each month.
- It can be a new or old pattern.

2 FREE DOWNLOADS PER MONTH
WITH JUST $5 PER MONTH!
- Pick your desired patterns each month.
- It can be a new or old pattern.
- You get 2 patterns per month.

3 FREE DOWNLOADS PER MONTH
WITH JUST $8 PER MONTH!
- Pick your desired patterns each month.
- You get 3 free patterns per month.
- It can be a new or old pattern.

About the Designer
Say Hi on Instagram and Subscribe To my email List for pattern discounts and freebies. For questions, send such to [email protected]. Read more about me here.