
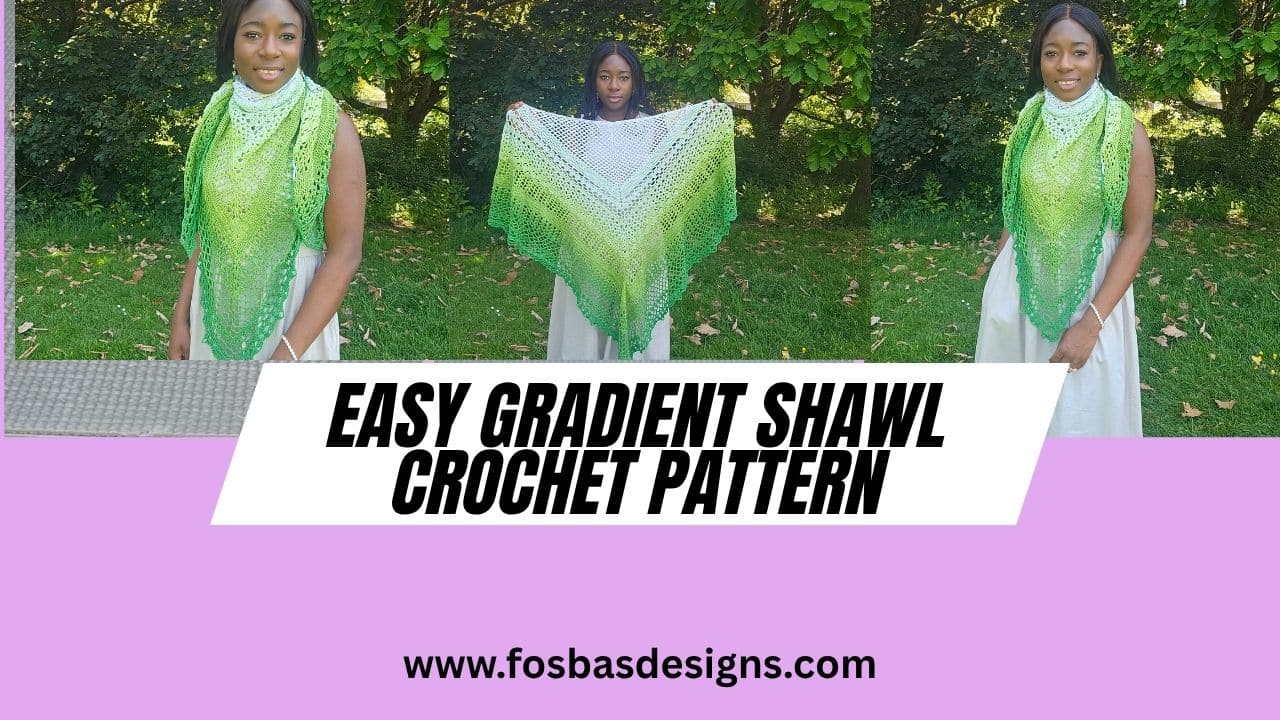
Easy Gradient Shawl Crochet Pattern
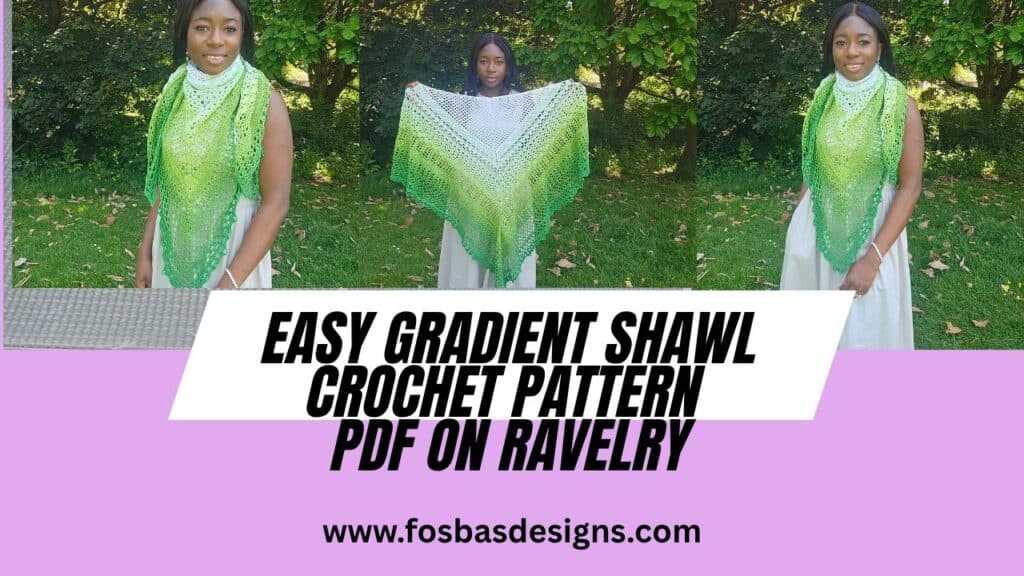
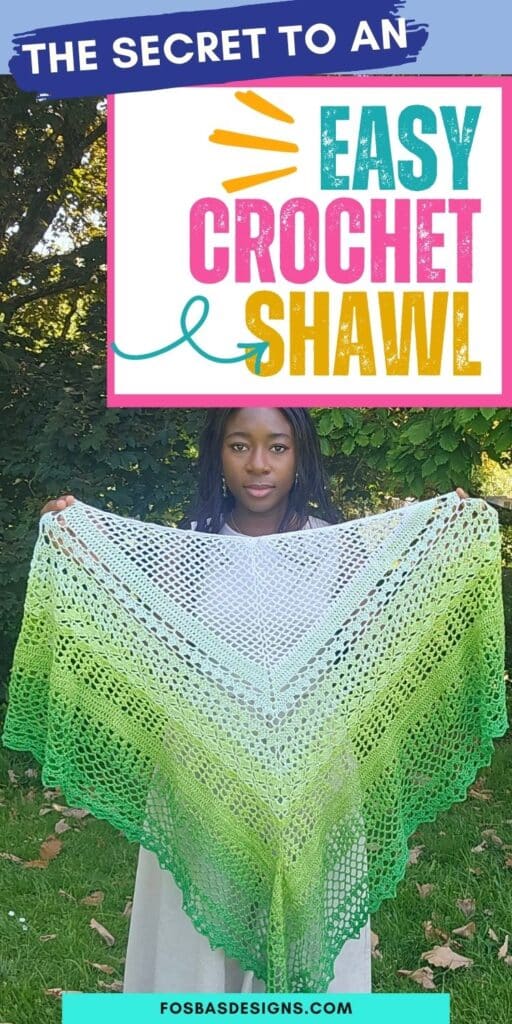
There is something so satisfying about watching a gradient yarn slowly shift from one shade into the next, and this Easy Gradient Shawl Crochet Along is the perfect project to enjoy that beautiful colour change one section at a time.
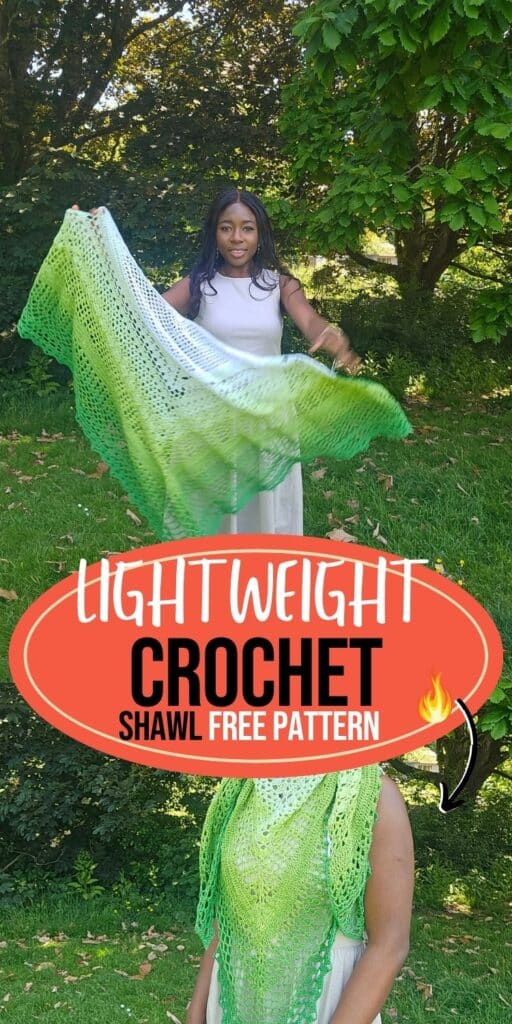
Get this pattern
This lightweight crochet shawl is worked into a soft triangle shape with lovely lace details, beautiful drape, and an easy-to-wear finish. It can be styled as a shawl, scarf, wrap, or light layering piece, making it a versatile handmade accessory for every season.
About the Easy Gradient Shawl
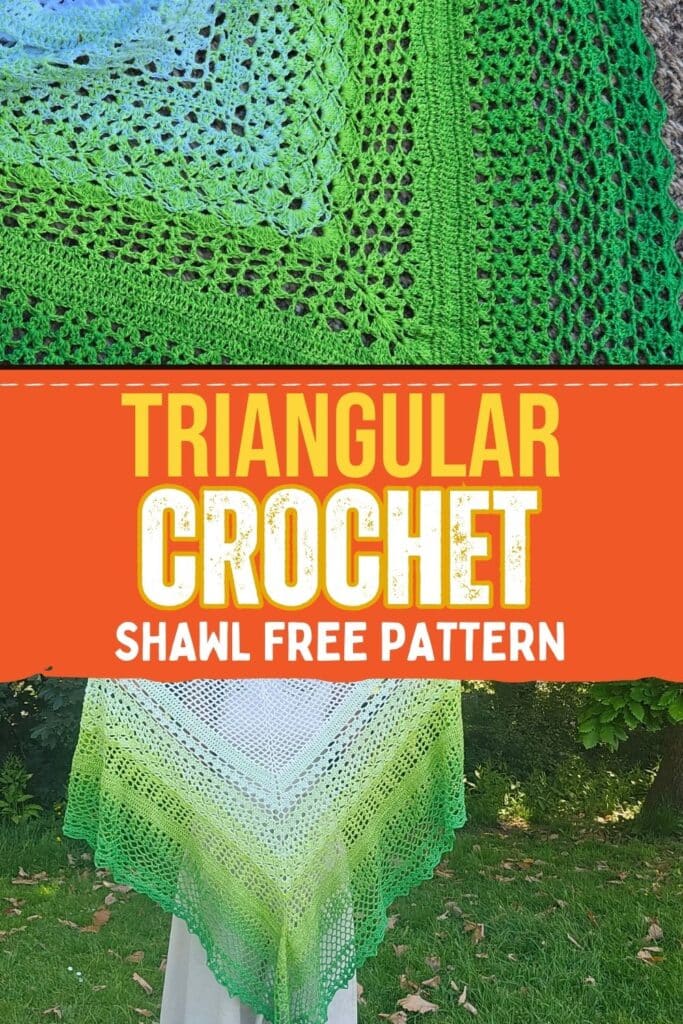
The Easy Gradient Shawl is a lightweight triangle shawl designed to showcase the beauty of gradient yarn. The open lace sections give the shawl a soft, airy feel, while the shape makes it easy to drape over the shoulders or wrap around the neck.
This project is suitable for confident beginners and experienced crocheters who enjoy relaxing, wearable crochet pieces.
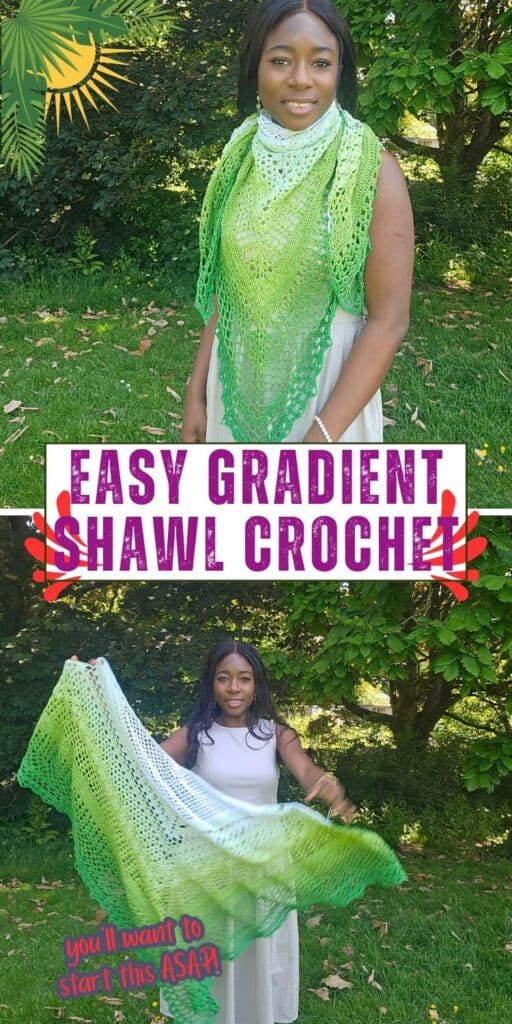
Want the print friendly PDF of this pattern? Get a copy on Ravelry or on Etsy.
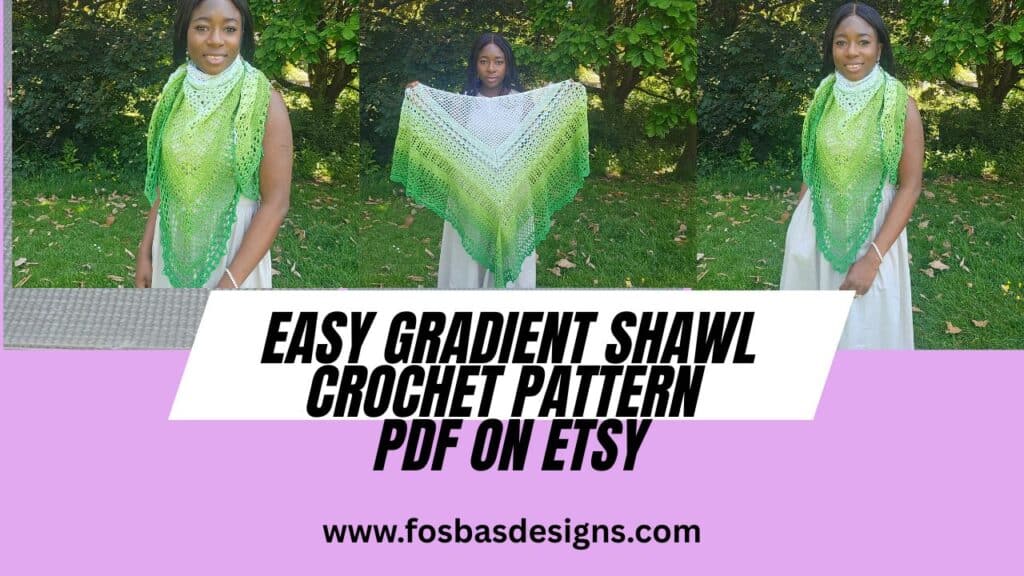
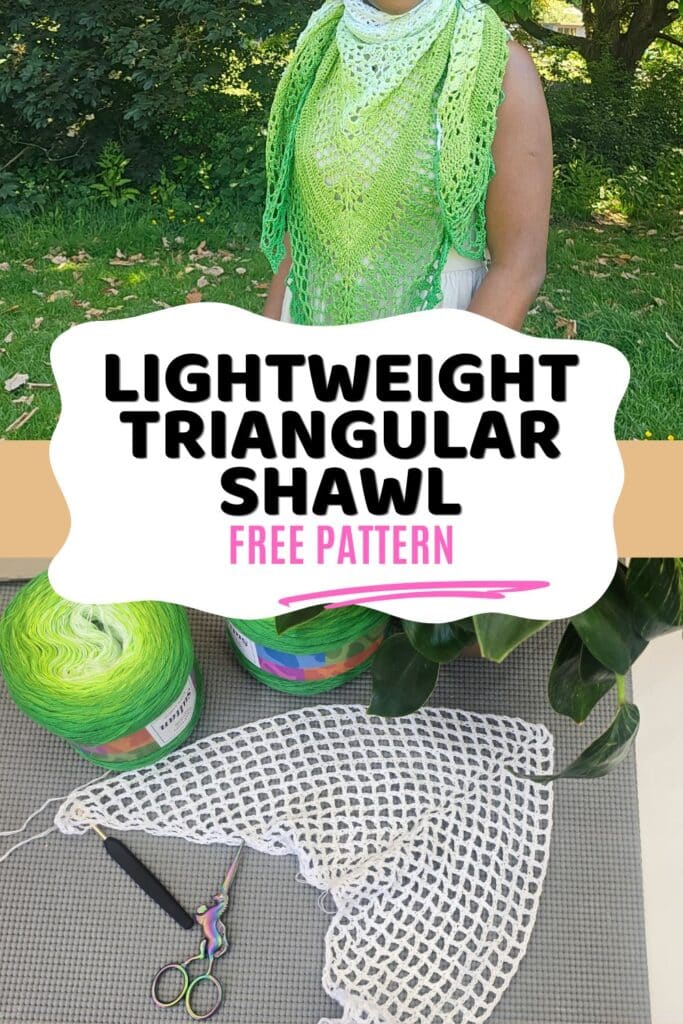
Have a look at the short video I made showing you the process of yarn selection I went through here
More Like This
 Easy
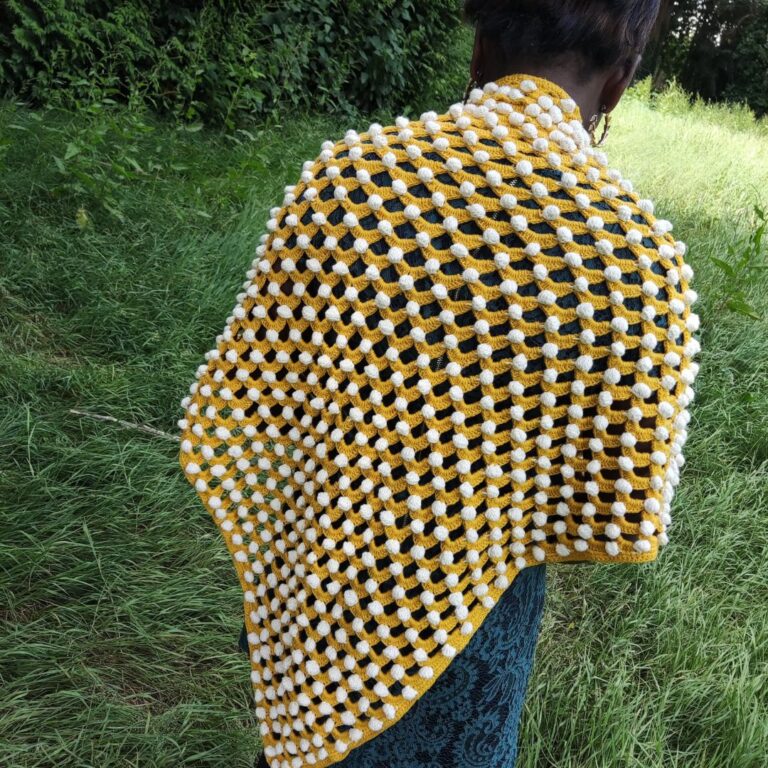
Easy Triangular crochet shawl pattern
 Intermediate
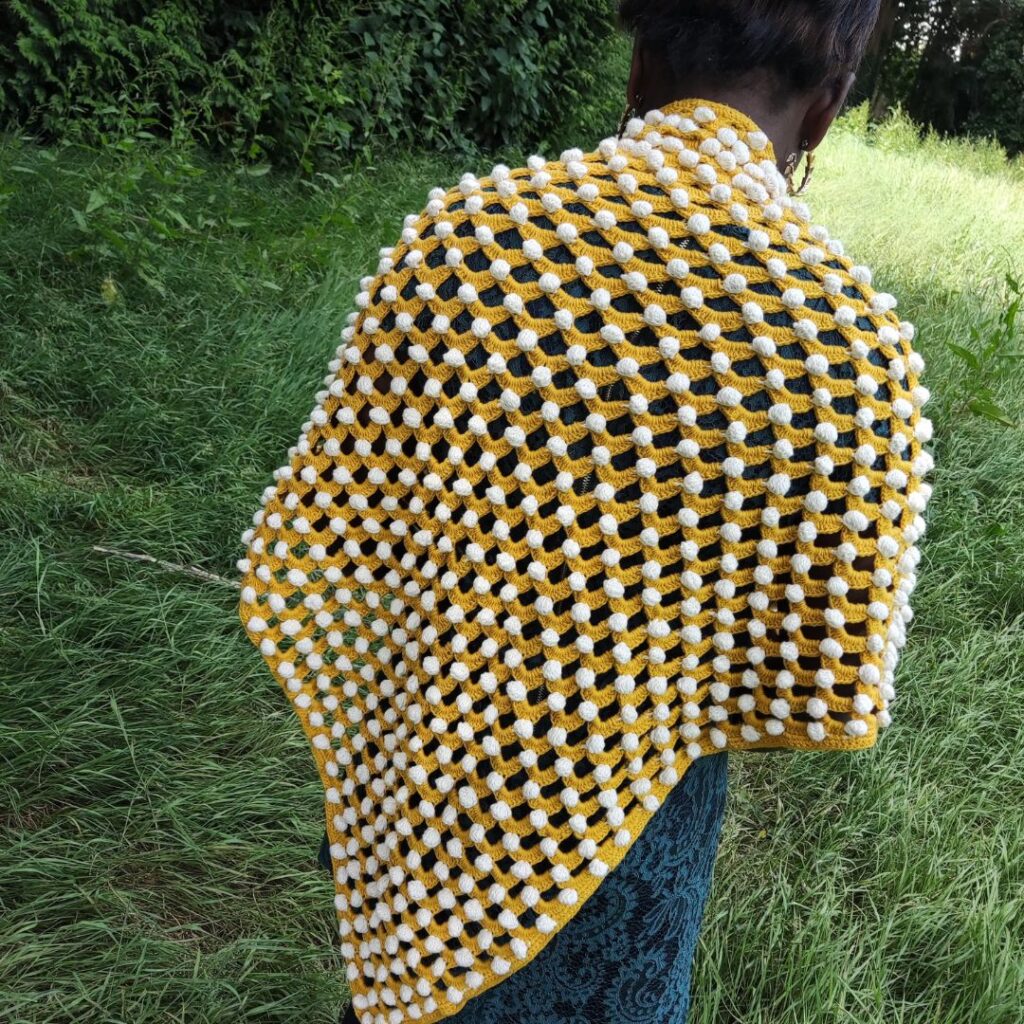
 Brava convertible easy rectangular crochet shawl pattern
 Intermediate
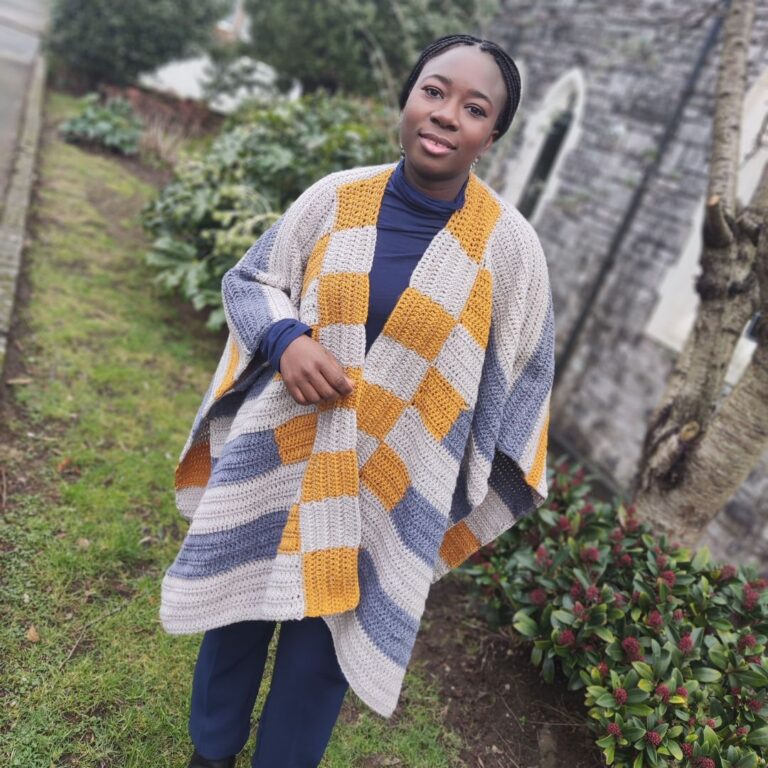
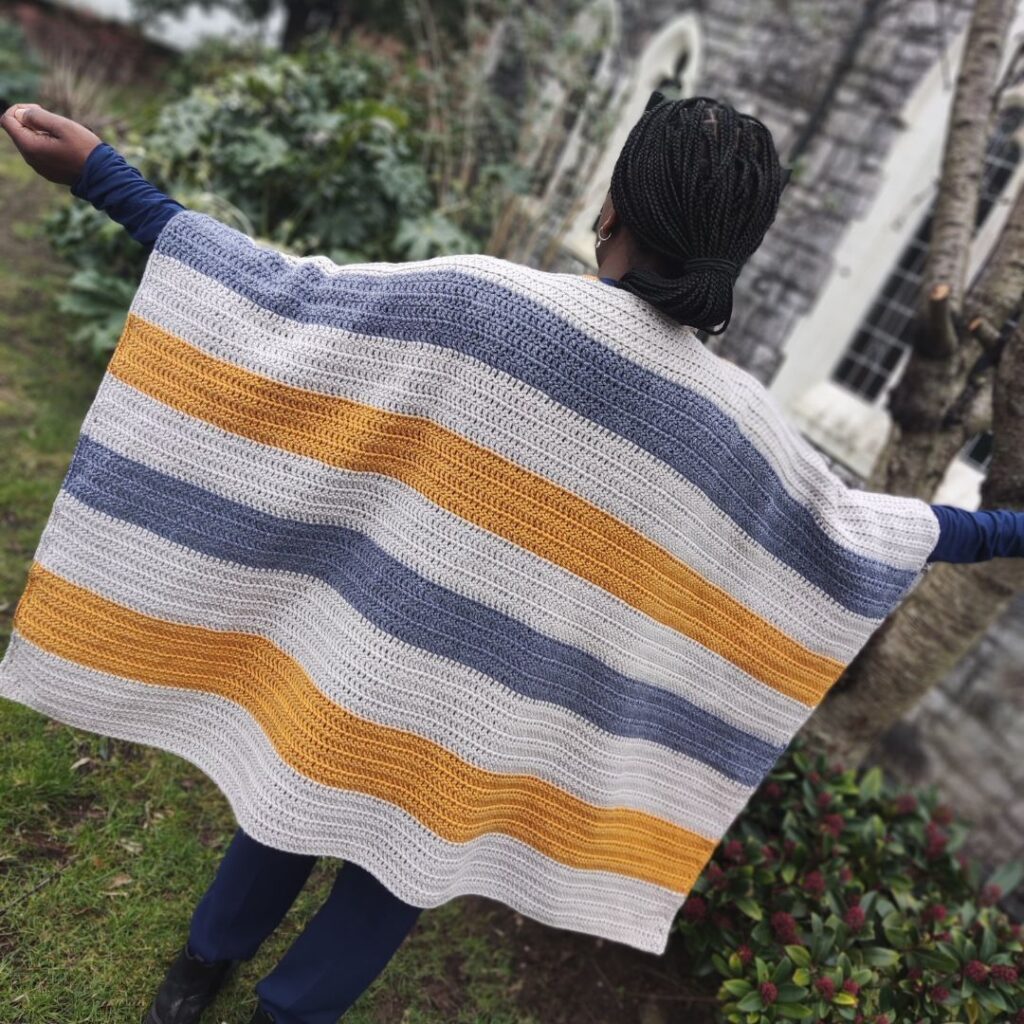
 Reversible Sweater Wrap Pattern: One Make, Two Looks, Endless Styling

 Beginner
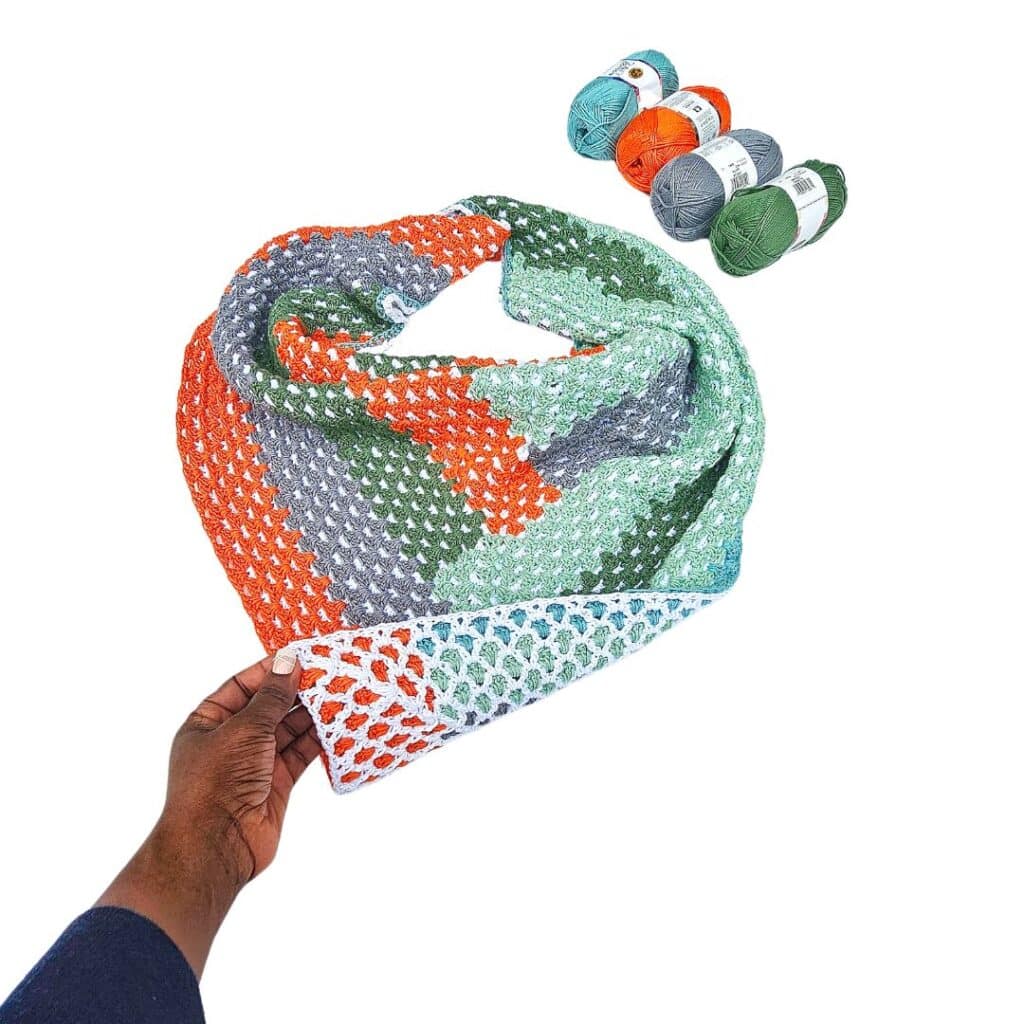
 Crochet Granny Chevron Triangular Shawl
 Easy
Easy Easy Crochet Ruana Pattern
 Intermediate
 Crochet capelet pattern for the beginner
I can’t wait to see your shawl come to life.
Skill Level
Easy / Adventurous Beginner
This shawl is a good project for crocheters who are comfortable with basic stitches and ready to try a simple lace shawl construction.
Crochet Terms
This pattern is written in US crochet terms.
Materials Needed for the Easy Gradient Shawl
To make your Easy Gradient Shawl, you will need:
Yarn:
Hobbii Cotton Kings Sultan, 4 ply, #2 Fine (100% Cotton, 875 yards/800 m per 7 oz /200g Ball)
Estimated Yardage
900 yards
Hook and other materials
US size G (4 mm) Crochet Hook
Yarn needle
Stitch Markers (1 piece)
Scissors
Yarn needle
Blocking mats and pins, recommended for finishing
Gauge
11 blocks of filet over 12 rows = 10 cm
square/4” before blocking.
Gauge pattern
Adjust hook size if necessary, to obtain
gauge.
Pattern Notes
1. Please kindly read through the pattern before starting.
2. Any #2 weight of yarn can be substituted.
3. Chains at the beginning of the rows count as a stitch, ch 2 = hdc, ch 3 = dc, ch 4 = (dc + Ch 1), ch 5 = (dc + ch 2).
4. Work last st into turning chains (at the beginning of the previous row).
5. The sample was made using an Ombre yarn, with color changing gradient flow as in the cake. You are welcome to use any color(s) of your choice
Stitches Abbreviations
Chain(s) – ch(s)
Half double crochet – hdc
Double crochet – dc
Back Loop Only BLO
Special stitches
V stitch = (dc, ch 1, dc) in same st
Shell = 3 dc in the indicated stitch
Petal = 3 dc, ch 2, 3 dc in same ch sp.
Finished Measurements
Shawl depth: 48”
Wingspan: 72”
Why You’ll Love This Pattern
The Easy Gradient Shawl is light, elegant, and relaxing to crochet. The gradual colour change gives the finished shawl a beautiful visual effect, while the lace sections create softness and movement.
You’ll love this shawl because it is:
- lightweight and wearable
- Perfect for gradient yarn
- relaxing to crochet over several weeks
- beautiful styled as a scarf, wrap, or shawl
- a lovely project for gifting or keeping
You are welcome to share your progress photos, ask questions, and cheer others on as we crochet together.
Post your yarn selections, progress, and questions here in the community on Facebook.
Styling Your Finished Shawl
The Easy Gradient Shawl can be styled in several ways. Wear it wrapped around your neck as a statement scarf, draped over your shoulders as a light shawl, or layered over a dress for a soft handmade finish.
The lace design makes it feel delicate and elegant, while the gradient colours make each finished shawl unique.
Want the print friendly PDF of this pattern?
Get a copy on Ravelry or on Etsy.
Section 1: Filet
Video tutorial for this section
Row 1: In a magic Ring, ch 3(counts as a stitch here and throughout), 12 dc, turn.
Row 2: Ch 4 (counts as dc + ch 1, here and throughout), dc in same st, *ch 1, dc in next st, rep from * to last st, dc in last st, ch 1, dc in same st, turn.
Row 3: Ch 5 (counts as dc + ch 2, here and throughout the pattern), dc in same st, *ch 2, skip ch sp, dc in next st, rep from *6 more times, with a total of 8 ch-2 sp, ch 2, dc in same st, place stitch marker in ch 2 sp and move with every row, rep from* to last st (ch 4 sp), ch 2, skip next ch, dc in last st, ch 2, dc in same st, turn.
Row 4: Ch 5, dc in same st, *ch 2, skip ch sp, dc in next st, rep from * till the stitch with
The marker, ch 2, [dc, ch 2, dc] in ch 2 sp, move stitch marker, rep from * to last st, dc in last st, ch 2, dc in same st, turn.
Rows 5 – 16: Rep Row 4.
Rows 5 – 16: Rep Row 4.
Row 17: Ch 3, dc in same st, *working in ch
2 sp, 2 dc in next ch 2 sp, skip next dc st, rep from * till stitch maker, [2 dc ch 2, 2 dc in stitch with the marker], move the stitch marker, rep from* to last ch 2 sp, 2 dc in last ch 2 sp, 2 dc in last st (3rd ch from ch 5) turn.
Row 18: Ch 3, dc in same st, *dc in each st till stitch with the marker, [2dc ch 2, 2dc in stitch with the marker], move the stitch marker, rep from* to last st, 2 dc in last st, turn.
Rows 19 – 20: Rep Row 18.
Section 2
Row 21: Ch 3, dc in same st, ch 5, *skip next 3 sts, sc in next st, ch 5, rep from * until st marker, (sc, ch 5, sc) in ch 2 sp, sc in next st, rep from * until the end of the row, rep from * until the last st, 2 dc in last st, turn.
Row 22: Ch 3, dc in same st, *3 dc in next ch sp, skip next sc st, rep from * until the stitch marker, dc in next 3 sts, (3 dc, ch 2, 3 dc in ch 5 sp), dc in next 3 sts, rep from * until the end, 2 dc in last st, turn.
Row 23: Ch 2, hdc in first st,*hdc in next st, rep from * until the stitch marker, (2 hdc, ch 2, 2 hdc in ch 2 sp), rep from * until the end, 2 hdc in last st, turn.
Row 24: Ch 3, dc in same st, skip next 2 sts, *ch 3, dc3tog, rep from * until the stitch marker, ch 3, (dc, ch 4, dc in ch 2 sp), rep from * until the end, skip next 2 sts, 2 dc in last st, turn.
Row 25: Ch 3, dc in same st, *ch 5, sc in ch 3 sp, rep from * until st marker, (sc, ch 5, sc) in ch 2 sp, rep from * until the end of the row, rep from * until the last st, 2 dc in last st, turn.
Row 26: Ch 3, dc in same st, *3 dc in next ch sp, skip next sc st, rep from * until the stitch marker, (3 dc, ch 2, 3 dc in ch 2 sp), rep from * until the end, 2 dc in last st, turn.
Row 27: Ch 2, hdc in first st,*hdc in next st, rep from * until the stitch marker, (2 hdc, ch 2, 2 hdc in ch 2 sp), rep from * until the end, 2 hdc in last st, turn.
Row 28: Ch 3, dc in same st, skip next 2 sts, *ch 3, dc3tog, rep from * until the stitch marker, skip next st, (dc, ch 4, dc in ch 2 sp), skip next st, rep from * until the end, skip next 2 sts, 2 dc in last st, turn.
Row 29: Ch 3, dc in same st, (2 dc, ch 2, 2 dc) in each ch 3 sp until you get to the stitch marker, {2 dc, ch 2, 2 dc, ch 1, 2 dc, ch 2, 2 dc} in ch 2 sp, rep ( ) in each ch 3 sp until the end, 2 dc in last st, turn.
Rows 30 – 31: Ch 3, dc in same st, (2 dc, ch 2, 2 dc) in each ch 2 sp until you get to the stitch marker, {2 dc, ch 2, 2 dc, Ch 1, 2 dc, ch 2, 2 dc} in ch 2 sp, rep ( ) in each ch 2 sp until the end, 2 dc in last st, turn.
Row 32: Ch 3, dc in same st, *7 dc in next ch 2 sp, ch 1, sc in next ch 2 sp, ch 1, rep from * until last ch 2 sp before the stitch marker, 7 dc in next ch 2 sp, ch 1, move stitch marker to ch 1 sp, rep from * until the last ch 2 sp, 7 dc in last ch 2 sp, 2 dc in last st, turn.
Row 33: Ch 5, dc in same st, ch 1, skip next 4 sts, *sc in next st, skip next (3 sts, ch 1 sp), {dc, ch 3, dc} in next sc, ch 1, skip next 3 sts, rep from * until the stitch marker, {dc, ch 3, dc} in ch 3 sp, rep from * until the end, 2 dc in last st, turn.
Row 34: Ch 3, *7 dc in next ch 3 sp, ch 1, sc in next sc, ch 1, rep from * until the stitch marker, {7 dc, ch 1, 7 dc}in ch 3, ** ch 1, sc in next sc, ch 1, 7 dc in next ch 2 sp, rep from ** until the last ch 2 sp, 7 dc in last ch 2 sp, dc in last st, turn.
Row 35: Rep row 33
Row 36: Rep row 34
Row 37: Rep row 33 – 70 dc
Section 3
Row 38: Ch 5, dc in same st, *ch 1, dc in next st, ch 1, {2 dc, ch 2, 2 dc} in next ch 3 sp, rep from * until the last ch 3 before the stitch marker, ch 1, dc in next st, ch 1, {2 dc, ch 2, 2 dc, ch 3 place stitch marker, 2 dc, ch 2, 2 dc}, continuw to rep from * until the end, 2 dc in last st, turn.
Row 39: Ch 5, dc in same st, *ch 1, dc in next st, ch 1, {2 dc, ch 2, 2 dc} in next ch 2 sp, rep from * until the stitch marker, ch 1, {2 dc, ch 2, 2 dc, ch 3 move stitch marker, 2 dc, ch 2, 2 dc}, continue to rep from * until the end, 2 dc in last st, turn.
Row 40: Ch 5, dc in same st, *ch 1, dc in next st, ch 1, {2 dc, ch 2, 2 dc} in next ch 2 sp, rep from * until the stitch marker, ch 1, {2 dc, ch 2, 2 dc, ch 3 move stitch marker, 2 dc, ch 2, 2 dc}, ch 1, {2 dc, ch 2, 2 dc} in next ch 2 sp, continue to rep from * until the end, 2 dc in last st, turn.
Rows 41 – 42: Ch 5, dc in same st, *ch 1, dc in next st, ch 1, {2 dc, ch 2, 2 dc} in next ch 2 sp, rep from * until the stitch marker, ch 1, {2 dc, ch 2, 2 dc, ch 3 move stitch marker, 2 dc, ch 2, 2 dc}, {ch 12 dc, ch 2, 2 dc} in each of the ch 2 sps until the dc, rep from * until the end, 2 dc in last st, turn.
Row 43: Ch 3, dc in same st, dc in next st, *dc in next ch sp, dc in next st, dc in next ch sp, dc in next 2 sts, 2 dc in next ch 2 sp, dc in next 2 sts, rep from * until the last 5 ch 2 sps, dc in next ch sp, dc in next st, dc in next ch sp, **dc in next 2 sts, dc in next ch 2 sp, dc in next 2 sts, dc in next ch sp, rep from ** until the stitch marker, {2 dc ch 3, 2 dc} in ch 3 sp, move st marker, rep from ** in next 4 ch 2 sps, rep from * to last st, 2 dc in last st, turn.
Rows 44 – 46: Ch 3, dc in same st,* dc in each st until the stitch marker, {2 dc ch 2, 2 dc} in ch 3 sp, move st marker, rep from* to last st, 2 dc in last st, turn.
Section 4
Section 4
Row 47: Ch 3 (counts as a st here and throughout), dc in same st, *ch 2, skip next 3 sts, (dc-cl, ch 2, dc-cl) in next st, rep from* until stitch marker, {(dc-cl, ch 2, dc-cl), ch 3, (dc-cl, ch 2, dc-cl)} in ch 3, rep from * until the end, 2 dc in last st, turn
Rows 48 – 50: Ch 3, dc on same st, (dc, ch 2, dc-cl) in next dc-cl ch sp, *ch 2, skip next 3 sts, (dc-cl, ch 2, dc-cl) in next dc-cl’s ch 2 sp, rep from * until stitch marker, {(dc-cl, ch 2, dc-cl), ch 3, (dc-cl, ch 2, dc-cl)} in ch 3, rep from * until the end, 2 dc in last st, turn.
Row 51: Ch 3 (counts as a st here and throughout), dc in same st, *ch 5, sc in next dc-cl ch sp, rep from* until stitch marker, (ch 5, sc, ch 5) in ch 3, rep from * until the end, 2 dc in last st, turn.
Rows 52 – 55: Ch 3 (counts as a st here and throughout), dc in same st, *ch 5, sc in next ch sp, rep from* until stitch marker, (ch 5, sc, ch 5) in ch 5, rep from * until the end, 2 dc in last st, turn.
Row 56: Ch 3, dc in same st, 3 dc in each ch 5 sp, until the ch marker (3 dc, ch 3, 3 dc) in ch sp with the stitch marker, 3 dc in each ch 5 sp, until the end, 2 dc in last st, turn.
Row 57: Ch 3, dc in same st, *ch 3, dc3tog, rep from * until the ch marker ch 3, (dc, ch 3, dc) in ch sp with the stitch marker, rep from * until the end, ch 3, 2 dc in last st, turn.
Row 58: Ch 3, dc in same st, *ch 3, sc in next ch sp, rep from* until stitch marker, (ch 5, sc, ch 5) in ch 3, rep from * until the end, 2 dc in last st, turn.
Rows 59 – 61: Repeat rows 56 – 58
Border row
Shell = 3 dc, ch 3, 3 dc in ch 3 sp
Row 62: Ch 3, dc in same st, *shell in ch 3 sp, sc in next ch sp, rep from* until stitch marker, (sc ch 3, sc) in ch 3, rep from * until the end, 2 dc in last st, turn.
Do not fasten off
Crochet across the long edge (wingspan), sc in each st across.
Fasten off
Weave in all ends
Block your shawl.
Blocking Your Shawl
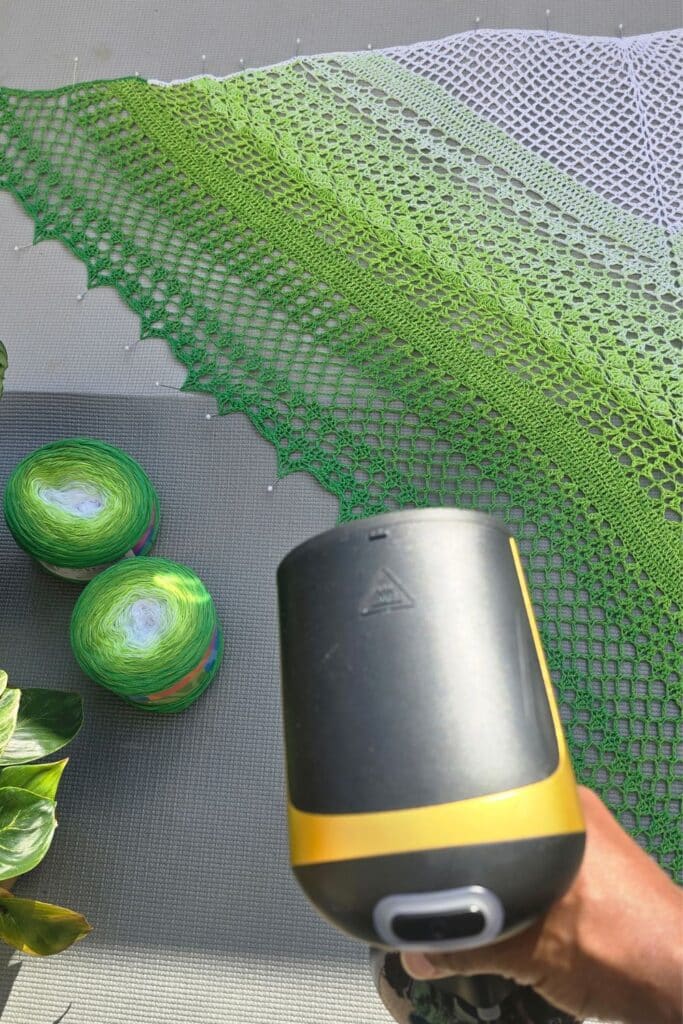
Blocking is highly recommended for this project. It helps open up the lace, smooth out the shape, and give the shawl a more polished finish.
After finishing your shawl, gently wet block or steam block according to the yarn care instructions. Pin the shawl into shape and allow it to dry fully before wearing.
FAQ
Is this shawl beginner friendly?
Yes, this shawl is suitable for adventurous beginners. If you are comfortable with basic crochet stitches and following a pattern, this is a lovely project to try.
Do I need to use gradient yarn?
No. Gradient yarn gives the shawl its beautiful fade effect, but you can also use solid yarn, self-striping yarn, or your own colour combination.
How long does the crochet along last?
The CAL runs for 4 weeks, from July 6 to August 2.
Can I work ahead?
Yes, once each section is released, you can work at your own pace.
Can I make the shawl bigger?
Depending on the pattern repeat and your yarn amount, you may be able to continue for a larger shawl. Be sure to check the pattern notes before adjusting.
Should I block the shawl?
Yes. Blocking is recommended because it helps the lace open up and gives the shawl a beautiful finished shape.
Buy this pattern for $6.50, or get it free with a membership from $3 a month.
Buy the PDF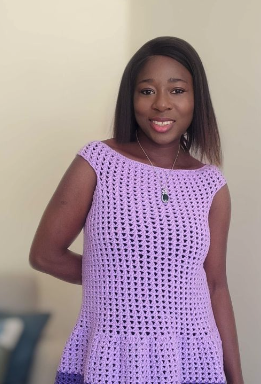
Hi, I’m Susanna!
I am Susanna, the designer and maker behind Fosbas Designs. Here, I share not only crochet designs but also the inspirations and process of each project. I am a happy mother of two handsome boys and a wife to my prince charming. These guys are…
More about me