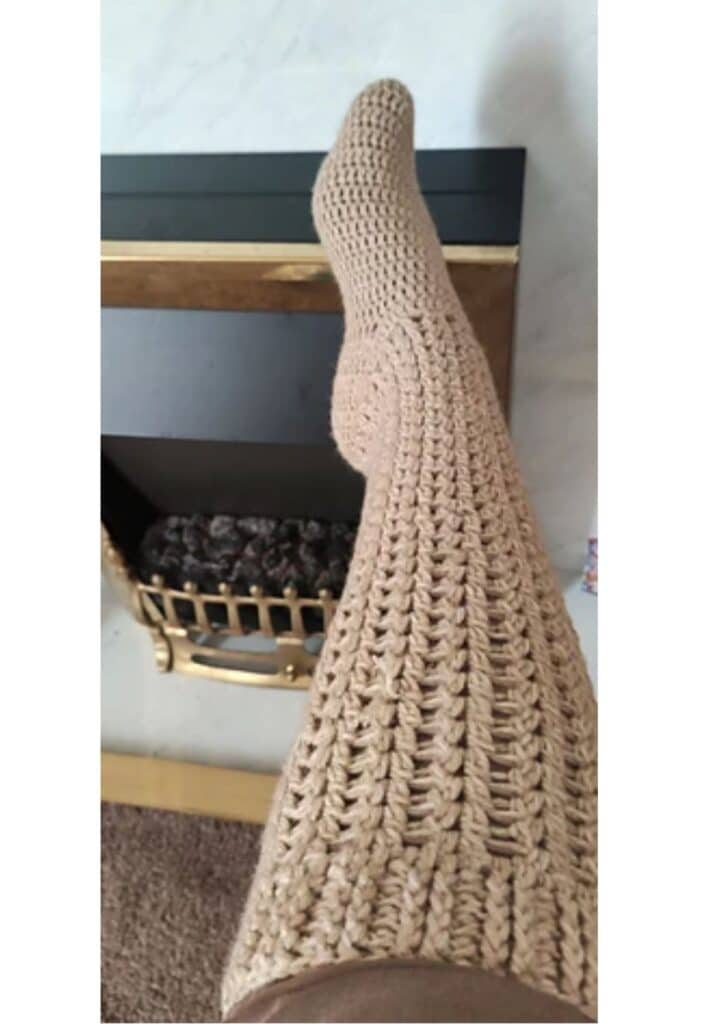
Easy Knee High Socks Crochet Pattern
Let’s get cozy this season while indoors in your crocheted knee-high socks. Are you a fan of crocheted socks? Have you ever made any socks before? Don’t worry; if you haven’t made a sock before, you should try this.
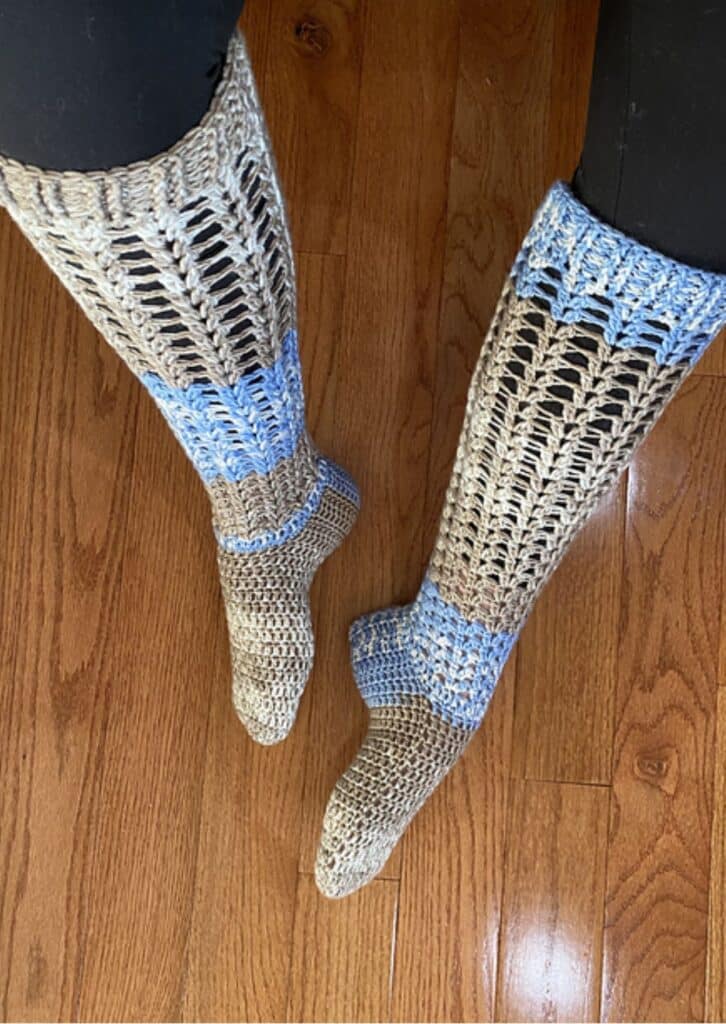
The texture makes this super cozy and so comfortable. You can work this up in a few minutes. Wait, you do not need to worry about your finished socks being unequal in shape as this pattern guarantees you equal-shaped crocheted socks.
How to crochet thigh-high crochet socks
Crochet tight high socks can either be started from either the toes up to the ankle and then continue up to the knee or thigh. You can also decide to start your thigh-high crochet socks from the knee or thigh and crocheted downwards towards the ankle and then to the toes.
The easy-breezy knee-high crochet socks use the first option with lots of steps to help you customize yours for a better fit.
How much yarn do you need to make a crochet thigh-high sock
The amount of yarn needed is dependent on the stitch pattern and size but for an adult crochet thigh high crochet sock, you would need about three hundred yards to about six hundred yards.
While kid-size crochet knee-high socks use between 150 – 350 yards of yarn.
Inspiration for the easy breezy knee sock pattern
Following my easy breezy slipper design a few weeks ago, I knew knee or thigh-high socks would be so cozy. Have a look at the slippers here.
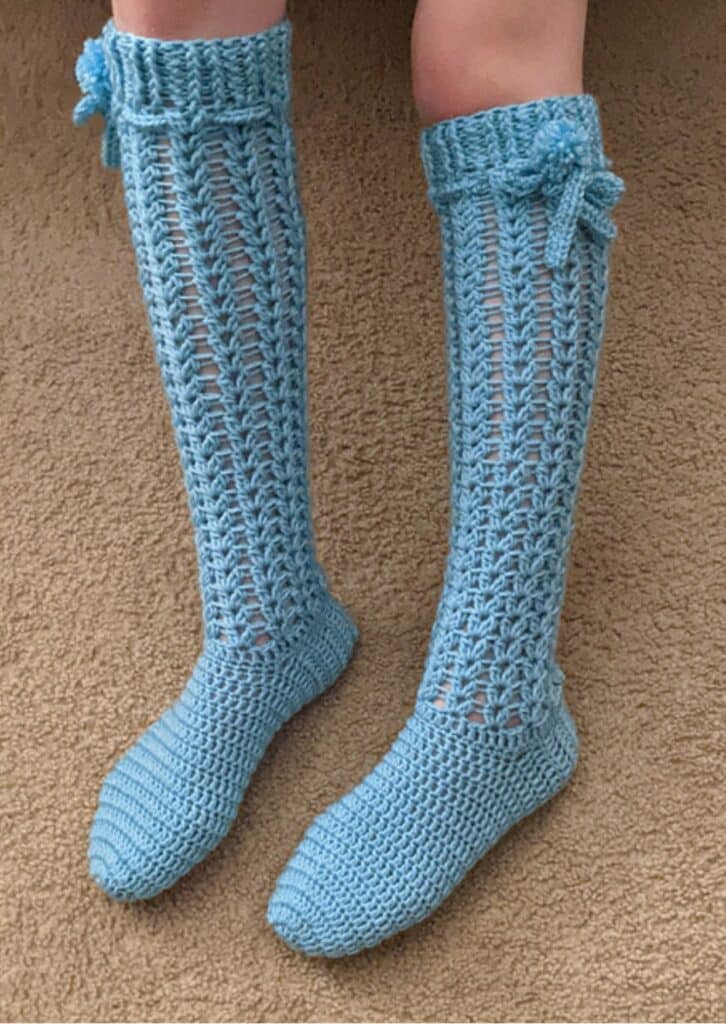
Picture yourself in this beautiful pair of knee-high socks with your favorite cup of drink in hand and making your Christmas projects. This sure sounds like the perfect combination.
For the free pattern for this knee high socks, keep scrolling. You can get the print friendly version, on either ETSY and Ravelry
Get the knee-high socks PDF on ETSY
Easy Breezy knee-high socks on Ravelry
Materials needed for this thigh-high crochet sock pattern.
Yarn
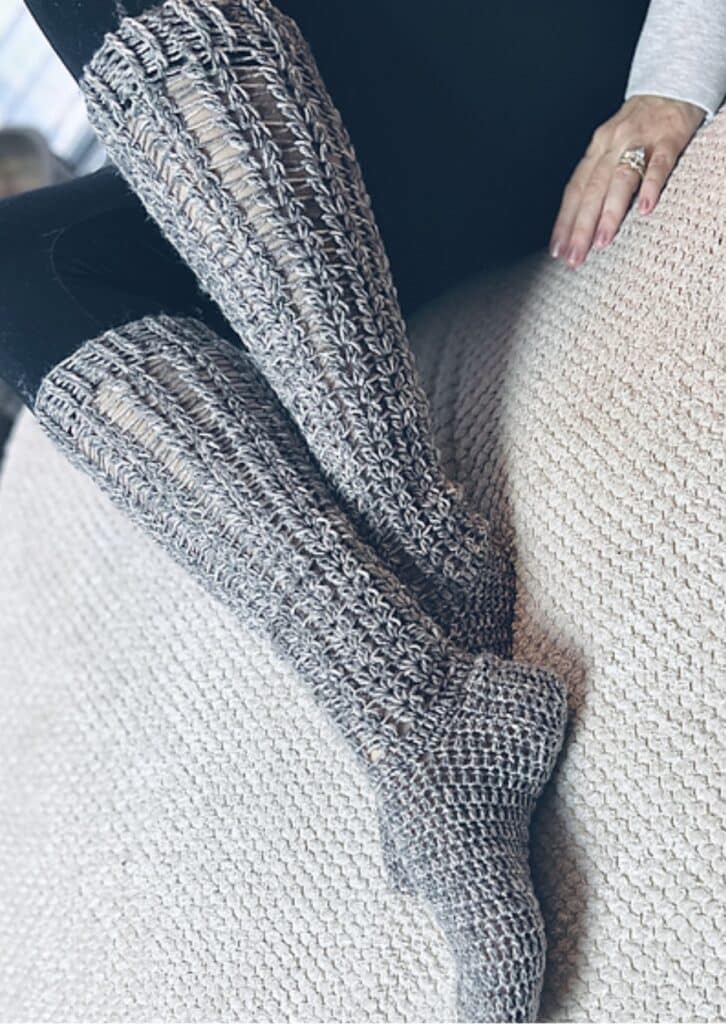
While any #4, worsted weight yarn would do, the prototype was made using – Lion Brand Jeans, Worsted weight, #4 (100% Acrylic, 246 yards/225m per 3.5 oz/100g skein). You are welcome to use any #4, worsted-weight yarn in colors of your choice.
Estimated Yardage
420 (440, 440, 460, 480, 500, 510, 520, 530, 540, 550) yards
Hook and other Materials
- 4 mm Crochet Hook
- Yarn needle
- Tape Measure
Difficulty level – Intermediate
Terms – US Terminology
Crochet Knee-high socks pattern notes
- Please kindly read the pattern before starting.
- Similar #4 weight yarn can be substituted; please check the gauge.
- Chains at the beginning of the rounds do not count as a stitch.
Finished Measurements for the Knee-high crochet sock pattern
| UK | US | EURO | Sole length (CM) |
| 3 | 5 | 36 | 21 |
| 4 | 6 | 37 | 22 |
| 5 | 7 | 38 | 23 |
| 6 | 8 | 39 | 24 |
| 6.5 | 8.5 | 40 | 25 |
| 7 | 9 | 41 | 26 |
| 8 | 10 | 42 | 27 |
| 9 | 11 | 43 | 28 |
| 10 | 12 | 44 | 29 |
| 11 | 13 | 45 | 30 |
| 12 | 14 | 46 | 31 |
Calf measurement varies for same size, adjustment for a fitting calf is provided in the pattern.
Want to make this into a size not included above? Continue to measure as you crochet, checking for fit at each point indicated in the pattern.
Stitch Abbreviations
Chain(s) – ch(s)
Slip Stitch – sl st
Double crochet – dc
Cluster–V stitch = clu–V st
Double crochet 2 together = Dc2tog
Special Stitch
Cluster–V stitch = dc2tog, ch 1, dc2tog
Special Stitch used in this easy crochet knee-high socks
Cluster V st = This is 2dctog, ch 1, 2dctog in indicated stitch. This is also called Cluster V stitch
Step 1: Yarn over and insert the hook in the indicated stitch.
Step 2: Yarn over and pull through the stitch; you now have three stitches on your hook.
Step 3: Yarn over and pull through the first two stitches on your hook. You now have 2 stitches on your hook.
Step 4: Yarn over and insert the hook into the same stitch.
Step 5: Yarn over and pull through the stitch; you now have four stitches on your hook.
Step 6: Yarn over and pull through the first two stitches on your hook. You now have 3 stitches on your hook.
Step 7: Yarn over, pull through the remaining 3 sts on your hook. (dc2tog) made.
Step 8: Ch 1
Step 9: Yarn over, insert hook into the same stitch.
Step 10: Yarn over, pull through the stitch, you now have three stitches on your hook.
Step 11: Yarn over, pull through the first two stitches on your hook. You now have 2 stitches on your hook.
Step 12: Yarn over, and insert hook into the same stitch.
Step 13: Yarn over, pull through the stitch, You now have four stitches on your hook.
Step 14: Yarn over, pull through the first 2 stitches on your hook. You now have 3 stitches on your hook.
Step 15: Yarn over, pull through the remaining 3 sts on your hook. Second dc2tog made
Note that this stitch is not a decrease st; see the tutorial using this link – Check out this tutorial on how to work DC clusters with photos
Gauge – 6 cluster V sts over 8 rows = 10 cm square/4” made in sc. See gauge instructions below. Adjust hook size, if necessary, to obtain gauge.
Instructions for gauge
Chain 23, sc in 2nd chain from hook and in each ch across, turn. 22 sc
Check out this tutorial on how to work cluster V stitch
Row 1: Ch 3 (counts as a st), *skip next 2 sts, clu–V st in next st, rep from * to last 3 sts, skip next 2 sts, dc in last st, turn. 6 cluster V sts.
Rows 2 – 8: Ch 3, clu-V-st in each ch 1 sp across, dc in last st, turn. 6 cluster V sts.
Adjustments
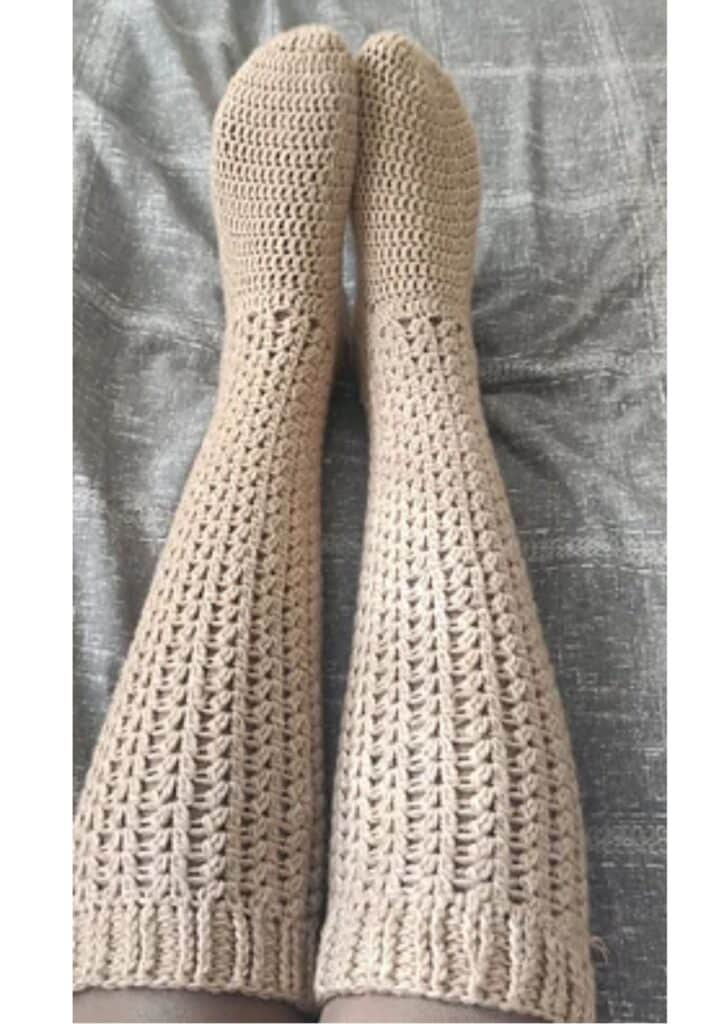
Length – The socks can be made to your desired length, below knee level, knee level, or above knee (thigh level); these parts have been highlighted to avoid confusion.
How to crochet a knee high socks – the crochet pattern
Make 2
Section 1: Toe
Round 1: In a magic ring, ch 2 (do not count as a stitch), 12 dc, join. 12 dc.
Or ch 4, 12 dc in 4th ch from hook, join—12 dc.
Round 2: Ch 2 (do not count as a stitch, here and throughout), 2 dc in each around,
join—24 dc.
Round 3: Ch 2, *dc in next st, 2 dc in next st; repeat from * around, join—36 dc.
Section 2: Foot
Round 4: Ch 2, dc in each st around, join with a sl st to the beginning ch. 36 dc.
Rounds 5 –11 (11, 13, 13, 13, 15, 16, 16, 17, 17, 18): Rep Round 4
Check to make sure you have a good fitting.
Increase or reduce the repeats.
Making the heel of these knee-high socks
Row 1: Ch 2, dc in next 26 sts, leave the remaining sts unworked, turn. 26 dc
Rows 2 – 6 (6, 6, 6, 7, 7, 8, 9, 10, 10, 11): Ch 2, dc in each st across, turn. 26 dc
Check to make sure you have a good fitting.
Increase or reduce the repeats.
- Turn to the wrong side.
- Fold the slipper into 2 (length-wise).
- With sl st, sew both sides together.
- Fasten off.
Leg
- Crocheting around the opening.
- Turn the slipper to the right side.
- Join yarn with a sl st to the tip of the sole.
- If you have adjusted the number of rows, make sure to have Round 1 in multiples of 4
Round 1: Ch 1, *2 sc in each ch-sp/dc on the heel**, sc in next 10 sts left unworked from the foot, rep * to ** until the end, join with a sl st to the beginning ch. 40 (40, 40, 40, 44, 44, 44, 48, 52, 52, 56) sc
Round 2: Ch 2, dc in each st around, join with a sl st to the beginning ch. 40 (40, 40, 40, 44, 44, 44, 48, 52, 52, 56) dc
Round 3: Ch 3, *clu-V-st in next st, skip next 3 sts, rep from * to end of the round, join with a sl st to the beginning ch. 10 (10, 10, 10, 11, 11, 11, 12, 13, 13, 13) clu-V st
Rounds 4 – 30: Ch 3, * clu–V st in each ch 1 sp around, join with a sl st to the beginning ch. 10 (10, 10, 10, 11, 11, 11, 12, 13, 13, 13) clu-V st
Continue to try it on; if it becomes tight, proceed to the adjustment below for the calf (section 2) and then for the thigh (section 3).
If you are happy with the fit around your leg/calf, complete the repeats and proceed to the cuff below.
Cuff (if no adjustment was made)
Round 1: Ch 3, *dc in the first leg of clu-V st, dc in ch 1 sp, dc in the second leg of clu-V st, rep from * to last st, dc in last st. 30 (30, 30, 30, 33, 33, 33, 36, 39, 39, 39) clu-V st
Round 2: Ch 3, *FPdc around next 2 sts, BPdc around next st, repeat from * to end, join with a sl st to the beginning ch. 10 (10, 10, 10, 11, 11, 11, 12, 13, 13, 13) BPdc, 20 (20, 20, 20, 22, 22, 22, 22, 26, 26, 26) FPdc
Rounds 3 – 10: Rep round 2.
Fasten off.
Sew in ends.
Section 2: Wider calf
Round 1: Ch 3, *clu-V st in next ch 1 sp, ch 1, rep from * to end of the round, ch 1, join with a sl st to the beginning ch. 10 (10, 10, 10, 11, 11, 11, 12, 13, 13, 13) clu-V st
Rounds 2 – 6: Ch 3, *clu-V st in next ch 1 sp, ch 1, skip ch 1 sp, rep from * to end of the round, ch 1, join with a sl st to the beginning ch. 10 (10, 10, 10, 11, 11, 11, 12, 13, 13, 13) clu-V st
If it becomes too tight, skip to section 3.
Round 1: Ch 3, *dc in first leg of clu-V st, dc in ch 1 sp, dc in the second leg of clu-V st, dc in ch 1 sp, rep from * to last st, dc in last st. 30 (30, 30, 30, 33, 33, 33, 36, 39, 39, 39) clu-V st
Round 2: Ch 3, *FPdc around next 2 sts, BPdc around next st, repeat from * to end, join with a sl st to the beginning ch.10 (10, 10, 10, 11, 11, 11, 12, 13, 13, 13) BPdc, 20 (20, 20, 20, 22, 22, 22, 22, 26, 26, 26) FPdc
Rounds 3 – 6: Rep round 2.
Fasten off.
Section 3: Thigh
Round 1: Ch 3, *clu-V st in next ch 1 sp, ch 2, rep from * to end of the round, ch 1, join with a sl st to the beginning ch. 10 (10, 10, 10, 11, 11, 11, 12, 13, 13, 13) clu-V st
Rounds 2 – 8: Ch 3, *clu-V st in next ch 1 sp, ch 2, skip ch 2 sp, rep from * to end of the round, ch 1, join with a sl st to the beginning ch. 10 (10, 10, 10, 11, 11, 11, 12, 13, 13, 13) clu-V st
Cuffs
Round 1: Ch 3, *dc in first leg of clu-V st, dc in ch 1 sp, dc in the second leg of clu-V st, 2 dc in ch 2 sp, rep from * to last st, dc in last st. 30 (30, 30, 30, 33, 33, 33, 36, 39, 39, 39) clu-V st
Round 2: Ch 3, *FPdc around next 2 sts, BPdc around next st, repeat from * to end, join with a sl st to the beginning ch.40 (40, 40, 40, 44, 44, 44, 48, 52, 52, 52) BPdc, 20 (20, 20, 20, 22, 22, 22, 22, 26, 26, 26) FPdc
Rounds 3 – 6: Rep round 2.
Fasten off.
Sew in ends.
Optional – Band/Rope
Chain 112, hdc in 3rd ch from hook and in each chain across.
Fasten off
- Thread the rope through the chains made in the last round before the cuff.
- Make 2 poms
- Attach the poms to the ends of the rope.
I would love to see your beautiful makes from this pattern. When you make your own version of the easy knee knee-high socks, do tag me – @crochet_fosbas on Instagram.

One Comment
Comments are closed.