How to join crochet squares
Today, we’re tackling joining crochet squares for the plaid-style blanket. This method works well for any form of crochet squares. My favorite way to join crochet squares uses a simple join and provides a completely flat seam with a beautiful braid-like look.
I love the ease of use for joining sections of the square blanket. I have described two different methods with detailed instructions below.

Even though there are different methods for joining afghan squares, the most important thing to remember is to not pull yarn too tight, and use the same tension throughout.
Have a look at the square patterns here
How to join crochet squares
There are different ways to join crochet granny squares. Each of these methods uses different numbers of stitches. Here are my favorite methods
1. Use a yarn needle and mattress stitch.
2. Invisible join that gives an invisible seam.
3. Slip stitch (slip knot) joining method
4. Single crochet joining methods.
5. Scallop Join
6. Whip Stitch.
7. Flat braid join method
All these methods give a different look and are each unique to different crochet projects.
Make sure to continue across the squares for a continuous join, to prevent having too many sewings and for the best results.

The Flat Slip Stitch Method
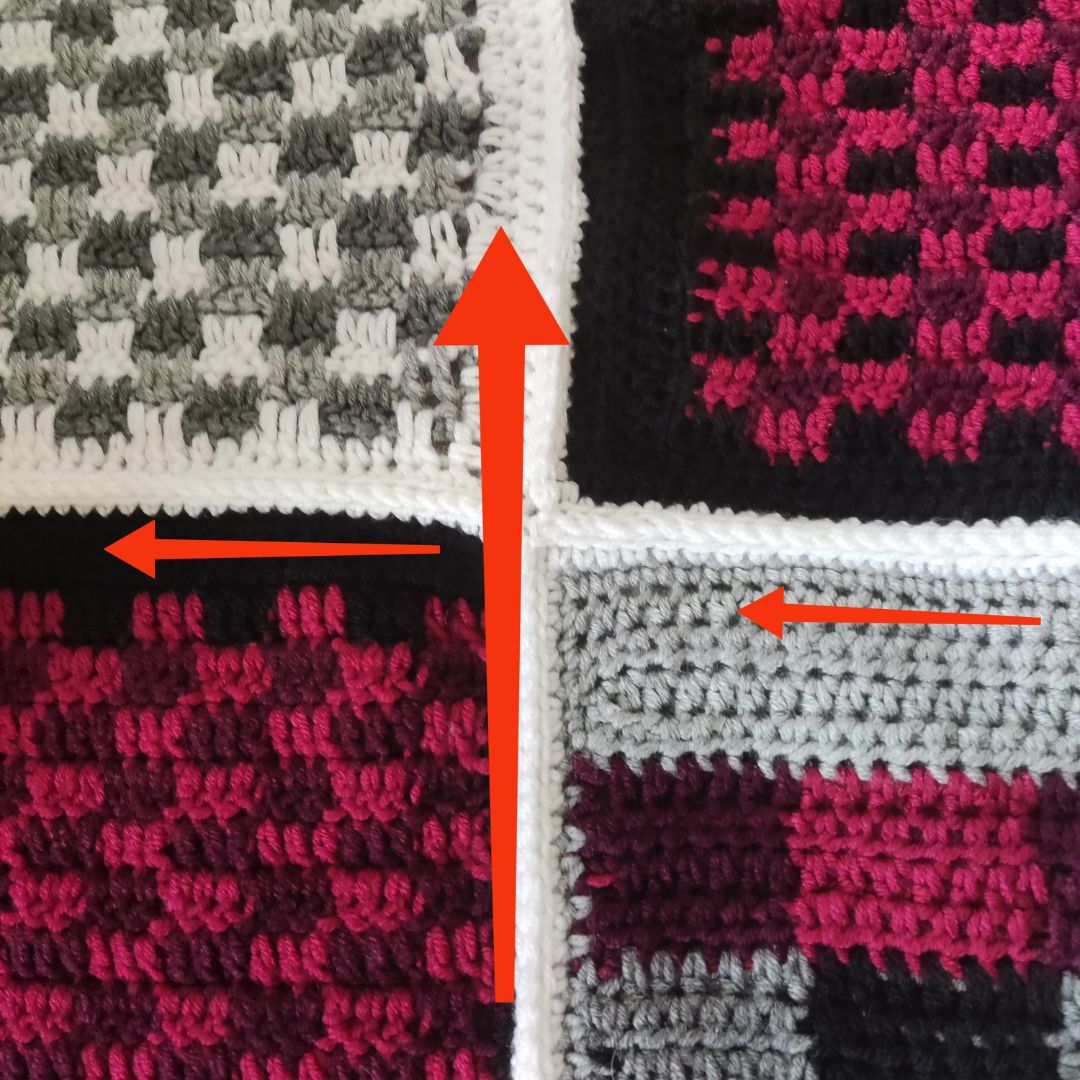
Start at the first corner and work your way down the first 10 squares, continue with the next corner until you have joined all the squares.
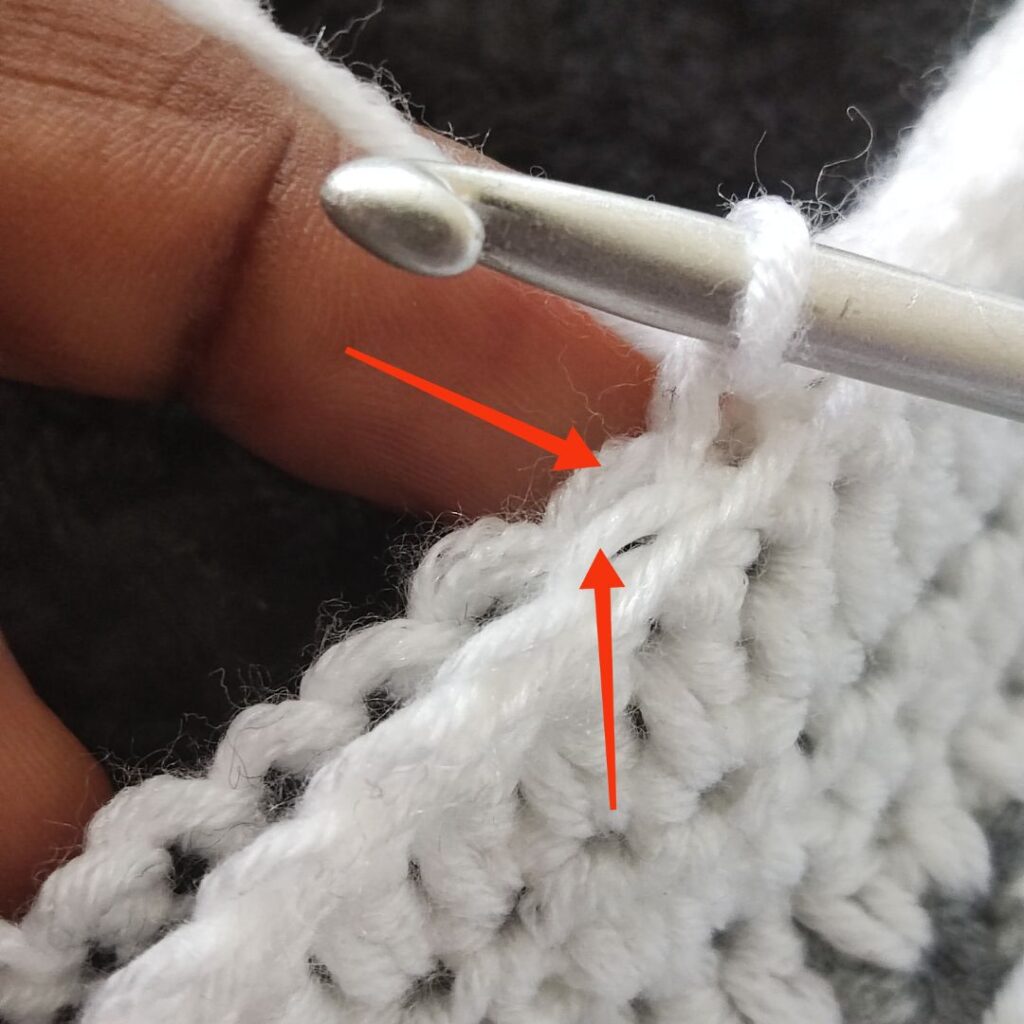
Step 1: Join yarn in the first corner of square A going through the chain space at the corner (ch 2 sp) and through the next corner of square B. Slip stitch to secure the yarn.
Step 2: Insert hook into the bottom right corner of square B, yarn over, and pull the yarn through all the loops on your hook.
Step 3: Insert hook into the bottom right corner of square A, yarn over, and pull the yarn through all the loops on your hook.
Step 4: Insert hook into the next stitch – BLO of square B and FLO of square A and yarn over, and pull the yarn through all the loops on your hook.
Estimated yardage
Edging for the squares
White = 200 yards
Blanket Border
White = 200 yards
Grey = 400 yards
Silver Lining = 400 yards
Hook size – 4.5 mm Crochet hook
Other materials
Darning needles (yarn needle)
Stitch marker – as many as possible
Scissors
Tape measure
Gauge – 14 sts over 8 rows = 10 cm/4” square made in dc
Crochet stitch abbreviations
BLO – Back loop only
FLO – Front Loop only
Plaid Blanket Notes
- Please kindly read through the pattern before starting.
- Any other #3 weight yarn can be substituted.
- The joining is done on the right sides. Keep all ends on the wrong sides.
Difficulty Level – Intermediate
Terms – US Terminology
Joining of the squares
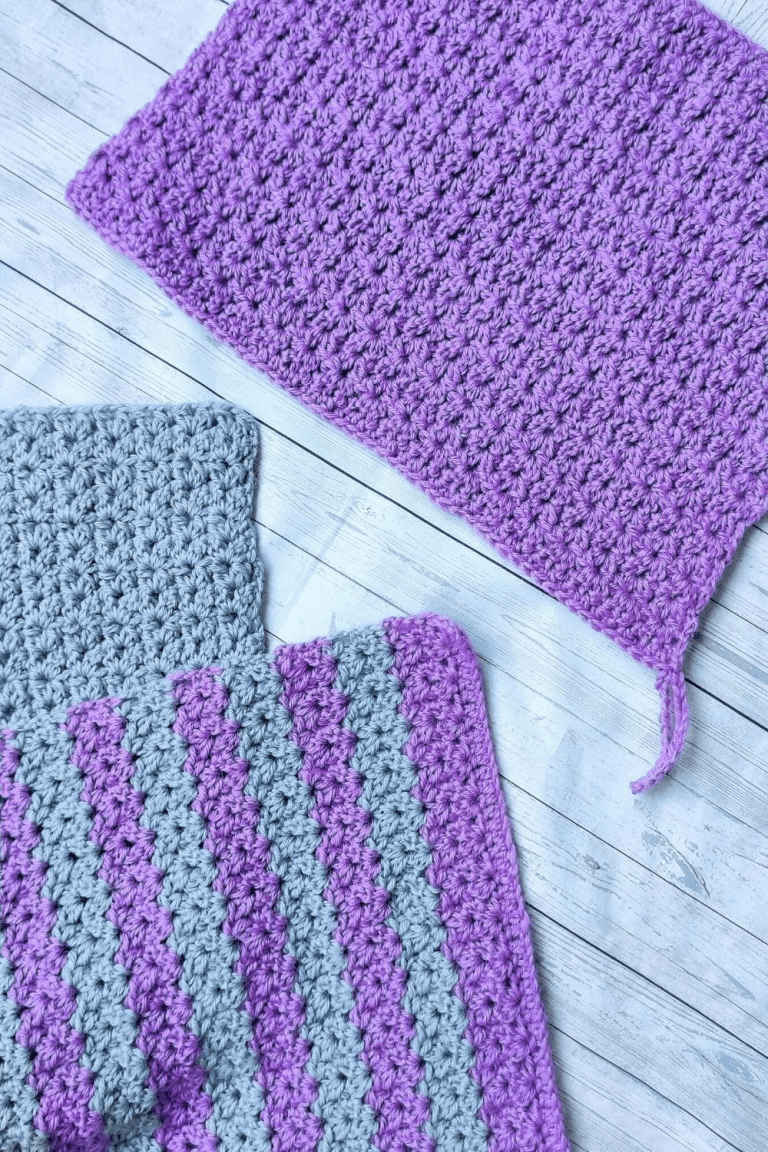
I used a single color for joining my 20 squares.
Decide the color to join your squares.
Crocheting around each square.
Round 1: Ch 1, sc around each square aim for 2 sc, ch 2, 2 sc at each corner, join with a sl st to the beginning ch.
Measure your squares
If not equal, add a few rows or rounds of hdc to make the squares the same size.
Block the squares separately.
To Join the squares
Arrange the squares into your desired layout.
Note
- You will join your squares with the right side facing up.
- Ensure that your yarn is always at the back of your work.
- Working through the back loops only of your stitches.
- Insert your hook into the stitch from front to back.
- Always start with the right square and then move to the left square to complete the step.
Label the squares A, B, C, D

How to join crochet squares using the single crochet stitch join method
Start at the first corner and work your way down the first 10 squares, continue with the next corner until you have joined all the squares.
Step 1: Join yarn in the first corner of square A going through the chain space at the corner (ch 2 sp) and through the next corner of square B. Slip stitch to secure the yarn.
Step 2: Insert hook into the bottom right corner of square B, yarn over, and pull up a loop, yarn over, and pull the yarn through all the loops on your hook.
Step 3: Insert hook into the bottom right corner of square A , yarn over, and pull up a loop, yarn over, and pull the yarn through all the loops on your hook.
Step 4: Insert hook into the next stitch – BLO of square B and FLO of square A and yarn over, and pull up a loop, yarn over, pull the yarn through all the loops on your hook.
Step 4: Continue crocheting across both squares until you get to the corners, add two stitches to the corners, and continue with the next set of squares labeled C and D.
Repeat these steps with the next 2 squares until you have joined the 10 squares.
Repeat the steps to join squares A and C, and squares B and D.
Tips for Successful Joining
- Color Coordination: Consider using a contrasting color for joining to add a decorative element, or match your square colors for a seamless look.
- Tension Matters: Keep your tension even. Too tight, and your project will bunch; too loose, and the joins may look sloppy.
- Blocking Counts: Block your squares before joining for a uniform, professional finish.
- Yarn Ends: Weave in ends as you go to save time and for a neater finish.
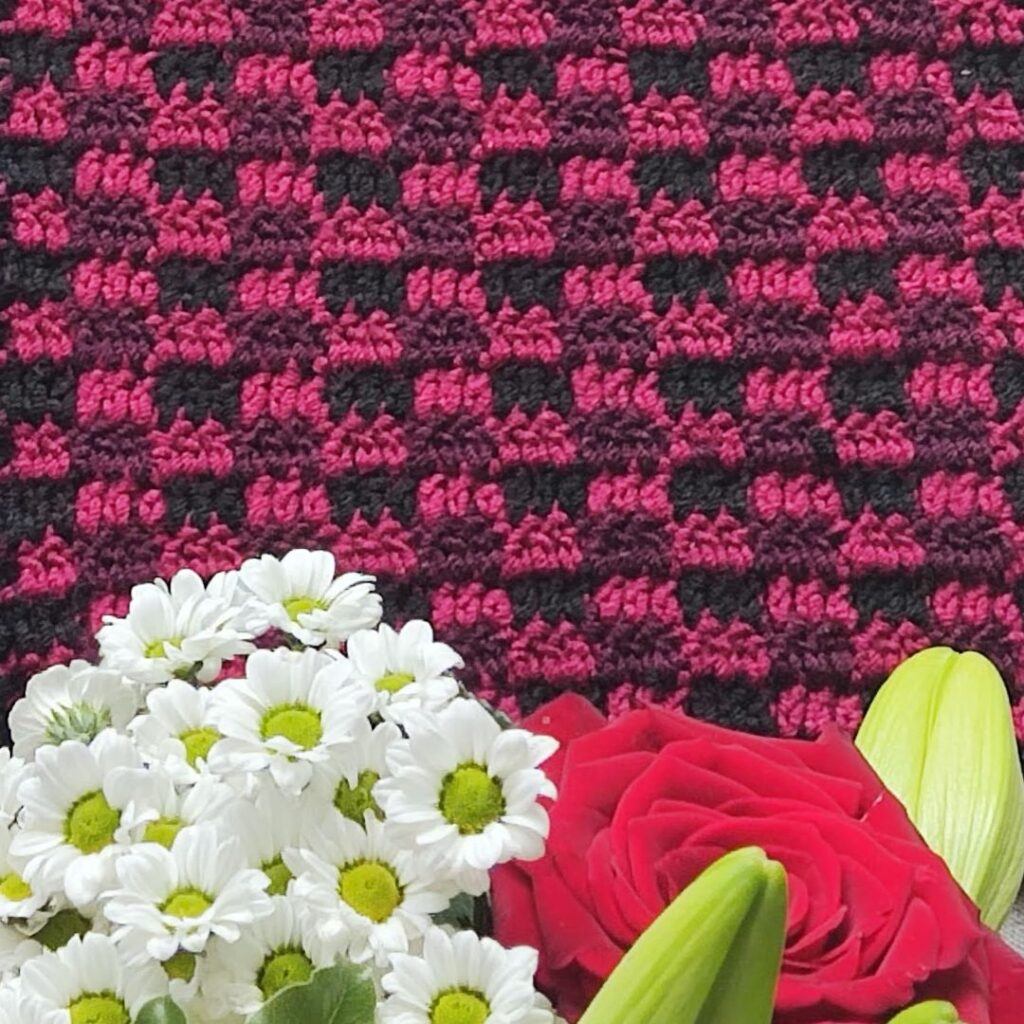
As part of the plaid-style crochet blanket, this stitch tutorial is part of the squares, and it’s a fun one to make. See the details of the blanket here.
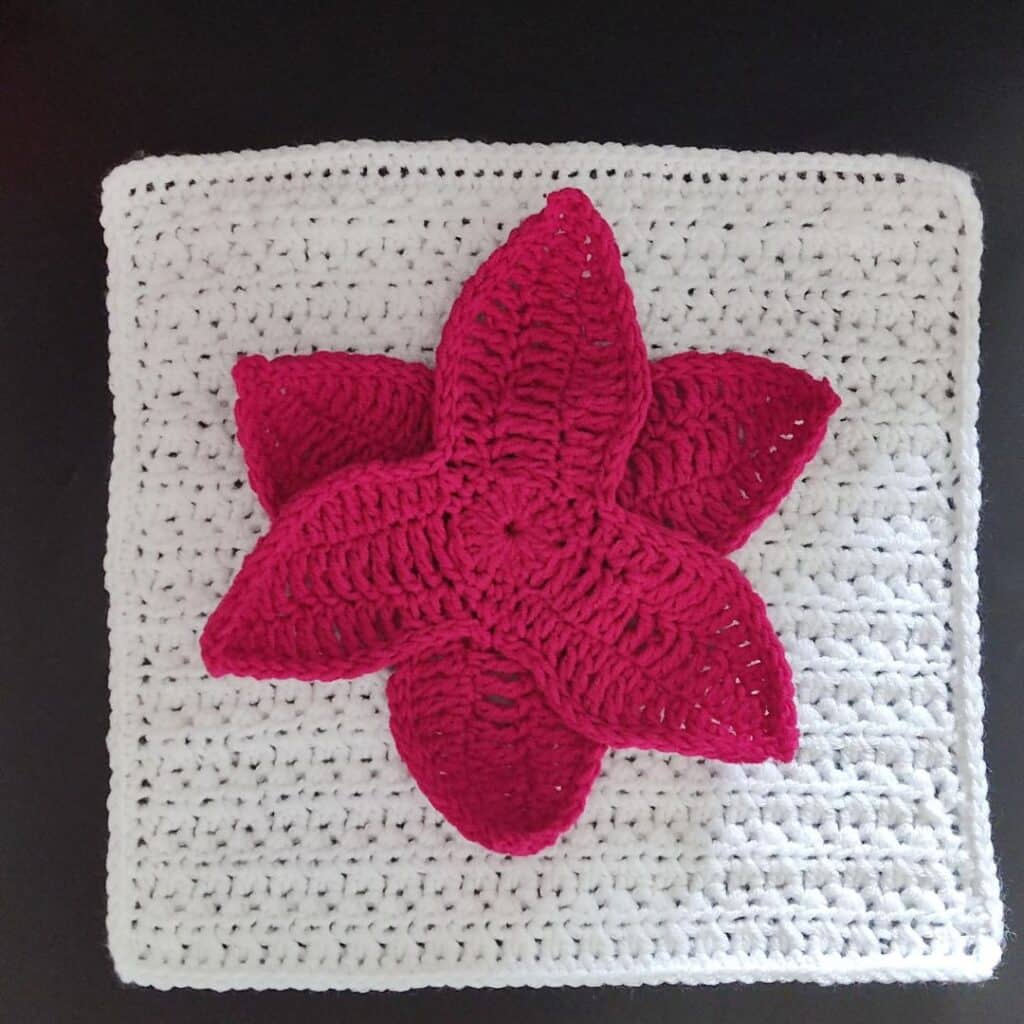
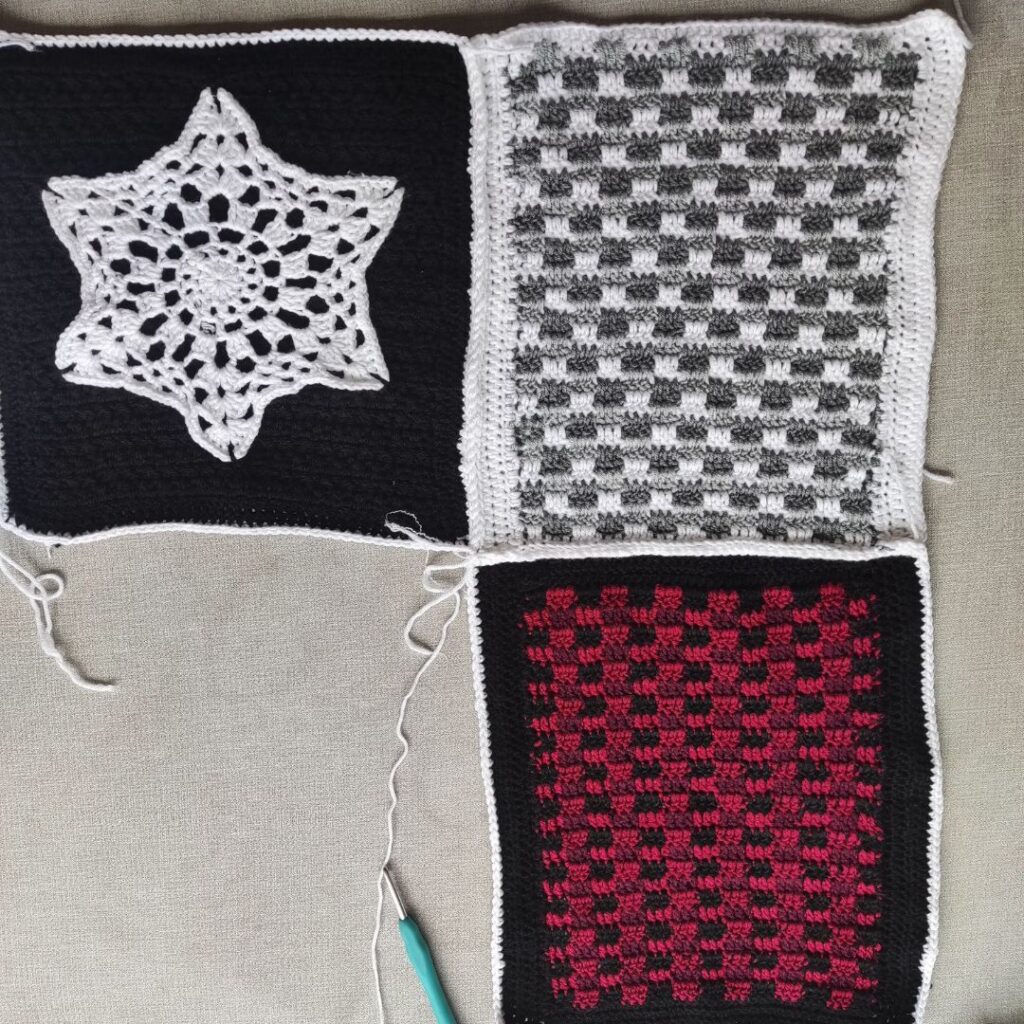
Square 1 – The Ponssittia square
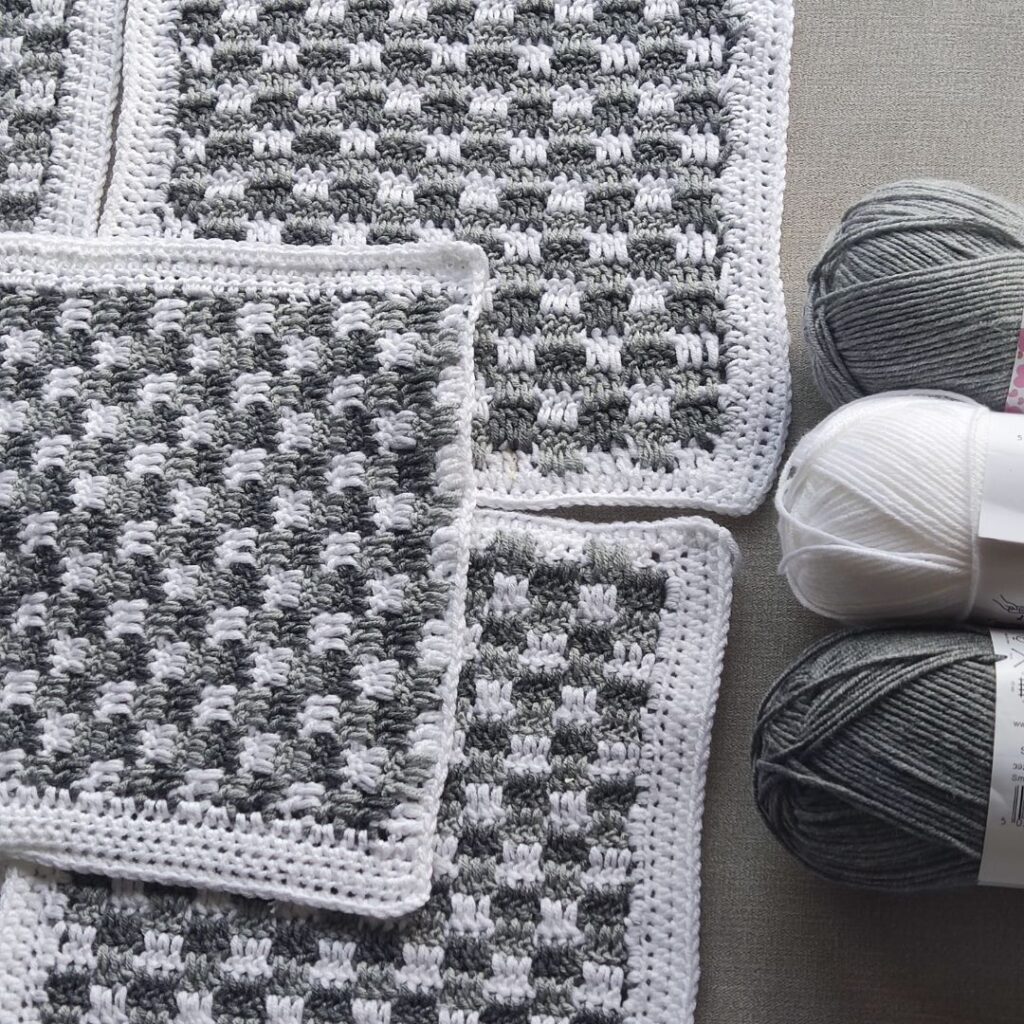
Square 2 – The Mini Plaid square
Square 3 – The Snowman square
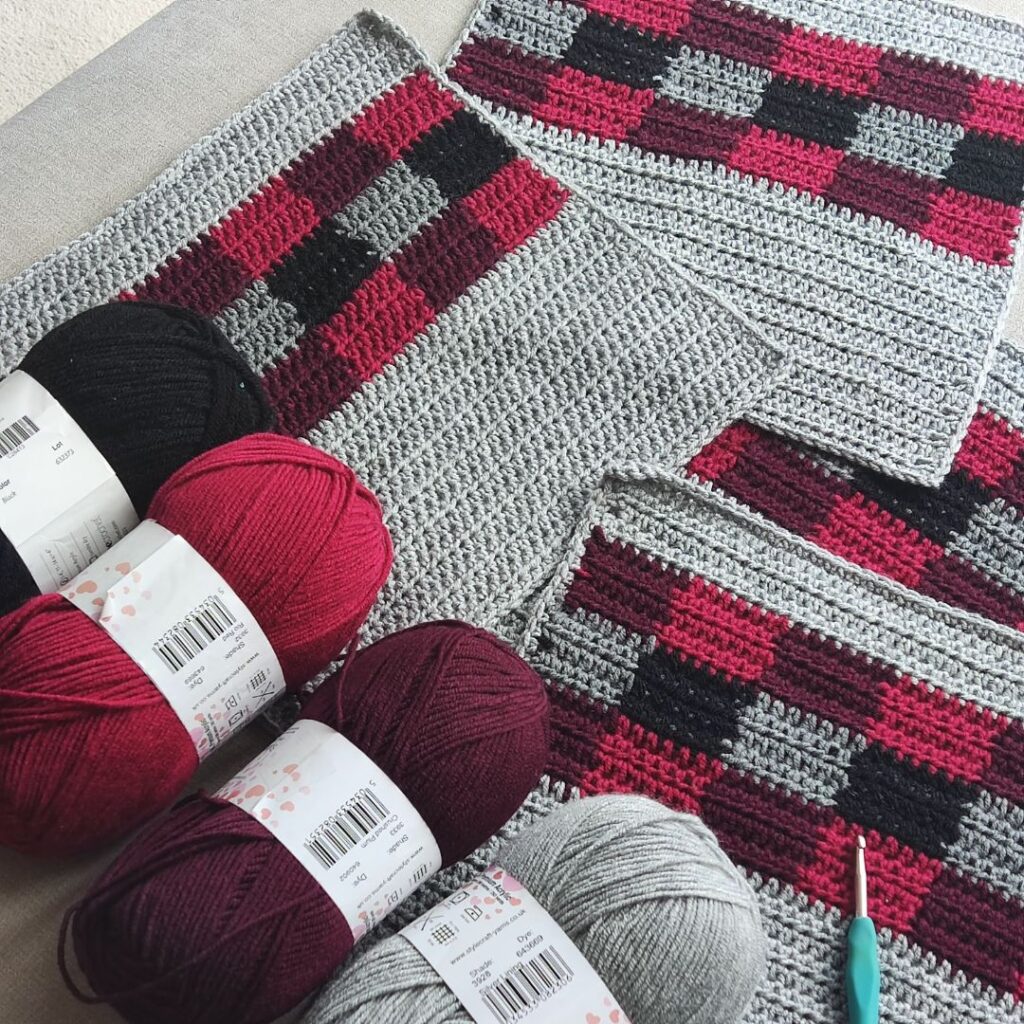
Square 4 and 6 – The Plaid in Black, Red, and Burgundy.
Square 5 – The Star Square
Border