Plaid Crochet Stitch Tutorial
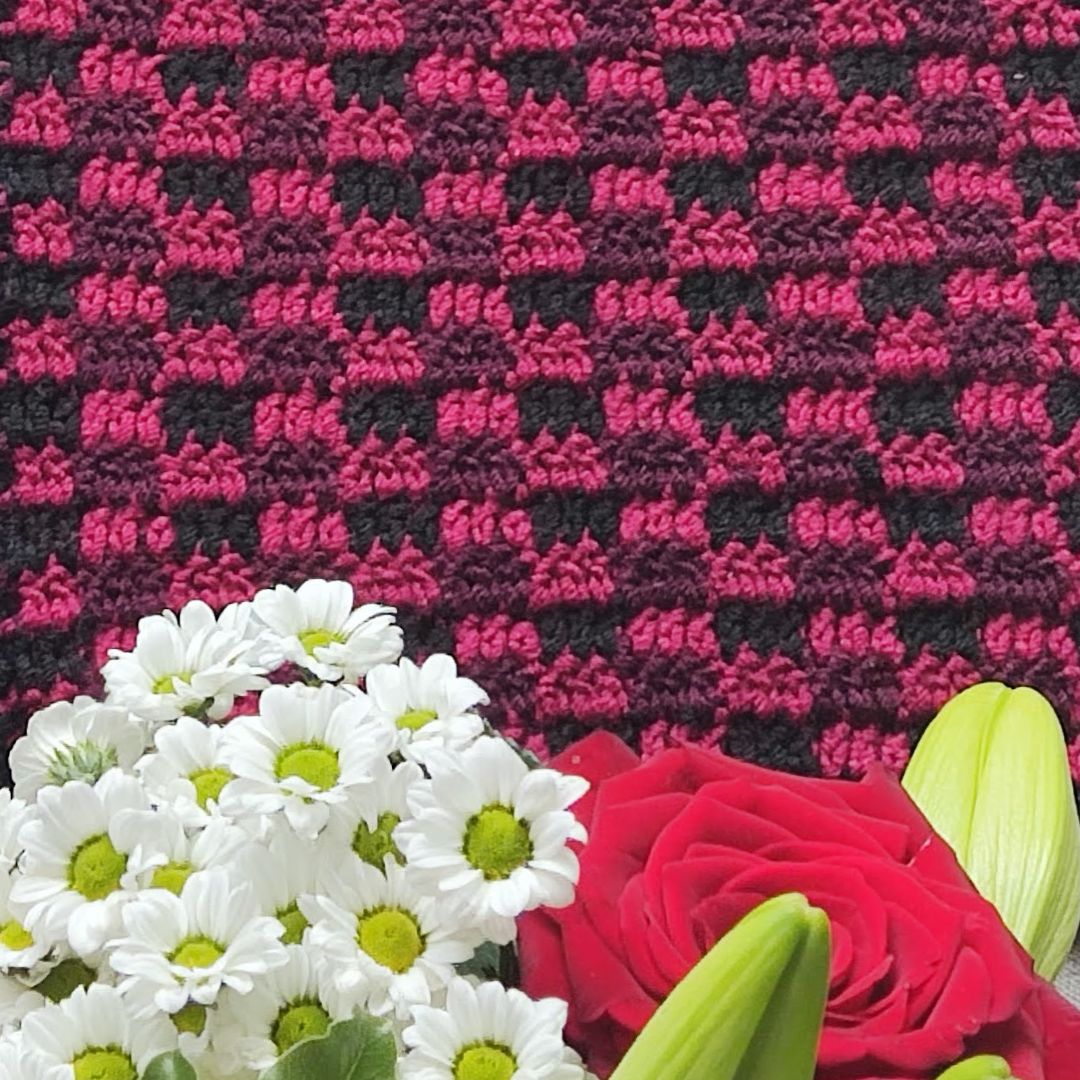
Have you ever wondered how the plaid crochet stitch is made? This post is all about how to crochet the plaid stitch effortlessly.
When I designed the Gingham blanket, I wanted to play with the different plaid stitches and colors! I do love how it turned out.
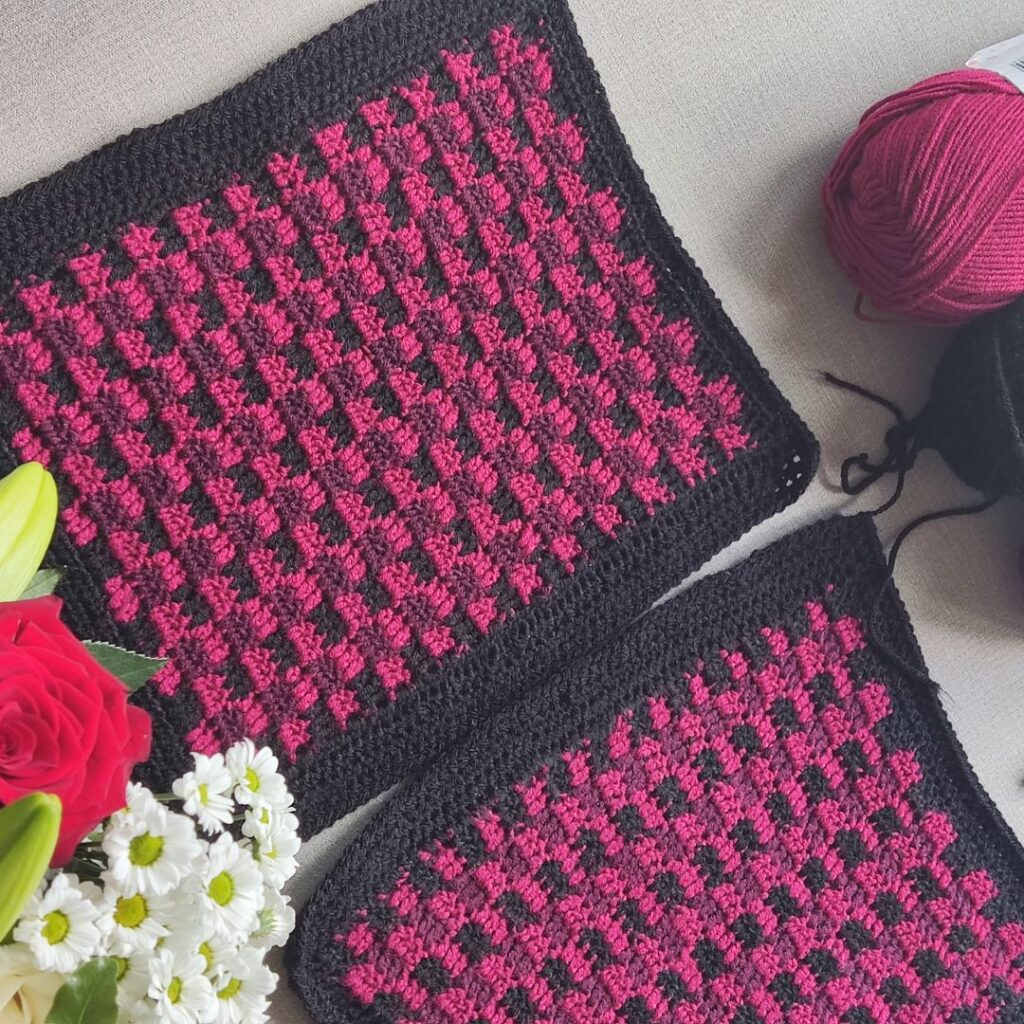
As part of the plaid-style crochet blanket, this stitch tutorial is part of the squares, and it’s a fun one to make. See the details of the blanket here.
Square 1 – The Ponssittia square
Square 2 – The Mini Plaid square
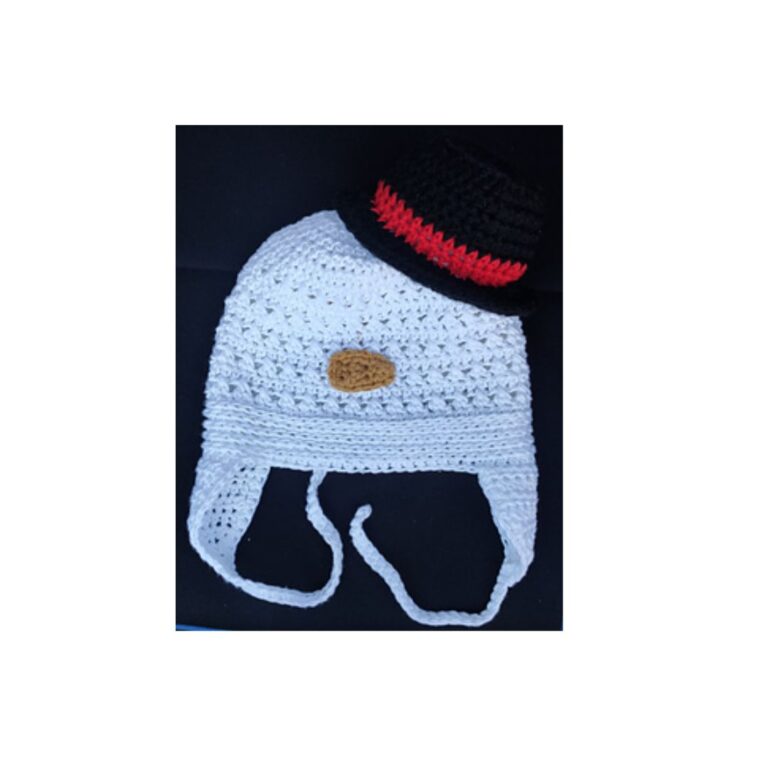
Square 3 – The Snowman square
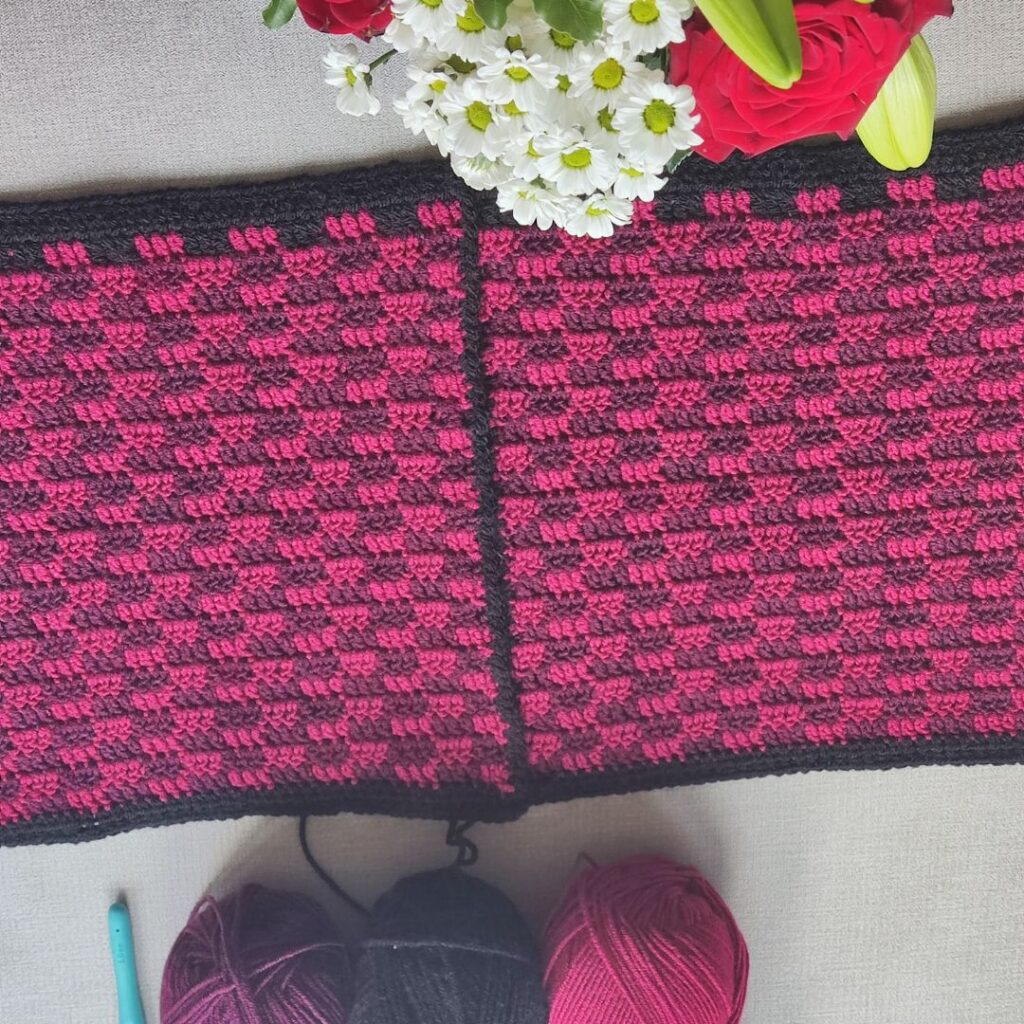
Square 4 and 6 – The Plaid in Black, Red, and Burgundy.
Square 5 – The Star Square
Border
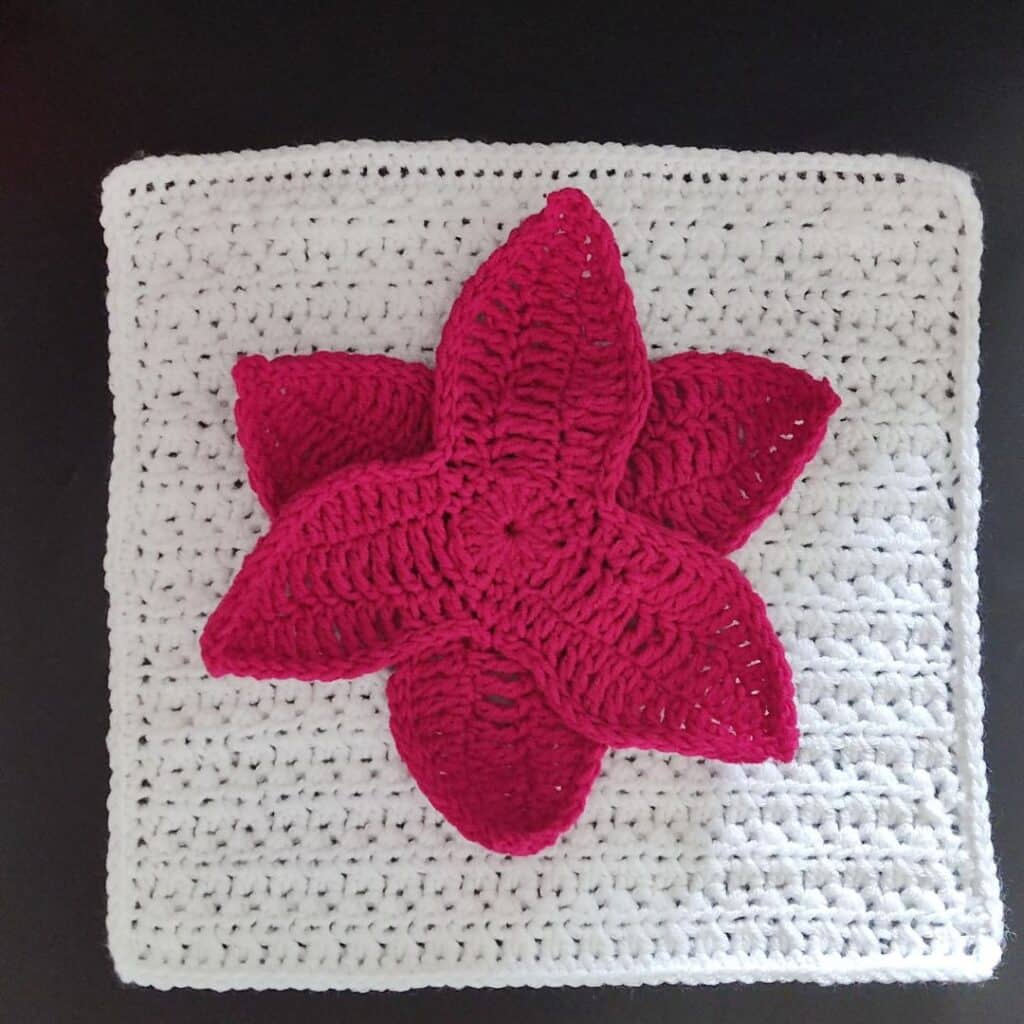
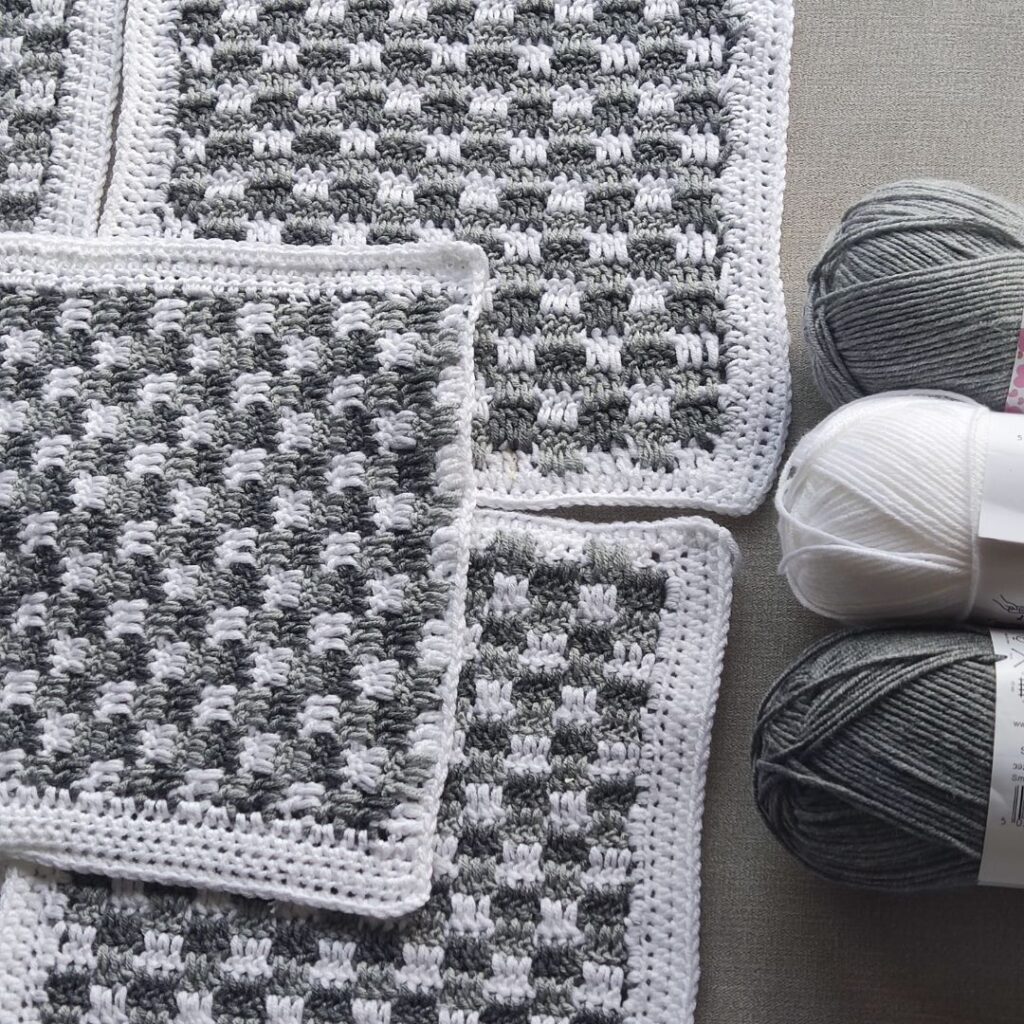
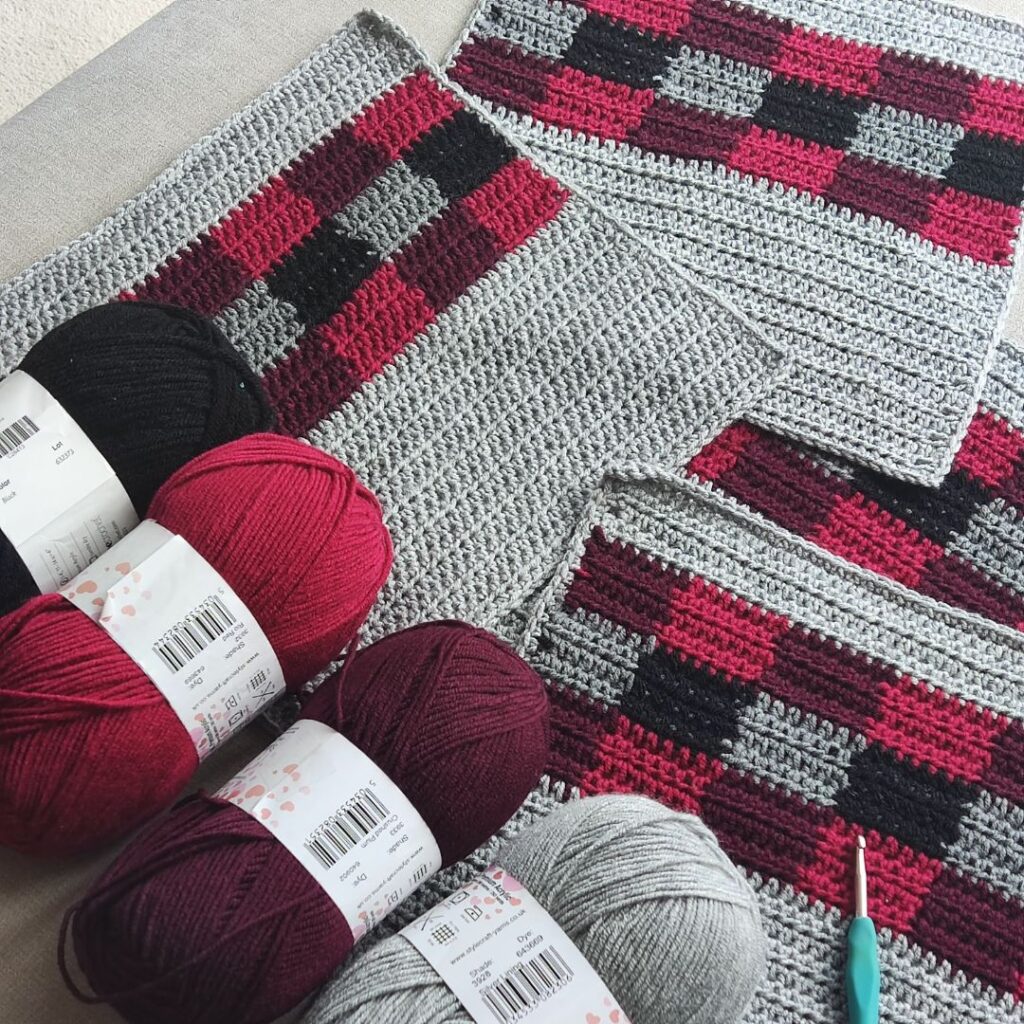
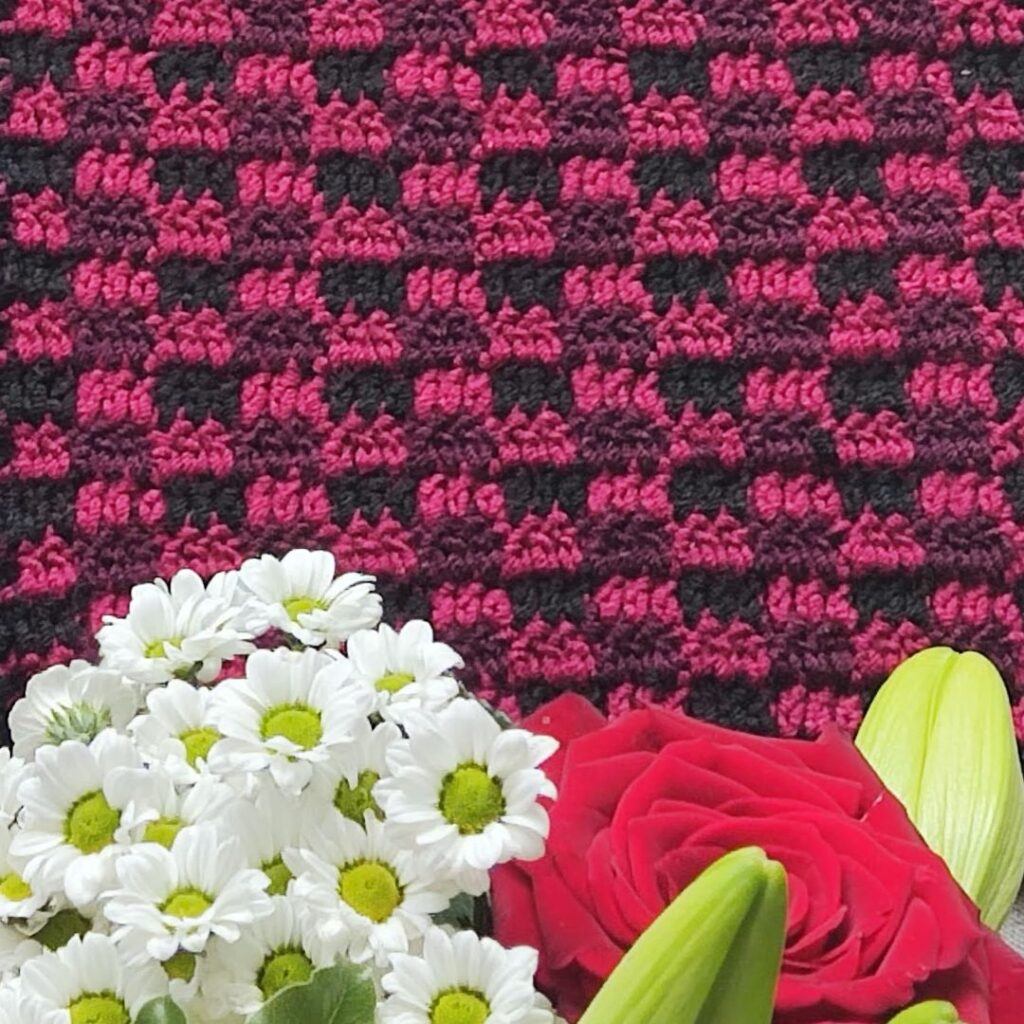
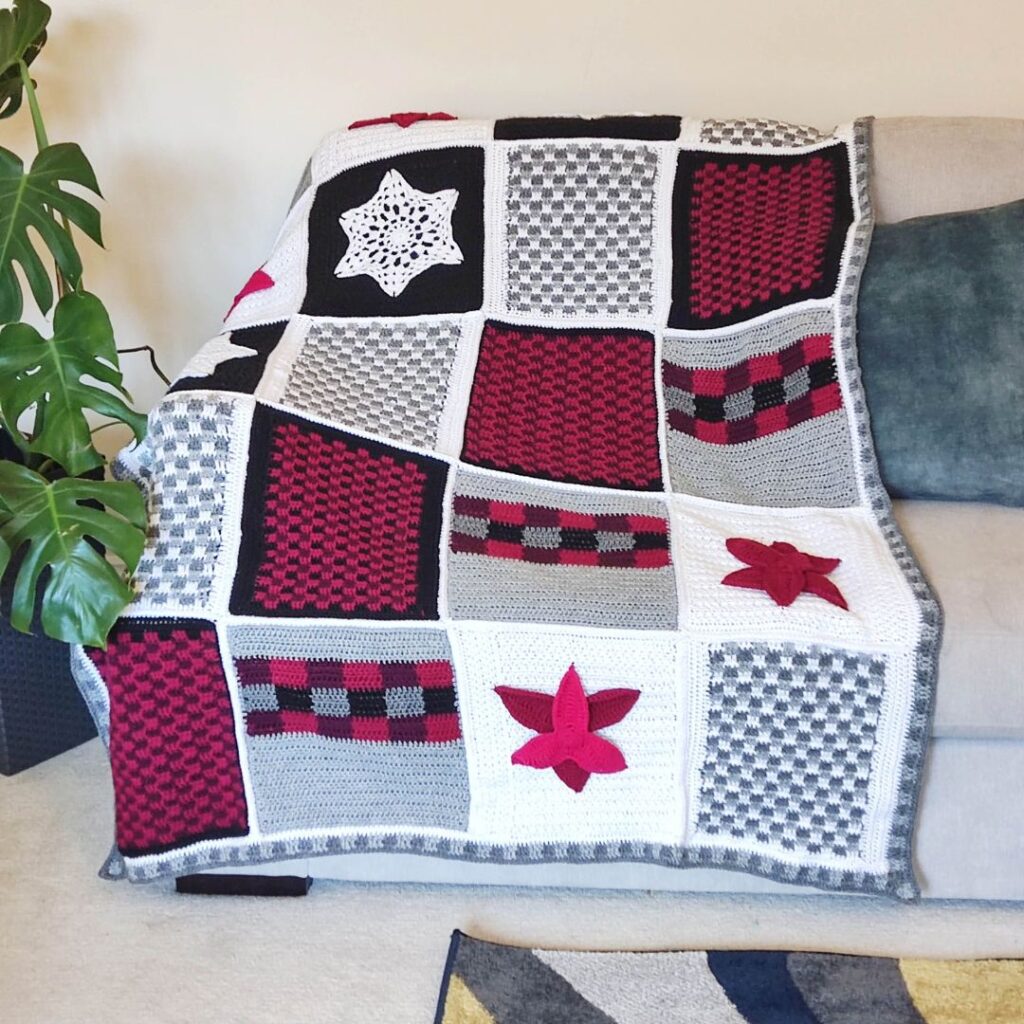
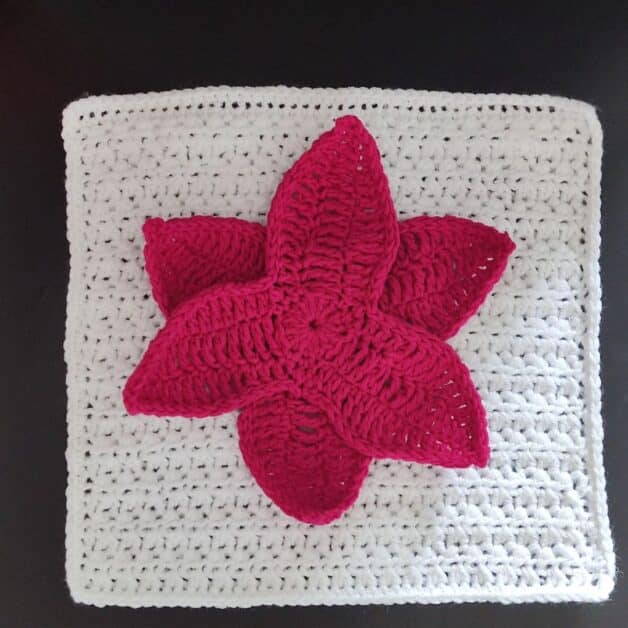


Scroll down for the detailed tutorial first for the plaid stitch and then for square 4.
Supplies needed to crochet plaid stitch
Yarn
You can use any DK-weight yarn or any yarn used to meet the gauge
Stylecraft Bellissima DK, #3 (100% Acrylic, 293 yards / 286 meters per 3.5 oz/100g skein).
Hook & other materials
5 mm Crochet Hook
Darning needles
Scissors
Tape measure
Gauge
14 sts over 8 rows = 10 cm/4” square made in dc
Stitches Abbreviations
Chain/chains – ch/chs
Slip stitch – sl st
Half double crochet – hdc
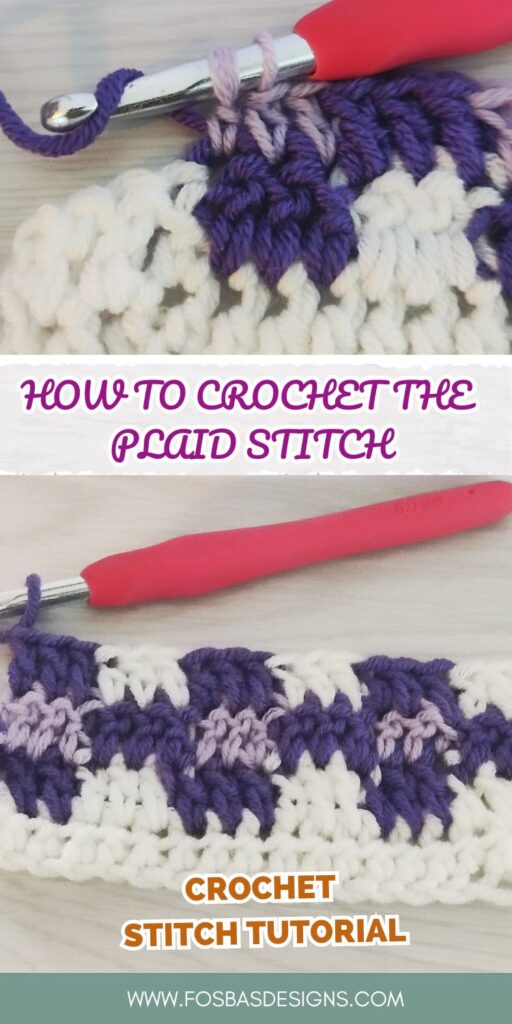
How to crochet the plaid crochet stitch
With White Chain 21 (Multiple of 3)
Row 1: Hdc in 3rd ch from hook and in each ch across, turn – 18 hdc
- Make sure to carry the yarn along, crocheting over the unused yarn
- The 3rd dc should be completed with the new yarn for an easy transition.
Row 2: With white, ch 2 (counts as first dc here and throughout this square), dc in next 2 sts, *With Purple, dc in next 3 sts, with A, dc in next 3 sts, rep from * to the end. 9 dc in A, 9 dc in B
- Drop White and only use the two shades of Purple for the next row.
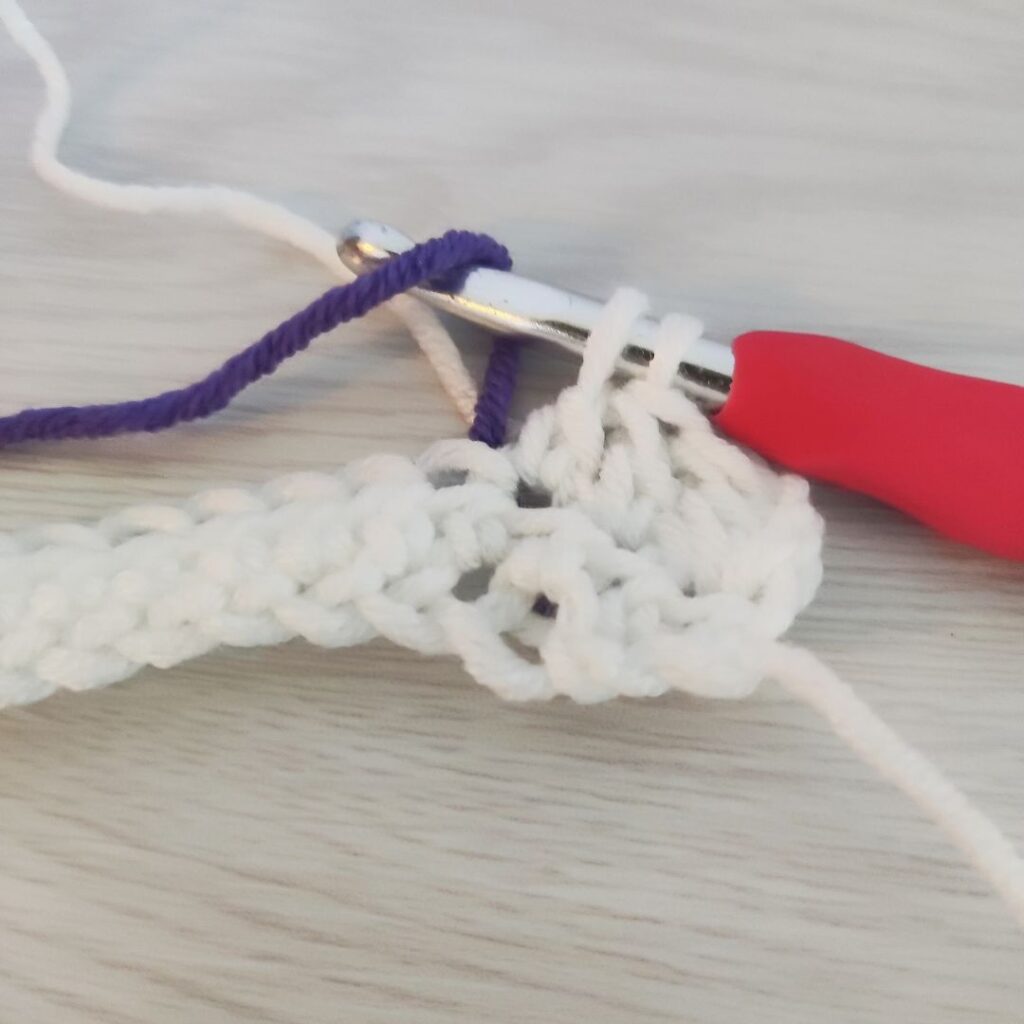
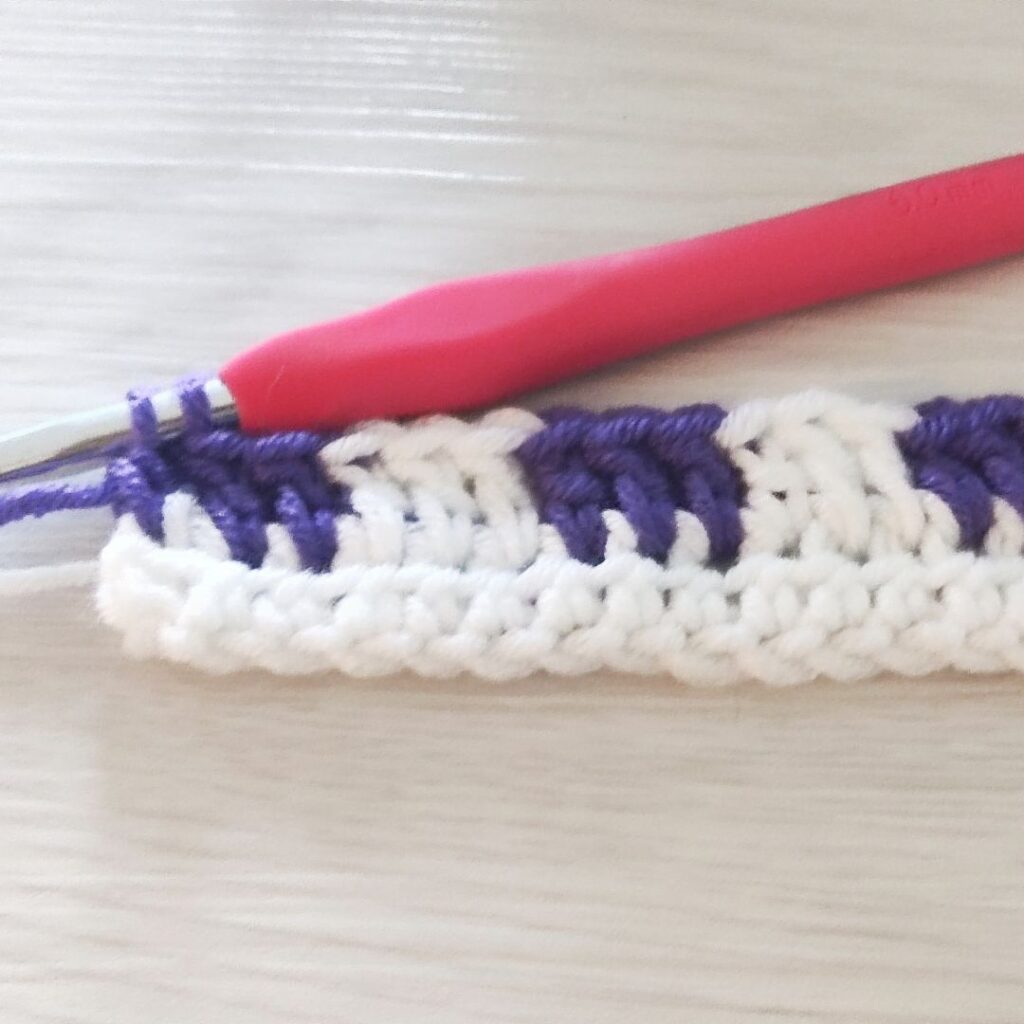
Row 3: With Lilac, ch 2, *dc in next 2 sts, With Purple, dc in next 3 sts, rep from * to the end.
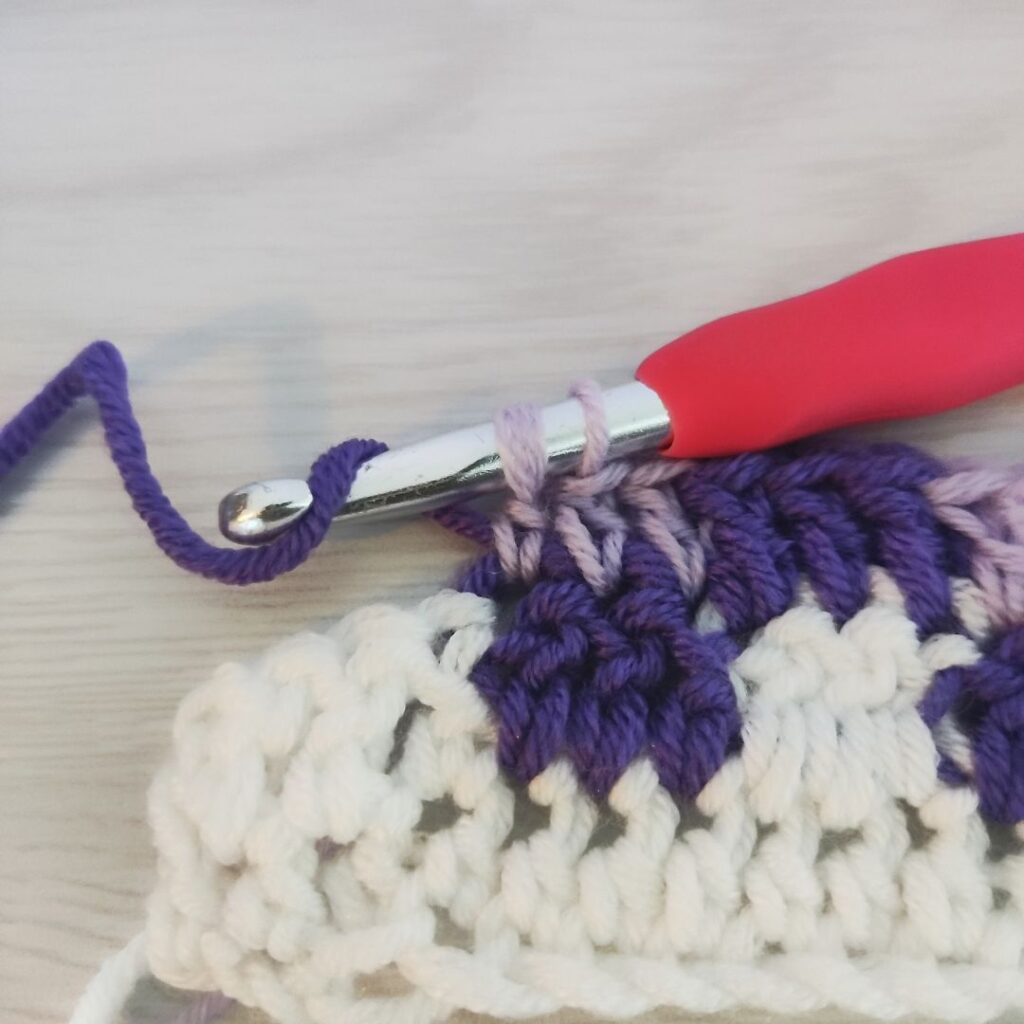
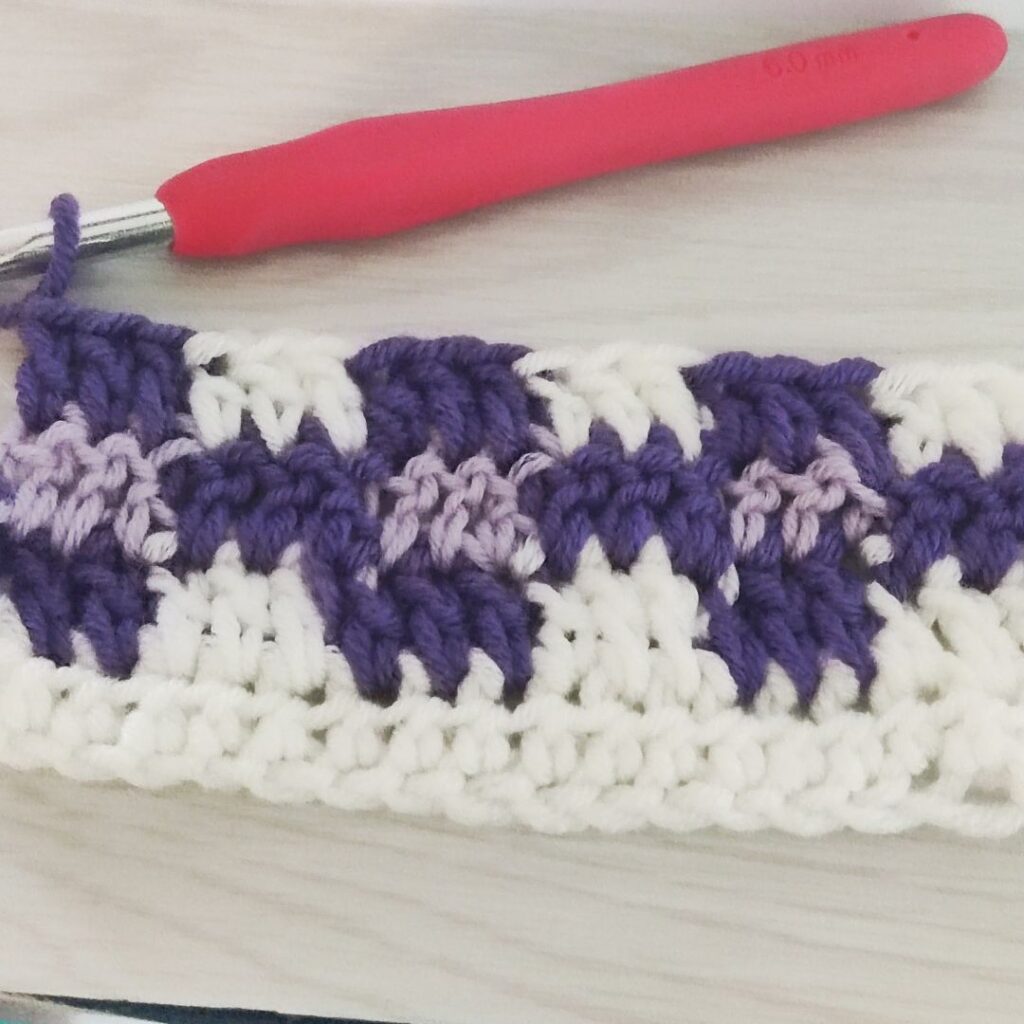
- Drop Lilac and only use White and Purple for the next row.
Rep Rows 2 – 3 until you have the desired length.
Would you like to practice the plaid crochet stitch you just learned from this tutorial? While note make a square using the instructions below.
Plaid Blanket Square Notes
- Please kindly read through the pattern before starting.
- Any other #3 weight yarn can be substituted.
- Use similar weights for all your squares!
Difficulty Level – Intermediate
Terms – US Terminology
Each square should measure between 11 – 12”
Construction note – You need 2 separate squares for the blanket!
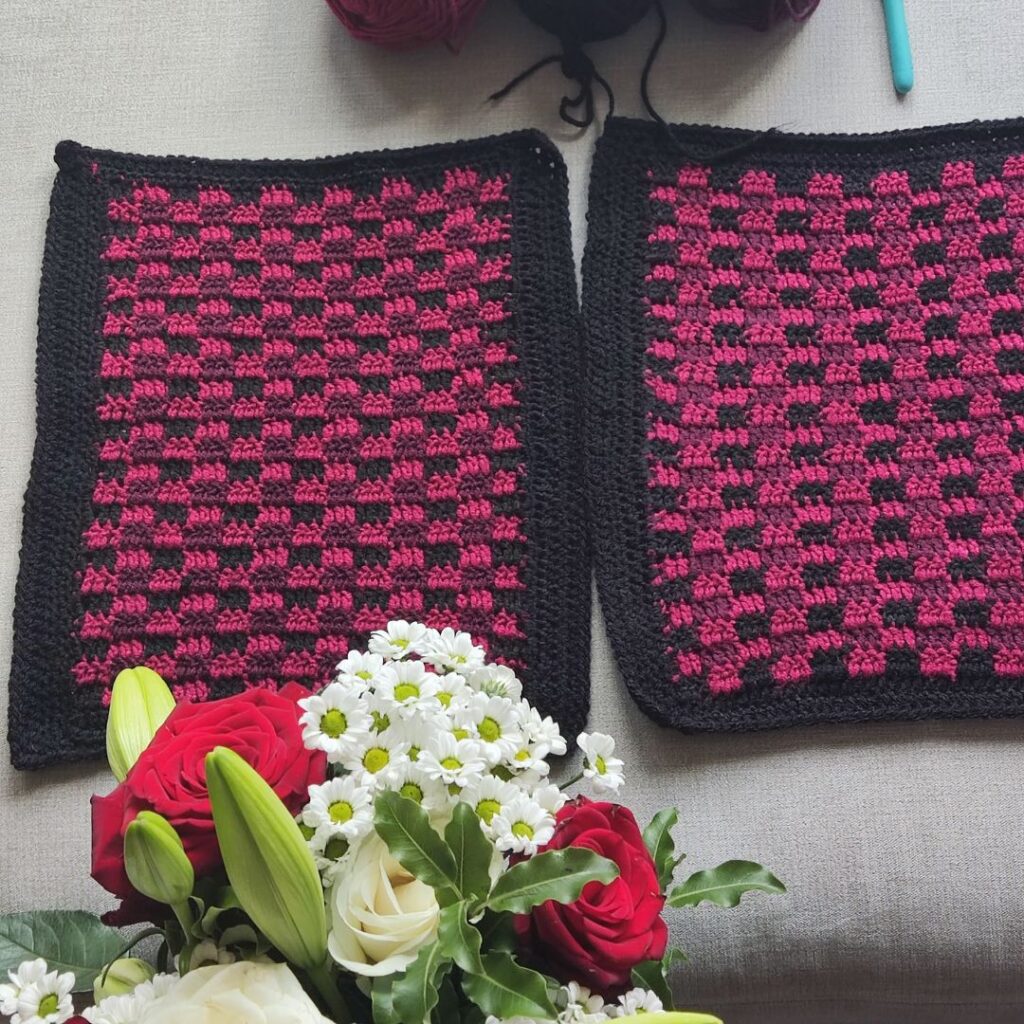
Estimated total yardage for the square
You need 3 colors for this.
I made 2 squares of these squares for my version.
| Colors | Yard for 1square | Yardage for 2 squares |
| Black (A) | 60 | 120 |
| Bright red (B) | 55 | 110 |
| Burgundy (C) | 40 | 80 |
Adjustments for your square
- You can go up by a hook size if your square is not up to 11”
- Increase or reduce the repeats until your panel measures 11”
The Plaid Style Square 4 Pattern
Make 2 pieces
With A Chain 41
Row 1: Hdc in 3rd ch from hook and in each ch across, turn – 39 hdc
- Make sure to carry the yarn along, crocheting over the unused yarn
- The 3rd dc should be completed with the new yarn for an easy transition.
Row 2: With A, ch 2 (counts as first dc here and throughout this square), dc in next 2 sts, *With B, dc in next 3 sts, with A, dc in next 3 sts, rep from * to the end. 21 dc in A, 18 dc in B
- Drop Black and only use the two shades of red for the next row.
Row 3: With B, ch 2, *dc in next 2 sts, With C, dc in next 3 sts, rep from * to the end.
- Drop Burgundy and only use Black and Red for the next row.
Rows 4 – 24: Rep Rows 2 – 3
Fasten off B (bright Red), and C (Burgundy)
Row 25: With Black, ch 1, hdc in each st across, turn. 42 hdc
Or until the piece measures 11”
Edging
- Crocheting around the whole piece
- Crocheting loosely
- Using Black
Round 1: Ch 1, sc in each st around, aim for [1sc, ch 2, 1 sc] at each corner, join with a sl st to the beginning chain.
Measure your piece; add one or more edging rounds if not up to 11”.
Fasten off
Sew in all ends.
There you have it, the Plaid Crochet Stitch Tutorial.
Square 6
You need 3 colors for this.
I made 2 squares of these squares for my version.
| Colors | Yard for 1square | Yardage for 2 squares |
| Black (A) | 20 | 40 |
| Bright red (B) | 55 | 110 |
| Burgundy (C) | 50 | 100 |
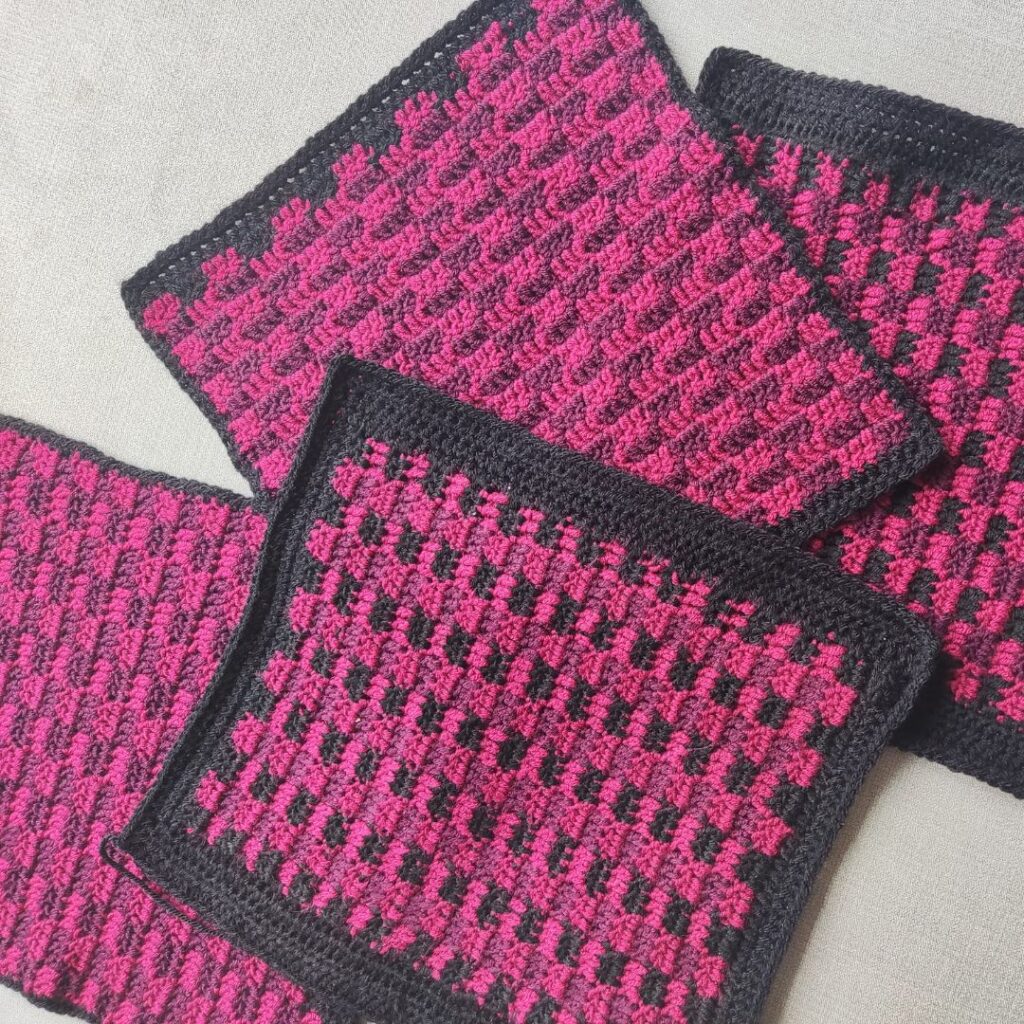
Make two pieces
Chain 41
Row 1: With A, hdc in 3rd ch from hook and in each ch across, turn – 39 hdc
- Make sure to carry the yarn along, crocheting over the unused yarn
- The 3rd dc should be completed with the new yarn for an easy transition.
Row 2: With C, ch 2 (counts as first dc here and throughout this square), dc in next 2 sts, *With B, dc in next 3 sts, with C, dc in next 3 sts, rep from * to the end. 21 dc in A, 18 dc in B
- Drop Burgundy and only use the two shades of red for the remaining rows.
Row 3: With B, ch 2, *dc in next 2 sts, With C, dc in next 3 sts, rep from * to the end.
Rows 4 – 24: Rep Rows 2 – 3
Fasten off B (bright Red), and C (Burgundy)
Row 25: With Black, ch 1, hdc in each st across, turn. 42 hdc
Or until the piece measures 11”
Edging
- Crocheting around the whole piece
- Crocheting loosely
- Using Black
Round 1: Ch 1, sc in each st around, aim for [1 sc, ch 2, 1 sc] at each corner, join with a sl st to the beginning chain.
