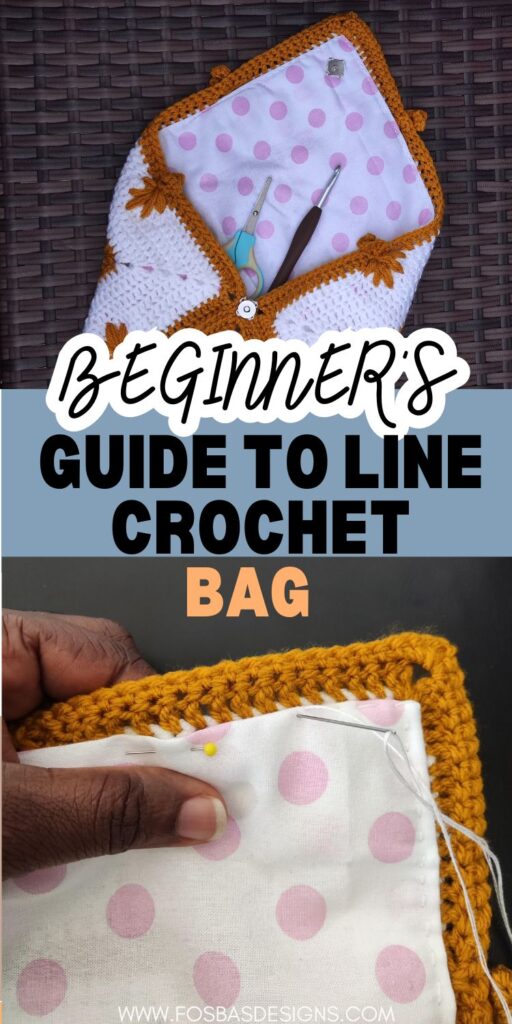
How to Line a Crochet Bag: An Easy Step-by-Step Tutorial
It’s time for a quick tutorial on “How to Line a Crochet Bag.” This will work even if it’s your first time lining a crochet piece with fabric!
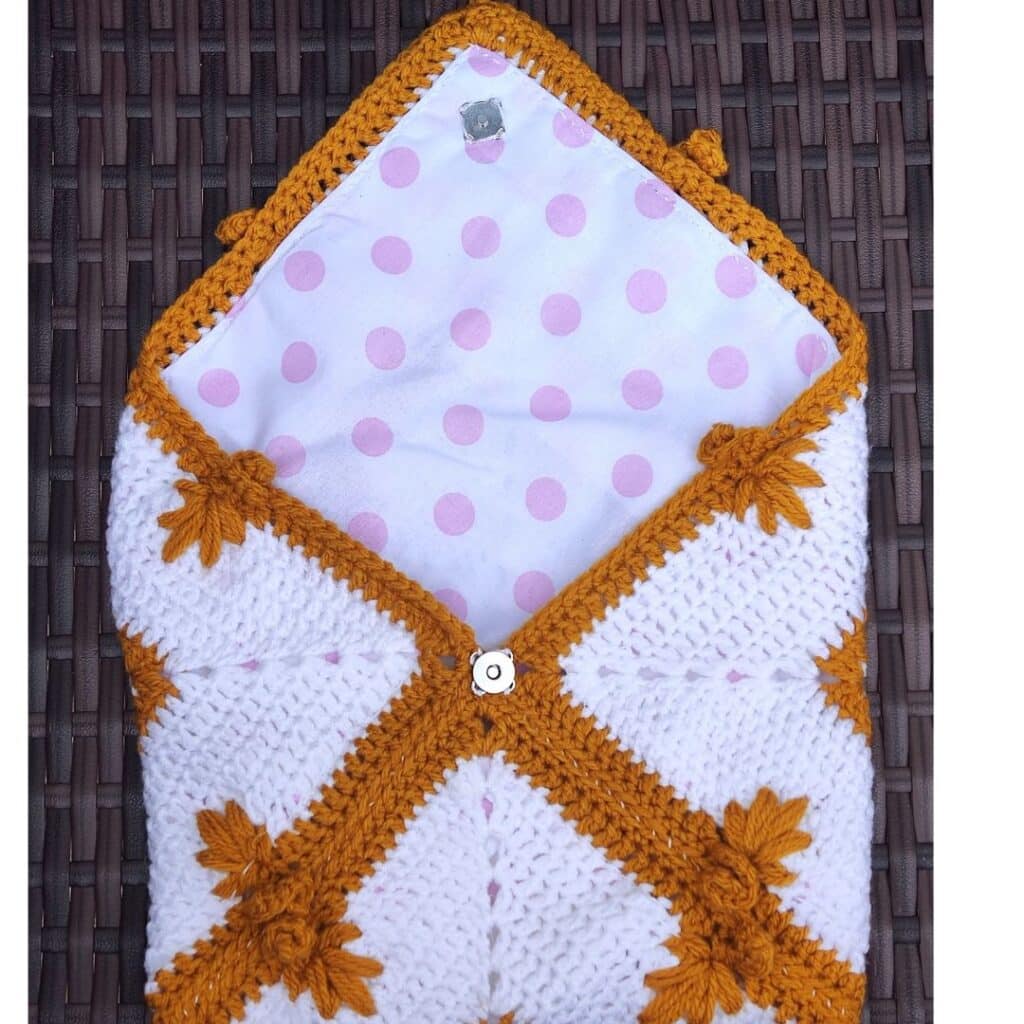
Adding a fabric lining to your crochet bag can give it a more professional look, enhance durability, and make it more functional, especially for carrying small items that might slip through crochet stitches.
Whether you’ve just made a crochet tote bag, a market bags, or a little bag for your cell phone, this tutorial will guide you through lining your crochet project for a finished bag that’s as beautiful as it is practical.
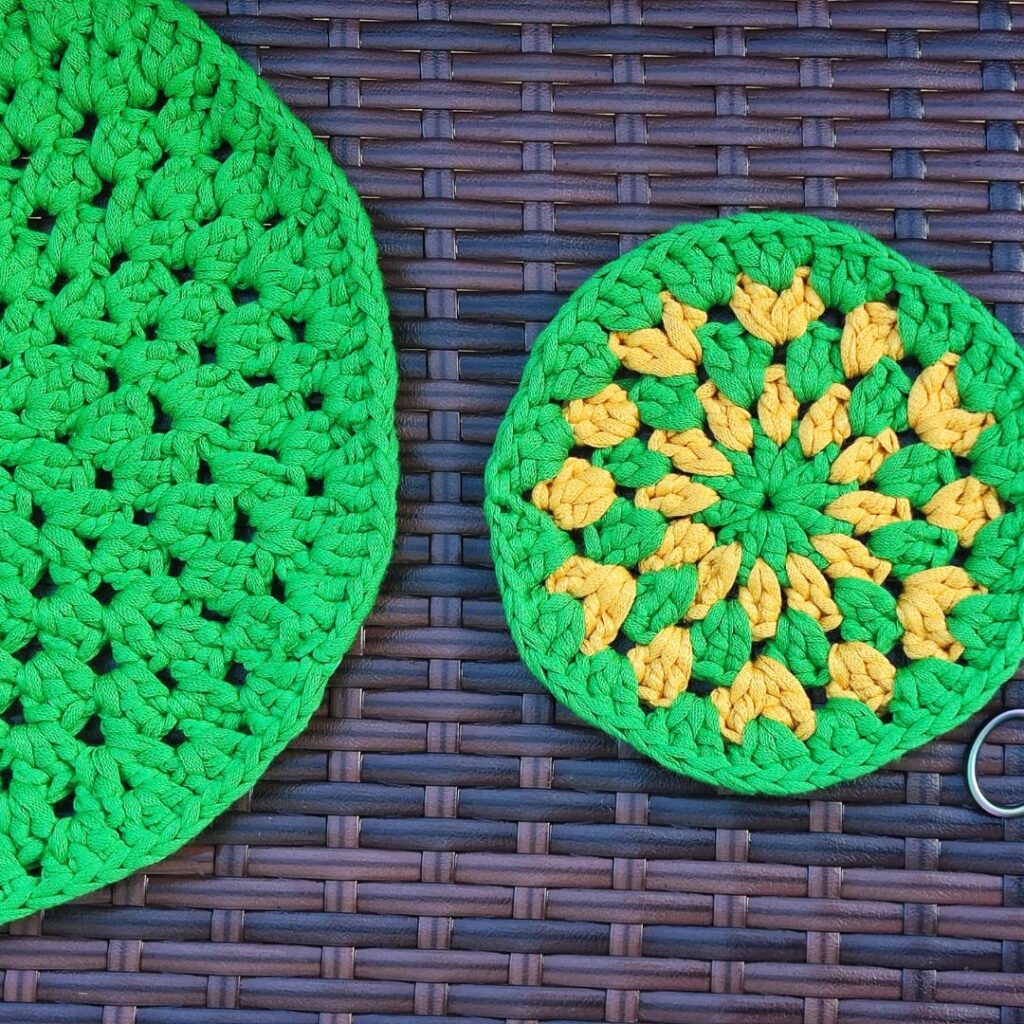
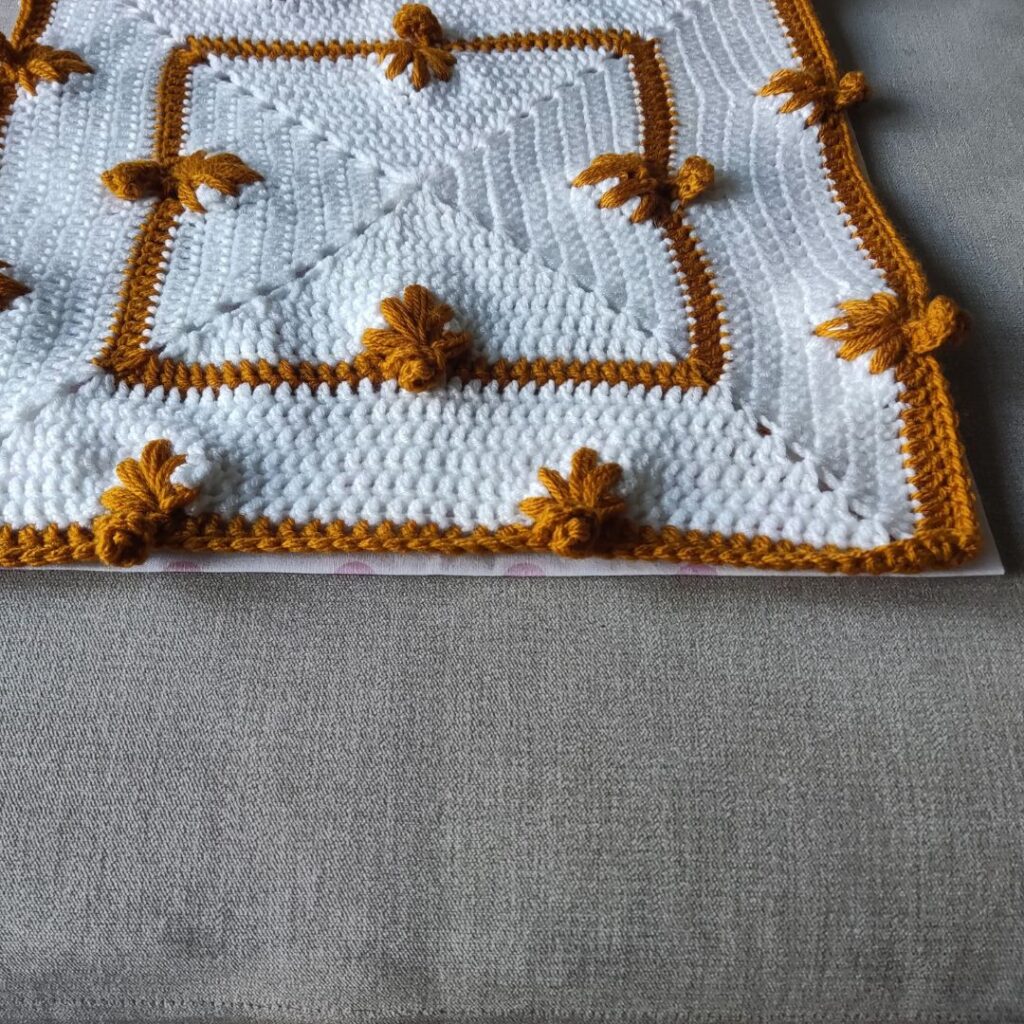
Circle Granny Stitch
Learn a new version of making the granny stitch.
- It can be used for different projects!
- Beginner Friendly.
- Easy and fun!
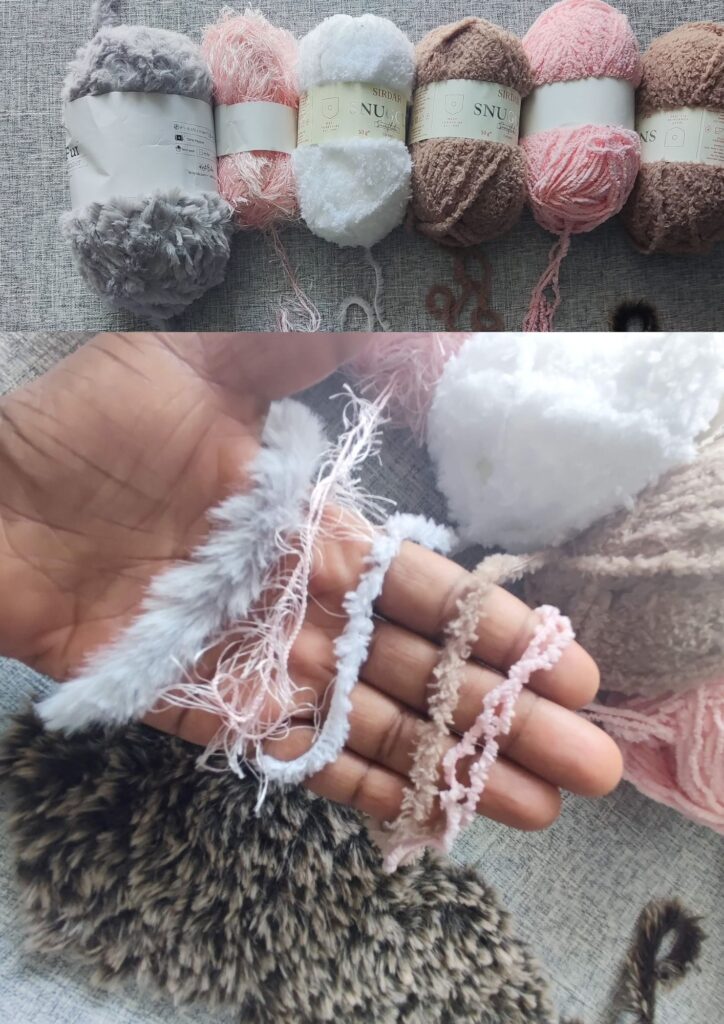
Best Fur Yarn Tips
Never ignore these beauties again!
- Pro Tips to help you use fur yarns
- Tested and trusted.
- Practical tips.
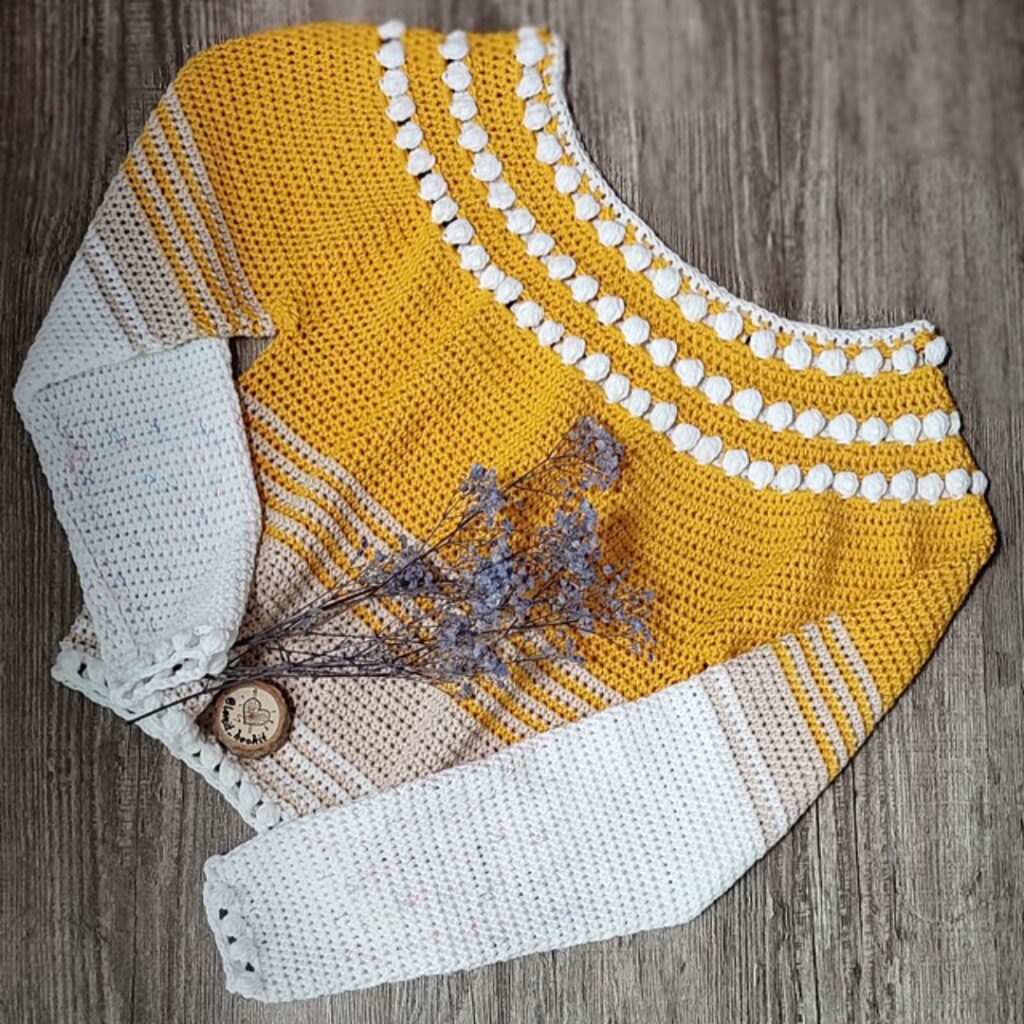
Best Stitches For Sweater
Take your projects to the next level.
- Learn the tips on different stitches to make a sweater.
- Practical tips with examples.
- Different levels to choose from.
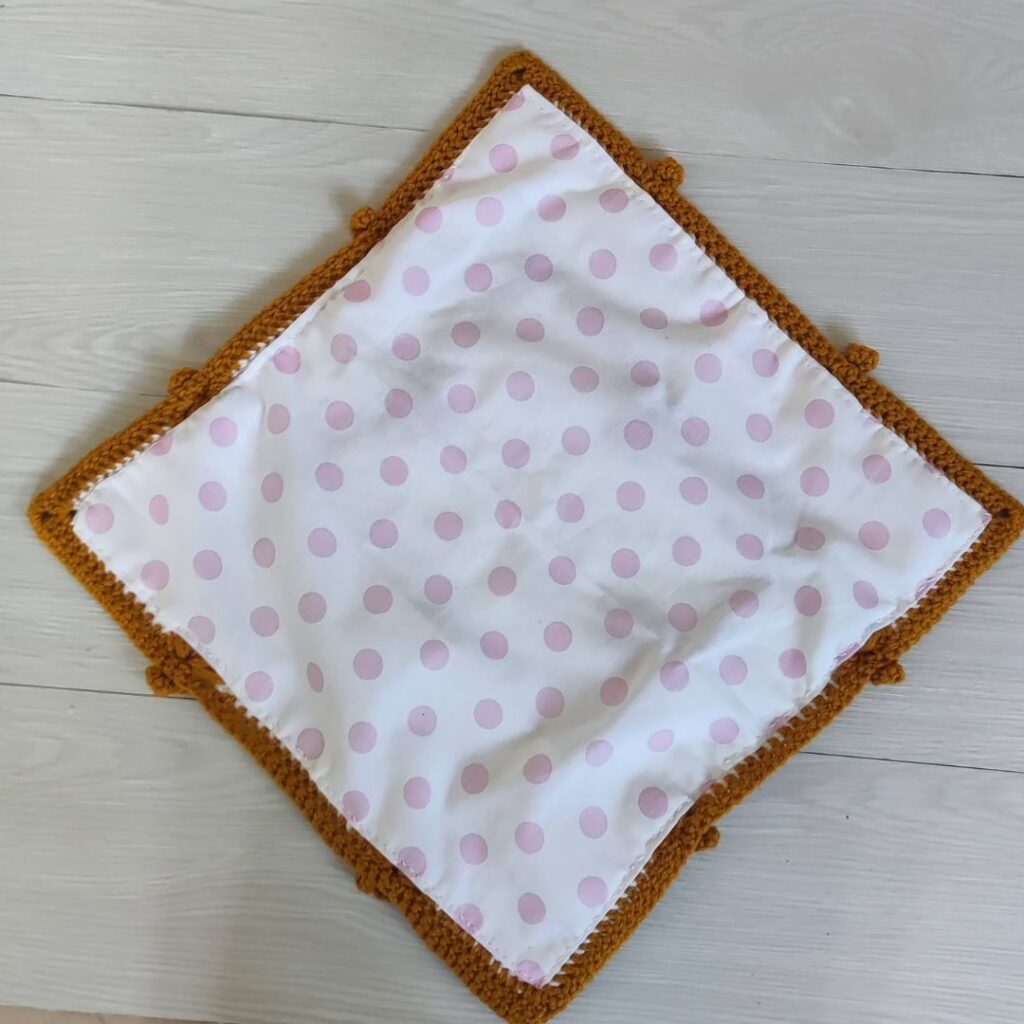
What supply is needed to line a crochet bag?
- Your crocheted bag – You can make one using a crochet hook and yarn, or check out my free patterns for bags on the blog.
- Lining fabric (a fat quarter or an old pillowcase could work perfectly). An old pillow case can be substituted.
- Sewing machine (though a sewing needle and thread can also be used for hand sewing)
- Rotary cutter or scissors
- Straight pins
- Measuring tape
- Iron (optional)
How to Line a Crochet Bag: An Easy Step-by-Step Tutorial
Step 1: Measure Your Bag
First, determine the width of your bag and the height of the bag. For a rectangular bag, you’ll want your fabric lining to match these dimensions, adding a seam allowance of about ½ inch on all sides for the side seams and bottom seam. If your bag has a flat bottom or boxed corner, take note of these measurements as well.
Step 2: Cut Your Fabric
Using the measurements from Step 1, cut out two pieces of fabric for the sides of the lining, ensuring they’re of the correct size. If you’re using a piece of fabric like an old pillowcase, you can utilize the fold of the fabric for the bottom of the bag to minimize sewing.
Step 3: Sew the Side and Bottom Seams
Place the two pieces of fabric with their right sides together and pin them along the sides and bottom, leaving the top open. Sew a straight line along each pinned edge, removing pins. If your bag has a flat bottom, sew across the corners at the bottom of the fabric to create a boxed corner.
Step 4: Prepare the Top Edge
Turn the bag lining right side out. Fold the top edge of the lining inward to create a top hem. Press this fold with an iron for a crisp edge, or simply finger-press if you prefer. This top hem should be about ½ inch, but adjust according to the top edge of your crocheted bag.
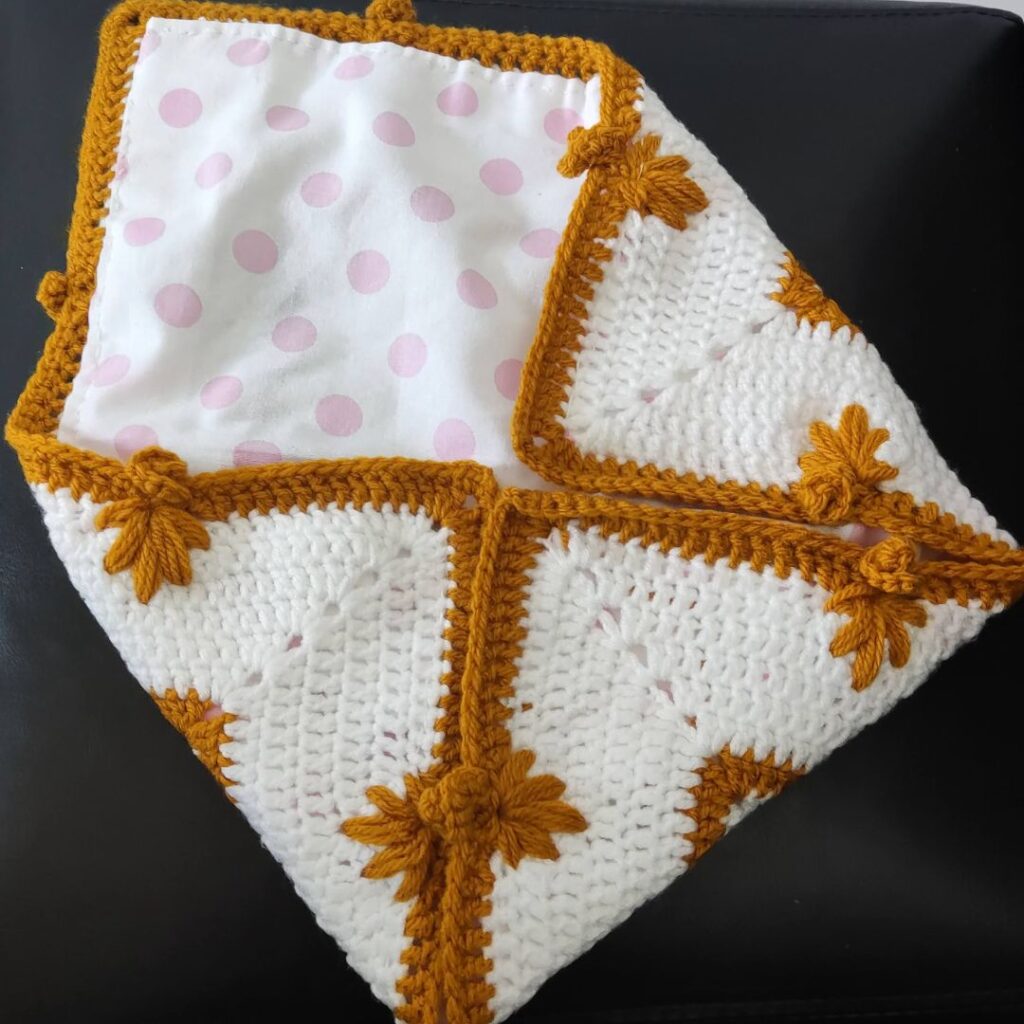
Step 5: Place or Insert the Lining into Your Crochet Bag
This step will work for a bag already sewn together. For my simple tote, I skipped steps 4 – 6. With the lining prepared, insert it into your crochet bag, ensuring the wrong sides are together, meaning the right (outer) side of the lining is facing the inside of the crochet bag. Align the top hem of the lining with the top edge of the bag. If your bag has handles, ensure the lining fits snugly around them.
Step 6: Sew the Lining to the Bag
Hand-sew the top of the lining to the top of the bag using a whip stitch or slip stitch. For a neater finish, you can use a blind stitch. Ensure your stitching is close to the top edge for a seamless look.

Step 7: Finishing Touches
Once the lining is securely attached to your crochet bag, check the inside for loose threads or uneven seams. If the bag will carry a lot of weight, you may also want to add additional stitches at the bottom of the pocket or along the side seams for extra security.
Step 8: Add zippers, buttons or snaps
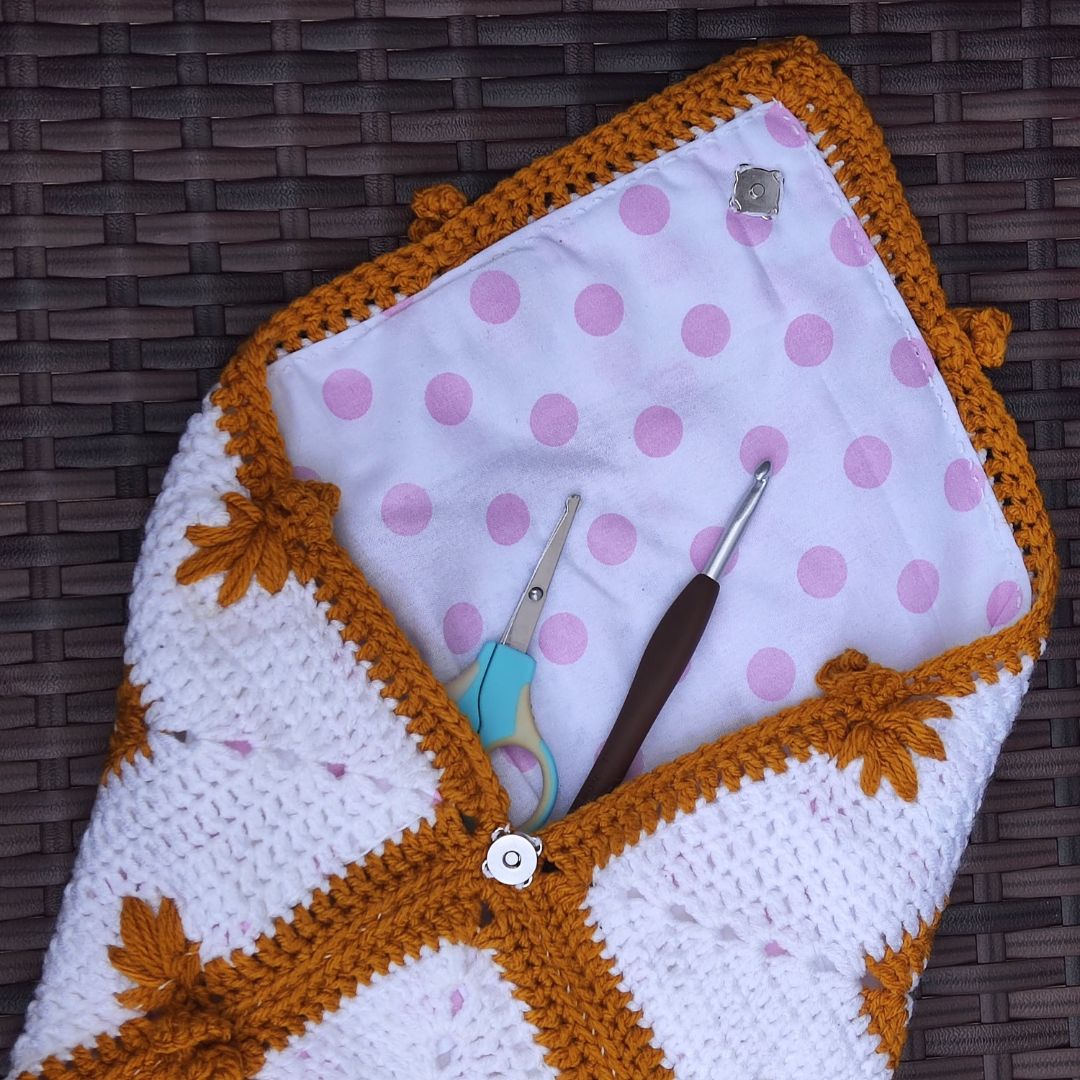
For my prototype, I sewed the corners together and then sewn a snap button to give this crochet bag a finished look!
FAQs about Bag lining
Can I line a knit bag the same way?
Yes, this method is also suitable for lining knitted bags. The fabric lining process differs little between crocheted and knitted projects.
What fabric is best for lining a crochet bag?
Cotton or a cotton blend is usually a good choice because it’s durable and easy to work with. However, consider a double lining or a sturdier fabric for bags that will carry heavier items.
Do I need a sewing machine?
While a sewing machine can make the process quicker, sewing your lining by hand with a needle and thread is possible. The key is ensuring your stitches are even and secure.
Conclusion
Lining a crochet bag is a fantastic way to add professionalism and functionality to your crochet projects. With basic sewing skills and this easy-to-follow tutorial, you can give your handmade bags a durable inner layer that complements the crochet fabric.
Happy crocheting and sewing!
About the Designer
Say Hi on Instagram and Subscribe To my email List for pattern discounts and freebies. For questions, send such to [email protected]. Read more about me here.