Men’s crochet scarf free pattern
Finding a beautiful men’s crochet scarf pattern can sometimes be challenging. There is a thin line between what can be termed a crochet scarf for men and what is commonly seen as a scarf for women.
When the crochet scarf is even befitting for both gender, it makes sit unique and beautiful.
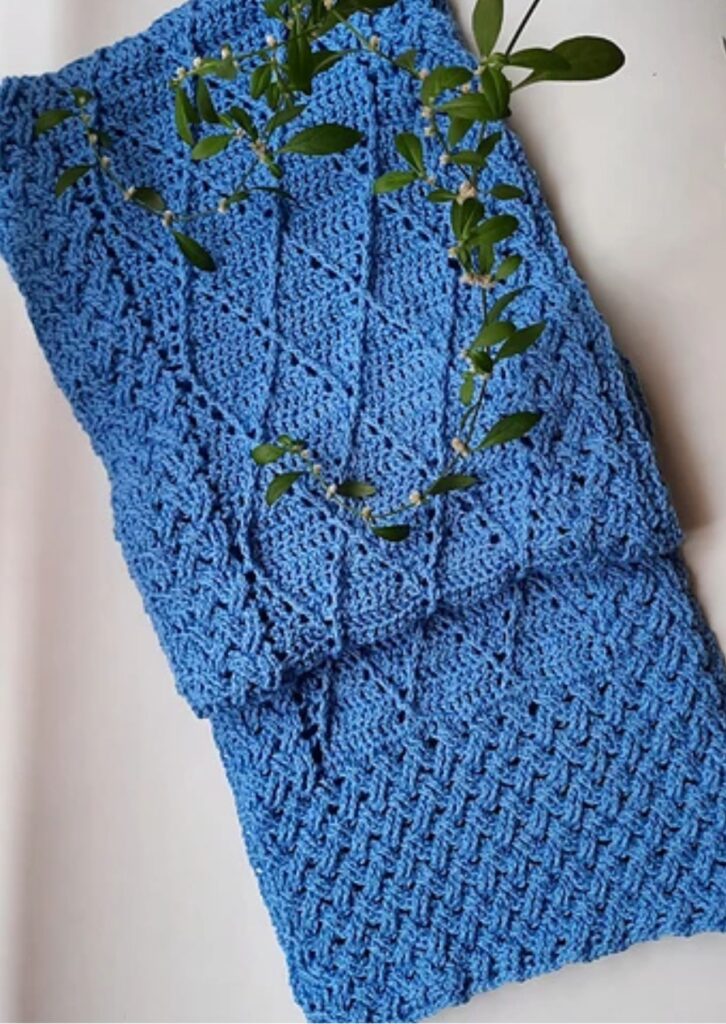
Crochet scarves are perfect for days you are looking to make some crochet gifts that can be for men.
It is with great delight that I am hosting the talented Aara by Dina.
Her beautiful textured crochet men’s scarf is available as a free pattern, read below for the details. If you prefer the Ad-free version, kindly support her using the links below.

Since you love this men’s scarf-free pattern, you might also love the following free shawls here on the blog.
Details of this easy crochet scarf for men
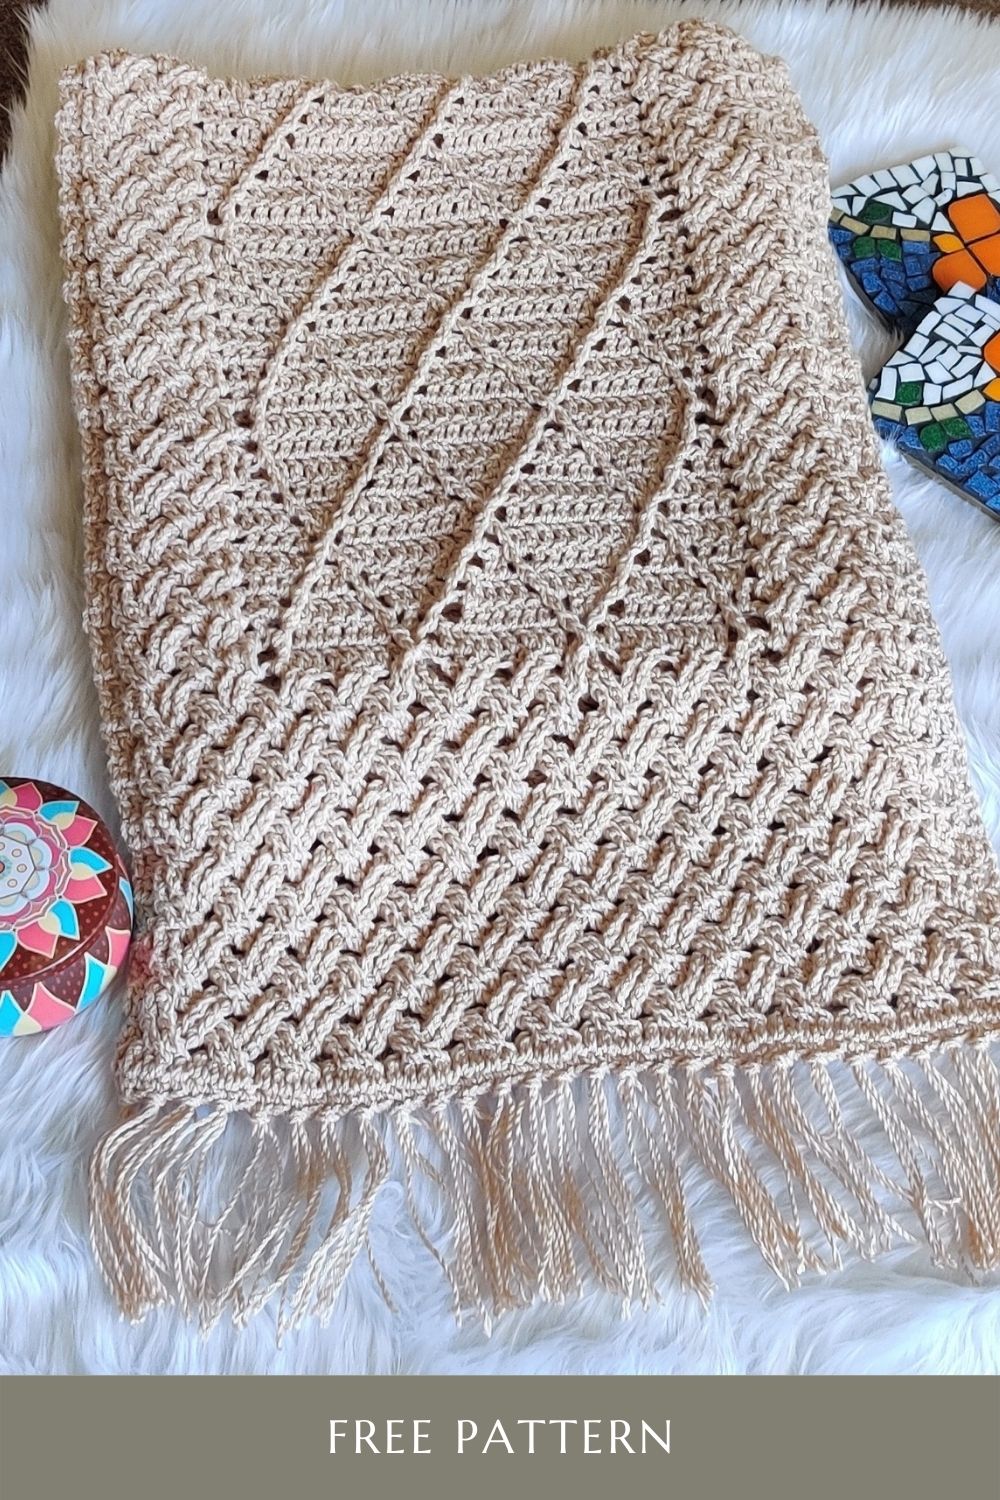
Looking for a unisex scarf and something men would want to wear? The Mo Dhaid scarf is the perfect one for you- not being too lacy, at the same time not dense and heavy. Using a larger hook and a thinner yarn helps give the scarf a lighter softer feel.
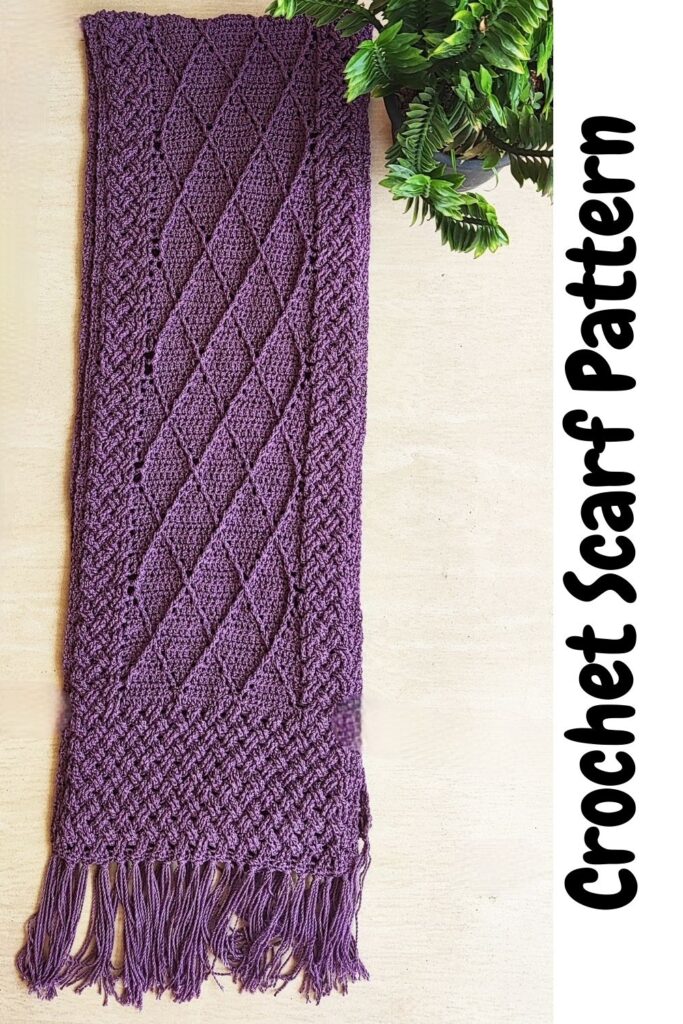
It has been designed with a lot of texture and no lace – keeping it simple with a single color and allowing the stitches to speak for themselves.
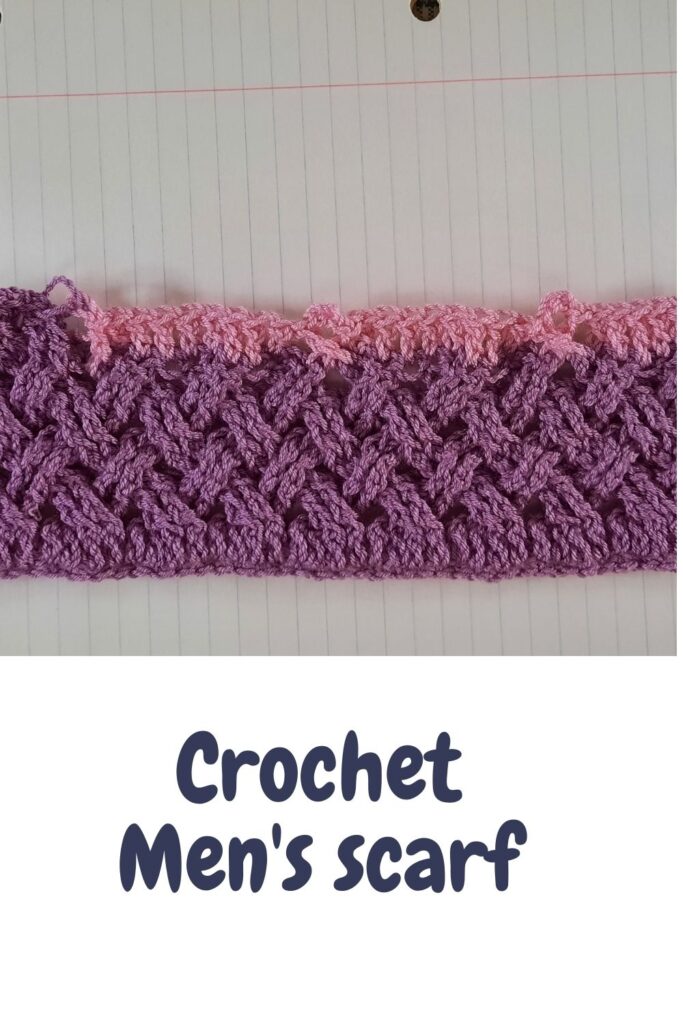
You would also learn and perfect a beautiful crochet stitch combination when you make this crochet men’s scarf pattern. The Celtic weave has always fascinated me and gives any piece a rich look. Mixing it with a simple diamond pattern creates something totally new.
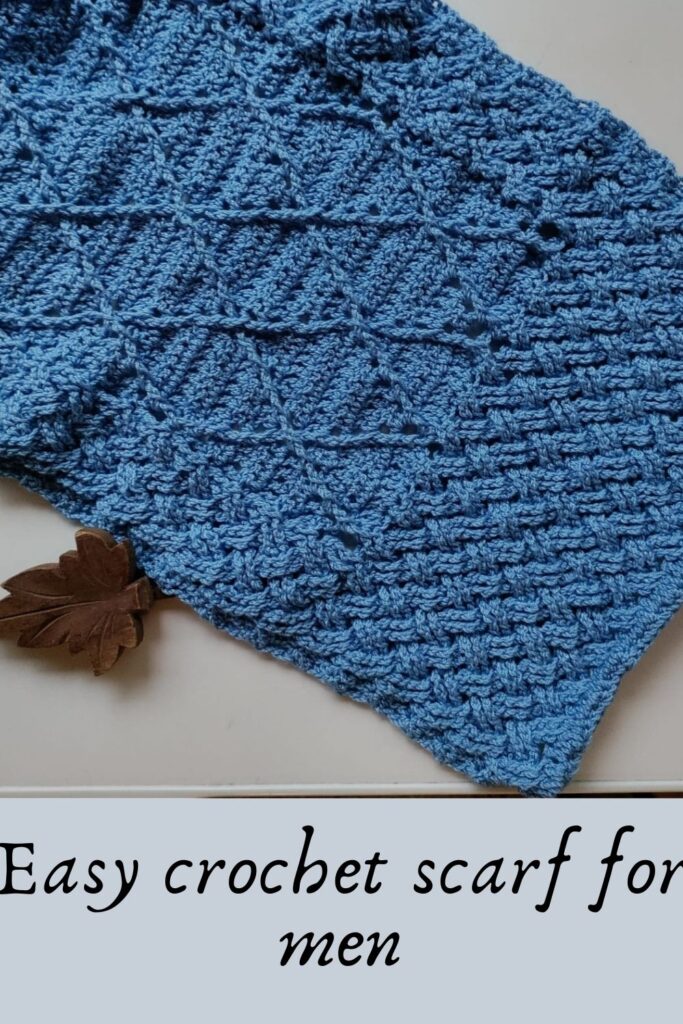
Taking from the Celtic Weave and looking for inspiration from the Irish language, I could not think of a better name for the scarf than Mo Dhaid– pronounced ‘mo jade’ and meaning My Dad in Irish. Dads have a special place in any girl’s heart, as did mine. Having lost him about 12 years ago, he never got to see me embark on my crochet journey. I hope this makes him proud.
The pattern for Mo Dhaid is also available as a premium pdf copy in my Ravelry Store. This also includes a variation for a cowl.
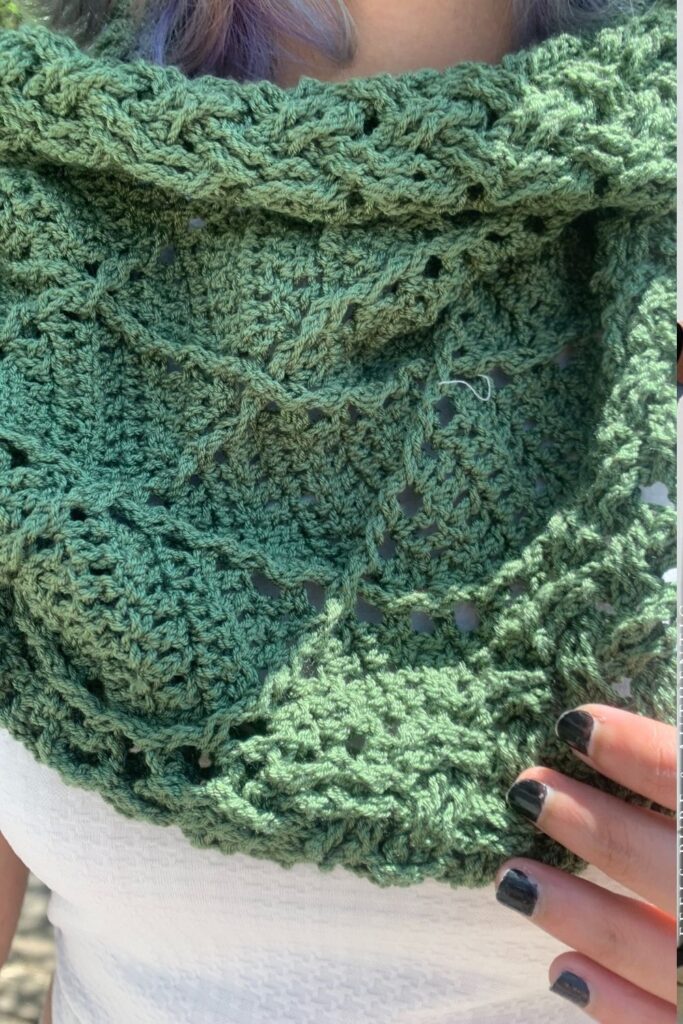
Skill level required to make this crochet scarf pattern: Intermediate
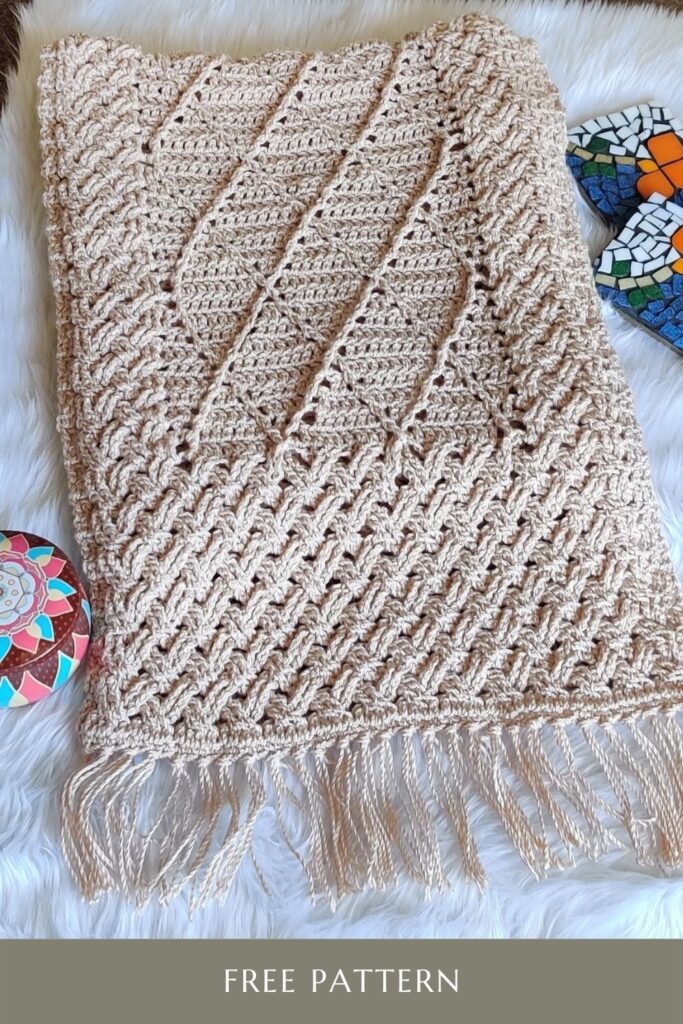
Final Measurements for this men’s scarf: The finished scarf measures 60” x 12”
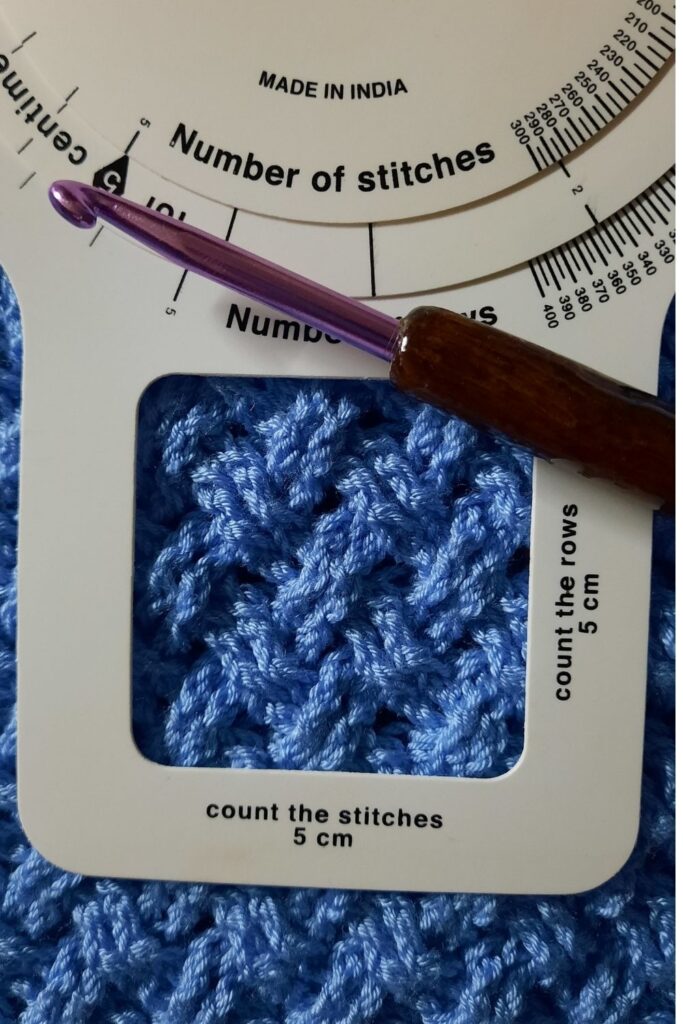
Gauge for a 4” x 4” square
Instructions for the gauge
Chain 21 and follow the pattern from rows 1 to 4. Repeat rows 3 and 4 another four times (total 10 rows of the Celtic Weave
Change the hook size up or down depending on your tension
Materials needed to make your own crochet men’s scarf pattern
1200 yds/1100mts of Fingering/Sport weight yarn
4.5mm hook
Scissors
Yarn needle
Measuring Tape
Stitch Markers
Abbreviations and stitch knowledge are required to make this easy crochet men’s scarf pattern
Ch- chain
Sl st- slip stitch
Yo- yarn over
Sc- single crochet
Dc- double crochet
Tr- treble crochet
Fp- front post
Bp- back post
Rpt- repeat
Sk- skip
RS- right side
WS- wrong side
Tutorials for special stitches used in this tutorial to help you make this men’s scarf pattern
Working into the back hump of the chain: https://youtu.be/FOw7xREFVL0
Celtic Weave (right-handed): https://youtu.be/-m2hWjfgUV8
Celtic Weave(left-handed): https://youtu.be/FvDm3F2aV3I
Pattern instruction:
Notes-
- The pattern uses US terminology.
- The pattern uses a larger hook than normally recommended for lightweight yarn- this is to ensure the scarf remains lightweight and airy.
- The pattern is worked in rows, turning after each row.
- Ch1 at the beginning of the row does not count as a stitch.
- Chain stitches in the middle of the rows count as a stitch.
- When the pattern says ‘2dc’ it means 1 dc in each of the next 2 sts. The same for all stitches
- The pattern includes post stitches for both treble and double crochet. Read carefully!
- The pattern for rows 3 and 4 constitute the Celtic Weave stitch.
- Stitch counts are given in brackets at the end of each row.
- The gauge is not critical to the scarf.
Instructions for this men’s crochet scarf pattern
SECTION 1
Chain 61
Row 1(RS)- Sc in the second chain from the hook and 1 sc into each chain. (If you work into the back loops of the chain, you will get a neater edge), TURN [ 60sc]
Row 2(WS)- Ch 1 and 1dc into each sc of row 1, TURN [60dc]
Row 3- Ch1, 2 dc, (sk2, 2fptr, 2 fptr around the skipped sts, working from the front) rpt across till 2 sts remain, 2 dc, TURN [ 4dc, 56 fptr]
Row 4- Ch1, 2 dc, 2 bptr (sk2, 2bptr, 2 bptr around the skipped sts, working from the back) rpt across till 4 sts remain, 2bptr, 2 dc, TURN [4dc, 56 bptr]
Row 5-14- Repeat rows 3 and 4, five more times
SECTION 2
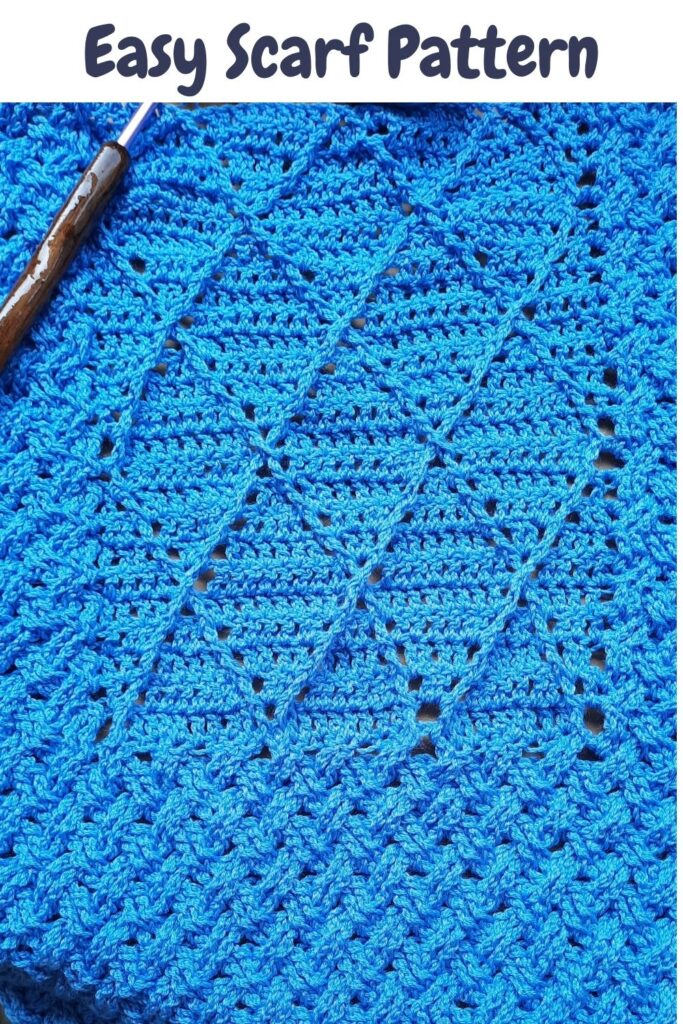
Row 15 onwards has the Celtic weave along the sides of the scarf and the diamond pattern in the center. Ch 1 or ch2 in the middle of the rows are counted as a stitch and dc sts are worked into the chains (you can work into the chain space or into the chain stitch). Some of my testers found the use of stitch markers for the ch sp helped to spot the chs easily.
Row 15 (RS)- Ch1, 2 dc, (sk2, 2fptr, 2 fptr around the skipped sts, working from the front) x2, 2fptr.
Ch1, 1fpdc, (sk1, 8dc, sk2, 1fpdc, 2ch, 1fpdc around second skipped st) x2, sk1, 8dc, sk1, 1fpdc, ch1,
2 fptr, (sk2, 2fptr, 2 fptr around the skipped sts, working from the front) x2, 2dc, TURN
[20 fptr, 6 fpdc, 6 ch, 28dc]
Row 16 (WS)- Ch1, 2 dc, 2bptr, (sk2, 2bptr, 2 bptr around the skipped sts, working from the back) x2,
(1dc, ch1, 1 bpdc, sk1, 6dc, sk1, 1bpdc, ch1, 1dc) x3,
(sk2, 2bptr, 2 bptr around the skipped sts, working from the back) x2, 2 bptr, 2dc, TURN
[20 bptr, 6 bpdc, 6 ch, 28dc]
Row 17- Ch1, 2 dc, (sk2, 2fptr, 2 fptr around the skipped sts, working from the front) x2, 2fptr.
(2dc, ch1, 1fpdc, sk1, 4dc, sk1, 1fpdc, ch1, 2dc) x3,
2 fptr, (sk2, 2fptr, 2 fptr around the skipped sts, working from the front) x2, 2dc, TURN
[20 fptr, 6 fpdc, 6 ch, 28dc]
Row 18- Ch1, 2 dc, 2bptr, (sk2, 2bptr, 2 bptr around the skipped sts, working from the back) x2,
(3dc, ch1, 1 bpdc, sk1, 2dc, sk1, 1bpdc, ch1, 3dc) x3,
(sk2, 2bptr, 2 bptr around the skipped sts, working from the back) x2, 2 bptr, 2dc, TURN
[20 bptr, 6 bpdc, 6 ch, 28dc]
Row 19- Ch1, 2 dc, (sk2, 2fptr, 2 fptr around the skipped sts, working from the front) x2, 2fptr.
(4dc, ch1, 1fpdc, sk2, 1fpdc, ch1, 4dc) x3,
2 fptr, (sk2, 2fptr, 2 fptr around the skipped sts, working from the front) x2, 2dc, TURN
[20 fptr, 6 fpdc, 6 ch, 28dc]
Row 20- Ch1, 2 dc, 2bptr, (sk2, 2bptr, 2 bptr around the skipped sts, working from the back) x2,
(4dc, sk2, 1 bpdc, ch2, 1 bpdc in the second skipped st, sk1, 4dc) x3,
(sk2, 2bptr, 2 bptr around the skipped sts, working from the back) x2, 2 bptr, 2dc, TURN
[20 bptr, 6 bpdc, 6 ch, 28dc]
Row 21- Ch1, 2 dc, (sk2, 2fptr, 2 fptr around the skipped sts, working from the front) x2, 2fptr.
(3dc, sk1, 1fpdc, ch1, 2dc in ch2 sp, ch1, 1fpdc, sk1, 3dc) x3,
2 fptr, (sk2, 2fptr, 2 fptr around the skipped sts, working from the front) x2, 2dc, TURN
[20 fptr, 6 fpdc, 6 ch, 28dc]
Row 22- Ch1, 2 dc, 2bptr, (sk2, 2bptr, 2 bptr around the skipped sts, working from the back) x2,
(2dc, sk1, 1 bpdc, ch1, 4dc, ch1, 1bpdc, sk1, 2dc) x3,
(sk2, 2bptr, 2 bptr around the skipped sts, working from the back) x2, 2 bptr, 2dc, TURN
[20 bptr, 6 bpdc, 6 ch, 28dc]
Row 23- Ch1, 2 dc, (sk2, 2fptr, 2 fptr around the skipped sts, working from the front) x2, 2fptr.
(1dc, sk1, 1fpdc, ch1, 6dc, ch1, 1fpdc, sk1, 1dc) x3,
2 fptr, (sk2, 2fptr, 2 fptr around the skipped sts, working from the front) x2, 2dc, TURN
[20 fptr, 6 fpdc, 6 ch, 28dc]
Row 24- Ch1, 2 dc, 2bptr, (sk2, 2bptr, 2 bptr around the skipped sts, working from the back) x2,
(sk1, 1 bpdc, ch1, 8dc, ch1, 1bpdc, sk1) x3,
(sk2, 2bptr, 2 bptr around the skipped sts, working from the back) x2, 2 bptr, 2dc, TURN
[20 bptr, 6 bpdc, 6 ch, 28dc]
Repeat rows 15 to 24 as many times to create the length
For the scarf- 5” shorter than the desired length (approx. 12 repeats for a 60” scarf)
SECTION 3
Set-up row 1 – Repeat Row 15
Set-up row 2- Ch1, 2 dc, 2bptr, (sk2, 2bptr, 2 bptr around the skipped sts, working from the back) x2,
1 dc in each of the next 36 sts, making sure to work into every stitch and chain space
(sk2, 2bptr, 2 bptr around the skipped sts, working from the back) x2, 2 bptr, 2dc, TURN
[20 bptr, 40 dc]
A repeat of rows 3 and 4, 6 times (total of 12 rows)
Row 3- Ch1, 2 dc, (sk2, 2fptr, 2 fptr around the skipped sts, working from the front) rpt across till 2 sts remain, 2 dc, TURN [ 4dc, 56 fptr]
Row 4- Ch1, 2 dc, 2 bptr (sk2, 2bptr, 2 bptr around the skipped sts, working from the back) rpt across till 4 sts remain, 2bptr, 2 dc, TURN [4dc, 56 bptr]
Last row: Ch1, 1 sc in each stitch across [60sc]
Cut yarn and pull through.
FINISHING
If you like you can add tassels to the shorter ends. Weave in the ends and style!
Be sure to follow her on her social media outlets –
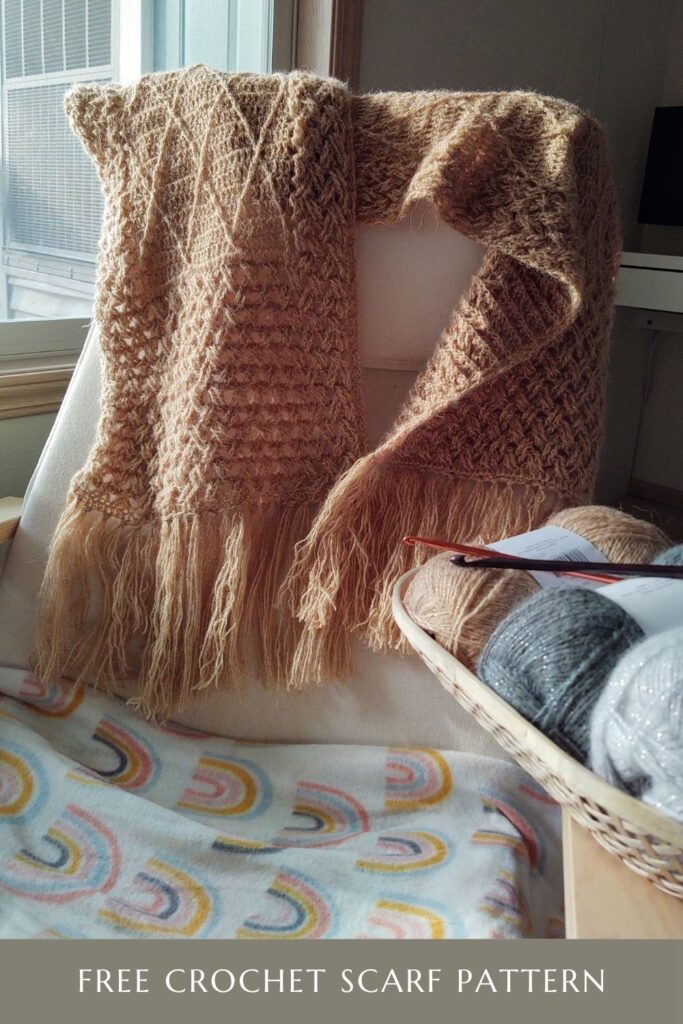
When I wrote out the pattern and did some test swatches, I never imagined how beautiful it would all come together. My dedicated team of testers really brought this pattern to life and I am humbled by their final outcomes.
I started crocheting almost 9 years ago and thanks to the beautiful community that exists, I have developed my skills along the way. This has helped me grow as a maker, tester, teacher, and designer. I published 2 patterns in 2020, 4 in 2021 and this is my 3rd pattern for 2022- hoping for many more in this year.
I hope you have so much fun making your own version of this men’s crochet scarf from this free pattern? Do tag me using the links below when you do post on your social media platforms.

