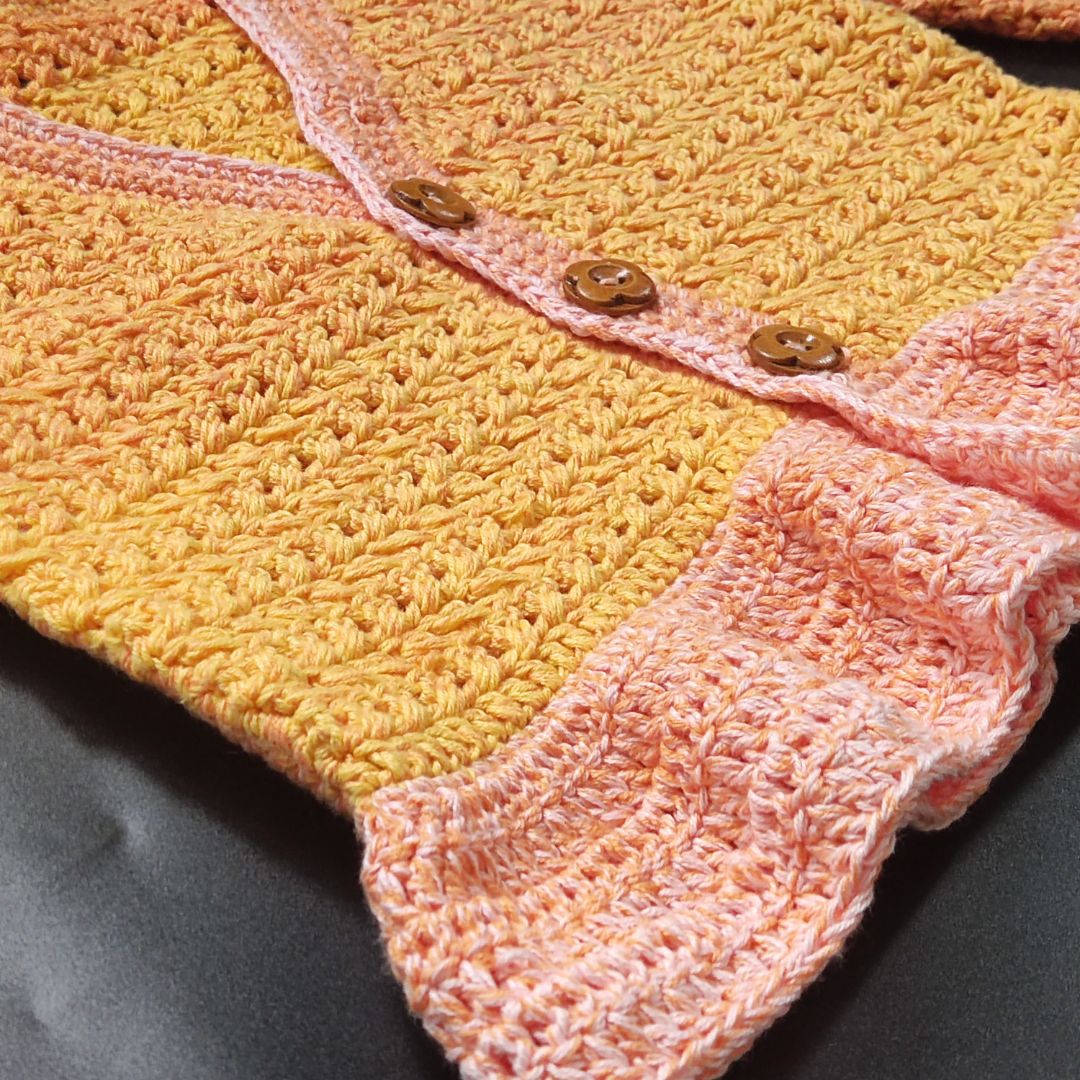
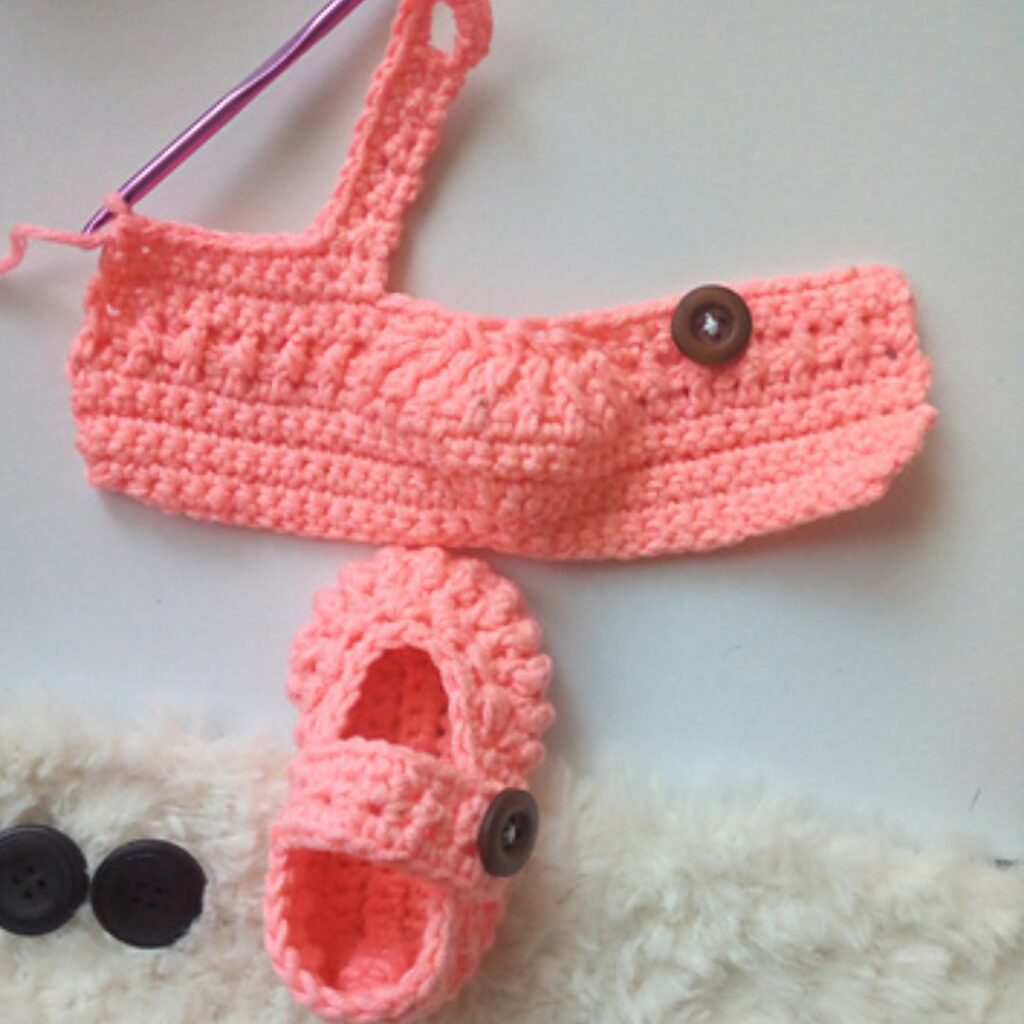
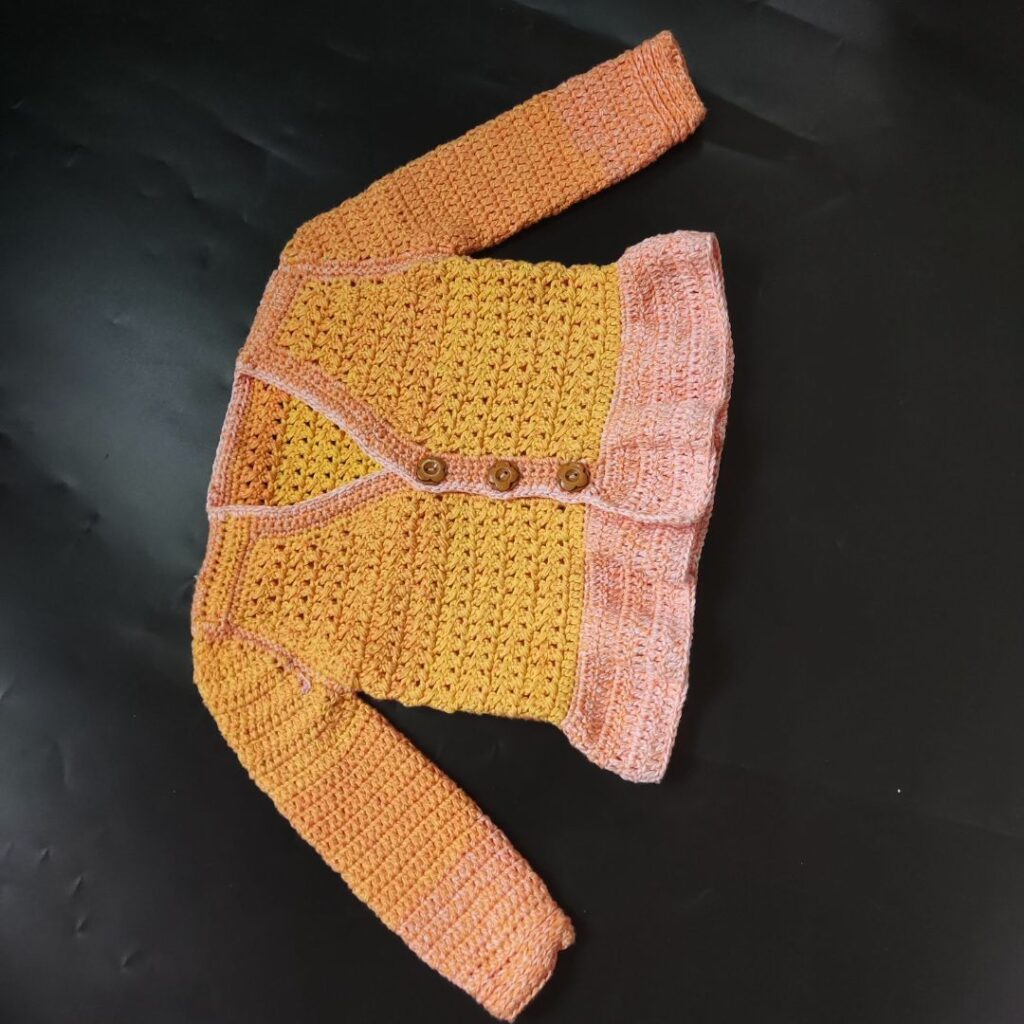
Peplum crochet baby cardigan
When it comes to dressing up your little ones, you want them to look their best while also feeling comfortable and cozy. And what better way to achieve that than with a peplum crochet baby cardigan?
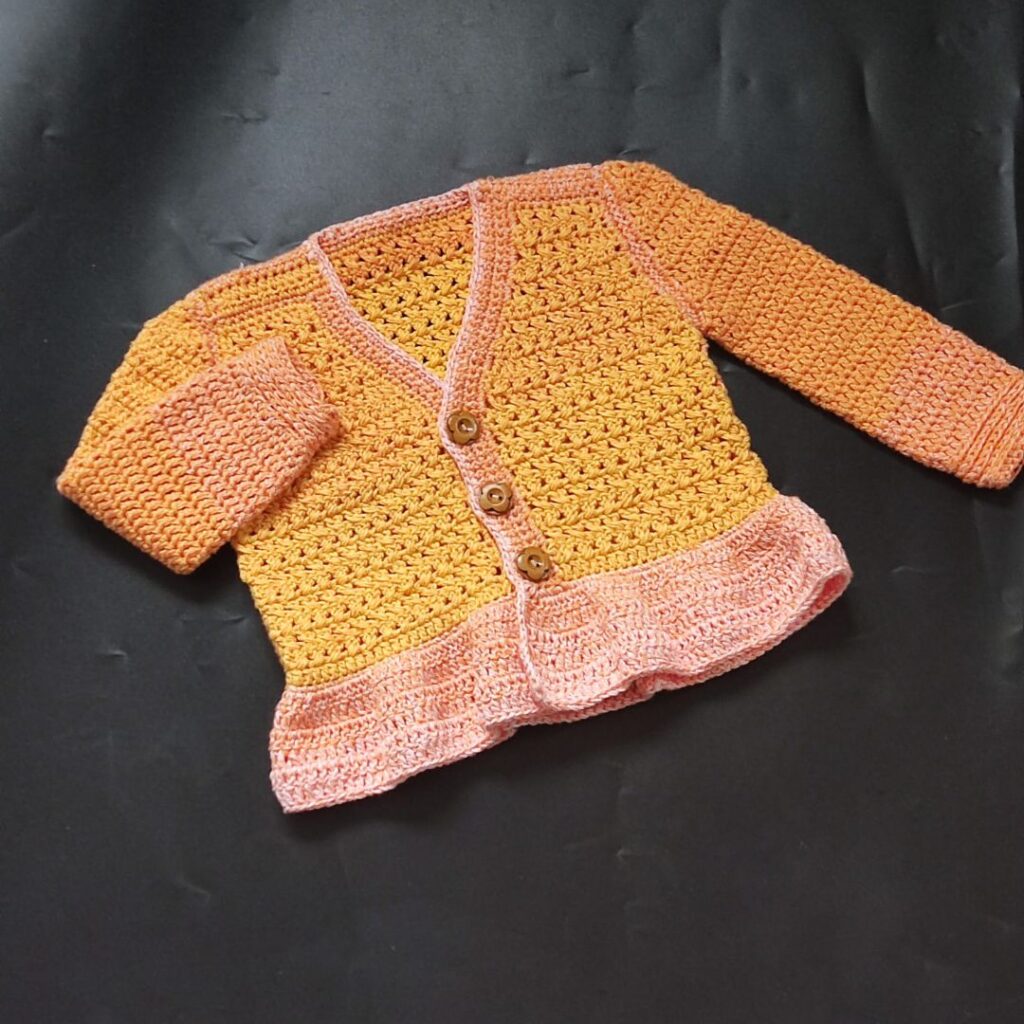
This charming garment combines the elegance of a peplum design with the warmth and softness of handmade to create a truly delightful piece for your baby’s wardrobe. With its intricate stitching, playful ruffles, and sweet buttons, this peplum crochet baby cardigan is sure to become a beloved staple in your baby’s collection of clothes.
Pin this post for later
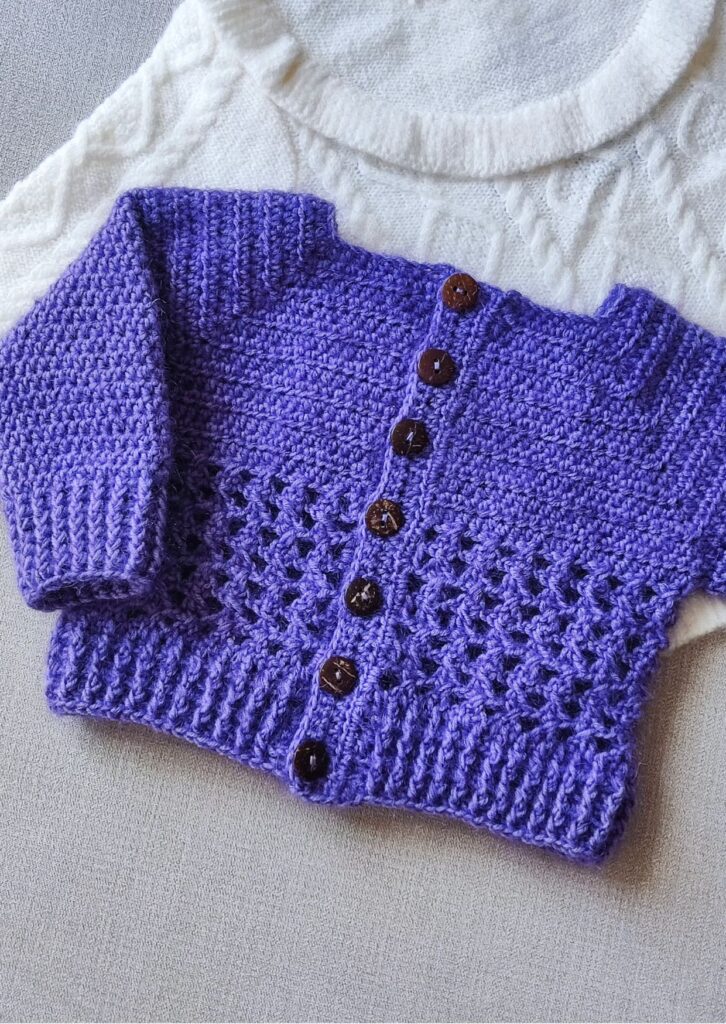
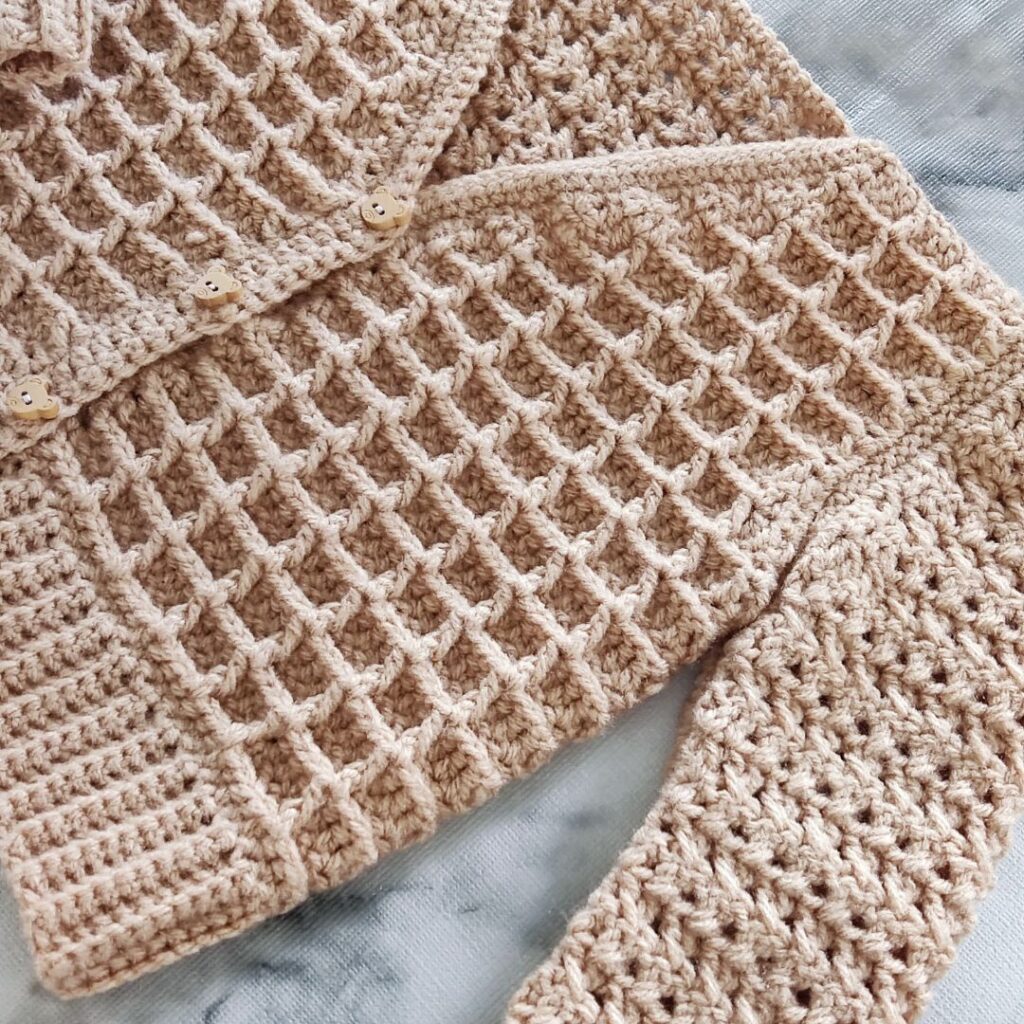
Some other crochet projects for babies and kids to check out – Beginner friendly baby cardigan, Waffle kids sweater, easiest baby booties
Whether you’re looking for a special occasion outfit or simply want to keep your little one cozy on a chilly day, this stylish and adorable cardigan is a must-have.
This cardigan is available as a free pattern, simply scroll down for details or get the ad-free version on Etsy or Ravelry.

Supplies needed for this peplum girls cardigan pattern
Yarn – Any DK-weight yarn can be used!
Hayfield Bonus DK Extra Value, #3 (100% Acrylic, 306 yd/ 280 m per 3.5 oz/ 100g Ball)
Estimated Yardage
270 (290, 310, 330, 360, 400, 450) yards
Hook
US size E (3.5 mm) Crochet Hook
Gauge
18 sts over 14 rows = 4”/10 cm square made in hdc, before blocking.
Adjust hook size if necessary, to obtain gauge.
Peplum crochet baby cardigan pattern notes
1. Please kindly read through the pattern before starting.
2. Any #3 weight yarn can be substituted
3. Chains at the beginning of the rows do not count as a stitch unless stated.
Difficulty Level – Intermediate
Terms – US Terminology
Peplum crochet Girl’s cardigan Finished Measurements
0 – 6mths (6 – 12mths, 2 yrs, 4 yrs, 6 yrs, 8 yrs, 10 yrs, 12 yrs)
Chest: 17 (19, 21, 23, 25, 26.5, 28, 30)’’
Cross back: 7.4 (7.5, 8, 8.5, 8.5, 9, 9, 9.5)”
Length: 6 (7, 7.5, 8, 8.5, 9, 10, 11)”
Armhole: 3 (3.5, 3.5, 4, 4, 4.5, 4.5, 5)”
Stitches Abbreviations
Chain(s) – ch(s)
Slip stitch – sl st
Half Double Crochet – hdc
Double Crochet – dc
Front Post Double Crochet – FPdc
Repeat – rep
BLO – Back loop only
Special Stitch
Crossed double crochet (Xdc)
First row of xdc = *Skip next st, dc in next st, crocheting over the dc just made into the skipped st, yarn over, insert hook into skipped stitch and yarn over (3 loops on the hook), yarn over, pull through 2 loops, yarn over, pull through the remaining 2 loops
The first xdc made
Rep from * to the end
Subsequent rows of xdc =
*Skip the first leg of xdc, dc in the second leg of xdc, crocheting over the dc just made into the first leg of xdc, yarn over, insert hook into skipped stitch and yarn over (3 loops on the hook), yarn over, pull through 2 loops, yarn over, pull through the remaining 2 loops
Rep from * to the end.
Peplum crochet baby cardigan pattern
Section 1: Back Panel
Chain 42 (46, 50, 54, 58, 62, 66, 70)
Row 1: Dc in 3rd chain from hook and in each ch across turn. 40 (44, 48, 52, 56, 60, 64, 68) dc
Row 2: Ch 3, dc in first st, xdc across until the last st, dc in last st, turn. 40 (44, 48, 52, 56, 60, 64, 68) dc
Rows 3 – 11 (11, 13, 13, 15, 17, 19, 21): Rep Row 2
Shape the armhole
Row 1: Ch 2, dc in first st, dc2tog twice, xdc across until the last 5 sts, dc2tog twice, dc in the last st, turn. 36 (40, 44, 48, 52, 56, 60, 64) dc
Row 2: Ch 2, dc in first st, dc2tog, xdc across until the last 3 sts, dc2tog, dc in the last st, turn. 34 (38, 42, 46, 50, 54, 58, 62) dc
Row 3: Ch 2, dc2tog, xdc across until the last 2 sts, dc2tog, turn. 32 (36, 40, 44, 48, 52, 56, 60) dc
Row 4: Ch 2, dc in first st, xdc across until the last st, dc in last st, turn. 32 (36, 40, 44, 48, 52, 56, 60) dc
Rows 5 – 9 (9, 13, 13, 13, 13, 13, 13): Repeat Row 4
Or till you have 7.4 (7.5, 8, 8.5, 8.5, 9, 9, 9.5)”
Fasten off.
Edging
- Crocheting across the sides/edges of the panel
- Join yarn with a sl st to the beginning of the foundation chain
- With the right side facing you
Row 1: Ch 1, sc evenly across the 3 edges of the panel.
Fasten off.
Peplum crochet baby cardigan Section 2: Front Panel
Right Side
Row 1: Chain 22 (22, 26, 30, 32, 34, 34, 38), dc in 3rd ch and in each ch across, turn. 20 (20, 24, 28, 28, 32, 32, 36) dc
Row 2: Row 2: Ch 3, dc in first st, xdc across until the last st, dc in last st, turn. 20 (20, 24, 28, 28, 32, 32, 36) dc
Rows 3 – 11 (11, 13, 13, 15, 17, 19, 21): Rep Row 2
Match with the back panel, the repeats should be of similar height before the split for armholes/neckline
Shape for armholes and Neckline
Row 1: Ch 2, dc in first st, dc2tog, xdc across until the last 3 sts, dc2tog, dc in the last st, turn. 18 (18, 22, 26, 26, 30, 30, 34) dc
Row 2: Ch 2, dc2tog, xdc across until the last 2 sts, dc2tog, turn. 16 (16, 20, 24, 24, 28, 28, 32) dc
Row 3: Ch 2, dc in first st, dc2tog, xdc across until the last 3 sts, dc2tog, dc in the last st, turn. 14 (14, 18, 22, 22, 24, 26, 30) dc
Row 4: Rep Row 2 – 12 (12, 16, 20, 20, 24, 24, 28) dc
Continue shaping the neck
Row 5: Ch 2, dc in first st, dc2tog, xdc across until last st, dc in last st, turn. 11 (11, 15, 19, 19, 23, 23, 27) dc
Row 6: Ch 2, dc in first st, xdc across until last 2 sts, dc2tog, turn. 10 (10, 14, 18, 18, 22, 22, 26) dc
Rows 7 – 8 (8, 12, 12, 12, 12, 12, 12): Rep Rows 5 – 6.
Stop Reducing
Row 9 (9, 13, 13, 13, 13, 13, 13): Ch 2, dc in first st, xdc across until the last st, dc in last st, turn. 8 (8, 8, 12, 12, 16, 16, 20) dc
Does the length correspond with the back panel?
If not, continue the pattern repeats without decreasing.
Fasten off.
Edging
With the Right side facing you.
Join yarn with a sl st to the beginning of the ribbed waistband, crocheting across the edges and towards the shoulder and back to the other side of the waistband.
Row 1: Ch 1, sc evenly across the edges, aim for Ch 2 at each corner, and turn.
Front edge for Buttons
Crocheting only across the front.
Row 2: Ch 2, hdc in each st across, leave the remaining sides unworked, and turn.
Row 3: Ch 1, sl st across
Left Side
Rep as for Right side until Row 4 of shape for the right side of shape for the neckline.
Start shaping only the Left Neckline
Row 5: Ch 2, dc in first st, xdc across until last 3 sts, dc2tog, dc in last st, turn. 11 (11, 15, 19, 19, 23, 23, 27) dc
Row 6: Ch 2, dc2tog, xdc across until last st, dc in last st, turn. 10 (10, 14, 18, 18, 22, 22, 26) dc
Rows 7 – 8 (8, 12, 12, 12, 12, 12, 12): Rep Rows 5 – 6.
Stop Reducing
Row 9 (9, 13, 13, 13, 13, 13, 13): Ch 2, dc in first st, xdc across until the last st, dc in last st, turn. 8 (8, 8, 12, 12, 16, 16, 20) dc
Edging – Button Hole
With the Right side facing you.
· Join yarn with a sl st to the beginning of the foundation row.
· Crocheting across the 3 sides of the whole panel (leaving out the foundation row).
Row 1: Ch 1, sc evenly across the edges, aim for ch 2 at each corner, turn
Fasten off.
The next rows would be only across one side – for the button holes.
Note
- Join yarn with a sl st to the tip of the shoulder, so as to crochet only across the neckline downwards for the button holes.
- For Row If you have different counts, make sure the sc is across the neckline and the hdc across the remaining part of the panel.
Row 2: Ch 1, sc in first 18 (18, 26, 26, 26, 26, 26, 26) sts, hdc in remaining 22 (22, 26, 26, 30, 34, 38, 42) sts, turn.
Row 3: Ch 2, hdc in first 2 sts, *ch 2, skip next 2 sts, hdc in next 5 sts, rep from * 2 (2, 2, 3, 3, 3, 4, 4) more times, sc in each of the remaining sts across, turn.
Row 3: Ch 2, sc in each st and 2 sc in each ch sps across, turn.
Row 4: Sl st in each st across.
Fasten off.
Section 3: Sleeve – Make 2
Ribbed cuff
Chain 25 (24, 24, 28, 28, 32, 32, 36), join with a sl st to the beginning chain.
Round 1: Ch 1, hdc in each ch around, join. 24 (24, 24, 28, 28, 32, 32, 36) hdc
Round 2: Ch 1, in 3rd loop alone, hdc in each st across, turn. 24 (24, 24, 28, 28, 32, 32, 36) hdc.
Rounds 3 – 5: Repeat Round 2
Round 1: Ch 1, hdc in each st across, turn. 24 (24, 24, 28, 28, 32, 32, 36) hdc
Rounds 2 – 12 (12, 16, 16, 16, 18, 18, 20): Ch 2, dc in each st around, join. 24 (24, 24, 28, 28, 32, 32, 36) hdc
Row 13 (13, 17, 17, 17, 19, 19, 21): Ch 2, dc in first st, dc2tog twice, *dc across until the last 5 sts, dc2tog twice, dc in the last st, turn. 24 (24, 24, 28, 28, 32, 32, 36) dc
Row 14 (14, 18, 18, 18, 20, 20, 22): Ch 2, dc in first st, dc2tog, *dc across until the last 3 sts, dc2tog, dc in the last st, turn. 22 (22, 22, 26, 26, 30, 30, 34) dc
Row 15 (15, 19, 19, 19, 21, 21, 23): Ch 2, dc in first st, dc2tog, *dc across until the last 3 sts, dc2tog, dc in the last st, turn. 20 (20, 20, 24, 24, 28, 28, 32) dc
Row 16 (16, 20, 20, 20, 22, 22, 24): Ch 2, dc in first st, dc2tog, *dc across until the last 3 sts, dc2tog, dc in the last st, turn. 18 (18, 18, 18, 18, 22, 22, 26) dc
Row 17 (17, 21, 21, 21, 23, 23, 25): Ch 2, dc in first st, dc2tog, *dc across until the last 3 sts, dc2tog, dc in the last st, turn. 16 (16, 16, 20, 20, 24, 24, 28) dc
Row 18 (18, 22, 22, 22, 24, 24, 26): Ch 2, dc in first st, dc2tog, *xdc across until the last 3 sts, dc2tog, dc in last st, turn. 14 (14, 14, 18, 18, 22, 22, 26) dc
Row 19 (19, 23, 23, 23, 25, 25, 27): Ch 2, dc in first st, dc2tog, *dc across until the last 3 sts, dc2tog, dc in the last st, turn. 12 (12, 12, 16, 16, 20, 20, 24) dc
Row 20 (20, 24, 24, 24, 26, 26, 28): Ch 2, dc in first st, dc2tog, *dc across until the last 3 sts, dc2tog, dc in the last st, turn. 8 (8, 8, 10, 10, 16, 16, 20) dc
Row 21 (21, 25, 25, 25, 27, 27, 29): Ch 2, dc2tog across, turn. 4 (4, 4, 5, 5, 8, 8, 10) dc
Crochet around the whole sleeve opening
Round 1: Ch 1, sc evenly around, join
Fasten off.
Finishing – to assemble
Shoulder seam(s)
Turn both panels made in section 1 to the wrong side.
- Place the front panels on the back panel.
- Join yarn with a slip stitch to the edge.
- Ch 1, sc over both panels on either side.
- Fasten off, and repeat on the other side.
– To sew the sleeve to the panel
With either a darning needle and using mattress stitch, sew the sleeve to the front/back panel, and continue to sew the remaining part of the sleeve.
- Side Seam(s)
Sew the front and back panels together on either side.
- Sew buttons
Section 4: Flare
* Crocheting in rows
* Join yarn with a sl st to the base of the front panel.
Row 1: Ch 1, sc in each st across, turn
Row 2: Ch 2, *2 dc in first st, dc in next st, rep from * to the end, turn
Rows 3 – 6 (6, 8, 8, 8, 10, 10, 12): Ch 2, dc in each st across, turn.
Fasten off.
Sew it ends.
In conclusion, you’d agree that this peplum crochet baby cardigan is more than just a piece of clothing – it’s a work of art that combines practicality with style, comfort with elegance, and warmth with charm.
So why not add a touch of handmade love to your baby’s wardrobe with a peplum crochet baby cardigan? With its timeless design and cozy feel, it’s sure to become a treasured keepsake that your little one will cherish for years to come.
I can’t wait to see your beautiful makes! Come share your projects with me and the crochet community on Facebook and on Instagram.
Fosbas