BEGINNER’S GUIDE TO CROCHETING A SWEATER
The perfect beginner’s guide to crocheting a sweater is for anyone who wants to make their first garment confidently! Let’s face it: making a crochet sweater for the first time can be an exciting yet intimidating task for beginners. With so many different stitches and techniques to master, it can be overwhelming to know where to start.

However, with the right guidance and a bit of practice, anyone can create their own cozy and stylish sweater. In this beginner’s guide to crocheting your first sweater, we’ll cover all the essential steps and tips you need to get started on your crochet journey toward making your very own wearable masterpiece.
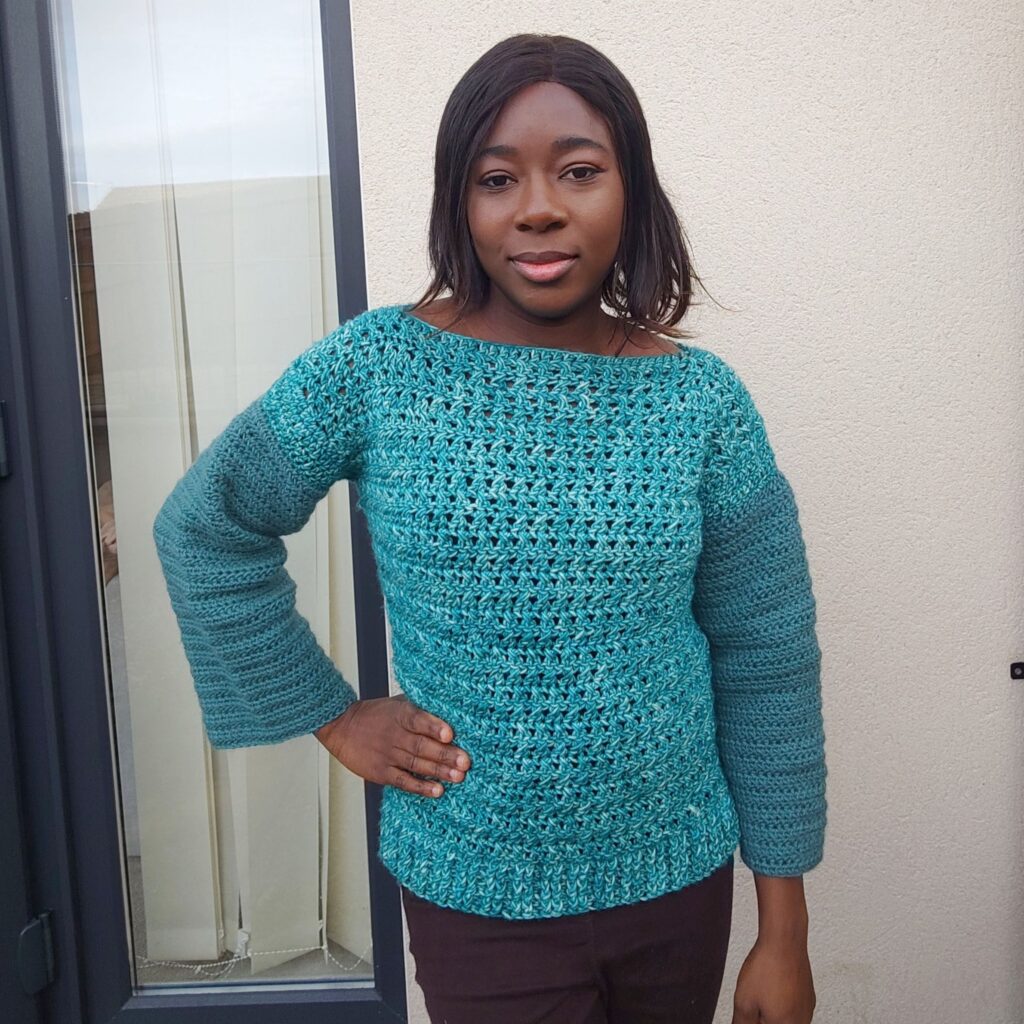
Beginner’s guide to crocheting a sweater
To crochet your first sweater, you must gather yarn, a crochet hook, a tape measure, and scissors.
My detailed steps for crocheting a perfect-fit sweater can be seen here.
Tips and examples of selecting the best crochet stitches for a beginner sweater can be seen here.
Picking the best yarn and the ones to avoid can be seen here
For a real time estimate on how long it takes to crochet a sweater, see the breakdown here.
Gauge – Crochet gauge is a term used to describe the number of stitches and rows in a specific area of your crocheted fabric. It is essentially a measure of the tension you use when crocheting.
This can affect the final size and shape of your project, particularly when it comes to garments such as sweaters, where sizing is important. Therefore, checking and adjusting your crochet gauge is essential to ensure your finished project matches the intended measurements and fits as it should.
To determine your crochet gauge, you will need to crochet a swatch, using the same yarn, hook, and stitch pattern as your project, and measure the number of stitches and rows in a given area to compare with the pattern’s recommended gauge.

Select the easiest construction method for your crochet sweater
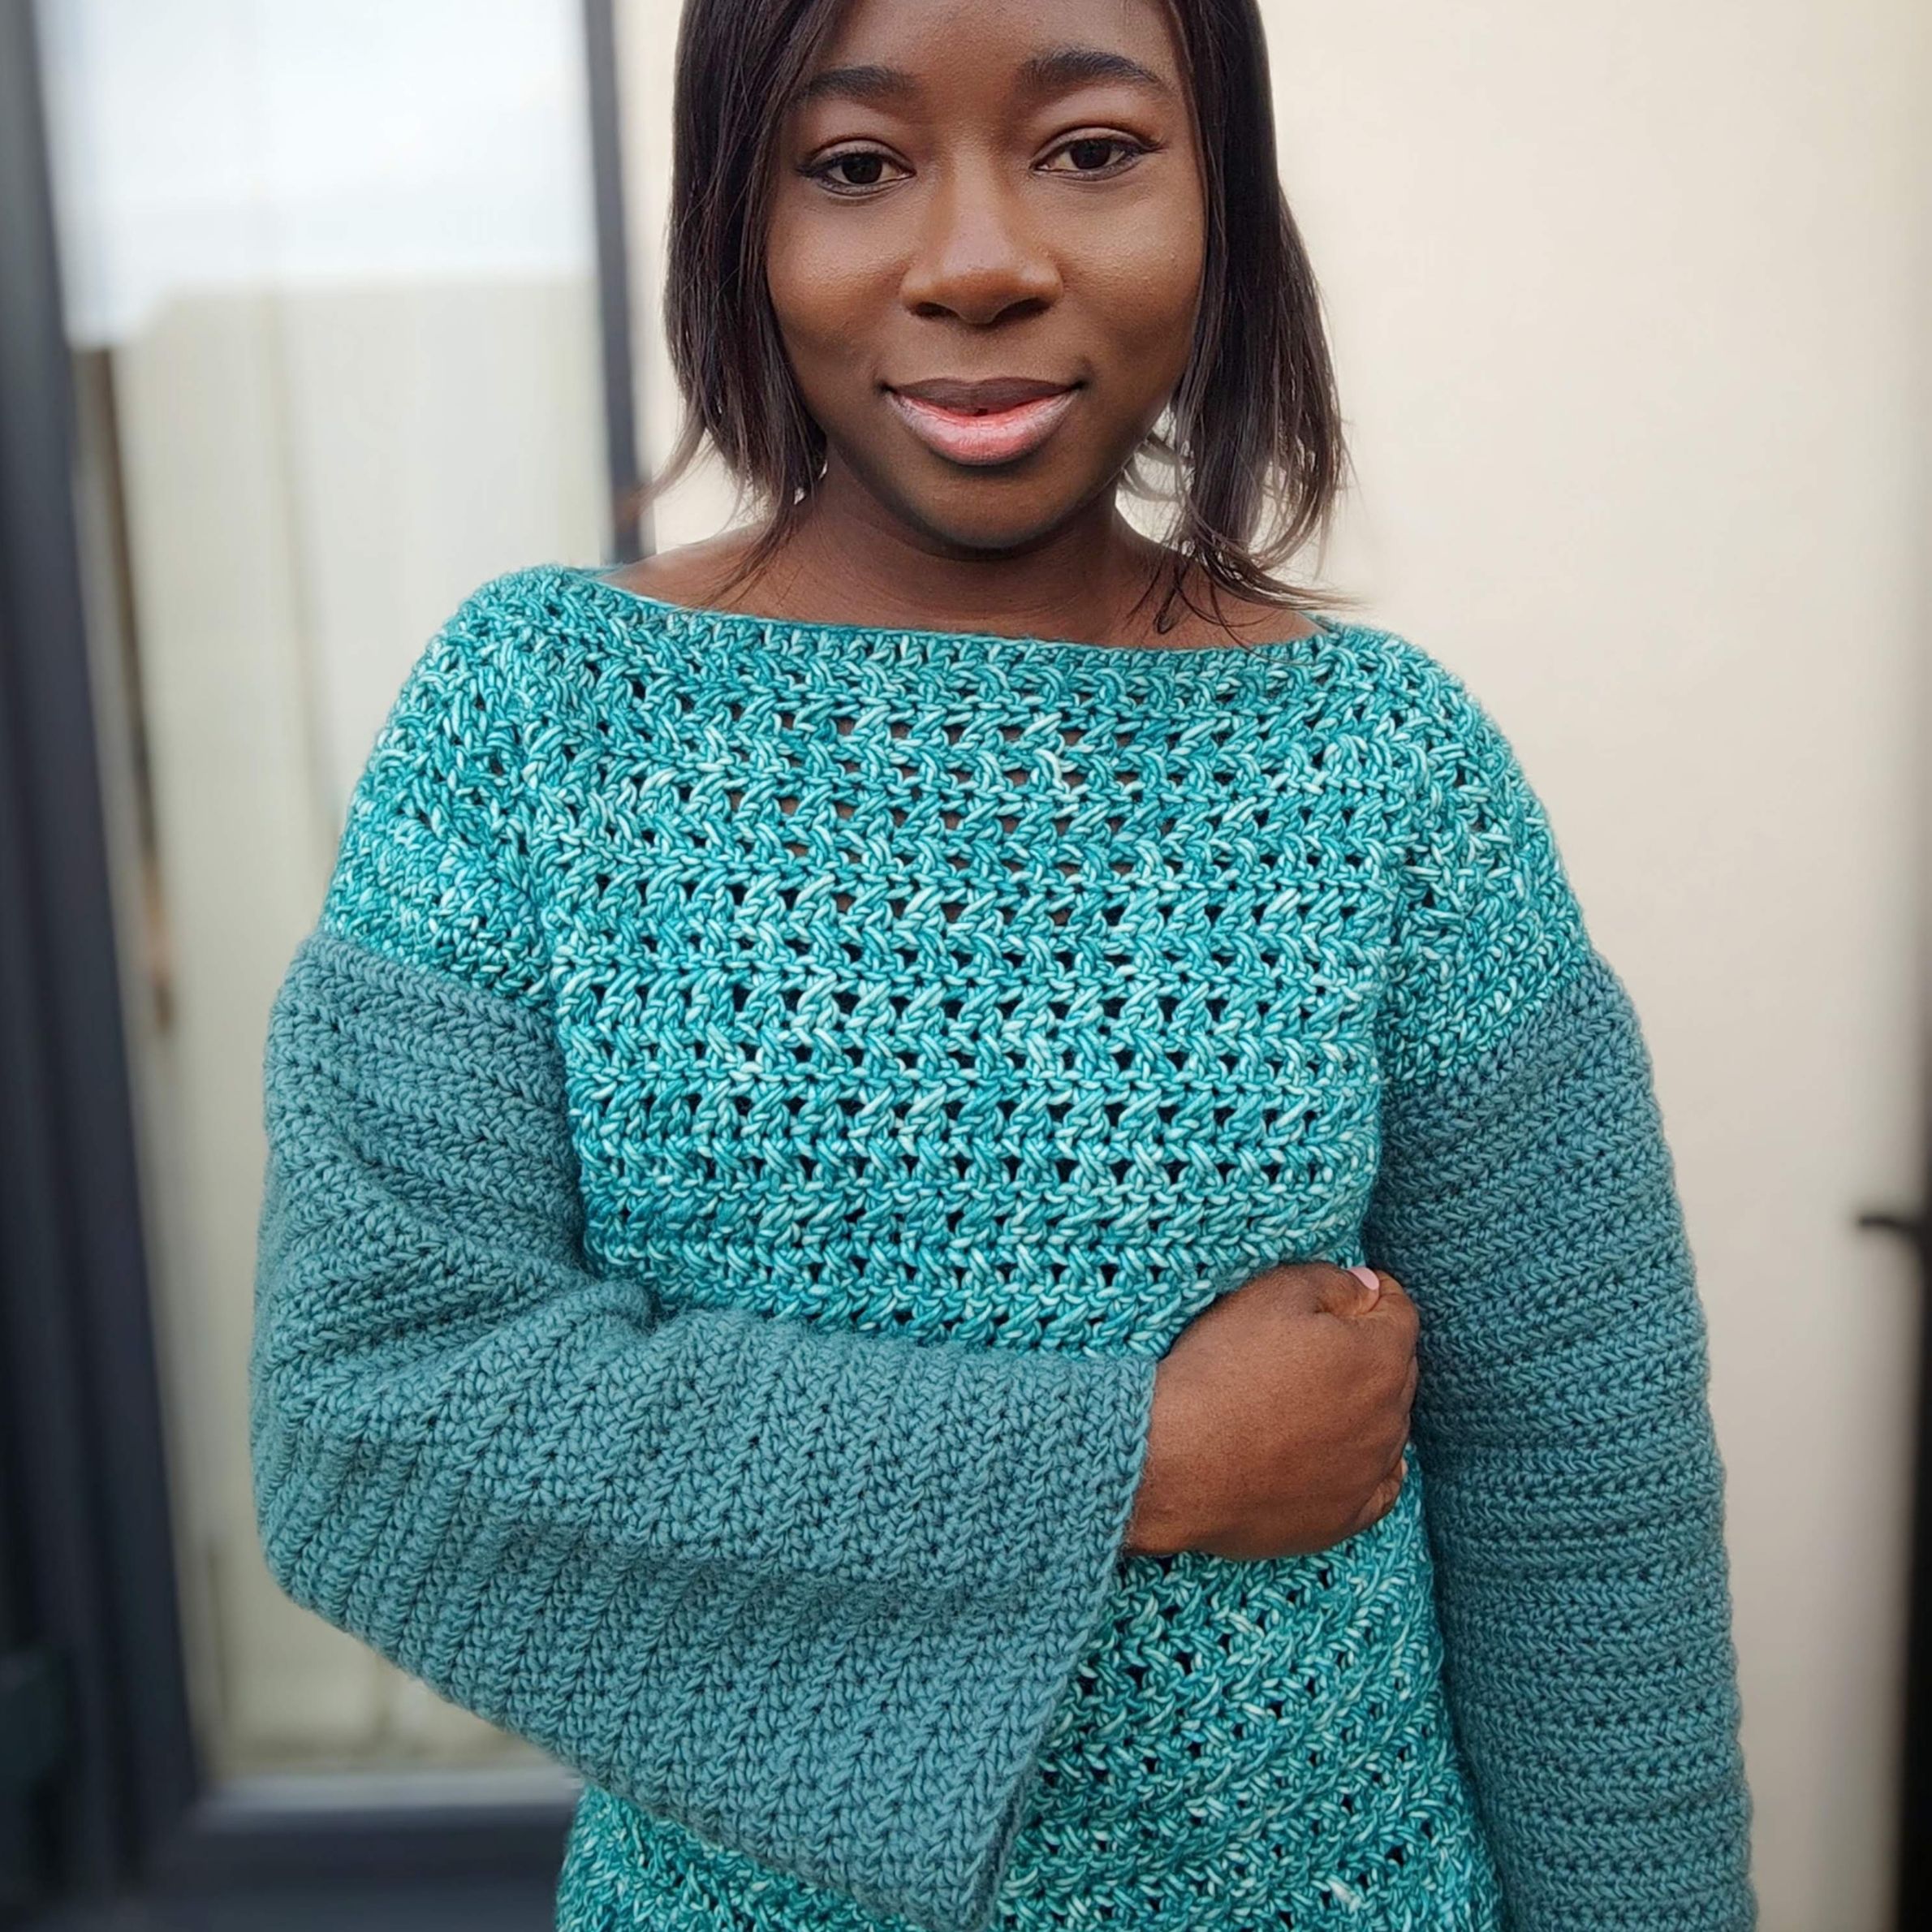
1. This sweater is worked in 2 sections.
2. Make two rectangular pieces which would be the main panel. You then join the shoulder seam, leaving the neckline.
3. Two different smaller rectangles which would be the sleeves are then made. One of the sides is then joined to the main panel.
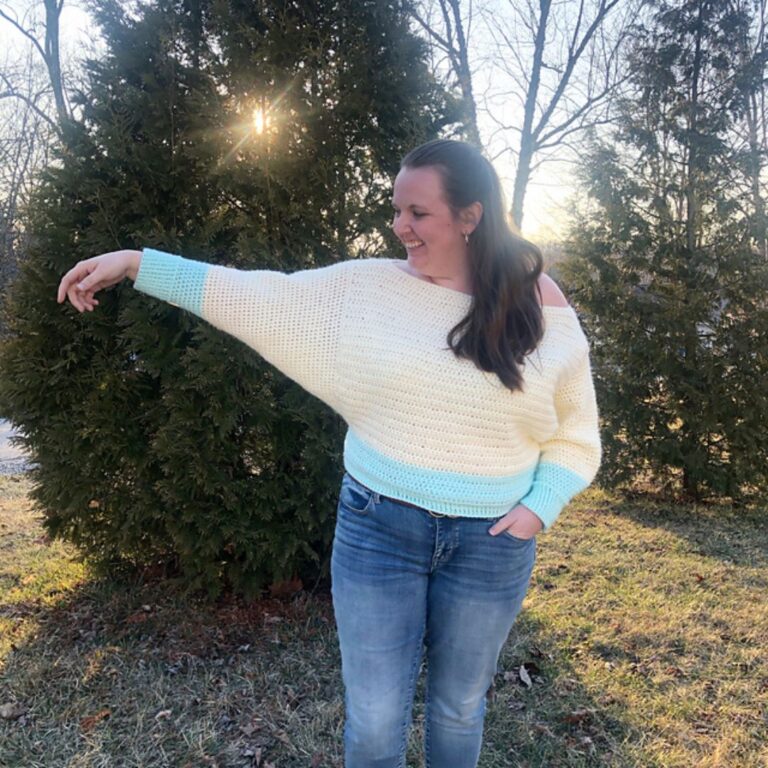
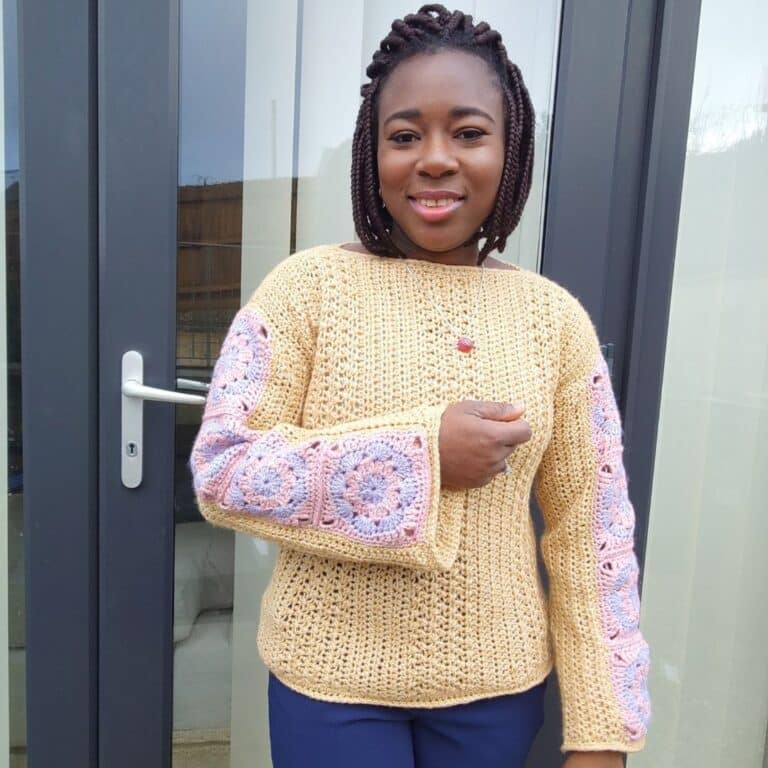
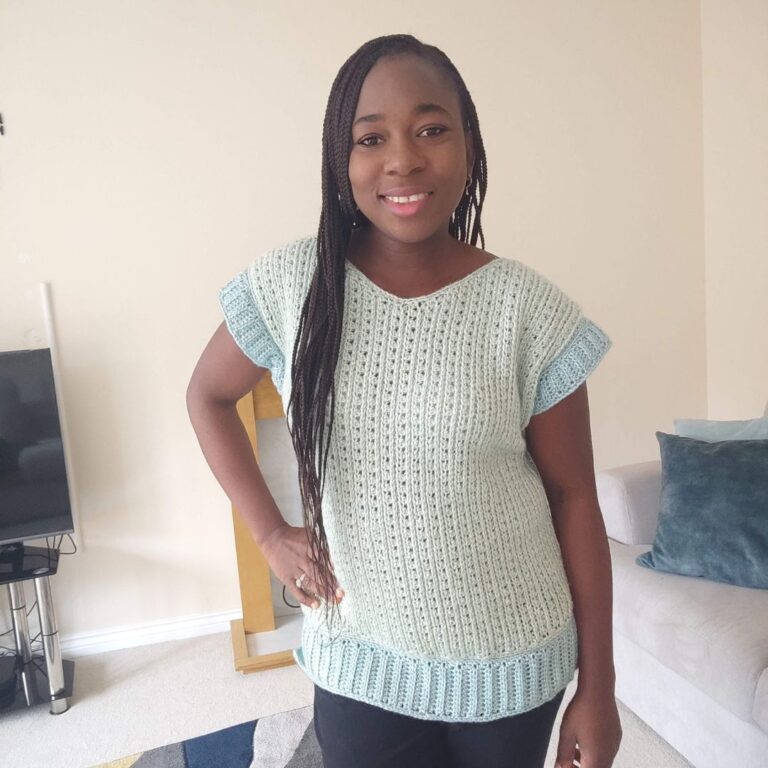
Other beginner-friendly croche sweaters to make include Bell sleeves crochet sweater, Simple crochet sweater, Chunky crochet pullover, and the best garments and accessories for the whole year
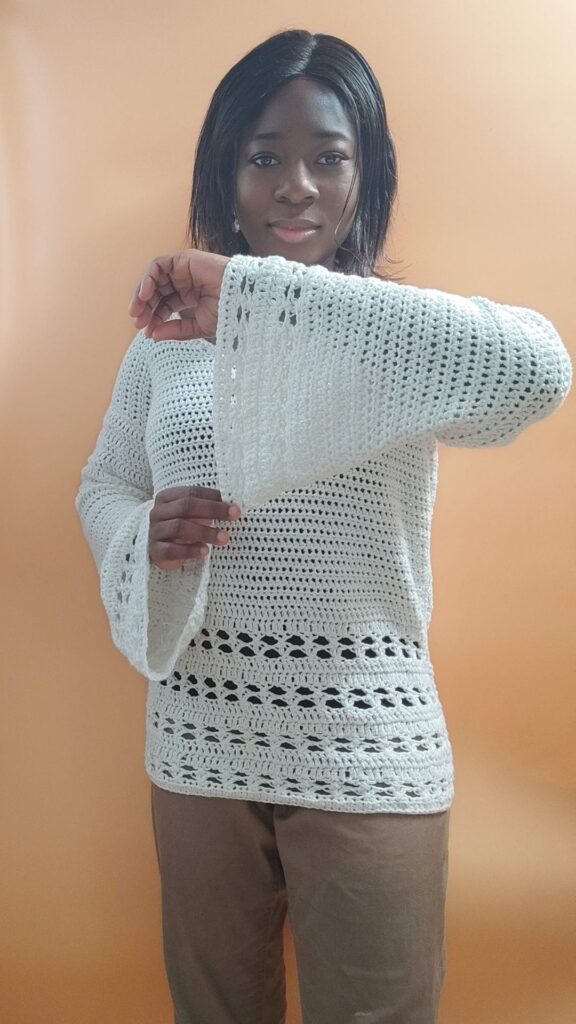
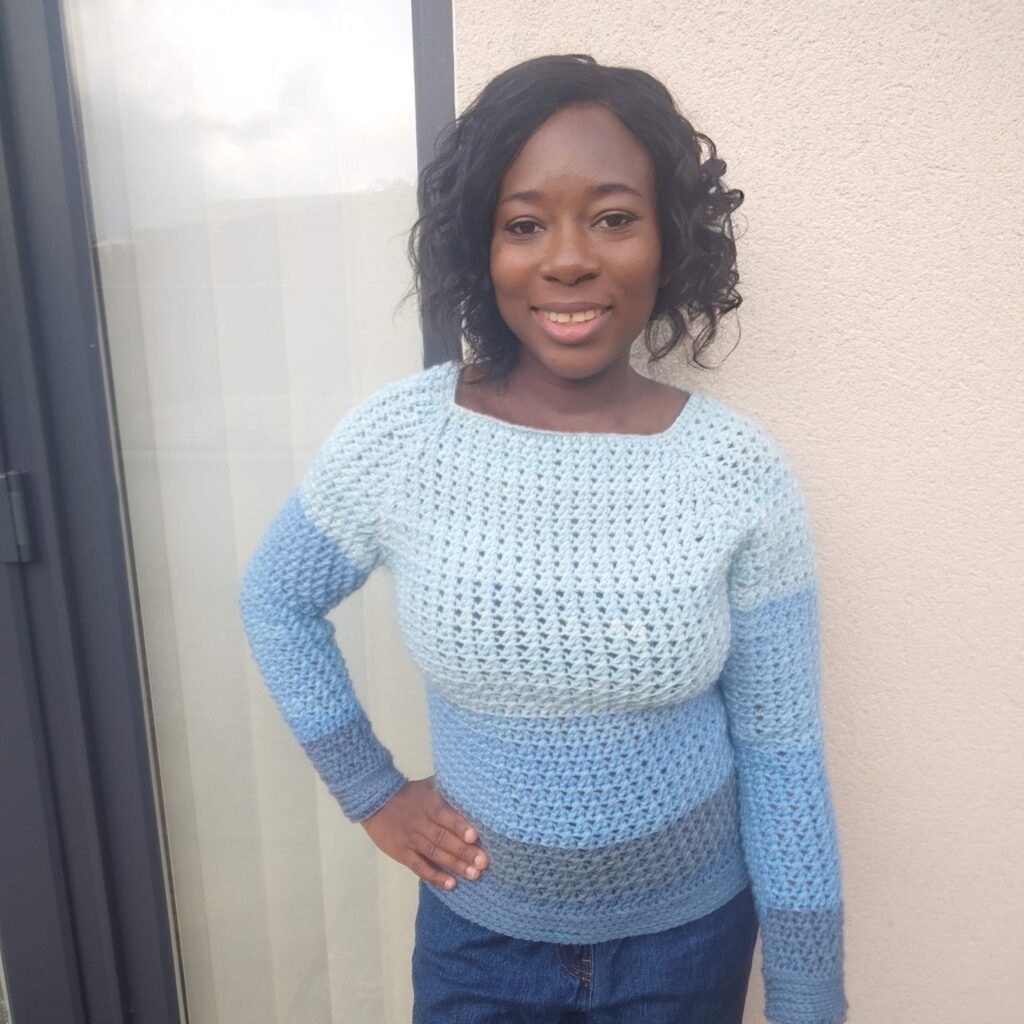
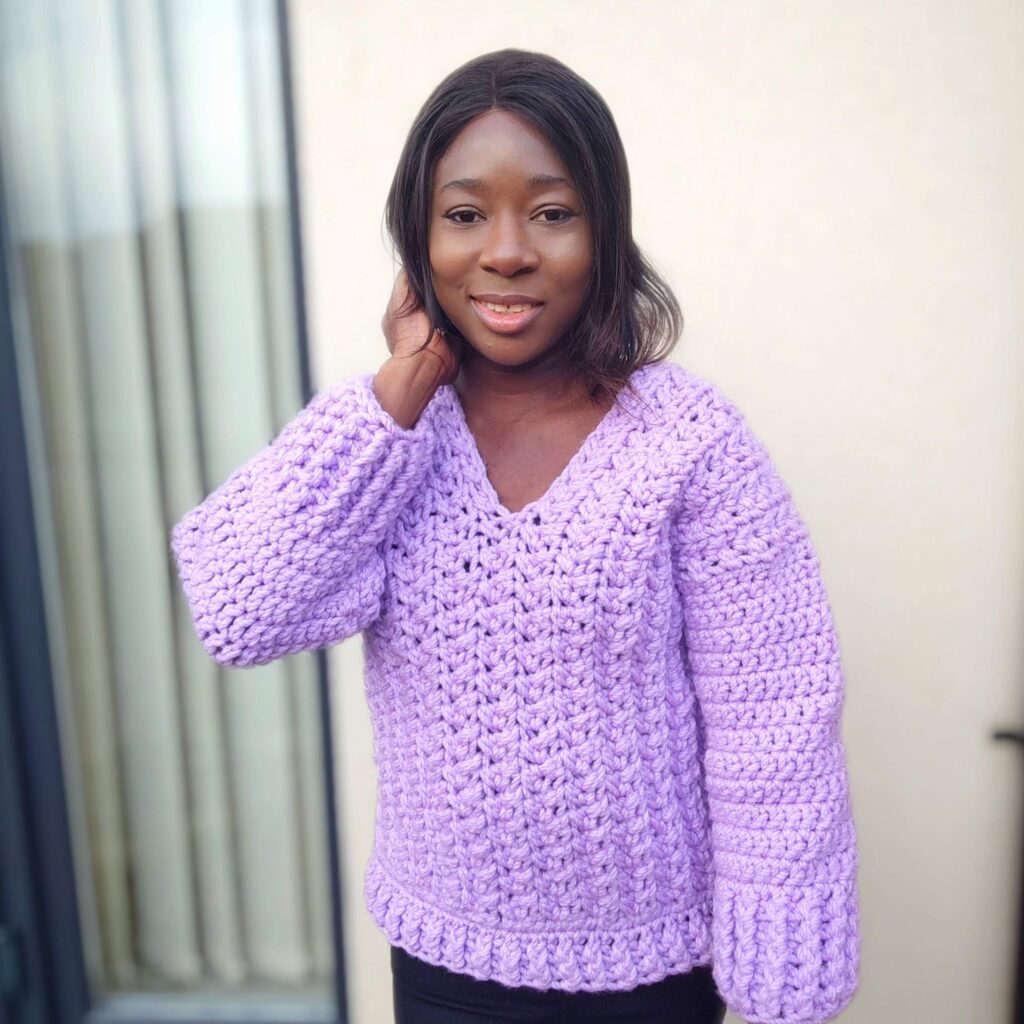
The easy crochet sweater pattern is available as a free pattern below. You can get the ad-free PDF on ETSY or Ravelry.

Supplies needed for this easy crochet sweater pattern
Color A = Yarn – Muse, Aran weight, #4, 100% Superwash Wool, 114 yds) per 3 oz / 100g skein)
Color A = 5 (6, 6, 7, 7, 8, 9, 10, 12) Skeins
Color B = Yarn – Hobbii wool power, Aran weight, #4, 100% wool, 175 yds) per 3.5 oz / 100g skein)
Color B = 4 (4, 4, 5, 5, 5, 5, 5, 5) Skeins
Estimated Total Yardage
800 (900, 1000, 1100, 1200, 1300, 1400, 1500, 1600) Yards
Hook – 7 mm Crochet Hook
Darning Needle
Stitch Markers
Gauge
12 sts over 6 Rows = 4 x 4” made in dc, before blocking.
Instructions for the gauge
Row 1: Chain 14, dc in 3rd ch and in each ch across, turn. 12 dc
Row 2: Ch 2, dc in first st, xdc across until the last st, dc in last st, turn. 5 xdc, 2 dc
Rows 3 – 6: Rep Row 2
Adjust hook size if necessary, to obtain gauge.
This sweater is featured in the handmade crochet garment for the whole year.
There are 15 amazing crochet garments and accessories in this spring edition. You can grab the whole bundle here
Easy crochet sweater pattern notes
- Please kindly read through the pattern before starting.
- Any other #4 weights can be substituted.
- Stitch count is written after each row/round with the smallest XS written first and the other in the ().
- Stitch count written in black is for all sizes but at some points, the stitch counts are color-coded for clarity, i.e. XS (S, M, L, XL, 2XL, 3XL, 4XL, 5XL)
Difficulty Level – Intermediate
Terms – US Terminology
Stitches Abbreviations
Chain(s) – ch(s)
Single Crochet – sc
Double Crochet – dc
Half Double Crochet – hdc
Crossed double crochet – xdc
Front post double crochet – FPdc
Back post double crochet – BPdc
Repeat – rep
Special stitch
Crossed dc – skip next st, dc in next st, crocheting over the dc just made, work dc into the skipped st
Size(s) and color codes – XS (S, M, L, XL, 2XL, 3XL, 4XL, 5XL)
Bust Measurement: 30 (34, 38, 42, 46, 50, 54, 58, 62)”
Length of Sweater: 18 (20, 20, 20, 22, 22, 22, 22, 22)”
Armhole Measurement: 7.5 (8, 8, 8.5, 8.5, 9, 9, 9.5, 10)”
Length of Sleeves: 18 (20, 20, 20, 20, 20, 20, 20, 20)”
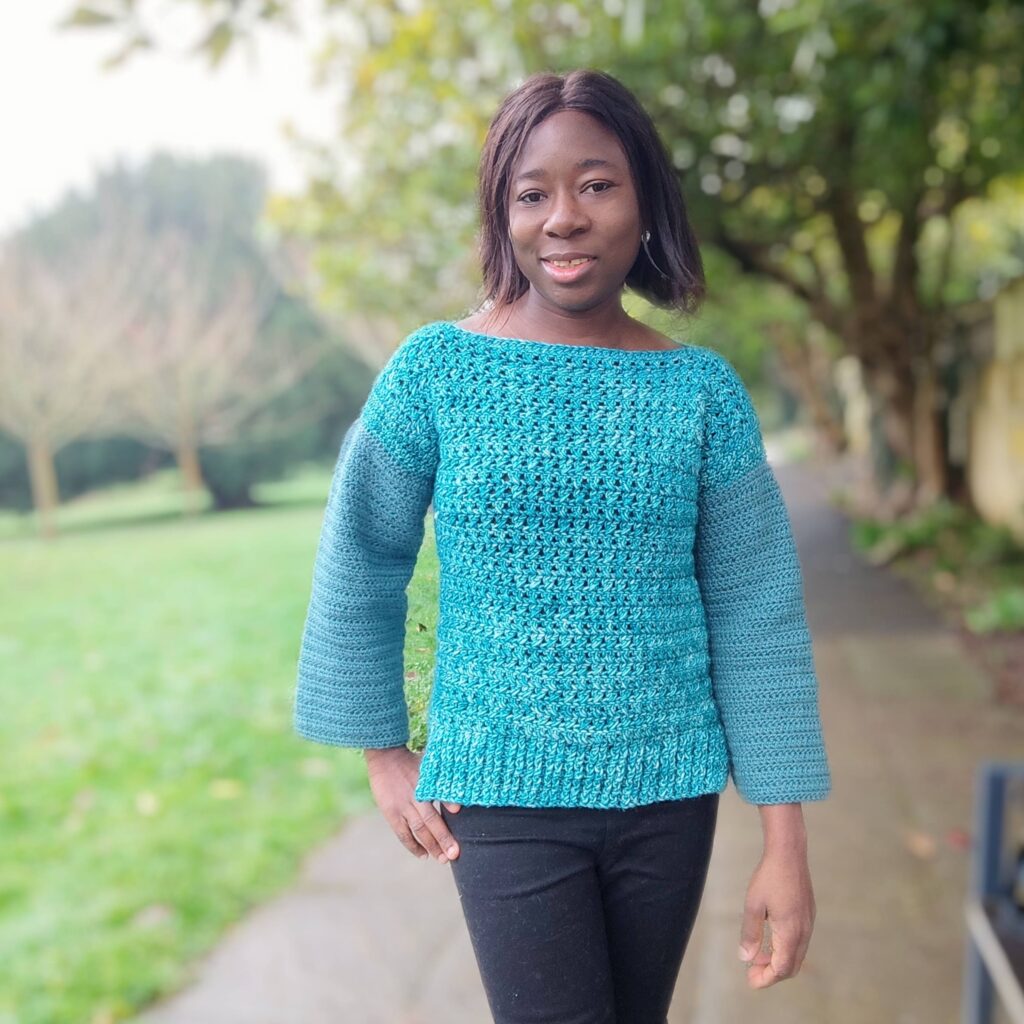
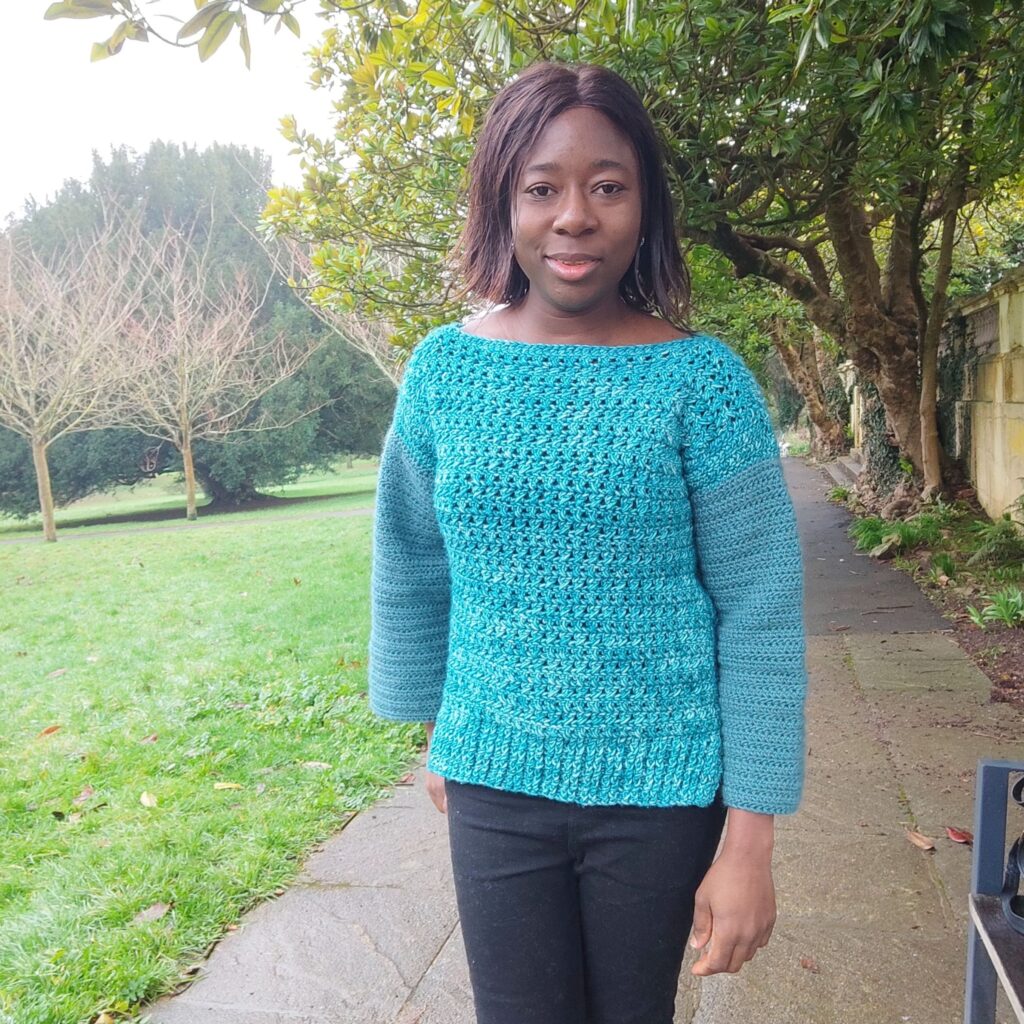
The modeled garment is shown in M, with about 2” of Positive Ease
Beginner’s guide to crocheting a sweater
Section 1 – Using Color A
Front panel
Sweater Band
Chain 46 (52, 58, 64, 68, 76, 82, 88, 94)
Row 1: Dc in 3rd ch and in each ch across, turn. 44 (50, 56, 62, 66, 74, 80, 86, 92) dc
Row 2: Ch 2, dc in first st, *FPdc around next 2 sts, BPdc around next st, rep from * to last st,dc in last st, turn.
28 (32, 36, 40, 44, 48, 52, 56, 60) FPdc
14 (16, 18, 20, 22, 24, 26, 28, 30) BPdc
2 dc
Row 3: Ch 2, dc in first st, *FPdc around next st, *BPdc around next 2 sts, rep from * to last st, dc in last st, turn.
28 (32, 36, 40, 44, 48, 52, 56, 60) BPdc
14 (16, 18, 20, 22, 24, 26, 28, 30) FPdc
2 dc
Row 4 – 5: Repeat Rows 2 – 3
Do not fasten off.
Body
Row 1: Ch 2, dc in each st across, turn. 44 (50, 56, 62, 66, 74, 80, 86, 92) dc
Row 2: Ch 2, dc in first st, xdc across until the last st, dc in last st, turn. 21 (24, 27, 30, 32, 36, 39, 42, 45) xdc, 2 dc
Rows 3 – 28 (30, 30, 32, 32, 34, 34, 36, 38): Rep Row 2
Increase or decrease the repeats until a comfortable length.
Edging
Crocheting across the 3 sides of the panel (excluding to the ribbing short side)
Row 1: Ch 1, hdc in each st in each at, turn, Crocheting evenly across the long side, hdc across.
Fasten off.
Join yarn with a sl st to the opposite long side, hdc evenly across
Fasten off.
Back Panel
Sweater Band
Chain 46 (52, 58, 64, 68, 76, 82, 88, 94)
Row 1: Dc in 3rd ch and in each ch across, turn. 44 (50, 56, 62, 66, 74, 80, 86, 92) dc
Row 2: Ch 2, dc in first st, *FPdc around next 2 sts, BPdc around next st, rep from * to last st, dc in last st, turn.
28 (32, 36, 40, 44, 48, 52, 56, 60) FPdc
14 (16, 18, 20, 22, 24, 26, 28, 30) BPdc
2 dc
Row 3: Ch 2, dc in first st, *BPdc around next 2 sts, FPdc around next st, rep from * to last st, dc in last st, turn.
28 (32, 36, 40, 44, 48, 52, 56, 60) BPdc
14 (16, 18, 20, 22, 24, 26, 28, 30) FPdc
2 dc
Row 4 – 7: Repeat Rows 2 – 3
Do not fasten off.
Body
Row 1: Ch 2, dc in each st across, turn. 44 (50, 56, 62, 66, 74, 80, 86, 92) dc
Row 2: Ch 2, dc in first st, xdc across until the last st, dc in last st, turn. 21 (24, 27, 30, 32, 36, 39, 42, 45) xdc, 2 dc
Rows 3 – 28 (30, 30, 32, 32, 34, 34, 36, 38): Rep Row 2
Increase or decrease the repeats until a comfortable length.
Edging
Crocheting across the 3 sides of the panel (excluding the ribbing short side)
Round 1: Ch 1, hdc in each st evenly around, aim for (hdc, ch 2, hdc) at each corner, join with a sl st to the beginning ch.
Fasten off.
Shoulder seam(s)
Turn both panels made in section 1 to the wrong side.
- Place the front panel over the back panel.
- Measure 3” from the shoulder tip towards the center and mark with a stitch marker on either side.
- Check for fit, if the marked part is too tight, reduce the inches on both sides. If too wide, increase the inches.
- Join yarn with a slip stitch to the edge.
- Ch 1, sc over both panels, towards the stitch marker.
- Fasten off, and repeat on the other side.
Section 2 of the beginner’s guide to crocheting a sweater – Sleeves
Make 2
With A, chain 46 (46, 52, 52, 64, 64, 64, 68, 68)
Row 1: Dc in 3rd ch from hook and in each ch across, turn. 44 (44, 50, 50, 62, 62, 62, 66, 66) dc
Row 2: Ch 2, dc in each st across, turn. 44 (44, 50, 50, 62, 62, 62, 66, 66) dc
Fasten off A, join B
Rows 3 – 23: Rep Row 2
Increase or decrease the number of repeats for a comfortable length
Fasten off
Joining the sleeves to the main panel and side seam
- Pick up your main panel
- Fold the main panel into two (as if you are putting it on)
- The folded edge of the sleeves should be a continuation of the folded edge of the main panel.
- Sew the short edge of the sleeve to the main panel.
- Sew the side edge of the sleeve together.
- Continue the sewing of the back and front panels together, stop sewing at the sweater band.
- Fasten off.
- Repeat on the other side
Sew in the ends
Block to measurement.
More crochet sweater patterns to check out on the blog
Any weight will do crochet cardi
I can’t wait to see your beautiful makes! Come share your projects with me and the crochet community on Facebook and on Instagram.
Fosbas

