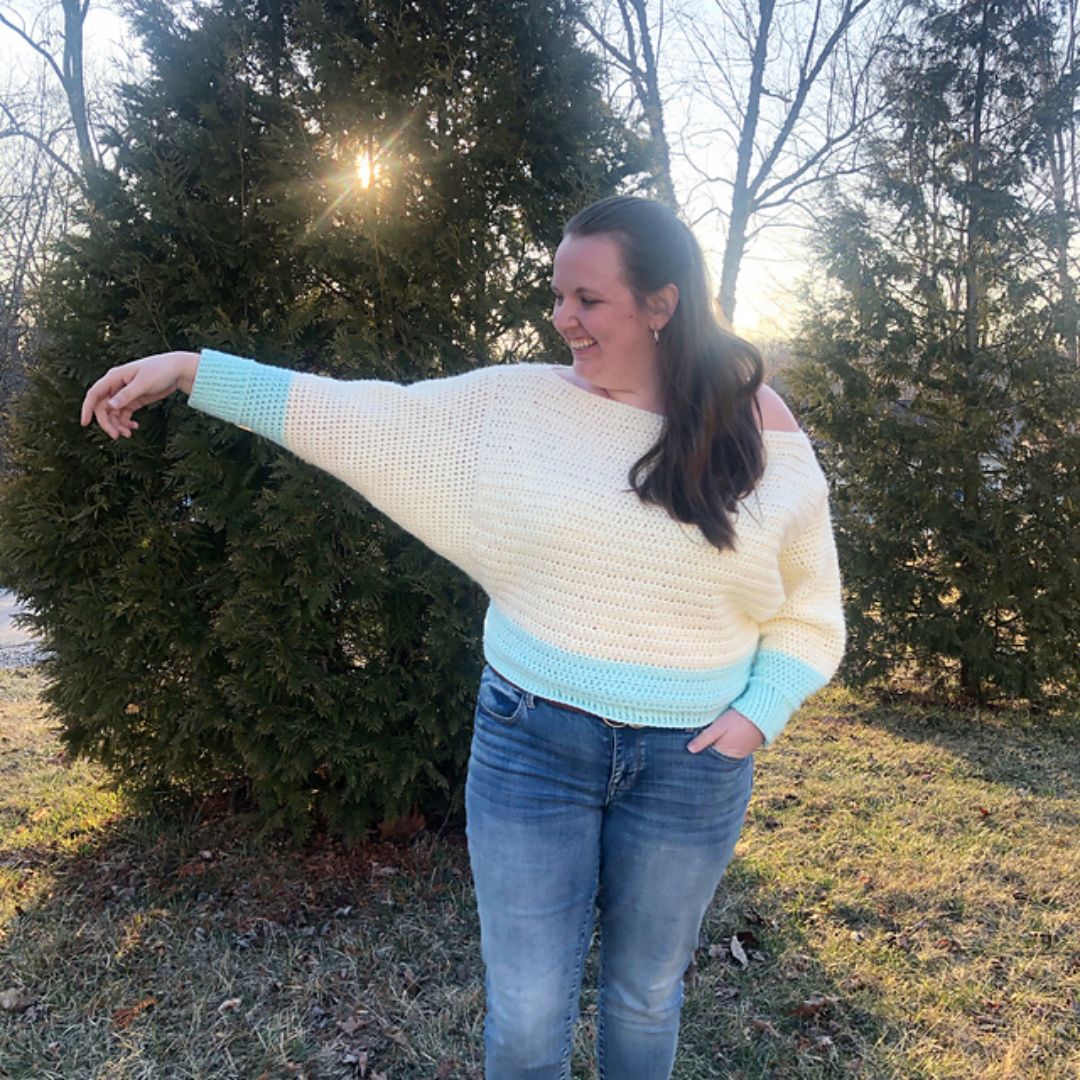
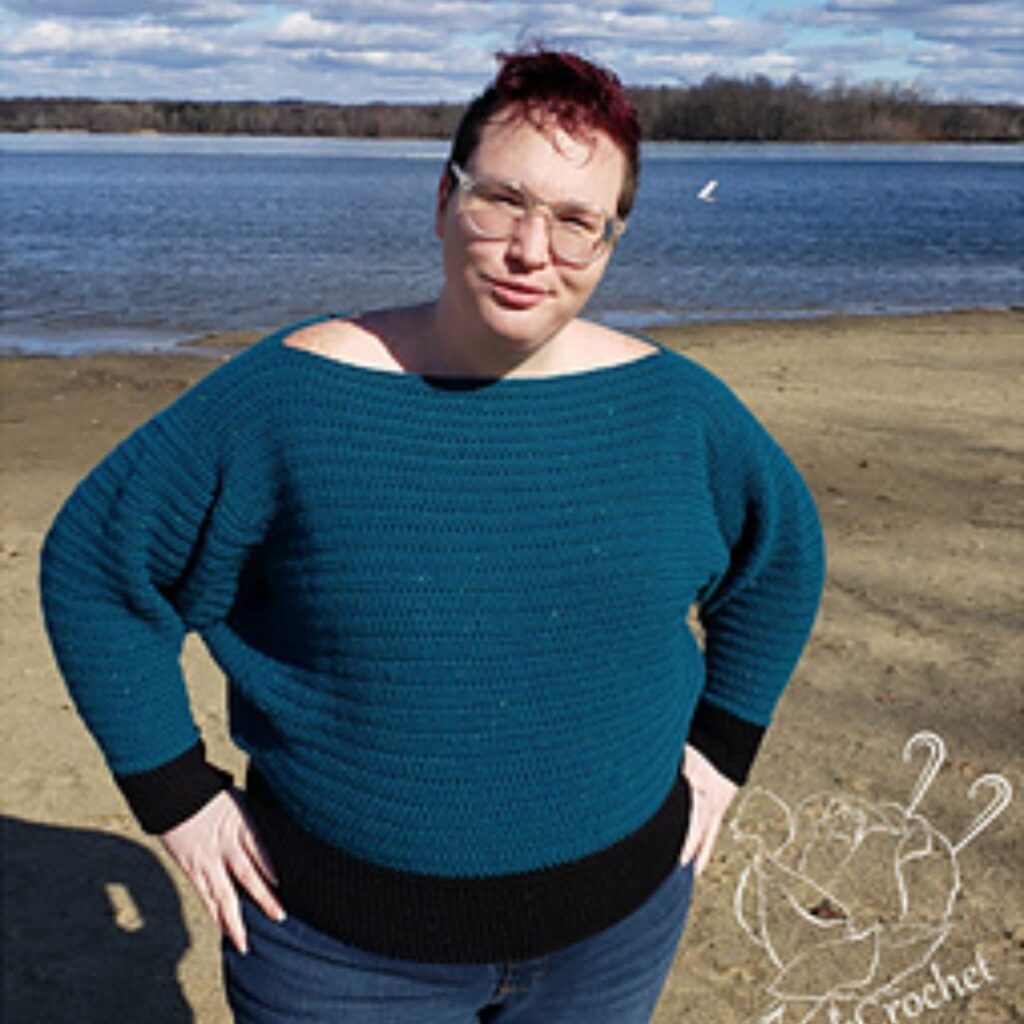
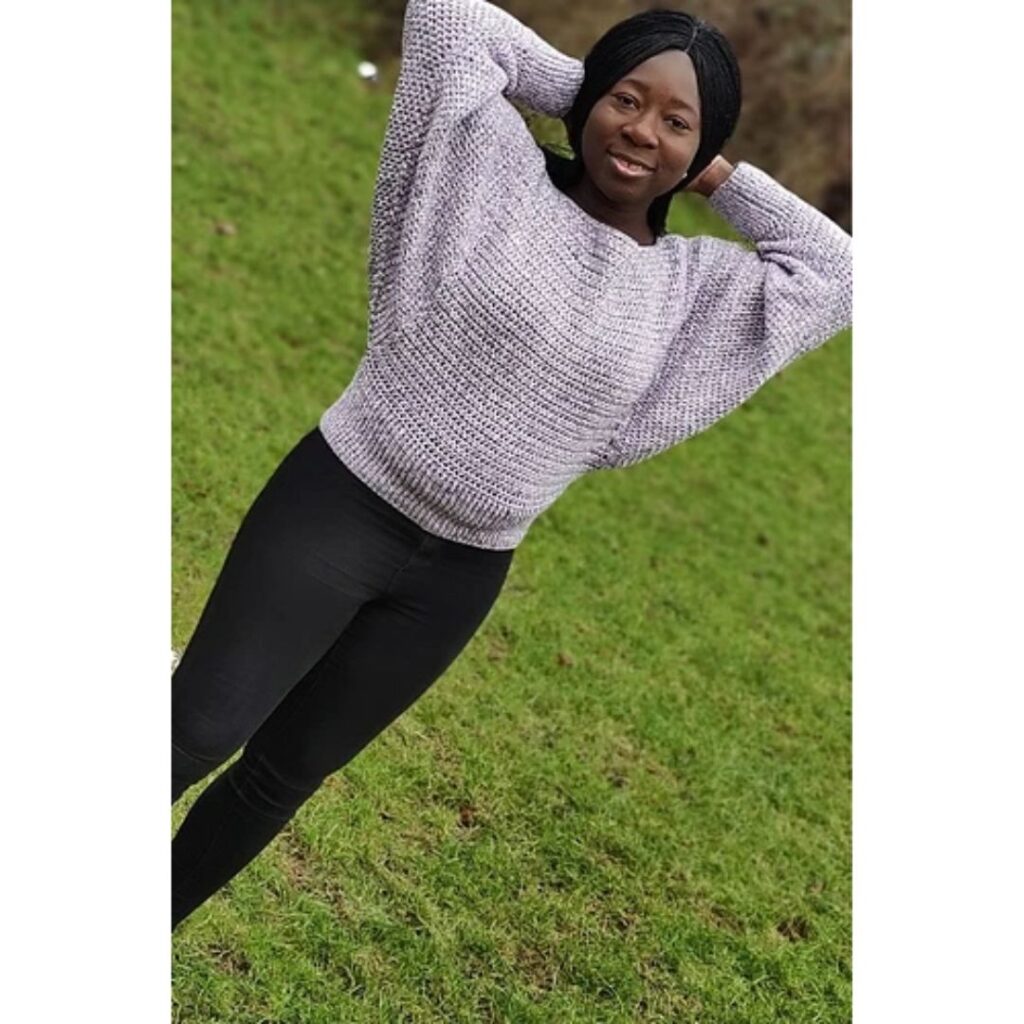
Easy Crochet Batwing Sweater Free Pattern
This easy crochet batwing sweater pattern is a dream come true! My Spring garment collection this year is themed – SLEEVES. Yes, I want sleeves that make a statement.

So, I am super glad this Batwing Sweater – an easy crochet sweater pattern comes first. I love the ease of designing, crocheting, and wearing this fun sweater. Made using a very simple stitch pattern, a one repeat row pattern.

Why Batwing Sweater?
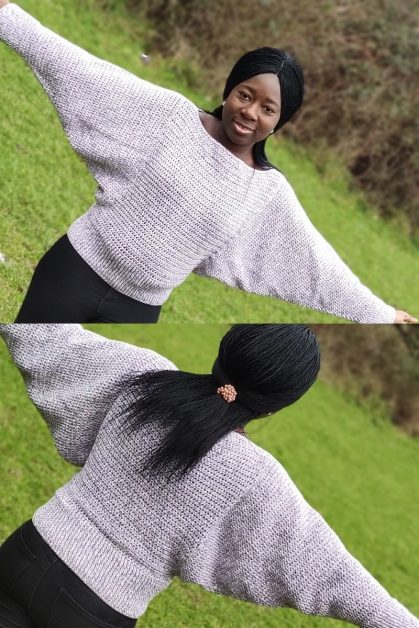
Well, as I stated, the concept is all about the sleeves. Since the Batwing crochet Sweater seems popular, I made my version of a no-sew sweater with wide sleeves. If you have been searching for an easy pullover pattern, this would be your go-to all year round.
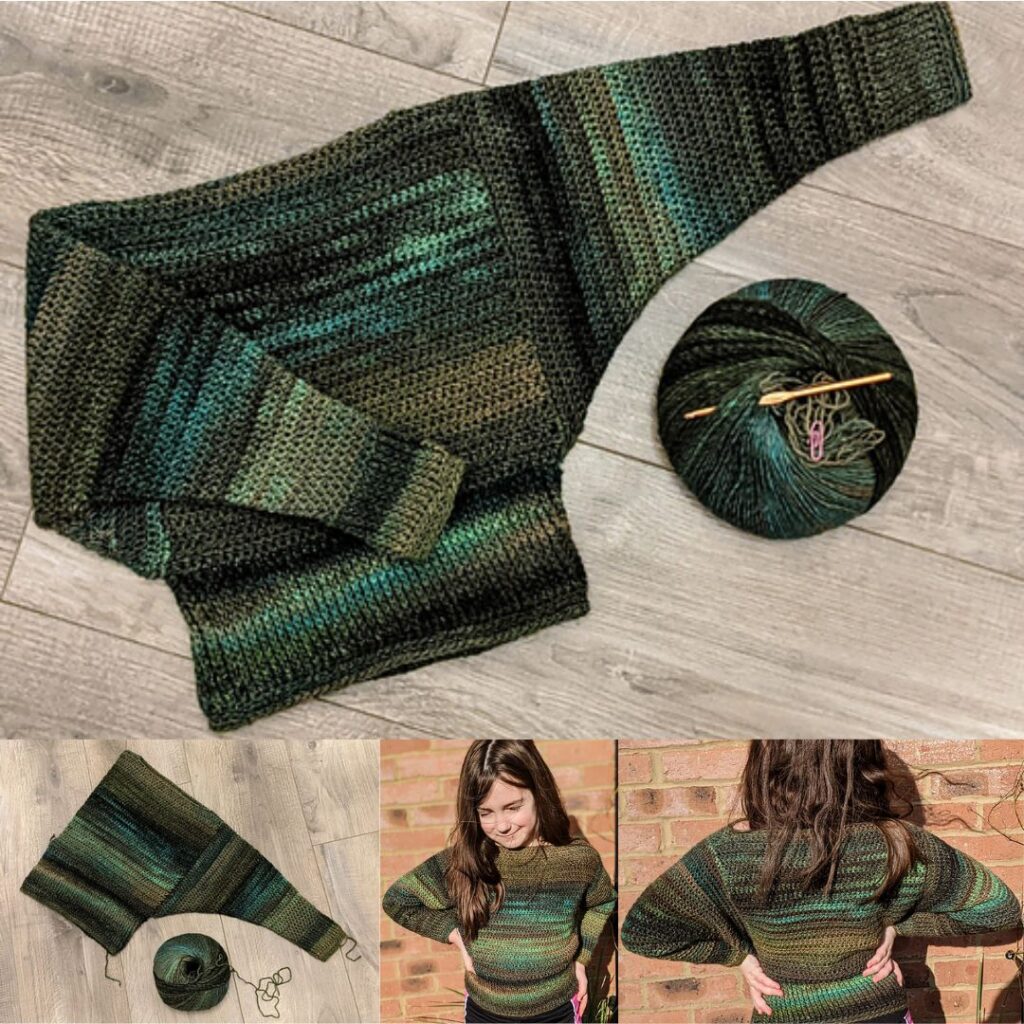
Crochet batwing construction
This simple stitch pattern is perfect for your first sweater project. It uses simple stitches, with the front panel and back panels both identical panels made in one piece with no need for shoulder seams. This simple sweater does not need side seams; you can get an oversized fit around the bust and still have the best results. Keep all stitches on the right side for a neat sweater.
- This sweater is worked in 3 sections.
- Section 1 – Both panels (front and Back) are made in one piece in rows with a neck opening made midway. The bodice should be from the waist.
- Section 2 – Bottom ribbing or Waistband is then made in rounds. You can increase or reduce the number of rounds as you prefer.
- Section 3 – Sleeves made in rounds
- There is no sewing needed throughout the pattern.
The Bat Wing Sweater is a free pattern; scroll down for the instructions.
You can get the PDF copy on Etsy or Ravelry.
Materials required for the batwing crochet sweater pattern
Yarn – The recommended yarn for the Batwing sweater is a worsted-weight yarn. The prototype was made using Stylecraft Monet, Worsted/Aran weight, #4 (50% Cotton, 50% Acrylic, 200 yards/183 m per 3 oz/100g Ball)
Batwing Pattern Notes
- Please kindly read through the pattern before starting.
- Similar #4 weight yarn can be substituted; please check the gauge.
- Chains at the beginning of the rows do not count as a stitch.
Skill Level – Beginner
Terms – US Terminology
Stitches Abbreviations
Chain(s) – ch(s)
Slip stitch – sl st
Single crochet – sc
Half Double Crochet – hdc
Front Post Half Double Crochet – FPhdc
Hook and other Materials
– US size 7 – 6 mm Crochet Hook
– Yarn needle
– Stitch Markers – Optional
Gauge
14 sts over 11 rows = 10 cm square/4” made in hdc.
Adjust hook size if necessary, to obtain gauge swatch.
Estimated Yardage
4Balls/12 oz/400 g/ 800 yd / 732 m
5 Balls/15 oz/500 g / 875 yd / 800 m
5 Balls/15oz/500 g /984 yd/ 900 m
6 balls /16oz /600 g /1072 yd /980 m
6 Balls /16oz/600 g/1312 yd / 1090 m
7 Balls /21oz/700 g /1258 yd / 1150 m
7 Balls /21 oz /700 g /1388 yd / 1280 m
8 Balls/24 oz /800 g /1488 yd / 1360 m
8 Balls/24 oz /800 g/1597 yd / 1460 m

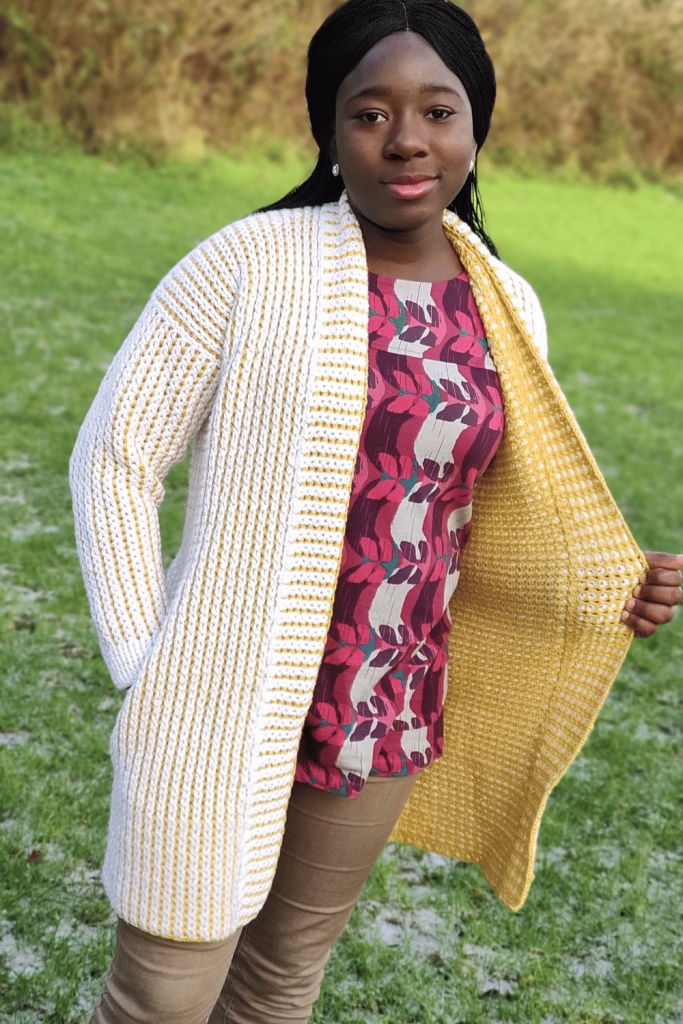
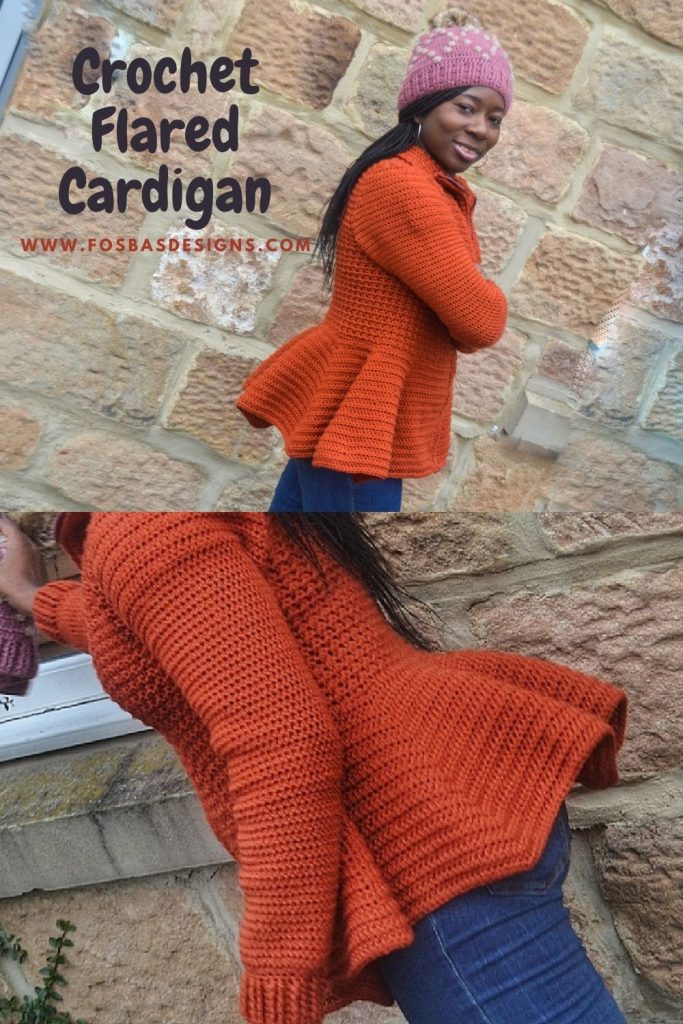
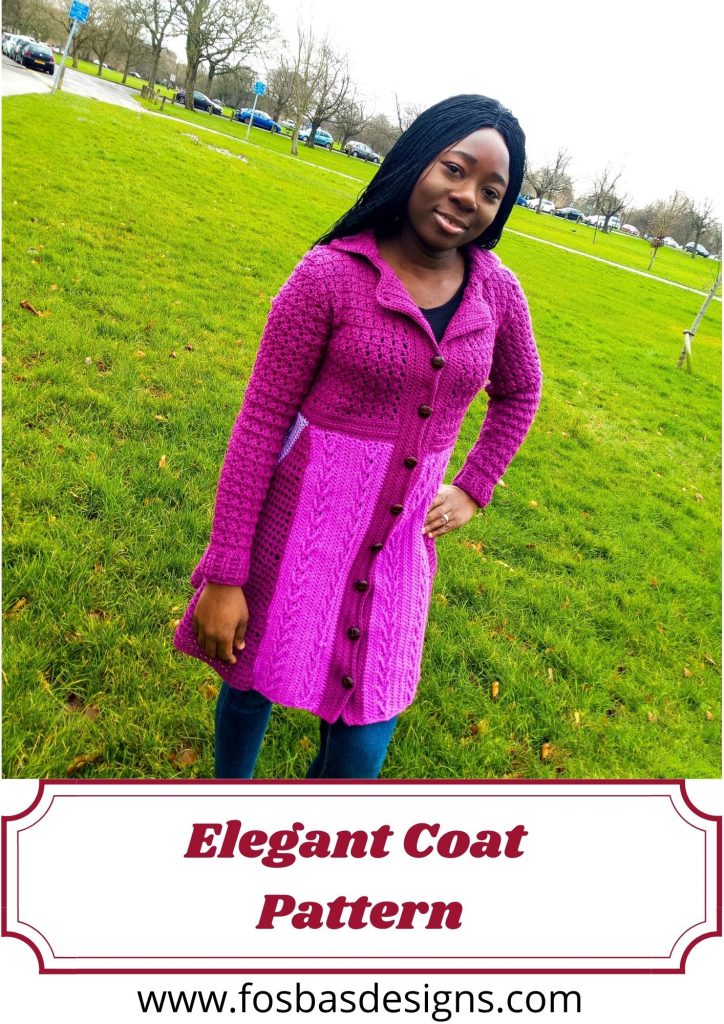
Since you love this pattern, you might also love my other cardigans here on my site –
You can get your copy on Etsy or Ravelry
Sizes available
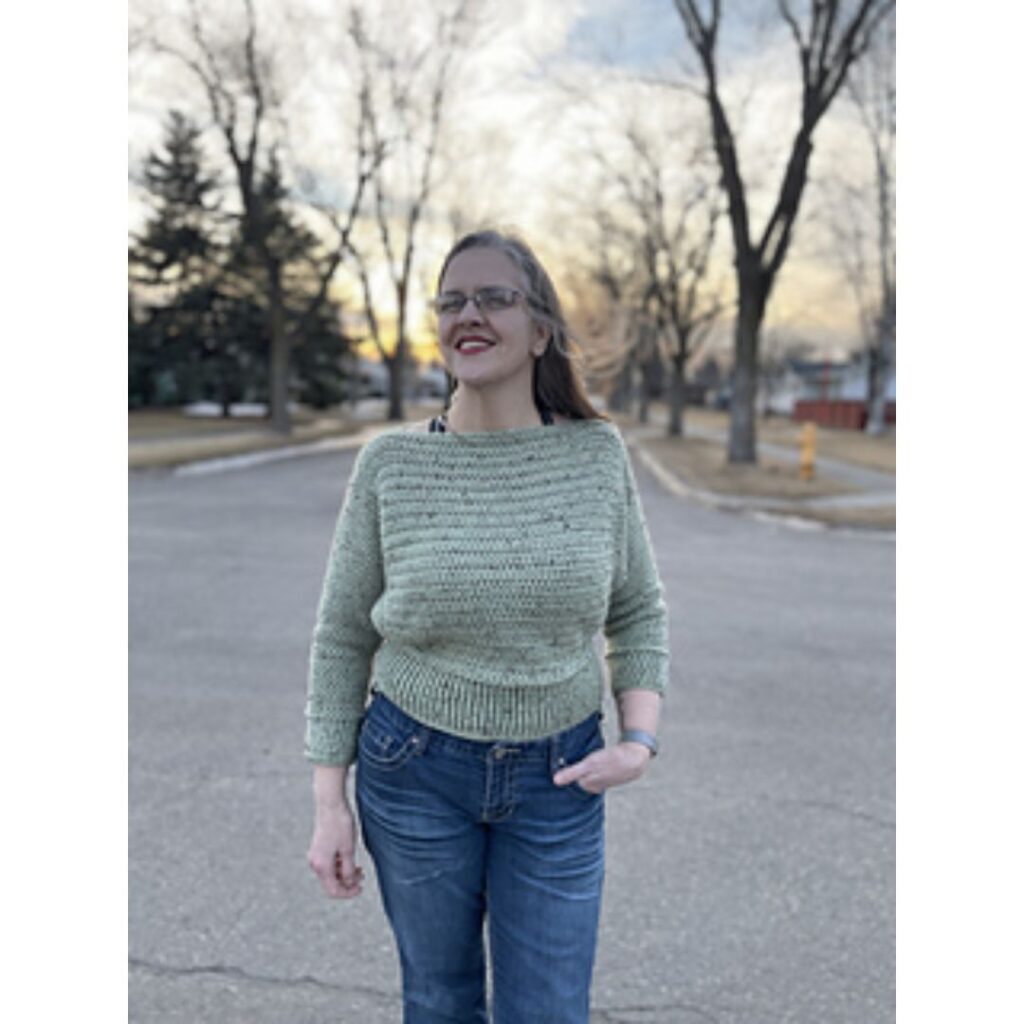
As with all of my garment patterns, Kaye’s sweater is size-inclusive and comes in 9 different sizes.
Finished sweater measurements
A fun project that can be made to fit most body type(s)
Sizes/Color – XS(S, M, L, XL, 2Xl, 3XL, 4XL, 5XL)
Waist: 24 (26, 28, 32, 36, 40, 44, 46, 50)”
Sleeve Length – 21 (21, 22, 22, 23, 23, 24, 24, 24)”
Neckline Opening – 20 (20, 24, 24, 28, 28, 28, 28, 28)”
Armhole Depth – 16 (16, 17, 17, 18, 18, 19, 19, 19)”
The modeled garment is shown in Medium.
Pick a size based on your waist measurement.
Other things included in the PDF pattern to help with making yours –
- Detailed Schematics
- Use a color code for each size to make it easy to make yours.
- Instructions on customizing this easy crochet sweater for a perfect fit for small and larger sizes!
Kaye’s free crochet sweater pattern
Section 1: Front Panel
Row 1: Chain 42 (44, 48, 56, 62, 70, 76, 80, 86), hdc in 3rd ch from hook and in each ch across, turn. 40 (42, 46, 54, 60, 68, 74, 78, 84) hdc
Row 2: Ch 2, hdc in each st across until the end of row, turn. 40 (42, 46, 54, 60, 68, 74, 78, 84) hdc
Rows 3 – 33 (33, 39, 39, 43, 43, 49, 49, 49): Rep Row 2
Add or subtract the number of rows for a desired length.
Neck hole: Split for neckline
Row 1: Ch 2, hdc in next 6 (6, 7, 7, 9, 11, 14, 16, 18) sts, ch 28 (30, 32, 40, 42, 46, 46, 46, 48), skip next 28 (30, 32, 40, 42, 46, 46, 46, 48) sts, hdc in last 6 (6, 7, 7, 9, 11, 14, 16, 18) sts, turn.
Note – Adjust the number of chains and stitches skipped for a comfortable fit around your neck.
Back panel (second piece)
Row 2: Ch 2, hdc in first 6 (6, 7, 7, 9, 11, 14, 16, 18) sts, hdc in next 28 (30, 32, 40, 42, 46, 46, 46, 48) chs, hdc in remaining sts, turn. 40 (42, 46, 54, 60, 68, 74, 78, 84) hdc
Rows 3 – 33 (33, 39, 39, 43, 43, 49, 49, 49): Ch 2, hdc in each st across, turn. 40 (42, 46, 54, 60, 68, 74, 78, 84) hdc
Do not Fasten off
Section 2: Waist band Row
· Working in rounds.
· Fold the back over the front panel.
Round 1: Pick the front panel, join with a sl st to the beginning of Row 1 of front panel, ch 2, working through the foundation ch made in front panel, hdc in next 40 (42, 46, 54, 60, 68, 74, 78, 84) sts, pick up the back panel, hdc in each of the next 40 (42, 46, 54, 60, 68, 74, 78, 84) sts, hdc in each st across, join with a sl st to beginning ch sp. 80 (84, 92, 108, 120, 136, 148, 156, 168) hdc
Round 2: Ch 2, hdc in each st across, join with a sl st to beginning ch. 80 (84, 92, 108, 120, 136, 148, 156, 168) hdc
Rounds 3 – 15: Ch 3, FPhdc in each st around, join with a sl st to beginning ch. 80 (84, 92, 108, 120, 136, 148, 156, 168) FPhdc
Round 16: Ch 1, sc in each st around, join with a sl st to beginning ch. 80 (84, 92, 108, 120, 136, 148, 156, 168) sc. Fasten off.
Section 3: Sleeves
- Join yarn with a sl st to the beginning of Row 1 of the front panel, made in section 2 (waistband).
- Make sure not to have too many sts or few stitches around your edges in round 1.
Round 1: Ch 1, sc in each st around the side openings (front and back panel), aim for 1 sc in each hdc and d2 sc in each ch 2 sp), join with a sl st to beginning ch. 84 (84, 94, 94, 104, 104, 114, 114, 114) sc
Round 2: Ch 1, hdc2tog, hdc in each sts until last 2 sts, hdc2tog in last 2 sts, join with a sl st to beginning ch. 82 (82, 92, 92, 102, 102, 112, 112, 112) hdc
Rounds 3 – 30 (30, 34, 34, 39, 39, 43, 43, 43): Repeat Round 2. 26 (26, 28, 28, 28, 28, 30, 30, 30) hdc
Next 6 rows – Ch 1, hdc in each of the sts to end of the round, join with a sl st to beginning ch. 26 (26, 28, 28, 28, 28, 30, 30, 30) hdc
Note – check the sweater on and add more rows of hdc for a more comfortable fit.
If you are comfortable with ¾ sleeves, you might leave out adding more rows.
Sleeve Cuff
Round 1: Ch 2, FPhdc in each of the sts across, join with a sl st to beginning ch. 26 (26, 28, 28, 28, 28, 30, 30, 30) hdc
Rounds 2 – 10 (or till the desired length): Repeat Round 1.
Round 11: Ch 1, sc in each st around, join with sc to beginning ch.
Fasten off.
Repeat the second sleeve.
Weave in ends.
Block to measurements.
Thank you!
You can make yours in different colors to fit your preferences.
I would love to see your version of this Crochet Batwing Sweater made using my pattern. Do tag me — @crochet_fosbas on INSTAGRAM
More crochet sweater patterns to check out on the blog
Any weight will do crochet cardi
About the Designer
Say Hi on Instagram and Subscribe To my email List for pattern discounts and freebies. For questions, send such to [email protected]. Read more about me here.

One Comment