Convertible crochet ruffled skirt – free pattern
Convertible crochet ruffled skirt – four different words that bring delight to me! If you are familiar with my designs, you would know that I love crochet designs that are convertible, skirts and ruffles are a must.
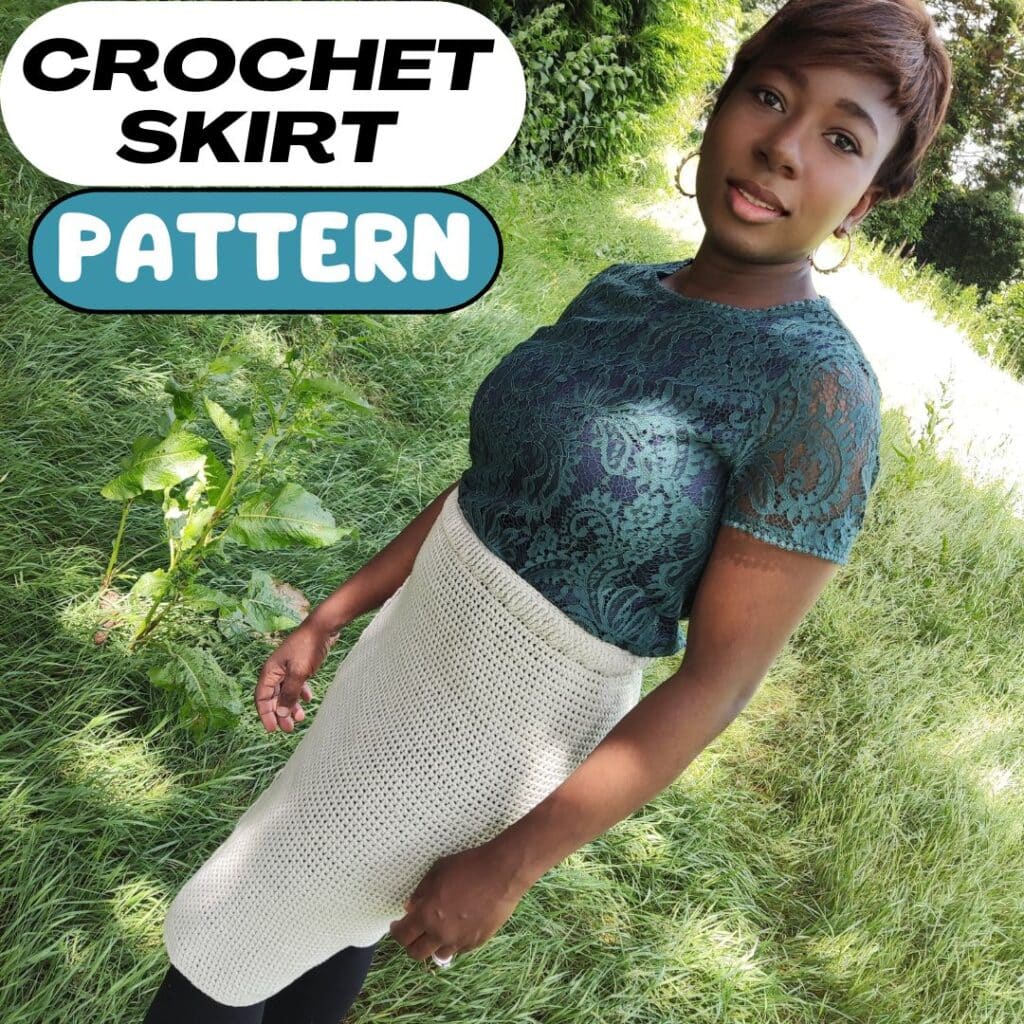
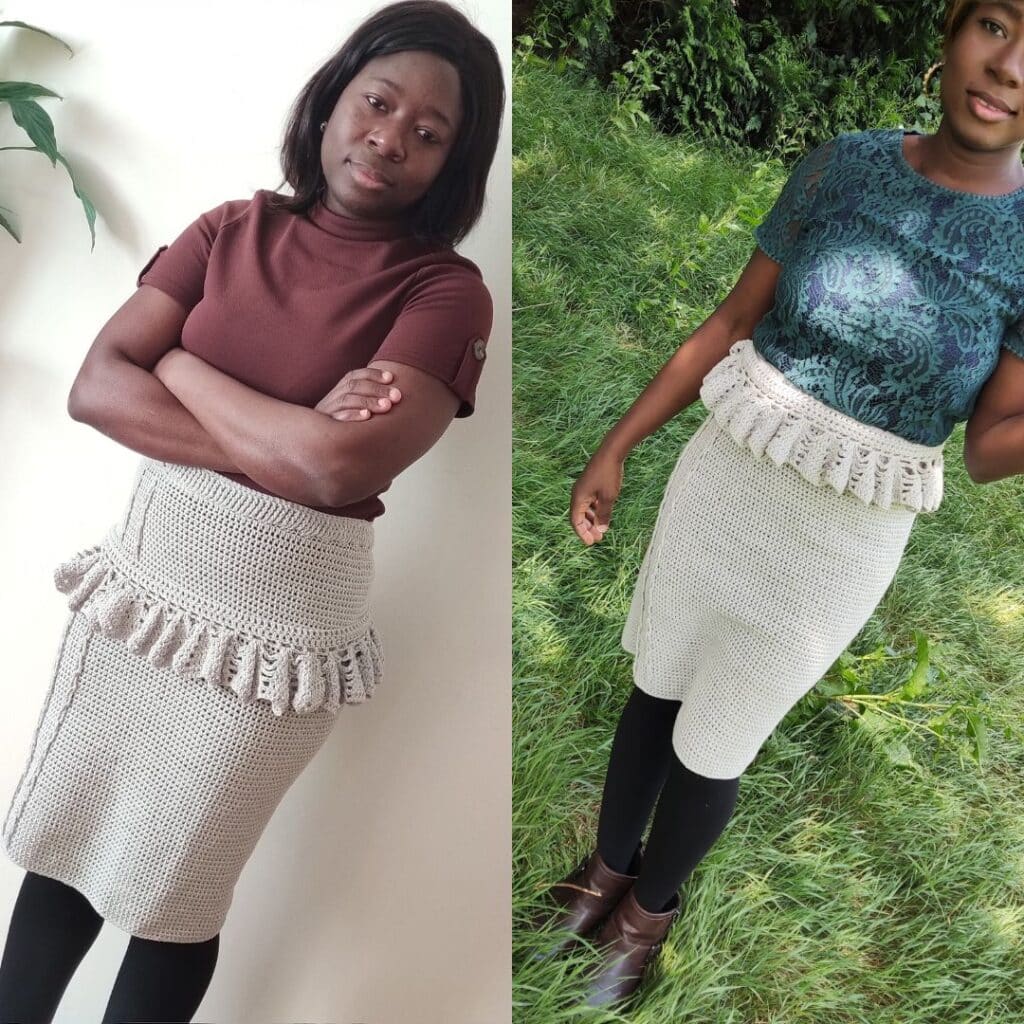
Convertible crochet designs are my jam. I love that it could be extended into skirts. Meet my convertible crochet skirt, this free pattern was such fun to design and even more dun wearing it.
The inspiration behind my convertible designs
The convertible designs are garments that can be styled in multiple ways. Most times, these garments do not need any adjustments.
The chic reversible skirt was my first main skirt with two sides. I figured to add a twist, this time I decided not to make this skirt reversible but added a ruffled that can be detached.
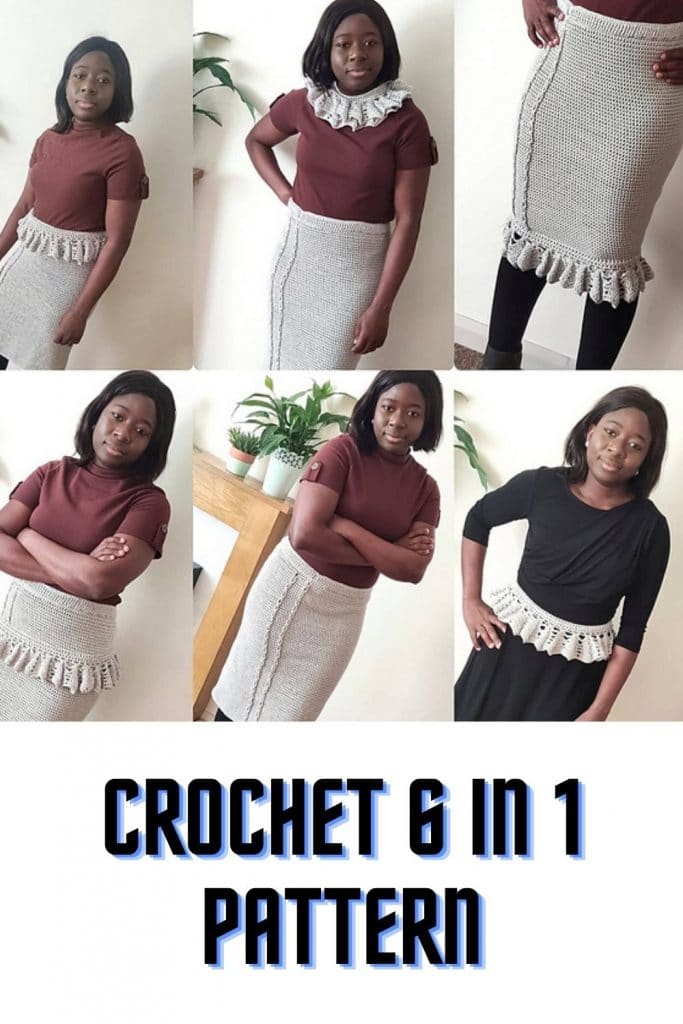
With the detachable ruffle, you can wear this skirt in multiple ways. So far, I am able to style this skirt in at least 6 different ways.
How to style this convertible crochet ruffled skirt
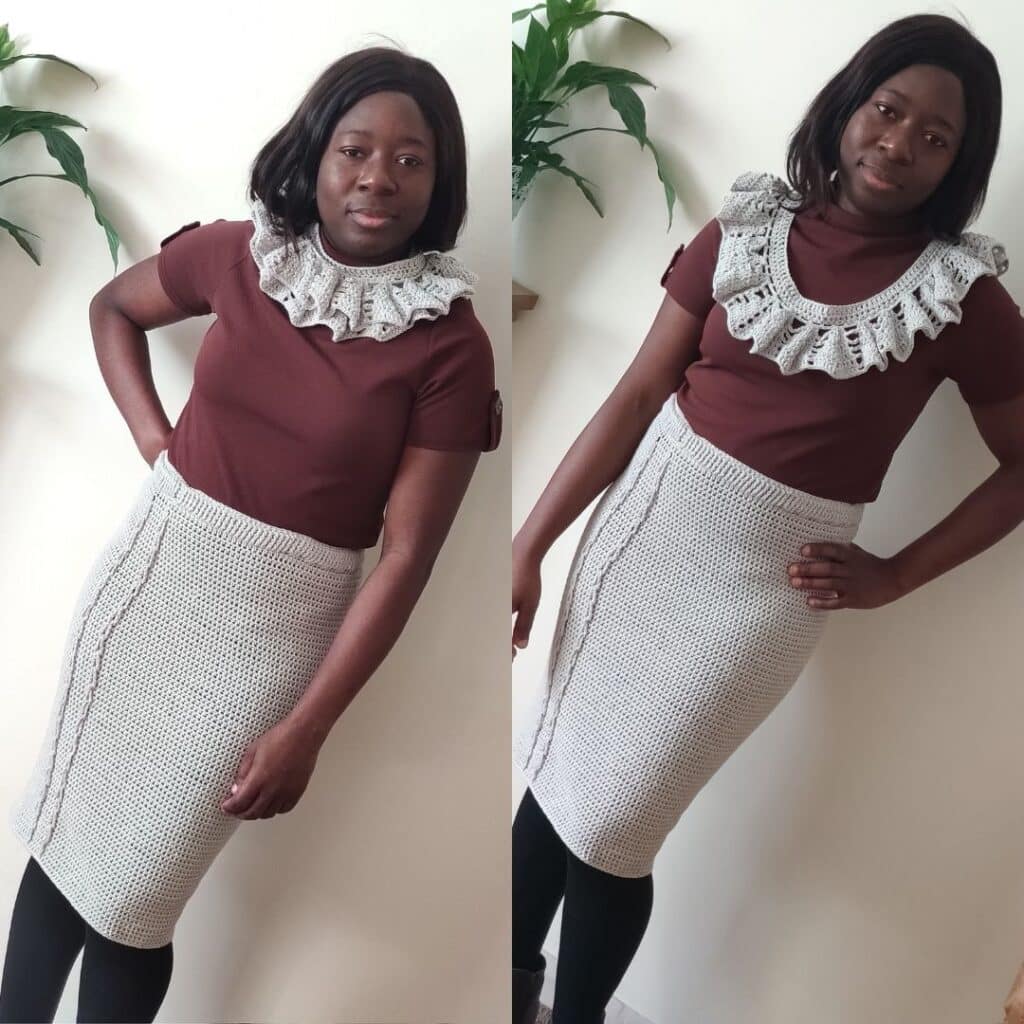
Without the ruffles, as shown above.
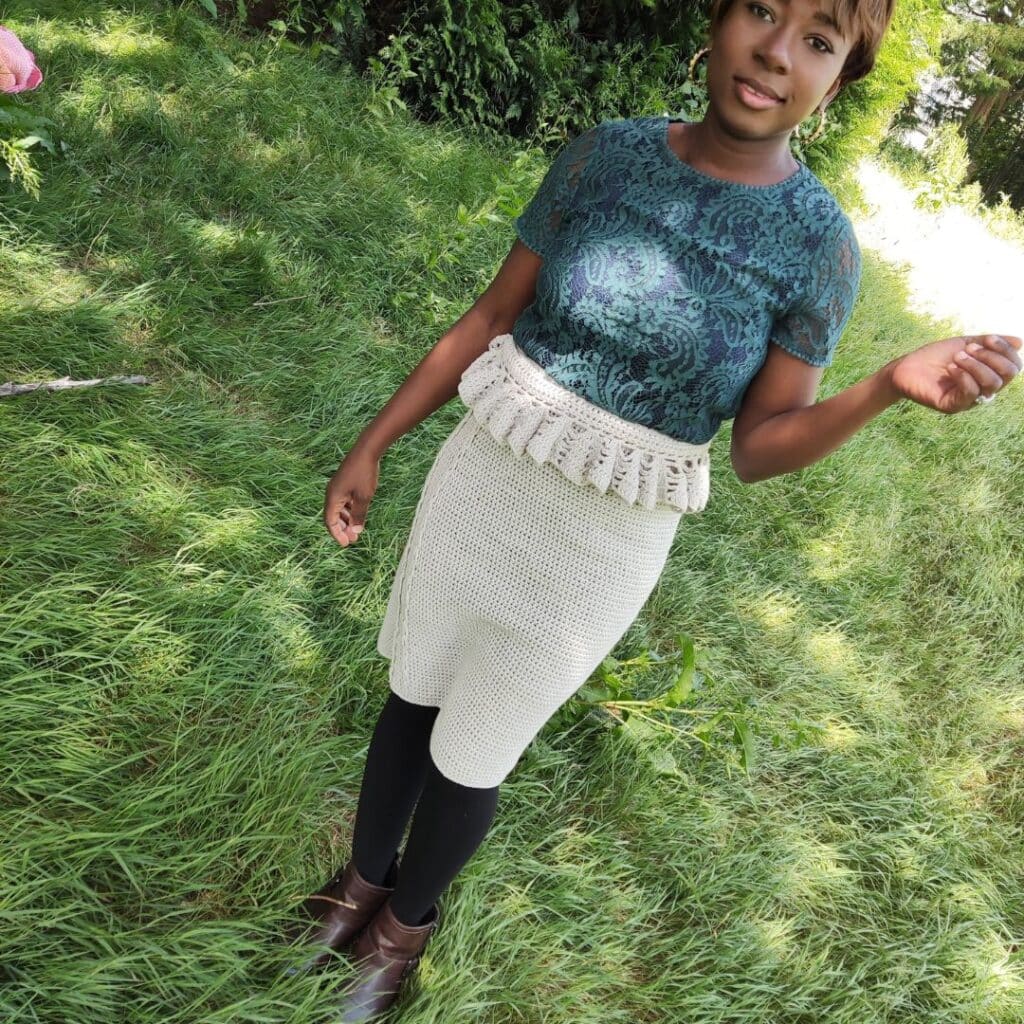
With the ruffles around your waist, as seen below.
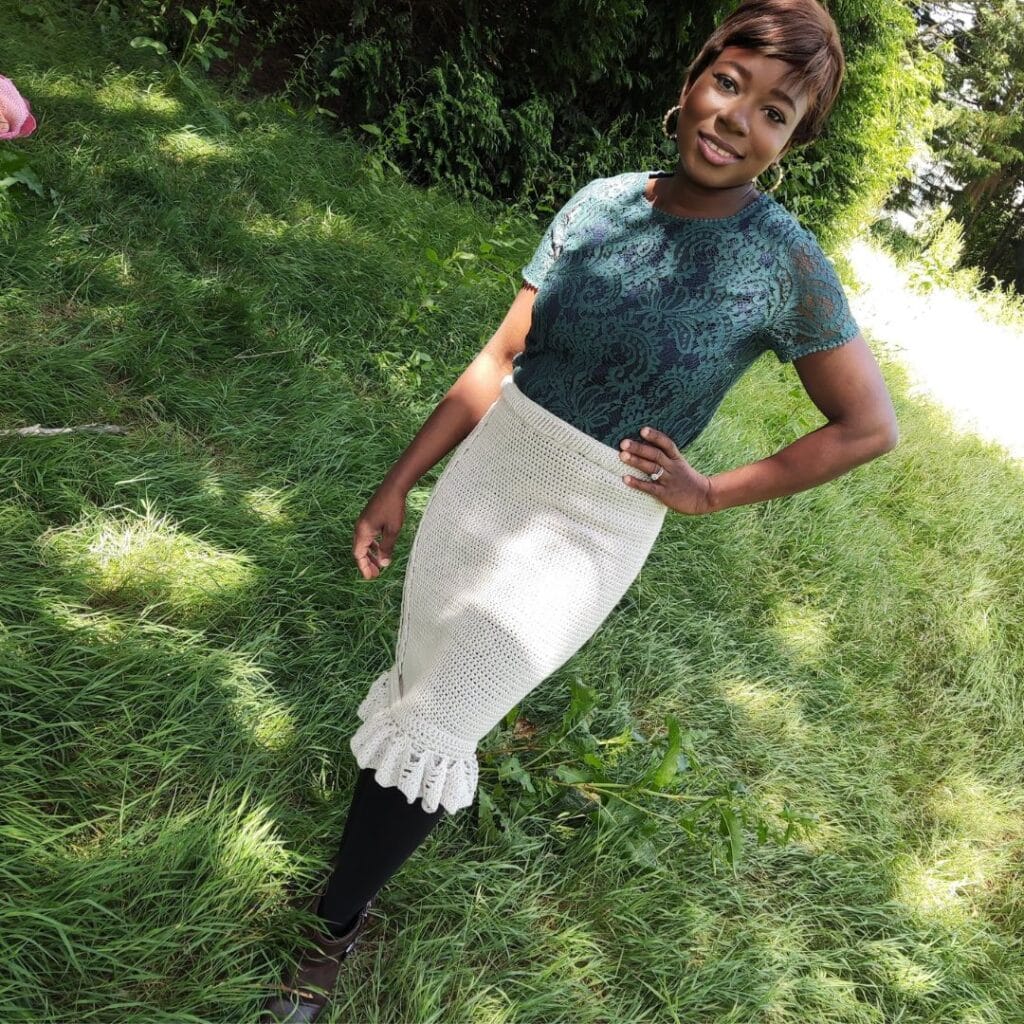
You could also style this convertible crochet ruffled skirt with the ruffles attached to the lower end of the skirt.
Ruffles as a necklace.
With ruffles as a neck warmer
Ruffles only on another gown.
Ruffles slipped down your hips
With ruffles on the lower ends (attach ruffles to skirt using snap buttons/Velcro
How would you style yours? I would love to know in the comment below.
I can’t wait to see your beautiful versions of this convertible crochet skirt pattern. When you do make yours, do tag me as I would love to see your convertible skirts.
Get the free pattern for the convertible crochet ruffle skirt by scrolling below.
If you wish to get the PDF print-friendly version, you can get a copy from either Ravelry or Etsy using the buttons below.
For the skirt-loving ladies, you should also check out the other beautiful skirts here on my blog.
Materials needed for this convertible skirt pattern
Yarn – Stylecraft special DK #3 lightweight (100% acrylic 322 yards/295m per 3.5 oz/100g skein)
Estimated yardage
480 (580, 680, 780, 980, 1080, 1180, 1280, 1380) yards
Gauge – 20 hdc and 14 Rows = 10 cm/4” (adjust hook size if necessary, to obtain gauge)
Terms – US Terminology
Hook and other materials
- US size 7 (4.5 MM) Crochet hook
- Snap Buttons – (6 – 10 pieces) or Velcro cm
- 1.5” button = 1 piece (15)
- Elastic band
Stitches
- Chains (ch)
- Single Crochet (sc)
- Half Double Crochet (HDC)
- Double Crochet (dc)
- Front Loop Only (FLO)
- Front Post Double Crochet (FPdc)
Hip Measurement – 35 (36, 38, 40, 41, 43, 45, 47, 49)”
Pattern Note
- Similar #3 yarns can be used; kindly check gauge. Suggested substitutes include; I Love this yarn Sport, Loops & Threads Snuggly Wuggly, and Paintbox DK.
- This skirt is made to fit any size, your starting chains should be free around your Hips, this is just a guide, considering your yarn might be different.
- The length of the skirt is dependent on how long you want yours to be.
- Chain 1 or chain 3 at the beginning of each row does not count as a stitch.
- The main body of the skirt is worked from the top (hips) down in rounds, move stitch markers with every round, and the waistband is then added later.
- Detachable ruffle is made separately in rows.
- Loop in the pattern refers to Chain 12 and should be on a straight line.
Instructions for this ruffled crochet skirt pattern
Section 1: Skirt
Chain 120 (124, 136, 140, 144, 152, 160, 164, 172), Join with a sl st with the first chain
Round 1: Ch 2, hdc in each ch across, join with a sl st, place stitch marker – 120 (124, 136, 140, 144, 152, 160, 164, 172 hdc)
Round 2: Hdc in first, make 1 Loop (ch 12), hdc in next 6 sts, 1 loop, hdc in each st to marker – 120 (124, 136, 140, 144, 152, 160, 164, 172 HDC, 2 ch 12 Sps)
Round 3: Hdc in each around (leaving Ch 12 loops unworked and making sure to keep all Loops on the right side – 120 (124, 136, 140, 144, 152, 160, 164, 172 hdc)
Note
Keep your loops (ch 12) in a straight line, and place a stitch marker in the first chain of each loop, this would help you keep track of where to put the next loop.
Round 4: Repeat Round 3
Rounds 5 – 64 (64, 72, 72, 72, 72, 76, 76, 76): Rep Round 2 – 4 ending with Round 4
Do not Fasten off, braid the loops and continue to the last round below.
Finishing
To Braid the cables
- Start with the first 2 vertical ch 12, pass 2nd up through
first loop.
- Pass the 3rd loop through the 2nd loop
- Pass the 4th through the 3rd, continue until all loops have been worked, and secure with a stitch marker
- Repeat the instructions with the second set of loops
Last Round – Ch 2, hdc in first, pick up the first loop left, hdc over this loop, hdc in next 5 sts, slip off the second loop and work hdc through it, hdc in each of the remaining sts around, join.
Fasten off and weave in ends
Band
The band is worked in two layers, this is the part where the elastic band is placed, and the two layers are then joined together.
Outer layer
With a sl st, join yarn to the first st of Round 1 of the skirt
Round 1: Ch 1, sc in each st across join with a sl st to first ch and not first Sc 120 (124, 136, 140, 144, 152, 160, 164, 172 sc)
Round 2: Ch 2 and working in FLO, dc in each st across, join with a sl st to ch 2 – 120 (124, 136, 140, 144, 152, 160, 164, 172 dc)
Round 3: Ch 2, in both loops, FPdc across, join with sl st to ch 2 – 120 (124, 136, 140, 144, 152, 160, 164, 172 FPdc)
Rounds 4 – 5: Rep Round 3
Fasten off
Inner layer
Turn your skirt to the wrong side.
Attach yarn with a sl st, to the first st.
Round 1: Ch 2, working in the loop left from outer layer, *dc in next 2 sts, ch 2, skip next 2 sts, repeat from * around, join with sl st to ch 2 – 60 dc/ch-2 sps (62 dc/ch-2 sps, 68 dc/ch-2 sps, 70 dc/ch-2 sps, 72 dc/ch-2 sps, 76 dc/ch-2 sps, 80 dc/ch-2 sps, 82 dc/ch-2 sps, 86 dc/ch-2 sps)
Round 2: Ch 2, *dc in next 2, ch 2, skip next ch sp, repeat from *around, join with sl st to ch 2 – 60 dc/ch-2 sps (62 dc/ch-2 sps, 68 dc/ch-2 sps, 70 dc/ch-2 sps, 72 dc/ch-2 sps, 76 dc/ch-2 sps, 80 dc/ch-2 sps, 82 dc/ch-2 sps, 86 dc/ch-2 sps)
Do not fasten off
Working through both outer and inner layers together, hdc around, join with a sl st to the first
Fasten off, weave in ends
Measure your desired length of elastic band (this should be a comfortable length around your waist)
Pass the elastic band through the layers and sew the 2 sides of the Elastic band to secure it
Ruffle part of this crochet skirt pattern
Notes
1. Number of chains must be a good fit around across your shoulders.
2. The ruffle is worked in rows.
4. Chains at the beginning of the rows do not count as a st, unless stated.
Chain 111 (119, 131, 135, 143, 147, 155, 159, 167)
Row 1: Dc in 4th ch from hook, dc in each ch across, turn – 109 (117, 129, 133, 141, 145, 153, 157, 165) dc
Row 2: Ch 2, dc in each st across, turn – 109 (117, 129, 133, 141, 145, 153, 157, 165) dc
Row 3: Ch 4 (counts as dc + ch-1 sp) *skip next st, dc in next, ch 1, repeat from * to last st, dc in last st, turn – 55 dc/54 ch-1 sps (59 dc/58 ch-1 sps, 65 dc/64 ch-1 sps, 67 dc/66 ch-1 sps, 71 dc/70 ch-1 sps, 73 dc/72 ch-1 sps, 77 dc/76 ch-1 sps, 79 dc/78 ch-1 sps, 83 dc/82 ch sps)
Row 4: Ch 2, *(2 dc, ch 2, 2 dc) in ch-1 sp, ch 6, skip next (st, ch-1 sp and next st); repeat from * to last ch-1 sp, (2 dc, ch 2, 2 dc) turn
Row 5: Ch 2, *dc in next 2 sts, dc in ch 2 sp, ch 2, dc in same ch-2 sp, dc in next 2 sts *ch 5, skip ch 6-sp, repeat from * to end, dc in next 2 sts, dc in ch 2 sp, ch 2, dc in same ch-2 sp, dc in next 2 st, turn
Row 6: Ch 2, *dc in next 3 sts, dc in ch 2 sp, ch 2, dc in same ch 2 sp, dc in next 3 sts, ch 4, skip ch-5 sp, repeat * to end, omitting final ch 5 sp, turn
Row 7: Ch 2, *dc in next 4 sts, dc in ch 2 sp, ch 2, dc in same ch 2 sp, dc in next 4 sts, ch 3, skip ch-4 sp, repeat * to end, omitting final ch 4 sp, turn
Row 8: Ch 2, *dc in next 5 sts, dc in ch 2 sp, ch 2, dc in same ch 2 sp, dc in next 5 sts, ch 2, skip ch 3 sp, repeat * to end, omitting final ch 3 sp, turn
Row 9: Ch 2, *dc in next 6 sts, dc in ch 2 sp, ch 2, dc in same ch 2 sp, dc in next 6 sts, ch 1, skip ch 2 sp, repeat * to end, omitting final ch 2 sp.
Do not fasten off.
Button/ buttonhole
Turn, crocheting towards Row 1 and along the side/edges, and continue below.
Row 1: Ch 1, sc in each edge across to row 1, turn.
Row 2: Ch 4, (or any number depending on the size of your button), skip next 3 sts, sl st into 4th st.
Fasten off, sew in all ends.
Block to measurement.
Finishing
Band –
- Turn the band to the wrong side.
- Sew button/Velcro on the other side, intervals as with the skirt
Skirt –
- Turn the Skirt to the wrong side.
- Sew button/Velcro on the other side, intervals as with the band
To attach ruffles to the lower end of the skirt
- Turn skirt to the wrong side
- Snap the Buttons/Velcro up.
Fasten off
Sew in all ends.
Block to measurements and wear with pride
I hope you love this ruffled convertible skirt as much as I did designing this beauty, when you make your beautiful version, do tag me.
your ruffled convertible skirt pattern takes me back to when i was in art school (community collage) in late 30’s
we study designs and fashions through the ages, i found my ideas of how cloth developed was close the what happened
take the Victorian’s as an example it was normal for woman to change the decorations on their clothing to current mode
the cost of cloth was very high in loser income families it was the norm the hand down clothing to younger siblings when an older child had grown out the garment also die a darker colour
when the garment was to damaged the it would be cut up often sawn with good fabric but not wearable into blankets or rugs even for rags as kitchen paper was on in use then
what a diverse todays clothing is people buying just wearing it once then trashing it
no cutting and sawing into throws rug or just rags used to mop up spoils