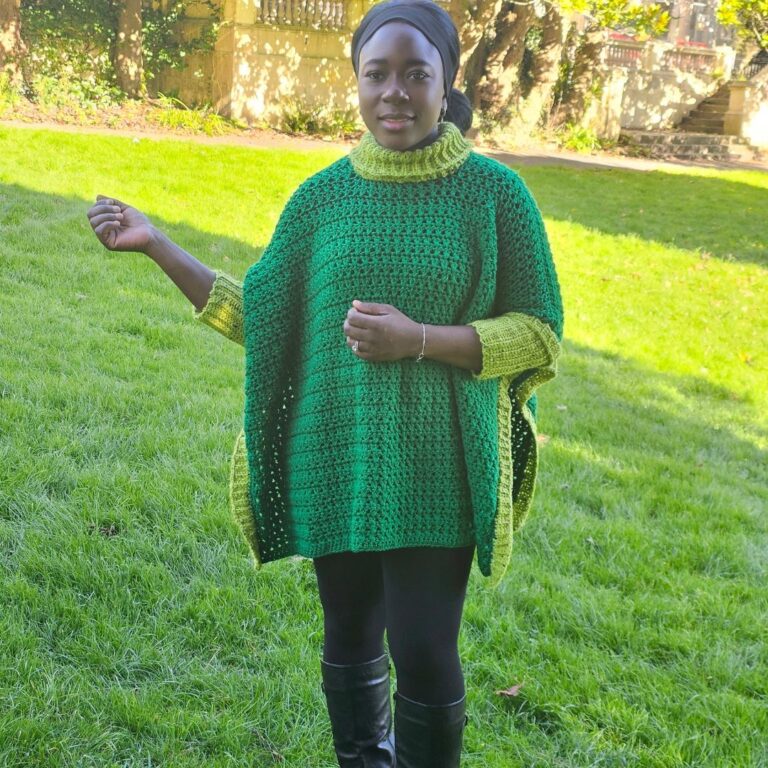
Chunky sweater crochet pattern
I am so excited to share my favorite chunky sweater crochet pattern, along with tips for selecting yarn and achieving the perfect fit.
If you’re looking for a cozy and stylish addition to your fall and winter wardrobe, then a chunky sweater crochet pattern might be just what you need! Crocheting your own sweater not only allows you to customize the design and fit, but it also gives you the satisfaction of creating something unique and handmade.

Whether you’re an experienced crocheter or just starting out, I’ve got you covered with the detailed free pattern for this chunky crochet sweater!
Chunky Sweater Crochet Pattern Inspiration
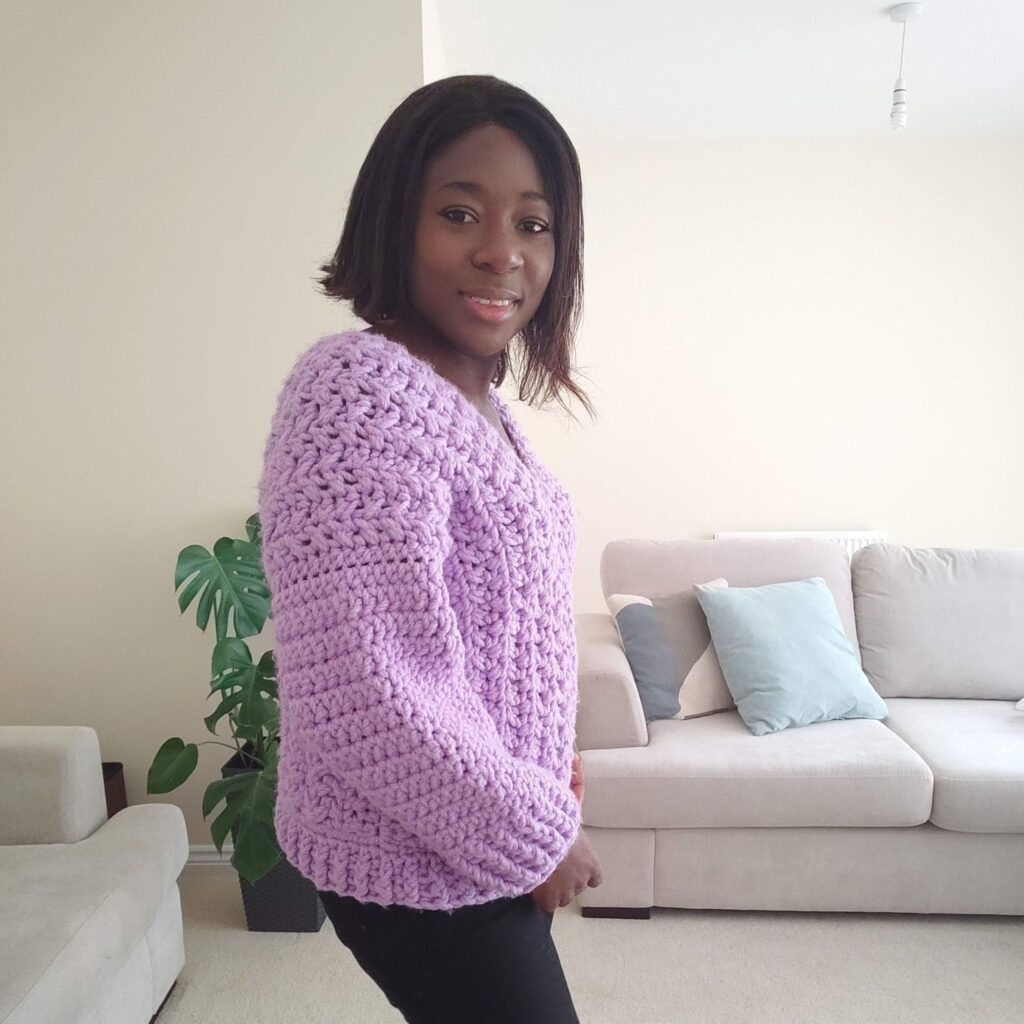
If you have been following my garment designs, you would know that I love making different and unique crochet garments. I wanted a quick, cozy sweater. This chunky sweater crochet pattern was designed with that sole purpose in mind.
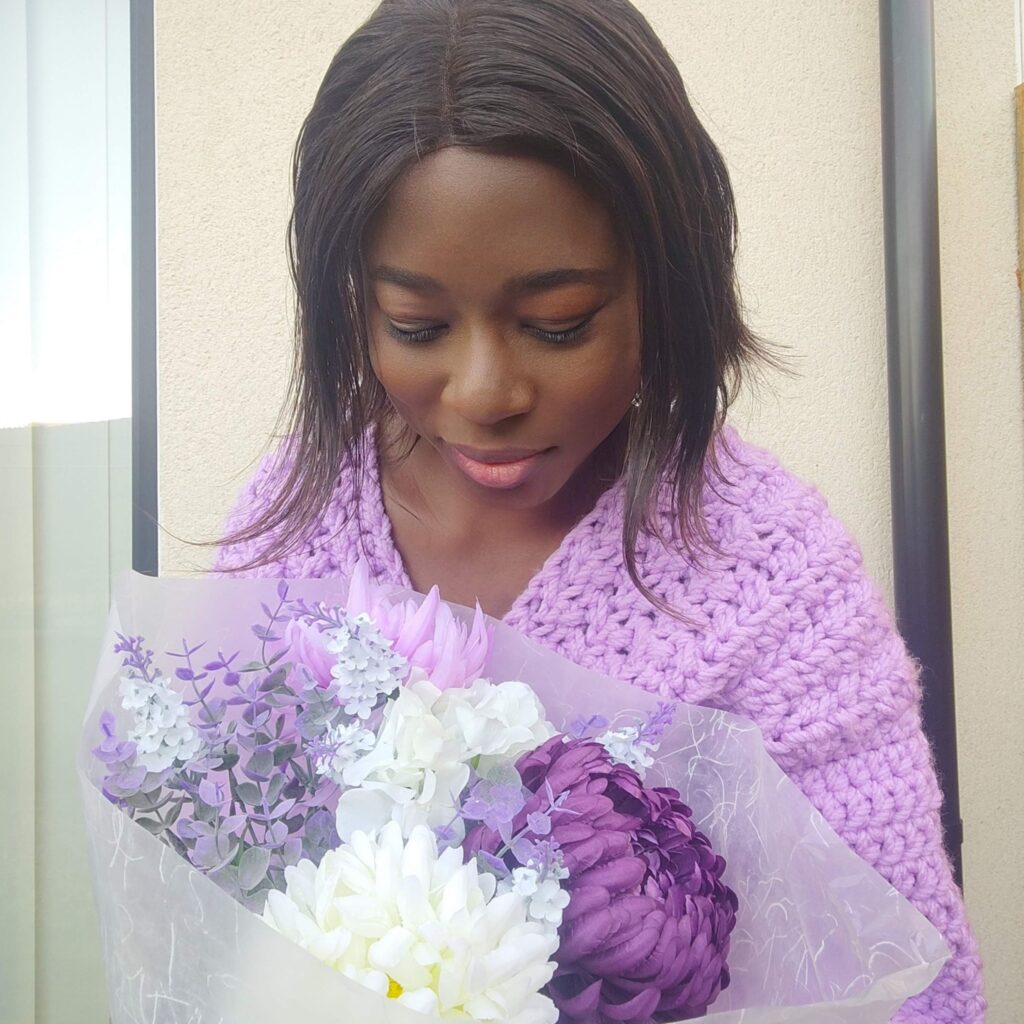
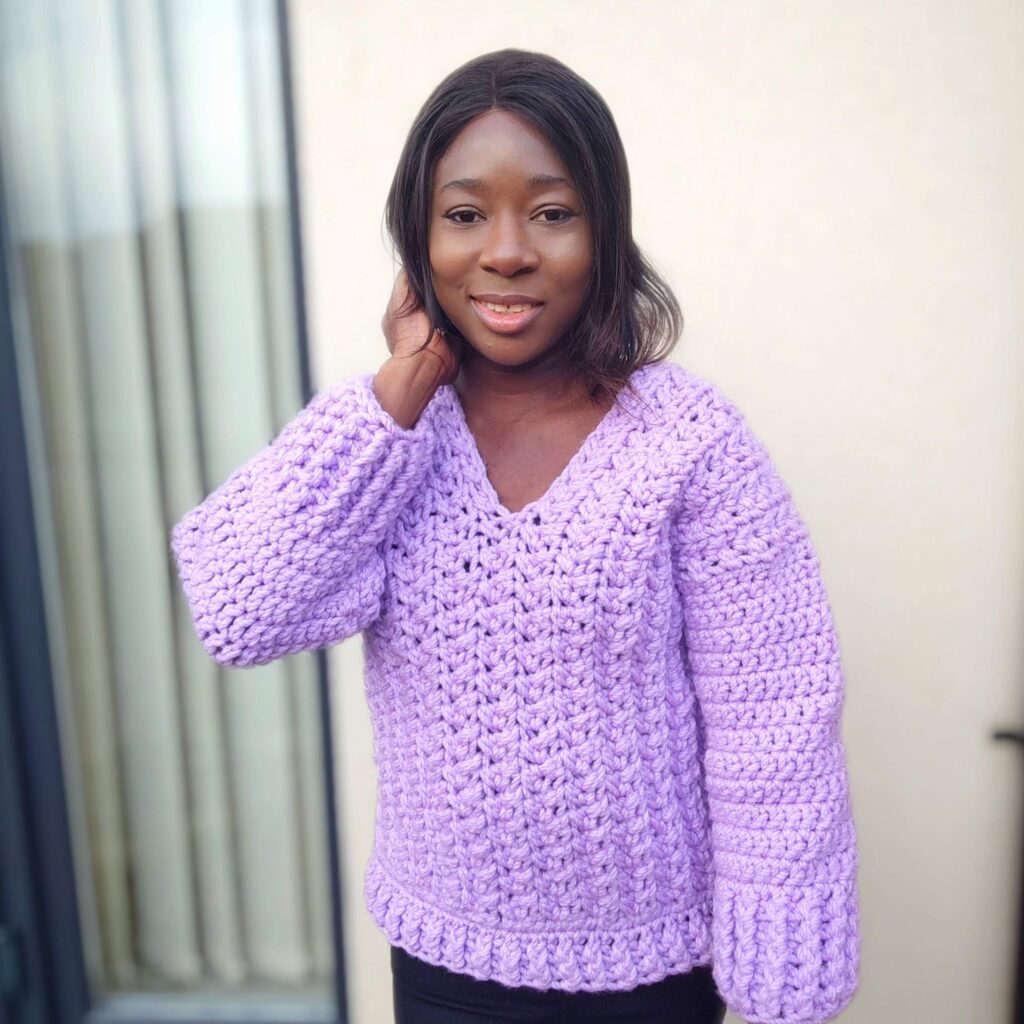
This chunky sweater, named the Chunky Berry Sweater which reflects everything this beautiful quick textured crochet sweater.
Other chunky crochet projects to check out
Chunky cowl scarf free pattern
Supplies needed for this Chunky Crochet Sweater Pattern
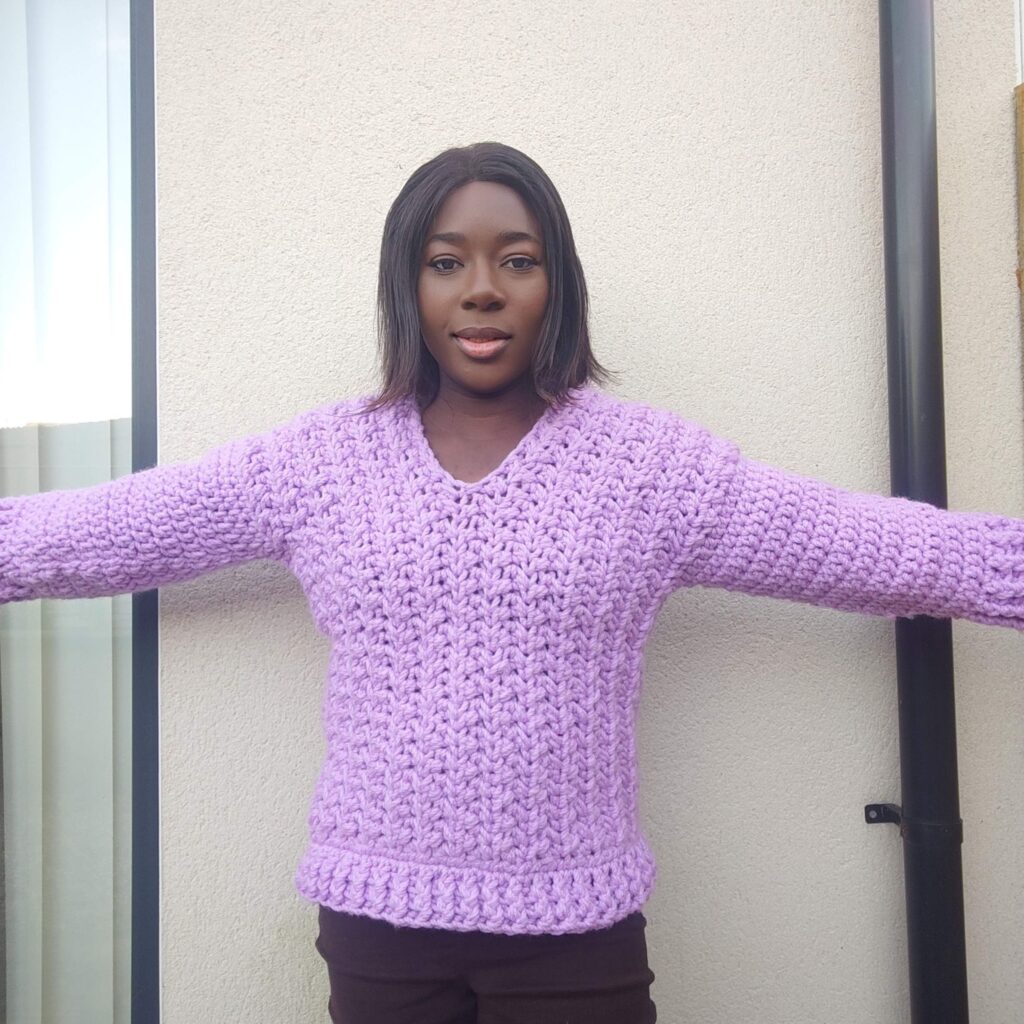
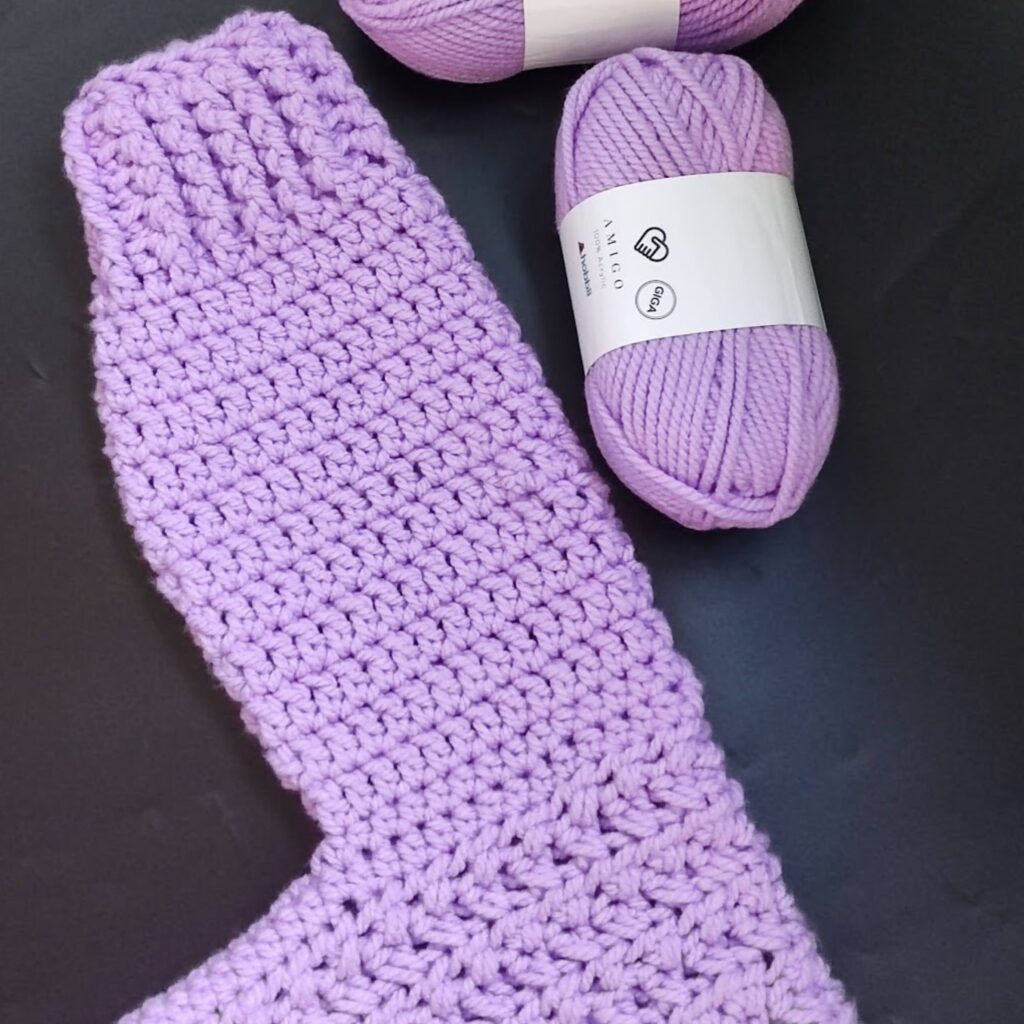
Yarn – As the name suggests, this chunky V-neck crochet sweater can be made using using any chunky weight yarn!
What happens when I do not have a chunly weight yarn?
You could substitute chunky yarn with 2 strands of worsted weight yarn.
This chunky V-neck sweater prototype was made uisng Hobbii yarn – Amigo Giga, #6 (100% HB Acrylic, 95 m, 103 yds per 150 g /5.2 oz)

Estimated Total Yardage for your chunky sweater
700 (760, 820, 880, 900, 1000, 1100, 1200, 1300) yards
Crochet Hook
8 mm Crochet Hook
Gauge
8 sts over 6 rows = 4” by 4” made using hdc
Difficulty Level – Intermediate
Terms – US Terminology
Chunky Crochet Sweater Pattern Notes
- Please kindly read through the pattern before starting.
- Chains at the beginning of the rows do not count as a stitch.
- Stitch count is written after each row.
- The pattern is worked in 2 sections – Section 1 is the main panel. Section 1 = is worked in rows and joined together while in section 2, the sleeve is worked in rounds.
Stitches used for this V-neck chunky sweater pattern
Chain – ch
Half double crochet – hdc
Stitch – st
Slip Stitch – sl st
Crossed half double crochet (xhdc)
Special stitch
Crossed half double crochet (xhdc)
First row of xhdc = *Skip next st, hdc in next st, crocheting over the hdc just made into the skipped st, yarn over hook, insert hook into skipped stitch, yarn over, pull up a loop (3 loops on the hook), yarn over, pull through the loops
The first xhdc made.
Rep from * to the end of the round
Subsequent rows of xhdc =
*Skip the first leg of xhdc, hdc in the second leg of xhdc, crocheting over the hdc just made into the first leg of xhdc, yarn over hook, insert hook into skipped stitch, yarn over, pull up a loop, (3 loops on the hook), yarn over, pull through the loops
Rep from * to the end

Finished Measurement
Size(s) and color codes – XS (S, M, L, XL, 2XL, 3XL, 4XL, 5XL)
Bust Measurement: 30 (34, 38, 42, 46, 50, 54, 58, 62)”
Length of Sweater: 21 (21, 21, 21, 23, 23, 23, 25, 25)”
Armhole Measurement: 15.5 (16, 16.5, 17, 17.5, 18, 18.5, 19, 19.5)”
The modeled garment is shown in Small, with 2” of positive ease.
If you prefer getting the PDF version of this chunky sweater pattern, its available on both ETSY and Ravelry.
Chunky Crochet Sweater Pattern
Chain 86 (86, 90, 90, 90, 98, 98, 98, 98) – Note that the finished sweater length is half of this, as this length covers the front and back panels.
Adjust the starting chain to your desired length.
Row 1: Hdc in 3rd ch from the hook and in each ch across, turn. 84 (84, 88, 88, 88, 96, 96, 96, 96) hdc
Row 2: Ch 1, hdc in first st, xhdc across until the last st, hdc in last st, turn.
41 (41, 43, 43, 43, 47, 47, 47, 47) xhdc, 2 hdc
Rows 3 – 10 (11, 12, 13, 14, 15, 16, 17, 18): Rep Row 2
Neckline
Row 1: Ch 1, hdc in first st, work xhdc over the next 13 (13, 14, 14, 14, 15, 15, 15, 15) xhdc, ch 30 (30, 30, 30, 32, 32, 34, 34, 34), skip next 15(15, 15, 15, 15, 16, 16, 17, 17) xhdc, xhdc in the remaining sts until the last st, hdc in last st, turn.
26 (26, 28, 28, 28, 30, 30, 30, 30) xhdc, 2 hdc.
Check the fit of the neckline opening.
If too wide, reduce the number of chains.
If too tight – Increase the number of chains.
Row 2: Ch 1, hdc in first st, xhdc in next 26 (26, 28, 28, 28, 30, 30, 30, 30) sts, xhdc across the next 30 (30, 30, 30, 32, 32, 34, 34, 34) chains, xhdc in the remaining sts until the last st, hdc in last st, turn. 41 (41, 43, 43, 43, 47, 47, 47, 47) xhdc, 2 hdc
Row 3: Ch 1, hdc in first st, xhdc across until the last st, hdc in last st, turn.
41 (41, 43, 43, 43, 47, 47, 47, 47) xhdc, 2 hdc
Rows 4 – 10 (11, 12, 13, 14, 15, 16, 17, 18): Rep Row 3
Row 11 (12, 13, 14, 15, 16, 17, 18, 19): Ch 1, hdc in each st across, turn. 84 (84, 88, 88, 88, 96, 96, 96, 96) hdc
Section 2 – Sleeves
- Fold the front panel over the back panel lengthwise.
- Measure 7.5 (8, 8, 8.5, 8.5, 9, 9, 9.5, 9.5)” from the shoulder tip downwards.
- Place stitch markers on the point (1st on the front panel, the 2nd on the back panel), over both panels.
- Join yarn with a sl st to the stitch with the 1st stitch marker.
Round 1: Ch 1, dc around until the 2nd stitch marker, join with a sl st to the beginning chain. 24 (27, 27, 30, 30, 33, 33, 36, 36) dc
Remove the stitch marker
If the sleeve opening is too wide, adjust it appropriately.
Round 2: Ch 1, dc in each st around, join with a sl st to the beginning chain. 24 (27, 27, 30, 30, 33, 33, 36, 36) dc
Rounds 3 – 10 (13, 15, 15, 16, 16, 16, 16, 16): Repeat round 2
Round 11 (14, 16, 16, 17, 17, 17, 17, 17): Ch 1, *hdc2tog, hdc in next 2 sts, rep from * to the end, join with a sl st to the beginning chain. 16 (18, 18, 20, 20, 22, 22, 24, 24) hdc
Sleeve cuffs
Round 1: Ch 1, *FPdc around next st, BPdc around next st, rep from * to end, join with a sl st to the beginning chain. 8 (9, 9, 10, 10, 11, 11, 12, 12) FPdc/BPdc
Rounds 2 – 6: Repeat Round 1
Fasten off.
Repeat on the other side.
Side seam(s)
- Turn both panels to the wrong side.
- With the front panel over the back panel, and the wrong side facing you and the right side facing each other.
- Join yarn with a sl st to the stitch with the marker.
- Using either a needle or hook and either mattress stitch or sl st, sew the remaining sts on both panels together.
- Repeat on the other side.
- Fasten off.
Do not fasten off
Sweater Edging
- Crocheting around the lower end of the sweater
- Join yarn with a sl st to the side of the sweater.
Round 1: Ch 1, sc evenly in each st around, join with a sl st to the beginning ch. 46 (50, 54, 58, 62, 68, 72, 74, 80) sc
Round 2: Ch 1, *FPhdc around next st, BPhdc around next st, rep from * to end, join with a sl st to the beginning chain. 23 (25, 27, 29, 31, 34, 36, 37, 40) FPhdc/BPhdc
Round 3 – 4: Repeat Round 2
Fasten off.
Weave in all ends
Block to measurement.
And that it is, you have your own chunky crochet sweater!!!
Other free chunky projects on the blog
Crochet hanging basket pattern
Crochet cowl scarf free pattern


Thank you for this sweater pattern. It’s beautiful and it’s in my favorite color.
That is amazing! It is also my favorite color!
This is absolutely beautiful, thank you for sharing it with us, Im very excited to start it.
Yay, Makes me happy. Can’t wait to see yours
Too beautiful to be called Chunky. Love the style and color.
Aww, thank you so much. Glad you love this sweater!
Gorgeous! And it will be fun to make
Glad you love this project.
Do you have a tutorial on the Chunky Berry sweater? Do you have any tutorials, I find they to be very helpful. thank you for all your beautiful patterns
Hi Carole, I am glad you love the pattern. Do you mean a video tutorial? I do not have a video tutorial only the written instructions available in the post.
hello! I have a question about the special xhdc stitch.
I understand to skip the first leg of the xhdc and create an hdc in the second leg. But then I get a bit lost. Do I ignore the first leg and return to create an hdc in the skipped stitch ABOVE the first leg? So each special xhdc would be to hdc into the second leg and then hdc into the skipped stitch?
I also got your email and have responded. The xhdc is like the regular hdc but you are making the second hdc first. After completing the crocheting the first stitch into the second (next) st, you then proceed to crocheting into the skipped stitch (this is the first space that was skipped).
Let me know if this helps.