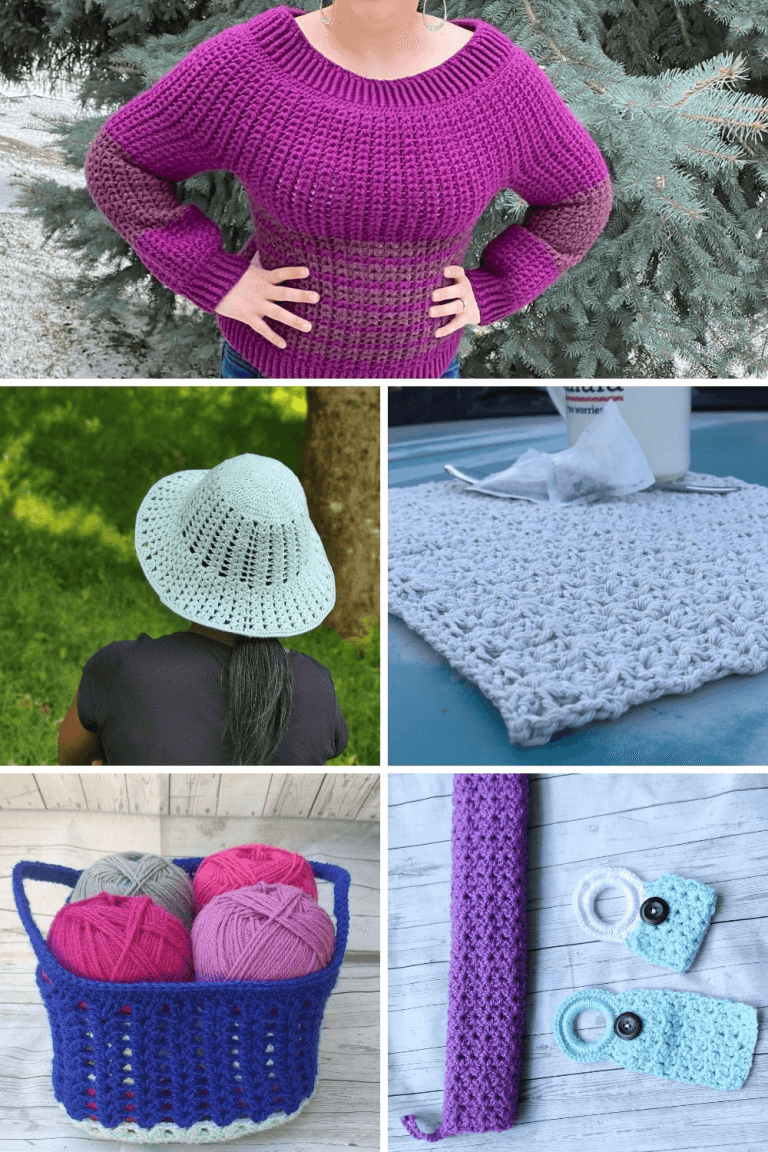
How to crochet a sweater
Discover the step-by-step guide on How to Crochet a Sweater and create beautiful, handmade garments. If you know the basics of crochet stitches and techniques, then you are all set to make your crochet sweater.
Not only will you learn how to make a crochet sweater with this post, but you will also get tips for choosing the right yarn and pattern. Whether you’re a beginner or an experienced crocheter, this comprehensive guide will help you create a cozy and stylish sweater that’s perfect for any occasion.
The beginner’s guide to crocheting a sweater is a detailed post with an easy-to-follow size-inclusive sweater.

Materials needed to make a crochet sweater:
- Yarn – Selecting a good yarn is crucial for your sweater. A Worsted weight of yarn (Aran) – #4 is perfect for making a crochet sweater. Make sure to pick a yarn with a solid color if you are a beginner. This post has many PRO tips to help you pick the best yarn for your next project.
- Crochet hook – Select the appropriate hook that pairs well with the weight of the yarn
- Measuring tape – This would be helpful with measurements
- Scissors – To cut the ends.
- Tapestry needle – To sew in ends.
How to Crochet a Sweater for a Beginner
Step 1: Choose a pattern before you start; you’ll need to choose a pattern for your sweater. You can find many free crochet sweater patterns here on my blog or purchase one from a craft store. Choose a pattern that suits your skill level, and ensure you have enough yarn to complete the project.
The skill level is usually Easy, Beginner, Intermediate, and Advanced. Either a beginner or an easy sweater pattern would be Perfect for a first garment.
An Important to do before starting your crochet sweater is to make a swatch – A standard pattern comes to the swatch and instructions for the gauge. This is mostly a small 4″ (10cm) piece that is made using the same pattern as the main sweater.
The main reason why you need to make a swatch is to help confirm you have the right weight of yarn, hook size, and similar tension as with the designer of the pattern.
If your gauge comes out bigger than the provided measurement – you need to either change your hook size to a smaller one or change the yarn.
When the gauge comes out smaller than the provided measurement – you need to go up one or more sizes of your hook and or change the yarn.

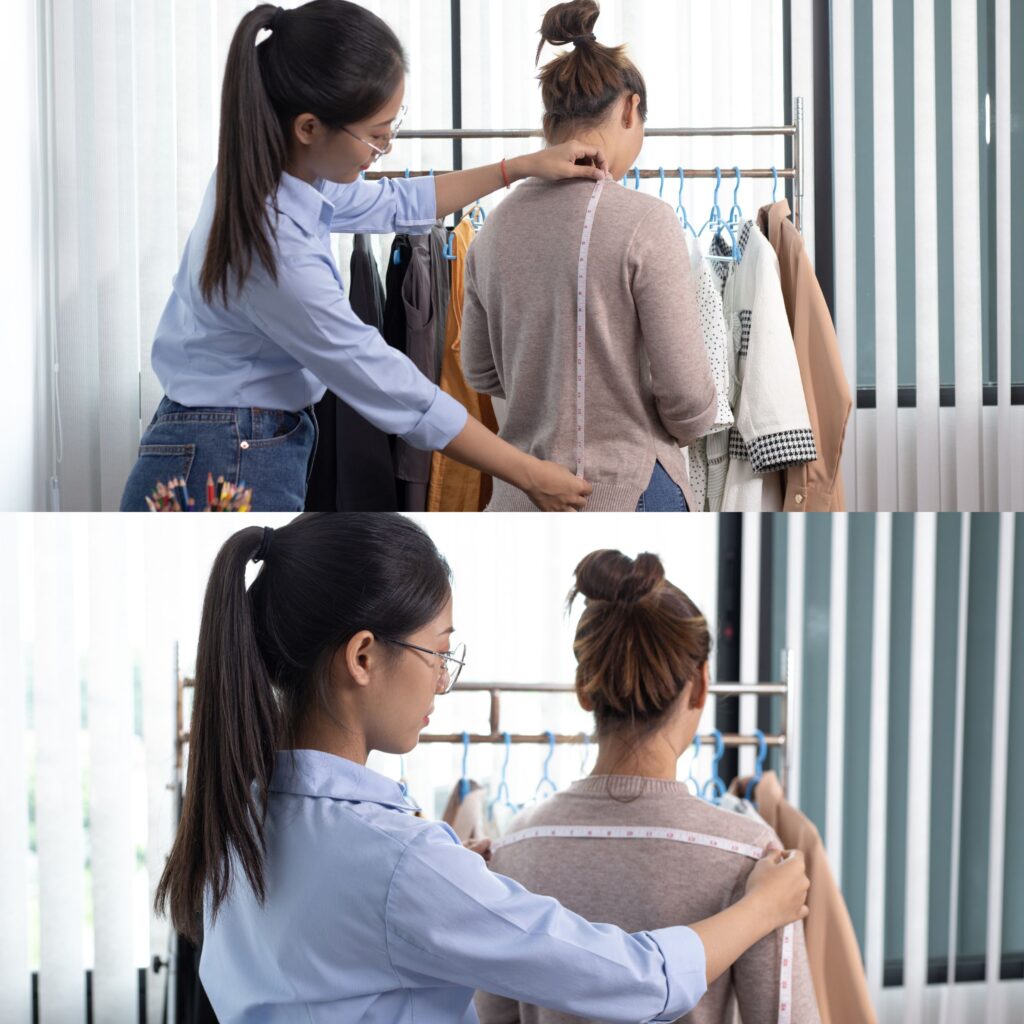
Step 2: Measure yourself before you start crocheting; you’ll need to take your measurements to make a sweater that fits you perfectly. Measure around the fullest part of your bust and your upper arm, and use this information to choose the right size from the pattern you’ve chosen.
Most crochet sweaters are graded as – XS (S, M, L, XL, 2XL, 3XL, 4XL, 5 XL) with a corresponding Bust Measurement: 28 – 30 (32 – 34, 36 – 38, 40 – 42, 44 – 46, 48 – 50, 52 – 54, 56 – 58, 60 – 62)” This means that an XS sweater would fit someone whose bust measurement is 28 – 30″
Step 3: Start with the back panel. Once you have your measurements, you can start crocheting the back panel of your sweater. Follow the instructions in your pattern, working the stitches in the order indicated. As you go along, ensure you’re keeping track of your stitch count and using the right type of stitch for the chosen pattern.
Step 4: Continue with the front panels. Once you’ve finished the back panel, it’s time to work on the front panels. These are usually worked in the same way as the back panel, but you’ll need to follow the pattern closely so that the front and back panels match in size and shape.
Step 5: Add the sleeves. You’ll need to add the sleeves once you’ve finished the front and back panels. This is usually done by working into the stitches on both the back and front panels. Some other crochet patterns would separate the sleeves and join the main panels.
Step 6: Finishing your sweater – you must combine the pieces to form the sweater. This is usually done by sewing the sides together with a tapestry(darning) needle and yarn. Ensure you follow the instructions in your pattern carefully so the sweater looks neat and professional.
Step 7: Block the sweater – blocking is the process of shaping and smoothing the sweater to look neat and professional. To do this, soak the sweater in water, then lay it flat to dry. You can use pins to help shape the sweater if you need to. You can also do steam blocking. Here is a detailed post about blocking your crochet pieces.
Basic Crochet Sweater Designs
Raglan
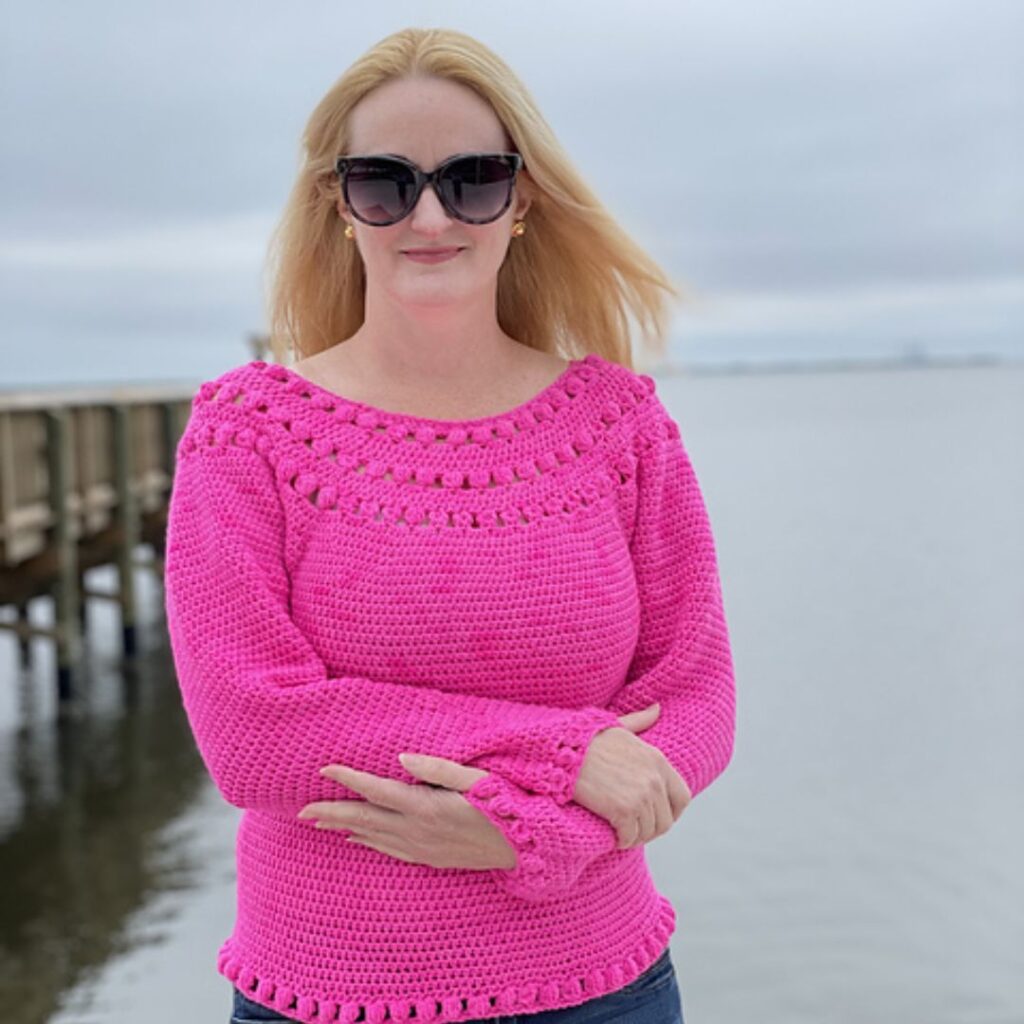
A Raglan crochet sweater is made from the neckline with a hole for the armpit opening made after a few rounds or rows. This type of crochet sweater has the sleeves arm piece extending upwards, covering the shoulders.
This method usually has a distinctive seam between the front(s), back, and sleeves. Although these lines (seams) can be turned into a beautiful decoration or made “invisible” depending on the type of stitches used. Reglan type of sweater can be used for the following types of necklines
A. Round neck.
B. V – Neck Sweaters
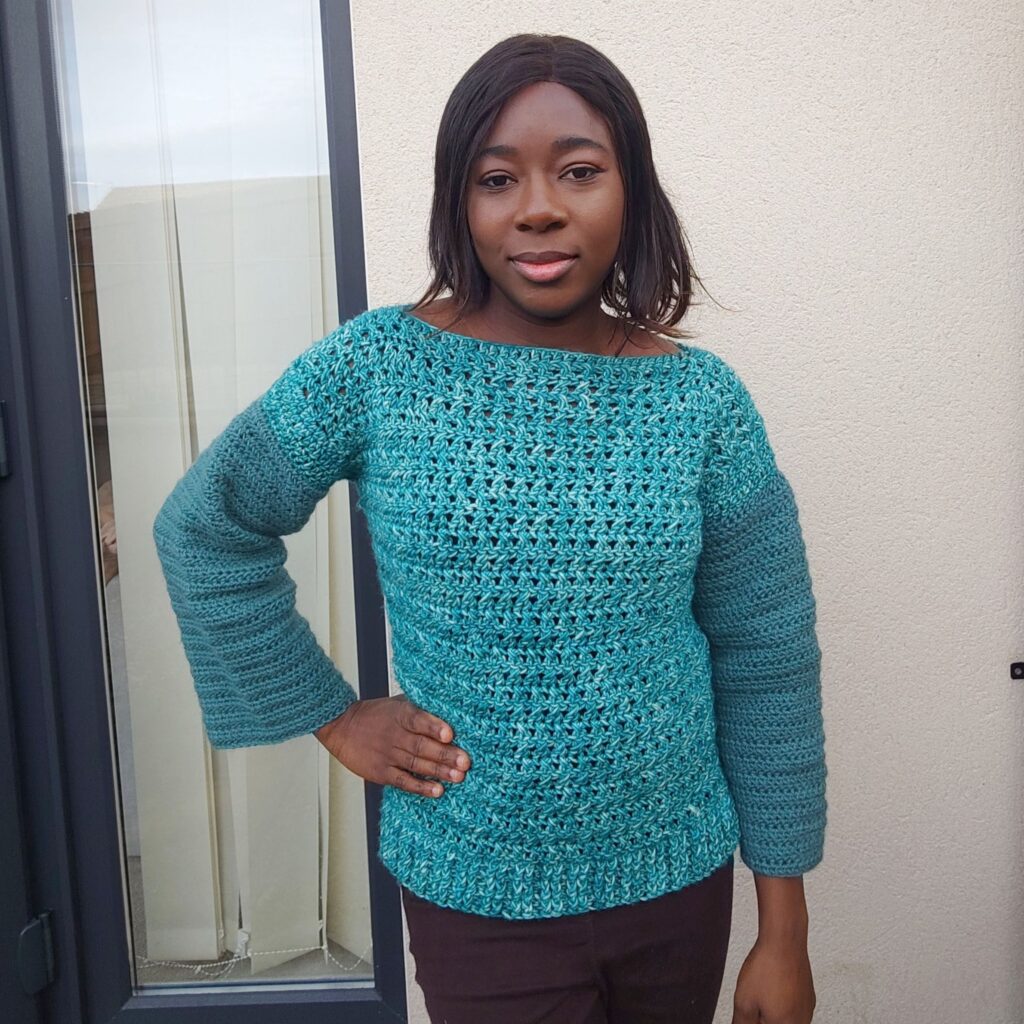
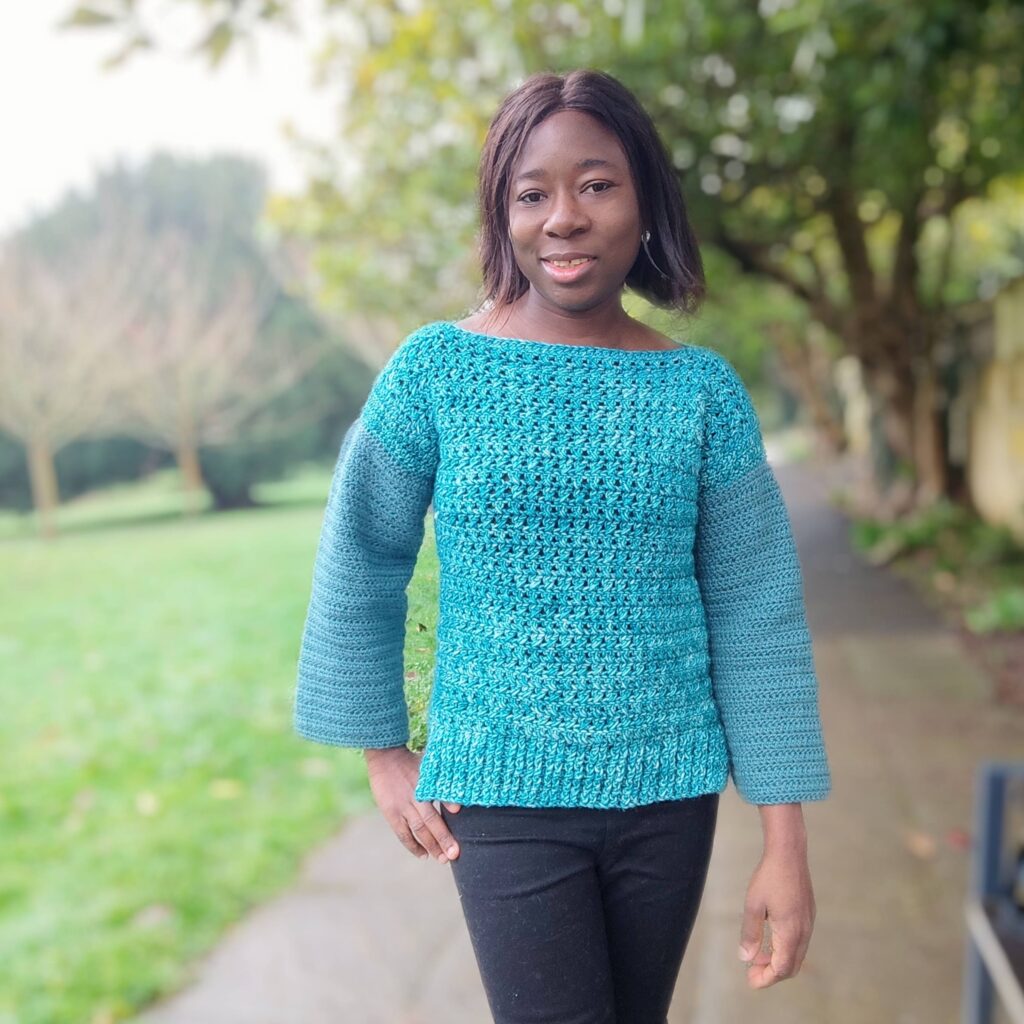
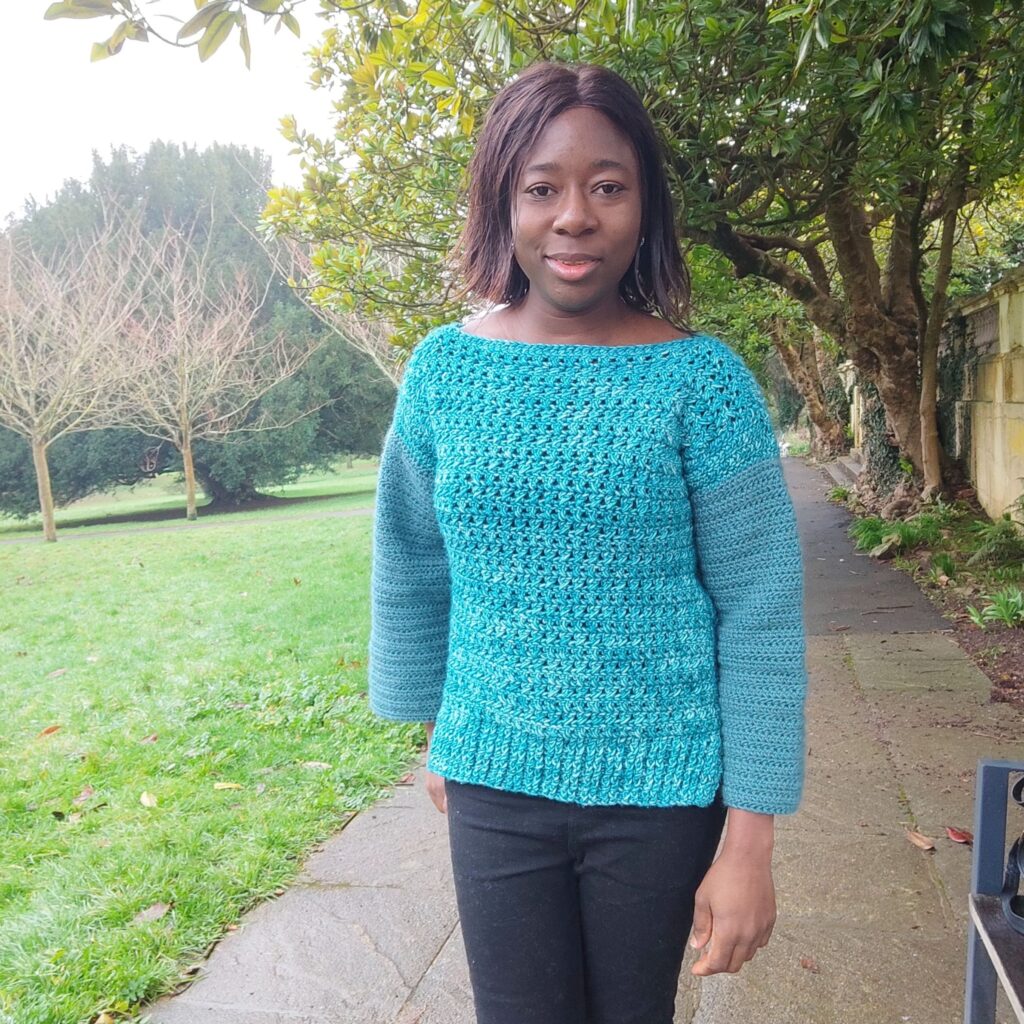
C. Rectangular Reglan – Serenity sweater, a free pattern here on the blog, is an example.
The top-down method of crochet sweater
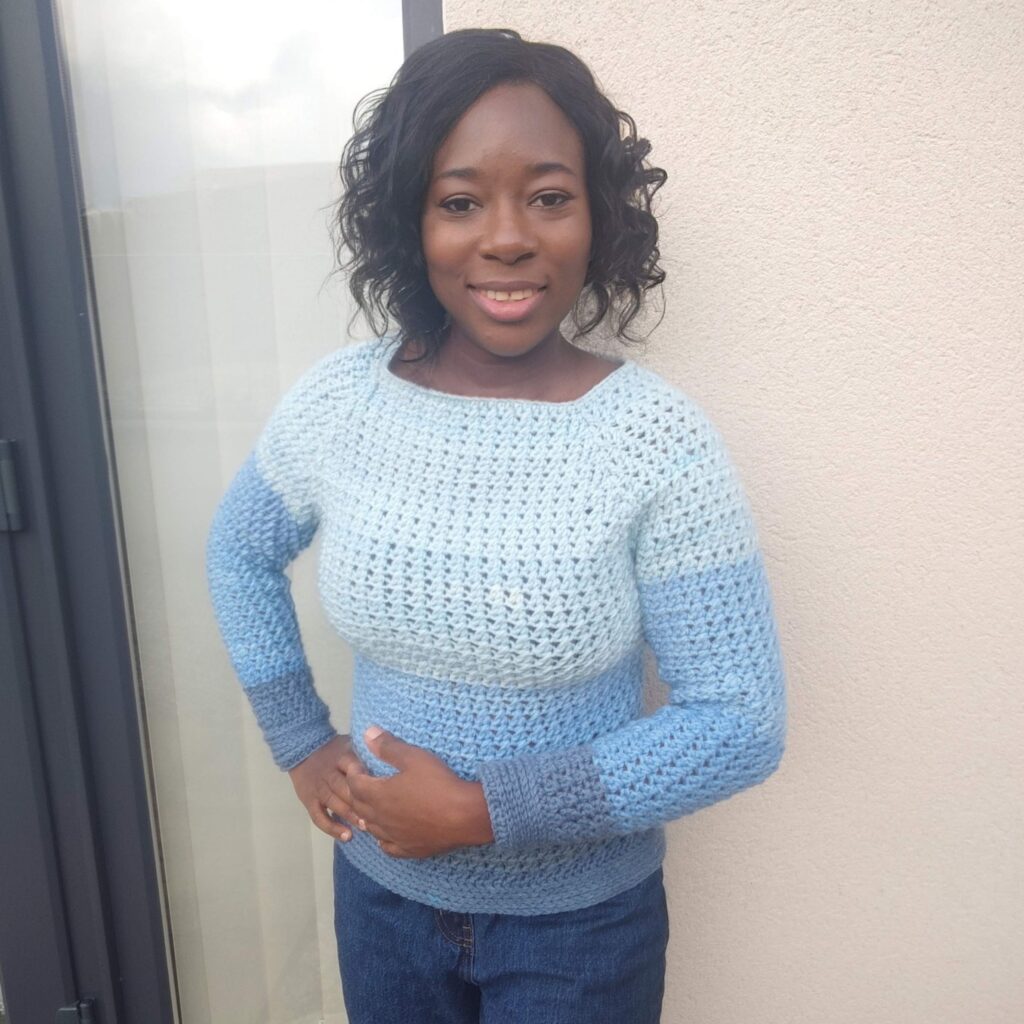
The Top-Down crochet sweater style is made just as the title says. You start your crochet sweater from the neckline with a chain wide enough to slip down your head. The sweater is then continued by adding a few stitches per round until it is wide enough to split for the sleeves, and then the body of the sweater is made.
The sleeves can then be made directly using the stitches left. This method is similar to the Reglan style, with some designers using the term interchangeably.
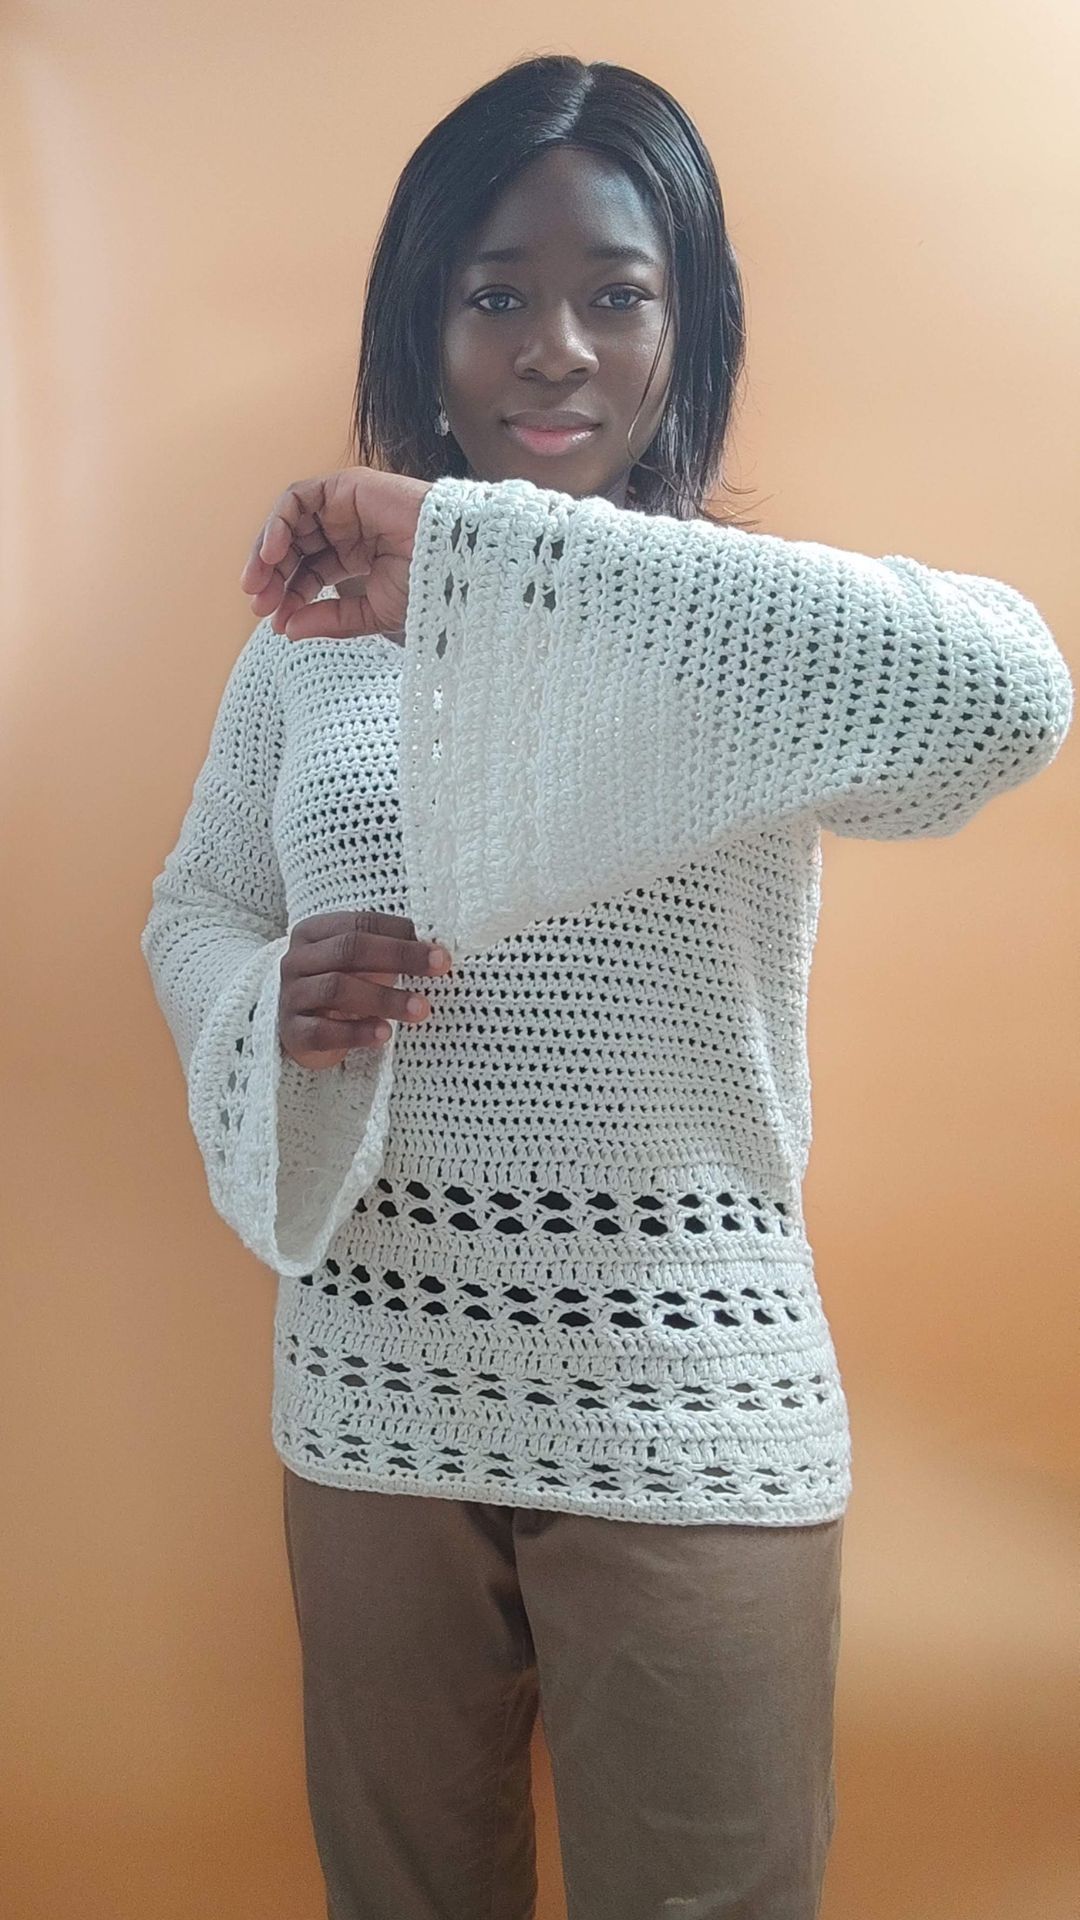
Set-in sleeves crochet sweater
This is a classic tailored-fit style of sweater. The front and back panels are made separately. With the armhole depth worked separately. The sweater is usually adjusted at various points for a perfect fit. Lilian’s flared sweater-free pattern is a good example.
What is the best yarn to crochet a sweater?
Choosing the best yarn to crochet a sweater with will depend on several factors, such as the pattern, your budget, your personal preferences, and the season of the year. Here are some of the very best yarns I have found to be the best for making my crochet sweaters.
The weight of the yarn is also important. Yarn weights range from fingering, sport, DK, Worsted, Chunky, and super bulky. A lightweight yarn is perfect for crocheting a sweater. Examples include – 24/7 cotton, Pound of Love, Brava Worsted, Wool of Andes Worsted Tweed, Lionbrand Coboo, and Comfy Cotton Blend yarn.
- Acrylic yarn: Acrylic yarn is a budget-friendly option and can be found in a wide range of colors and textures. It is machine washable and easy to care for, which makes it a practical choice for everyday wear. Examples of Acrylic yarns include – Pound of Love and Brava Worsted.
- Cotton yarn: Cotton yarn is breathable and lightweight, making it a great choice for warmer weather. It is also durable and easy to care for, making it a practical choice for everyday wear, especially in summer. Examples include – 24/7 cotton.
- Cotton Blend Yarn – Yarn in this category has a certain percentage of cotton alongside another composition. These yarns are perfect for all seasons. Examples include – Comfy Cotton Blend yarn.
- Merino yarn – Yarns with Merino fiber in them are so soft, luxurious, and warm. Projects made using Merino yarn are also washing machine-safe. The perfect weight for women’s garments, this versatile yarn comes in multiple colors to pick from. Here are some squishy examples of Merino yarn.
Choosing the crochet stitch perfect for your crochet sweater
The beauty of a crochet sweater is in the yarn, stitch, and technique used in making the sweater. Picking the right crochet stitch can be tricky. Going with the simple crochet stitches that also work up pretty quickly is the key for a beginner.
Stitches like Half Double Crochet, and Double Crochet are perfect as they are simple to master and work up pretty quickly. These stitches can be combined or used independently.
Crochet sweaters to practice your skills.
Batwing crochet sweater pattern
Beginner-friendly crochet sweater
Pro Tips to Help You Crochet Your Next Sweater
Making a crochet sweater with the perfect fit, and one that provides warmth with the perfect drape should be fun! Here are a few tips for getting a crochet sweater you would love forever.
- Choose a simple pattern: As a beginner, it’s important to choose a sweater pattern that is simple and easy to follow. Look for patterns with minimal shaping and simple stitch patterns.
- Use the right yarn and hook.
- Use simple crochet stitches.
- Do not forget to make a gauge – This would save you time and prevent so much stress.
- Take a photo of your project with the hook and yarn label clearly shown. This helps remind you of the hook size, brand, and lot color of the yarn. Most times, we end up doing multiple projects at the same time and might forget the accessory details. Alternatively, you could use a project tracker to record the details of your project.
- Block your finished projects.
- Weave in your ends – This prevents your projects from unraveling and makes them look professional.
Congratulations! You’ve now learned how to crochet a sweater. With practice and patience, you’ll soon be able to create all sorts of beautiful and functional items with crochet. Good luck.