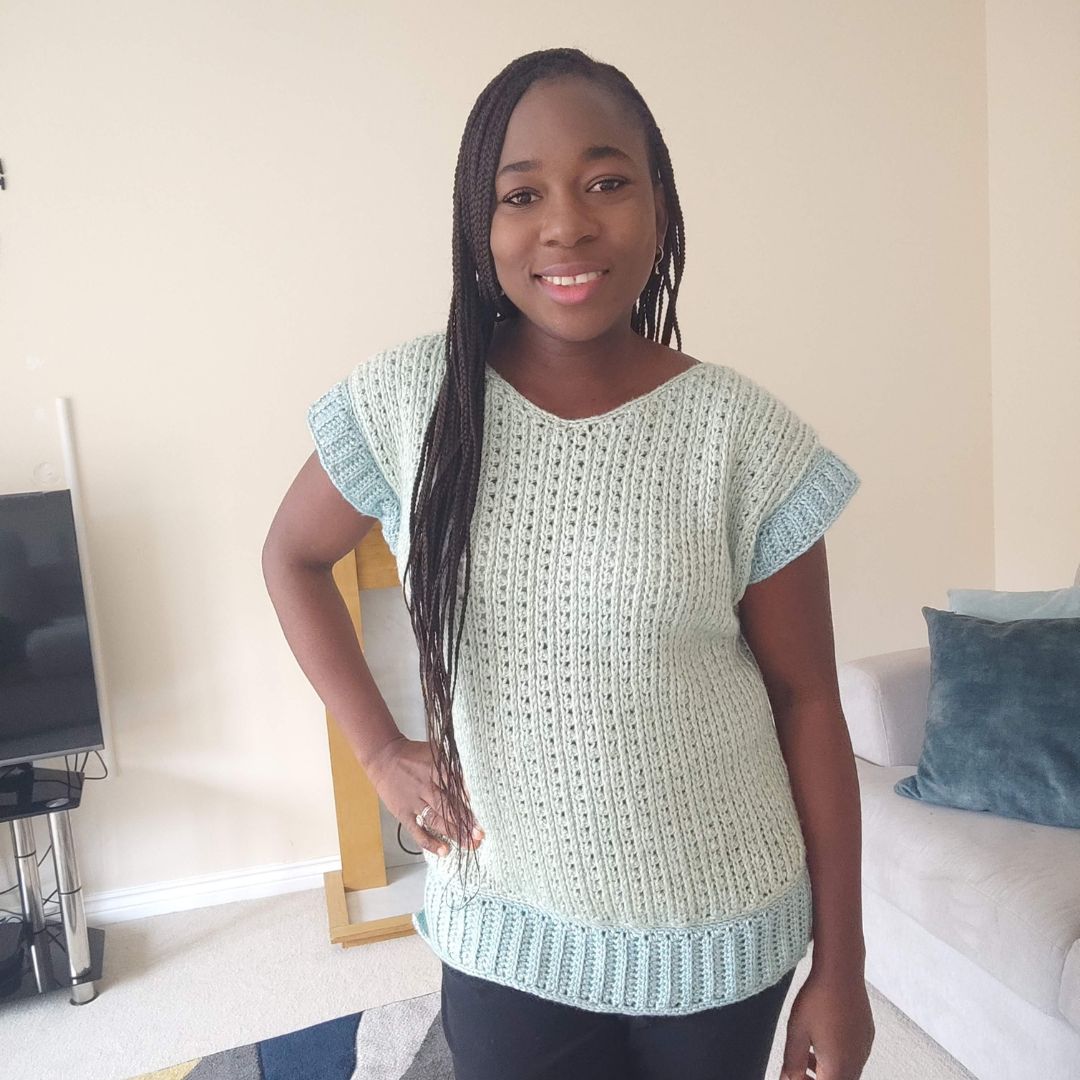
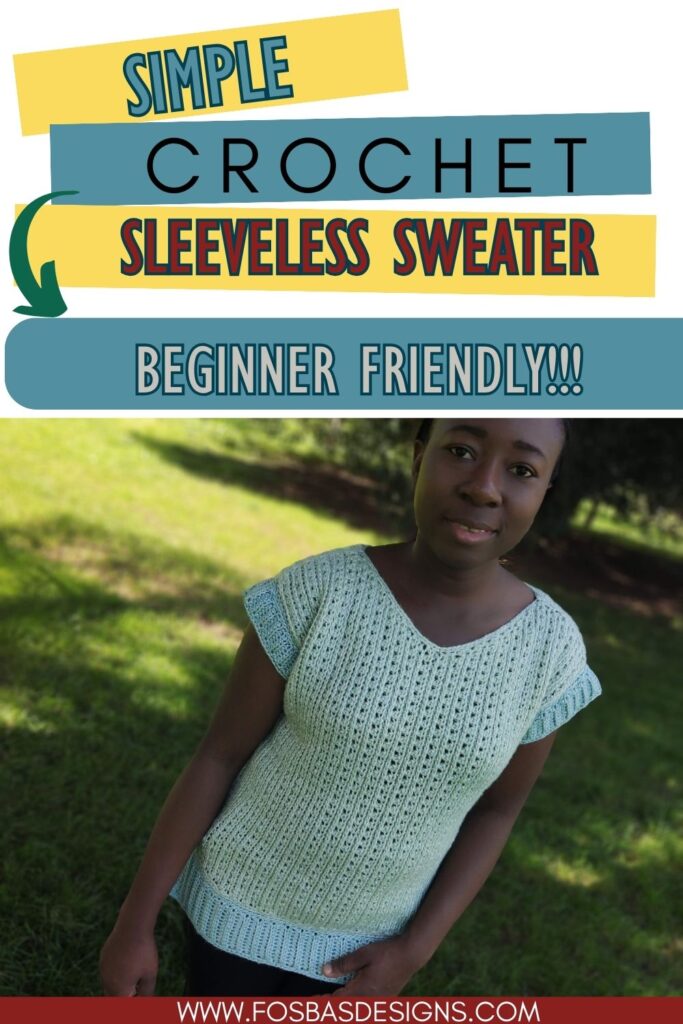
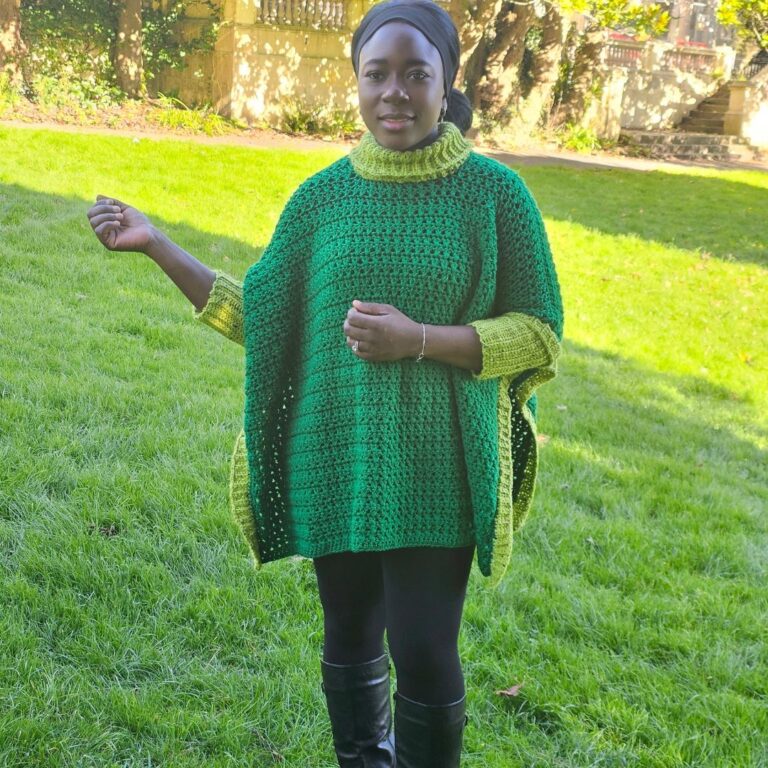
JAPANDI Crochet Sleeveless Sweater Pattern
The Japandi Crochet Sleeveless Sweater Pattern is a fun project made flat-sideways with identical panels. I love the texture in this project and hope you do, too.


Crochet Sleeveless Sweater Pattern Inspiration
I have named this sleeveless sweater the Japandi sweater after the series I designed with the same stitch combination.
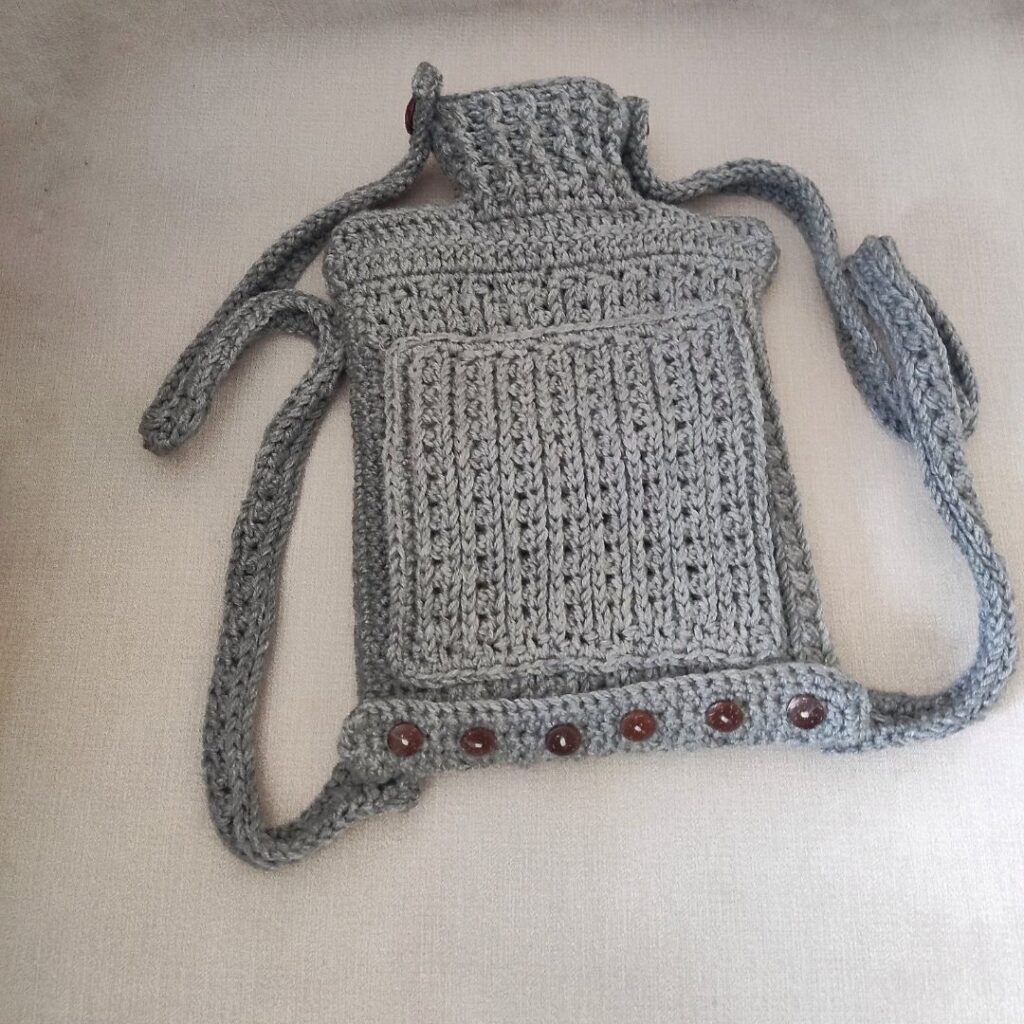
Pocket crochet hot water bottle cover
Finished Measurement
Size(s) and color codes – XS (S, M, L, XL, 2XL, 3XL, 4XL, 5XL)
Bust Measurement: 30 (34, 38, 42, 46, 50, 54, 58, 62)”
Armhole Circumference: 14 (16, 16, 18, 18, 22, 22, 22, 22)”
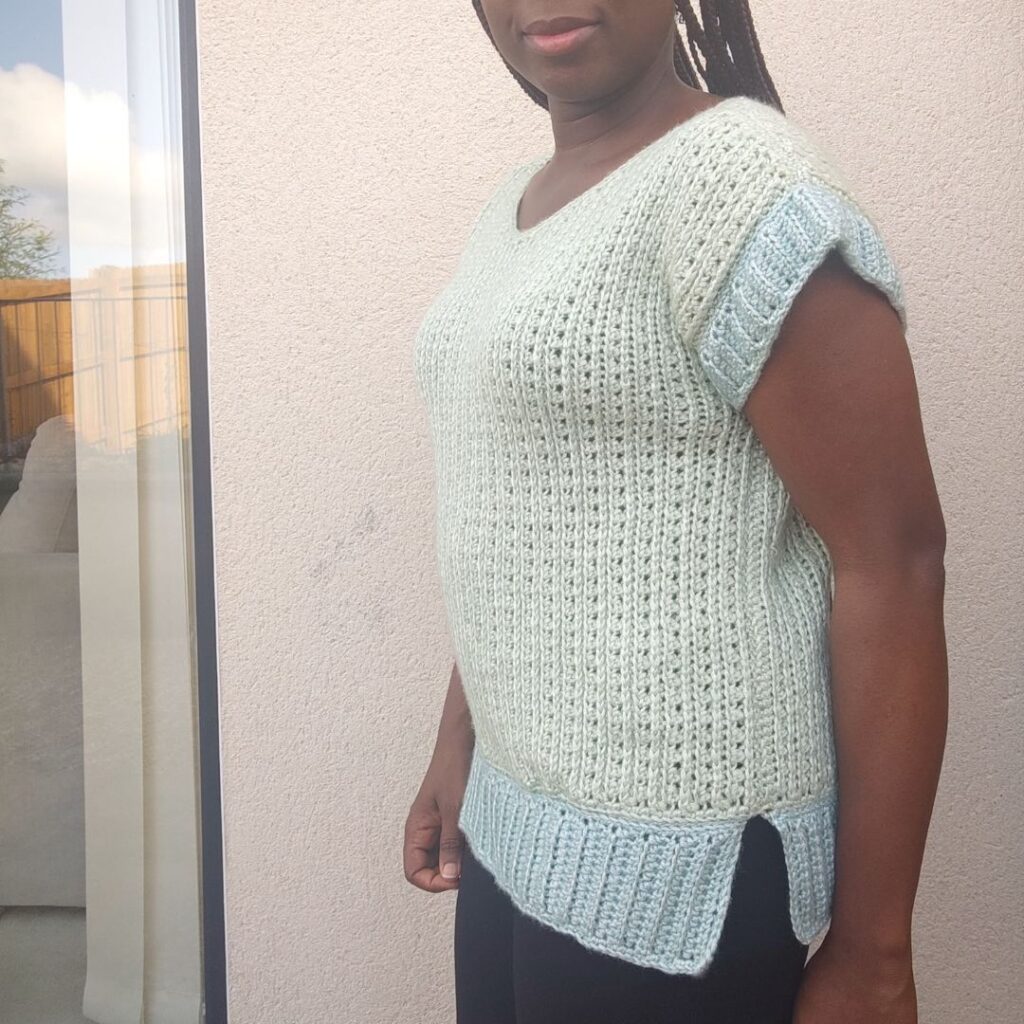
Length of Sweater: 23”
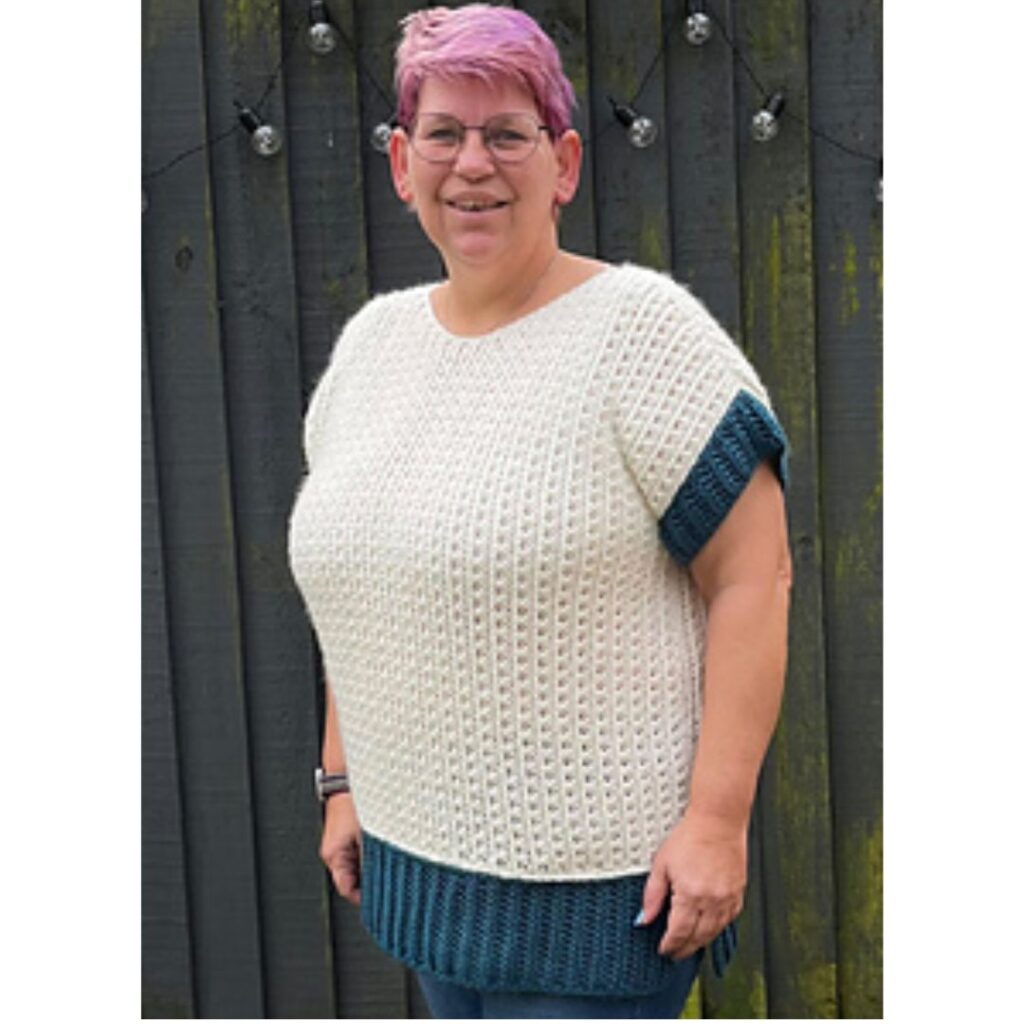
The modeled garment is shown in M, with about 2” Positive Ease.
Materials For Crochet Sleeveless Sweater Pattern
Yarn – You can make this sleeveless crochet sweater with any worsted-weight yarn in colors of your choice. This prototype was made using Hobbi Pearly Haze, #4 (73% viscose, 27%wool, 110 m (120 yds) per 1.75oz/50g Cake)
Estimated Total Yardage
1300 (1400, 1500, 1600, 1700, 1800, 1900, 2000, 2100) Yards in color A
200 (320, 340, 360, 380, 400, 420, 440, 460) Yards in color B
Hook
6 mm Crochet Hook
Gauge – 16 sts over 10 Rows = 4” across, made using the stitch pattern before blocking.
Adjust hook size, if necessary, to obtain gauge.
Terms – US Terminology

Crochet Sleeveless Sweater Pattern Notes
1. Please kindly read through the pattern before starting.
2. The chain at the beginning of the row does not count as a stitch, except when stated.
2. Stitch count written in black is for all sizes, but at some points, the stitch counts are color-coded for clarity, i.e., XS (S, M, L, XL, 2XL, 3XL, 4XL, 5XL)
How to make a side-to-side crochet sweater
This sweater is worked flat in rows. You need two panels to make the front and back panels.
After this, these are joined together, and the trims are made. After the first few rows, the next rows have some reductions to create the neckline on one side.
The other side has rows with increases until you get back to the same number you started with.
Stitches Abbreviations
ch – chain
st – stitch
rep – repeat
sp – space
BLO – Back loop only
First loop
Front 3rd loop
Hdc – Half double crochet
Xhdc – Crossed half double crochet
hdc2tog – half double crochet 2 stitches together.
Special stitch
Xhdc – Crossed hdc – skip next st, hdc in next st, crocheting over the hdc just made, work hdc into the skipped st
Front 3rd Loop – This is the loop below the front loop. Crochet into this stitch pushes the loops to the other side, creating beautiful braids.
How to make this Crochet Sleeveless Sweater
Section 1: Front and Back panel
Make 2
With A, chain 80
Row 1: Hdc in 3rd ch from hook and in each ch across, turn. 78 hdc
Row 2: Ch 2, in both loop, hdc in first st, in front 3rd loop, xhdc across until the last st, in both loop, hdc in last st, turn. 2 hdc, 38 xhdc
Row 3: Ch 2, in both loops, hdc in first st, in BLO, hdc in each st around until the last st, hdc in last st, turn. 78 hdc
Row 4 – 9 (11, 13, 15, 17, 19, 21, 23, 25):
Rep Rows 2 – 3.
Continue the repeats until your piece measures 3.5 (4.5, 4.5, 5.5, 6.5, 7.5, 8.6, 9.5, 10.5)”
Shape Neckline
Row 1: Ch 2, in both loops, hdc in first st, in front 3rd loop, hdc2tog, xhdc across until the last st, in both loops, hdc, turn. 3 hdc, 37 xhdc
Row 2: Ch 2, in both loops, hdc in first st, in BLO, hdc in each st around until the last 3 sts, hdc2tog, hdc in last st, turn. 76 hdc
Row 3: Ch 2, in both loops, hdc in first st, in front 3rd loop, hdc2tog, xhdc across until the last st, in both loop, hdc in last st, turn. 3 hdc, 36 xhdc
Row 4: Ch 2, in both loops, hdc in first st, BLO, hdc in each st around until the last 3 sts, hdc2tog, hdc in last st, turn. 74 hdc
Row 5 – 8 (10, 12, 12, 12, 12, 12, 12, 12) Rep rows 3 – 4
Stitch count after Row 8 (10, 12, 12, 12, 12, 12, 12, 12) = 70 (68, 66, 66, 66, 66, 66, 66, 66) hdc
Stop decreasing
Row 1: Ch 2, in both loops, hdc in first st, in front 3rd loop, xhdc across until the last st, in both loop, hdc in last st, turn. 70 (68, 66, 66, 66, 66, 66, 66, 66) hdc
Row 2: Ch 2, in both loops, hdc in first st, BLO, hdc in each st around until the last st, hdc in last st, turn. 2 hdc, 34 (33, 32, 32, 32, 32, 32, 32, 32) xhdc
Rows 3: Repeat rows 1
Start Increasing
Row 1: Ch 2, in both loop, hdc in first st, in front 3rd loop, 2 hdc in next st, xhdc across until the last 2 sts, hdc in next st, in both loop, hdc in last st, turn. 71 (69, 67, 67, 67, 67, 67, 67, 66) hdc
Row 2: In both loop, hdc in first st, in BLO, hdc in each st around until the last 2 sts, 2 hdc in next st, hdc in last st, turn. 67 82 hdc
Row 3 – 8 (10, 12, 12, 12, 12, 12, 12, 12) Rep rows 1 and 2
Stitch count after Row 8 (10, 12, 12, 12, 12, 12, 12, 12) = 78 hdc
Stop increasing
Row 1 Ch 2, in both loop, hdc in first st, in front 3rd loop, xhdc across until the last st, in both loop, hdc in last st, turn. 2 hdc, 38 xhdc
Row 2: Ch 2, in both loops, hdc in first st, in BLO, hdc in each st around until the last st, hdc in last st, turn. 78 hdc
Row 3 – 9 (11, 13, 15, 17, 19, 21, 23, 25):
Rep Rows 2 – 3.
Continue the repeats until your piece measures 3.5 (4.5, 4.5, 5.5, 6.5, 7.5, 8.6, 9.5, 10.5)” This should be the same number of rows as with the beginning.
Edging
- Crocheting across the edges
- First, across the shoulder and neckline
- Next, across the lower (waist) portion of the sweater.
Row 1: Ch 1, sc evenly in each st across.
Fasten off
Trims
Sweater lower trims
Make two
With B
Chain 16
Row 1: Hdc in 3rd ch and in each ch across, turn. 14 hdc
Row 2: Ch 1. In BLO, hdc in each st across, turn
Rep Row 2 until you have 15 (17, 19, 21, 23, 25, 27, 29, 31)”
Do not fasten off.
Edging
Ch 1, sc evenly in each st around, aim for ch sc at each corner, join with a sl st to the beginning chain.
Sweater Sleeve trims
Make two
With B
Chian 16
Row 1: Hdc in 3rd ch and in each ch across, turn. 14 hdc
Row 2: Ch 1. In BLO, hdc in each st across, turn
Rep Row 2 until you have 14 (16, 16, 18, 18, 22, 22, 22, 22)”
Increase or decrease the number od repeats for a comfortable sleeve opening.
Edging
Ch 1, sc evenly in each st around, aim for ch sc at each corner, join with a sl st to the beginning chain.
Finishing
Shoulder seam(s)
Turn both panels made in section 1 to the wrong side.
- Place the front panel over the back panel.
- Join yarn with a slip stitch to the edge.
- Ch 1, sc over both panels
- Fasten off, and repeat on the other side.
Sleeves
- With the front panel over the back panel, measure 7 (8, 8, 9, 9, 11, 11, 11, 11)” from the shoulder tip towards the lower hem.
- Place stitch markers – one on the front panel, one on the back panel. This should give 14 (16, 16, 18, 18, 22, 22, 22, 22)” when you open up the bodice.
Join the Trims to the sweater
Turn the sweater to the wrong side, with a sl st, and sew the trim to the sweater’s lower end.
- Repeat on the other side.
Side seam(s)
- With the wrong side facing you, sew the sides of the front and back panels together.
- Fasten off.
- Repeat on the other side.
- Weave in all ends.
- Block to measurement.
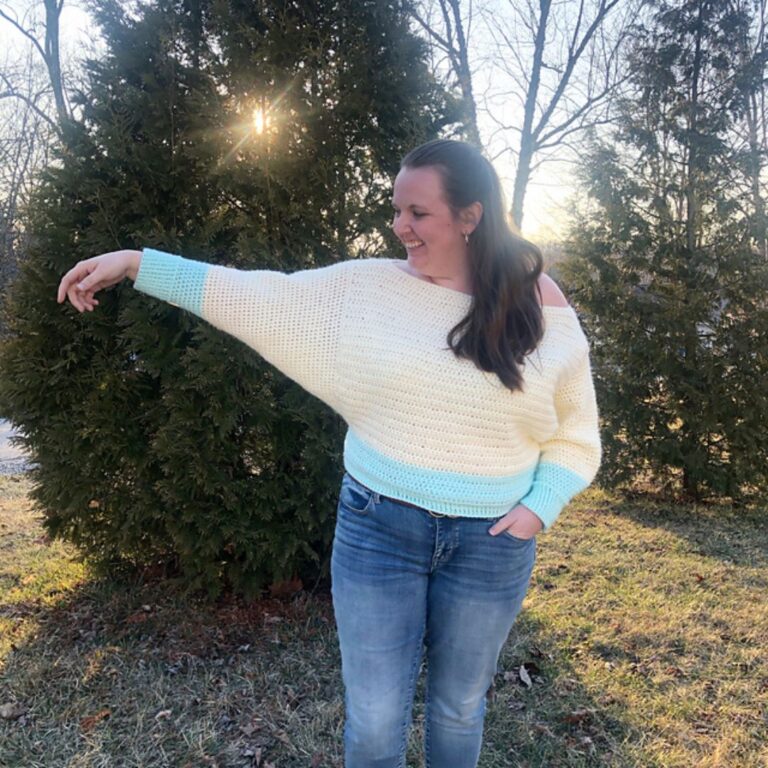
More crochet sweater patterns to check out on the blog
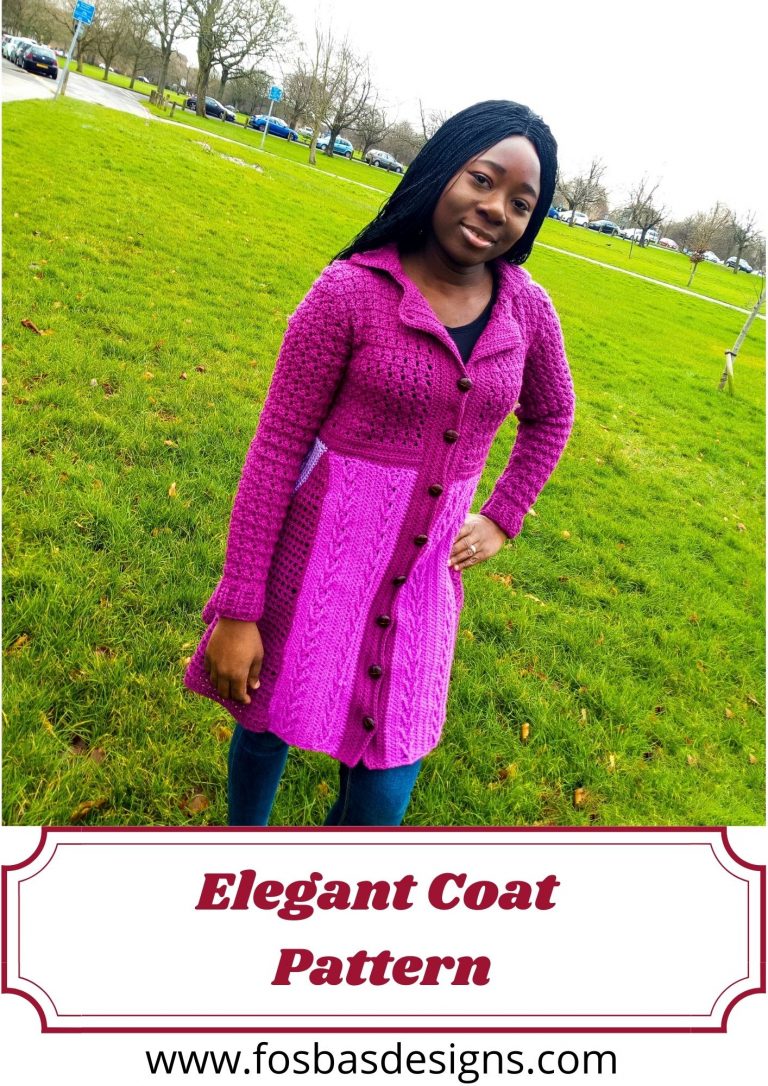
Any weight will do crochet cardi
About the Designer
Say Hi on Instagram and Subscribe To my email List for pattern discounts and freebies. For questions, send such to [email protected]. Read more about me here.

Is there any reason to not start with a row of foundation HDC instead of a chain and then HDC row?
I have more luck with foundation chains than with long chains.
No reason at all. It just Old habit takes a long time to get over. You can start with a foundation HDC row.