Slouchy crochet beanie free pattern
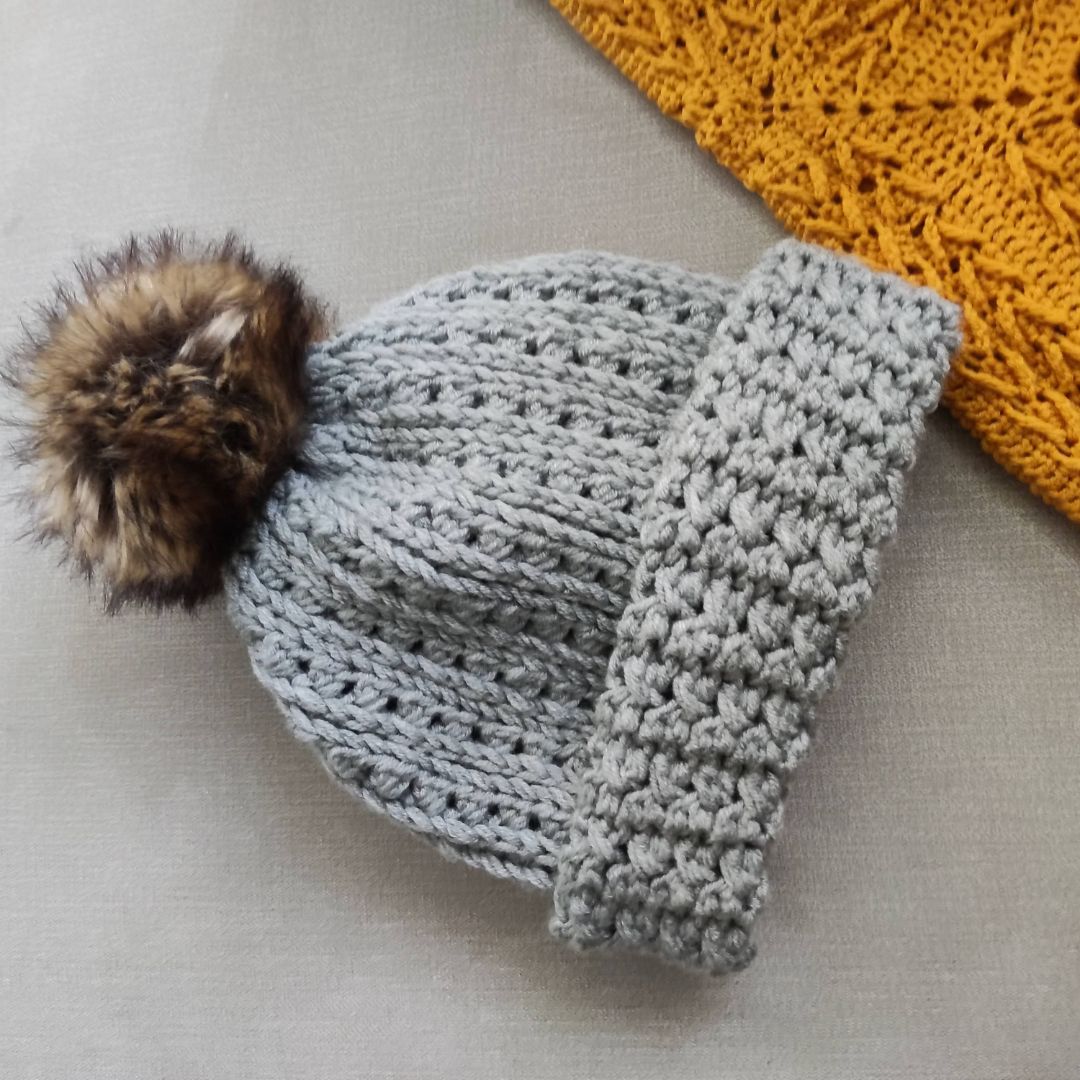
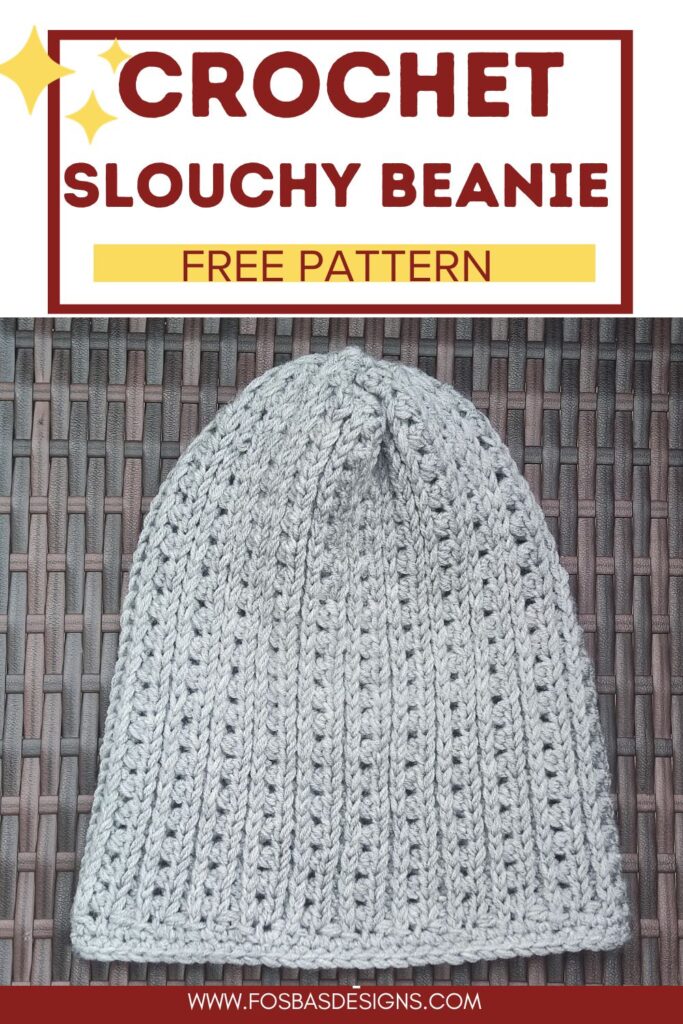
Let’s make a slouchy beanie for winter! Excited to share my slouchy crochet beanie free pattern with you all. You will like this pattern as its beautiful texture and stretch perfectly fit it.
I love making and designing crochet beanies that fit and are easily customized. This slouchy beanie has a simple repeat of the basic rows, making it a project that can be completed without looking at the pattern throughout.
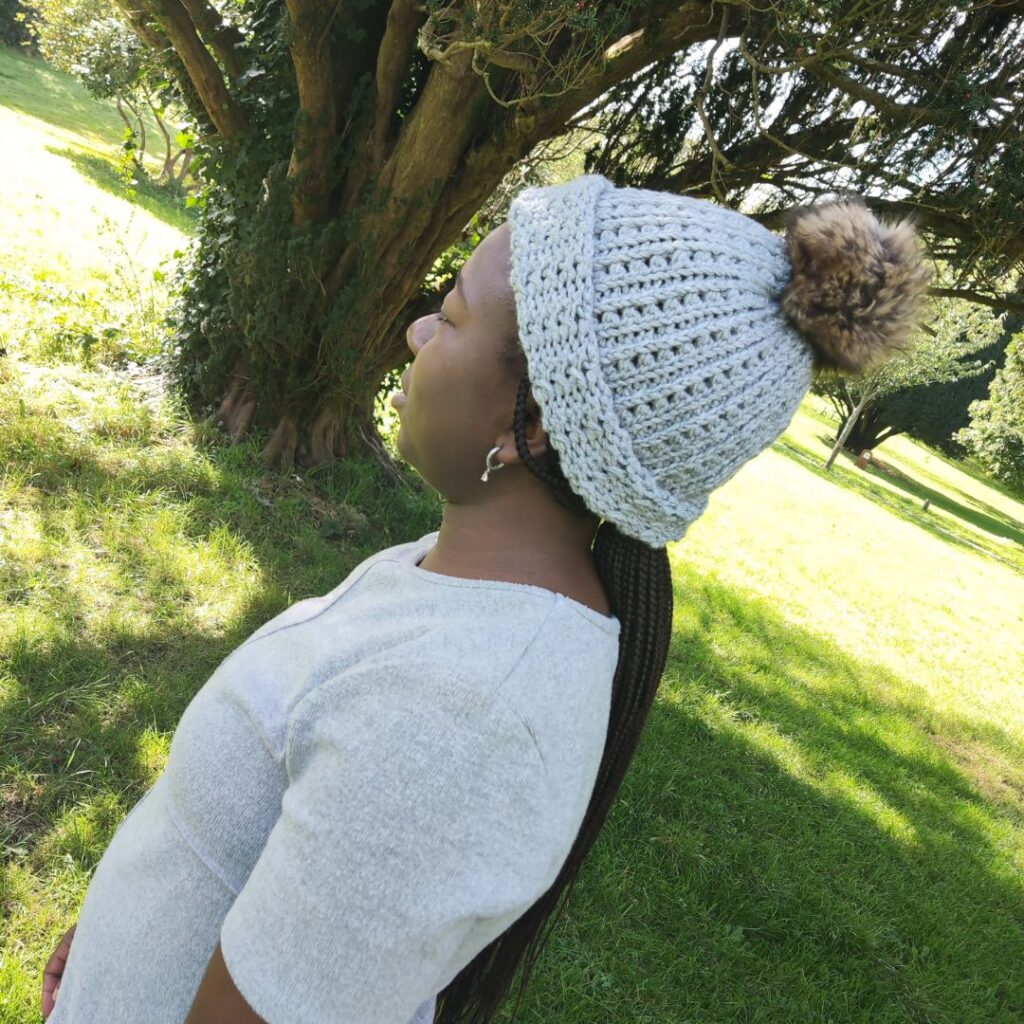
Finished Measurement for this Slouchy crochet beanie-free pattern
Sizes – Infant ( Toddler, Child, Teen/Adult Small, Adult large)
Size | Head Circumference | Height |
| Infant | 17” | 7” |
| Toddler | 18” | 8” |
| Child | 20” | 9” |
| Teen/Adult Small | 22” | 9.5” |
| Adult Large | 23” | 11.5” |
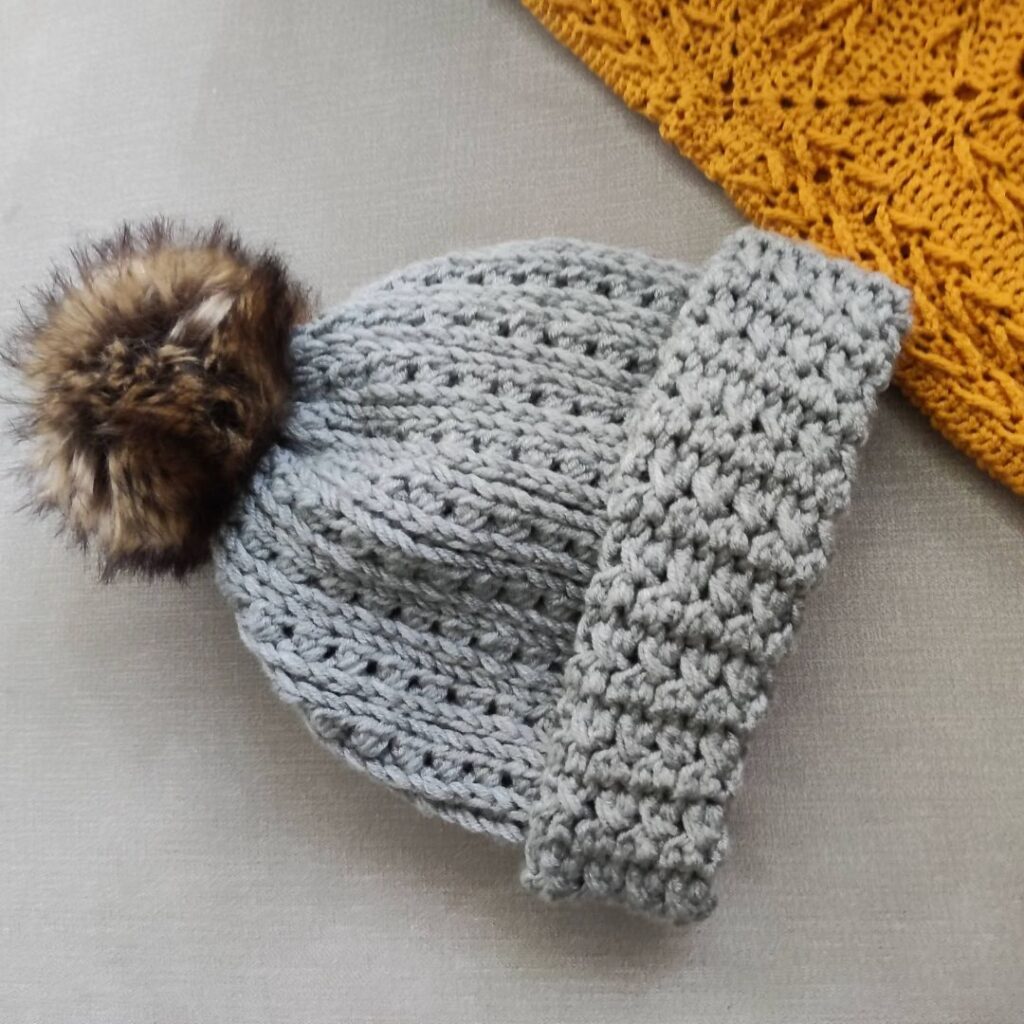
Supplies for this cute slouchy crochet beanie
Yarn
Stylecraft Special Aran, (#4, 100% Acrylic, 196 m per 3.5 oz/100g Ball
Estimated Yardage
120 (160, 200, 240, 280) yards
Hook and other Materials
6 mm Crochet Hook
Gauge
15 sts over 10 Rows = 4” across, made using the stitch pattern, before blocking.
Adjust hook size, if necessary, to obtain gauge.
Japandi Slouchy Beanie Pattern Notes
- Please kindly read through the pattern before starting.
- Any other #4 weight yarn can be substituted.
Difficulty Level – Intermediate
Terms – US Terminology
Stitches Abbreviations
Chain/chains – ch/chs
Half double crochet – hdc
Crossed half double crochet – xhdc
Back loop only – BLO
Special stitch
Xhdc – Crossed hdc – skip next st, hdc in next st, crocheting over the hdc just made, work hdc into the skipped st
Front Third Loop – This is the loop below the front loop. Crochet into this stitch pushes the loops to the other side and creates beautiful braids.
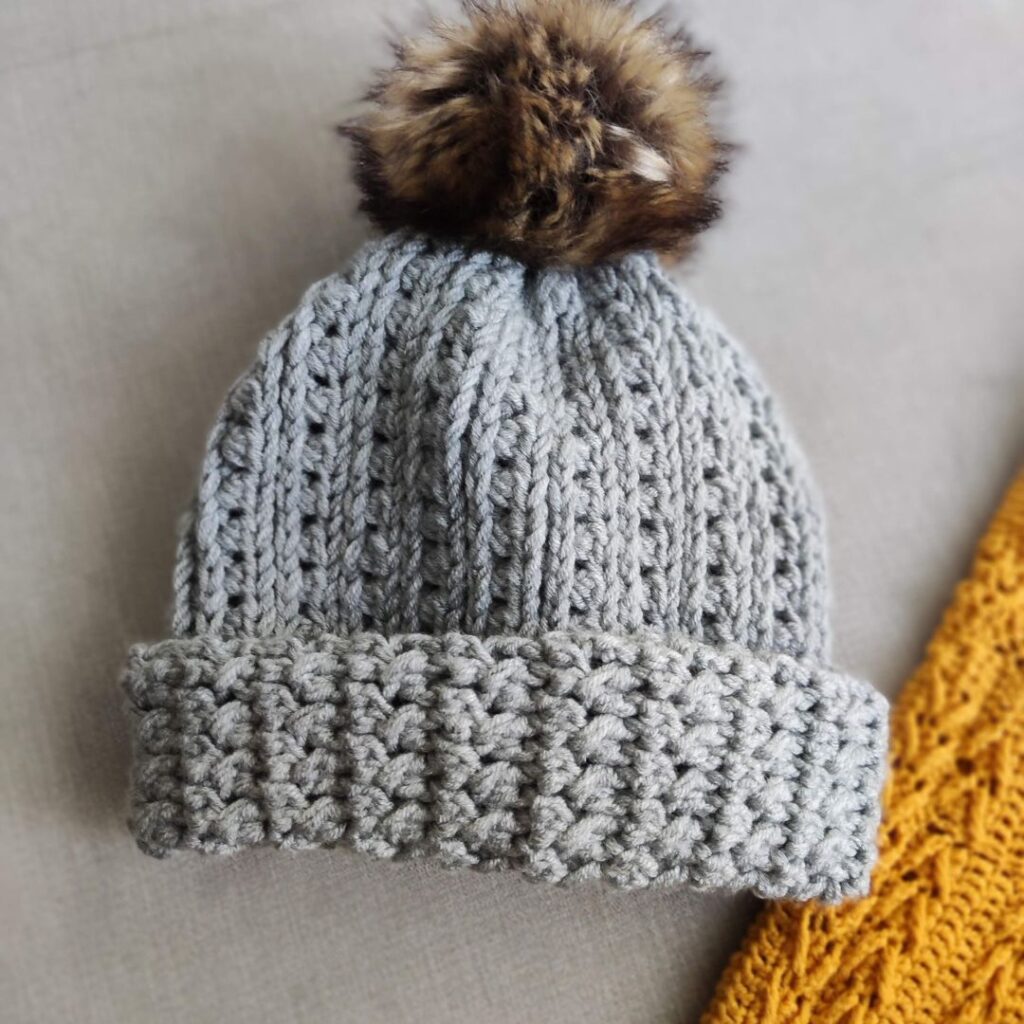
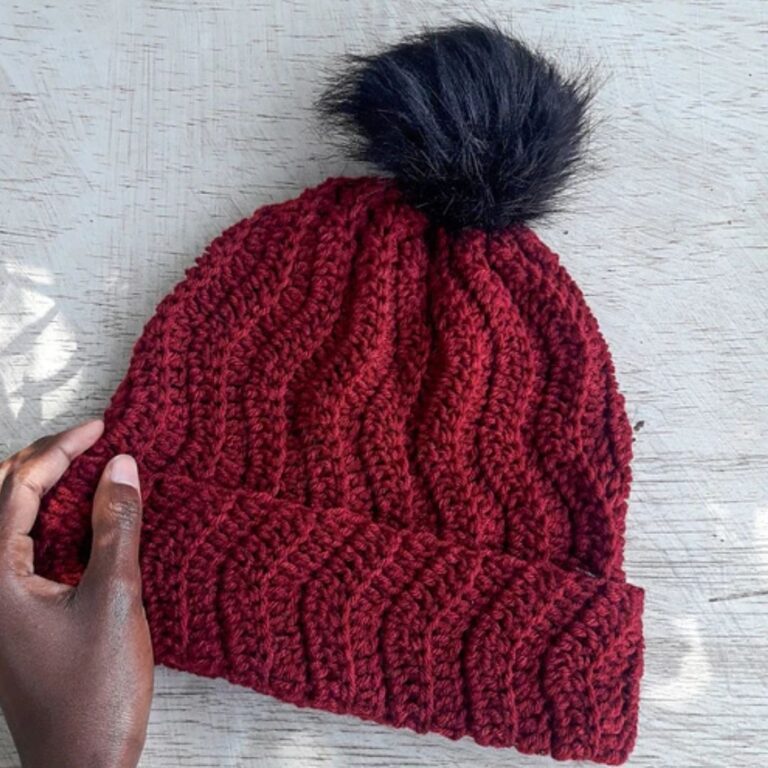
As part of the handmade wardrobe event, this crochet beanie is featured today! You can get the pattern at a 50% Discount today only! Get the code here


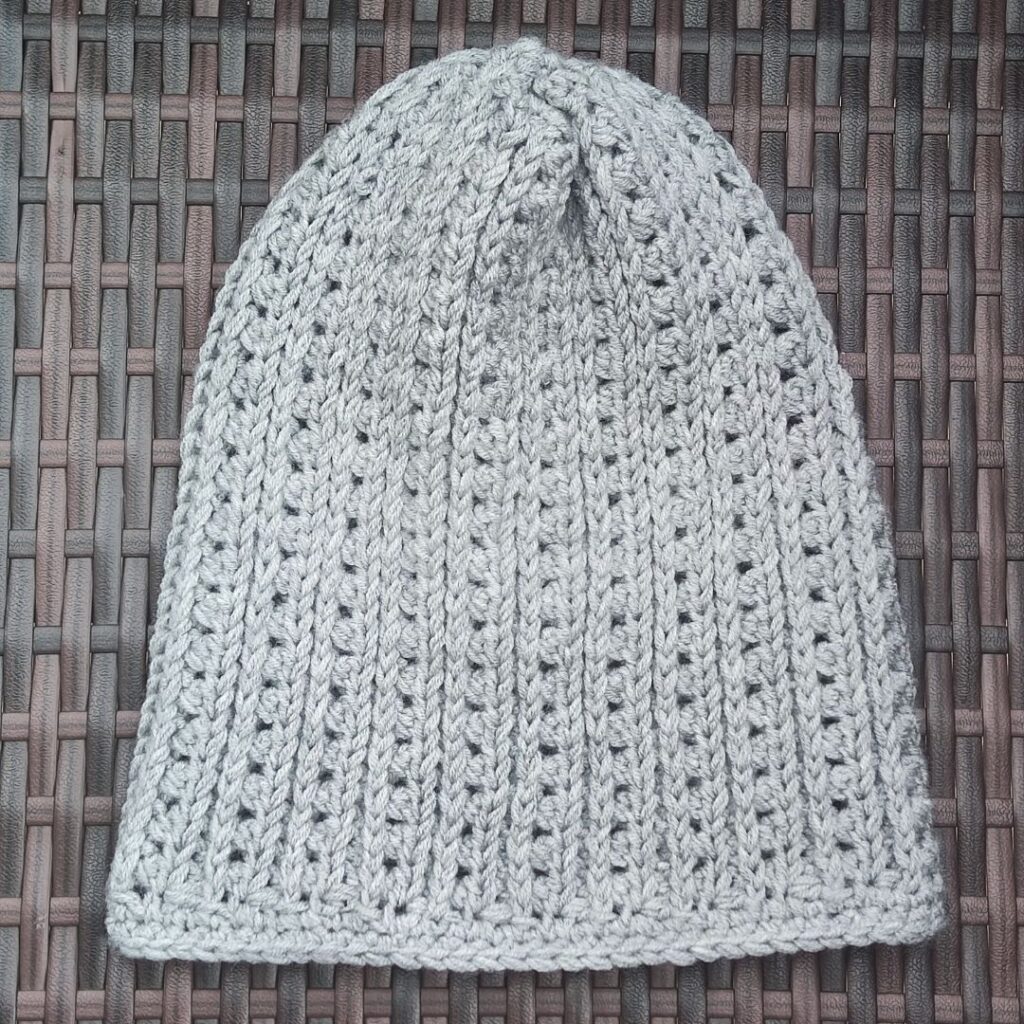
How to crochet a Slouchy crochet beanie
Body
Chain 26 (30, 34, 38, 42)
Row 1: Hdc in 3rd ch from hook and in each ch across, turn. 24 (28, 32, 36, 40) hdc
Row 2: Ch 2, In both loops, hdc in first st, in front 3rd loop, xhdc across until the last st, in both loop, hdc, turn. 2 hdc, 11 (13, 15, 17, 19) xhdc
Row 3:Ch 2, In both loop, hdc in the first st, in back loop, hdc in each st around until the last st, hdc in last st, turn. 24 (28, 32, 36, 40) hdc
Rows 4 – 31 (35, 39, 43, 47): Repeat Rows 2 and 3
Measure your piece, and continue the repeats until you get 14 (15, 16, 18, 20)”
Reduce or increase the repeats until you have a good wrap around your model’s head.
Note that the panel will stretch.
Do not fasten off.
Side seam
- Fold the last row lengthwise.
- With the wrong side facing you and the last row next to the foundation row.
Using a darning needle or hook, slst through the back loop of both sides for a smooth joining.
Crown
Continue on the short edges; opening this will be the crown.
Row 1: Ch 1, sc evenly across the edges.
Leave about 10” of yarn and fasten off.
With a darning needle, sew loosely the the opening of the beanie.
Gently pull the yarn/thread to pinch the crown close.
Secure tightly.
Weave in ends.
Brim
Join yarn with a sl st to the other short edge.
Row 1: Ch 1, sc evenly across the edges.
Leave a long tail of yarn for sewing – cut yarn
Turn your beanie to the wrong side
Sew the remaining sts close.
Brim
Turn to the right side
Join yarn with a sl st to the edge that would become the brim.
Row 1: Ch 1, sc in first st, sc evenly across each st.
Fasten off
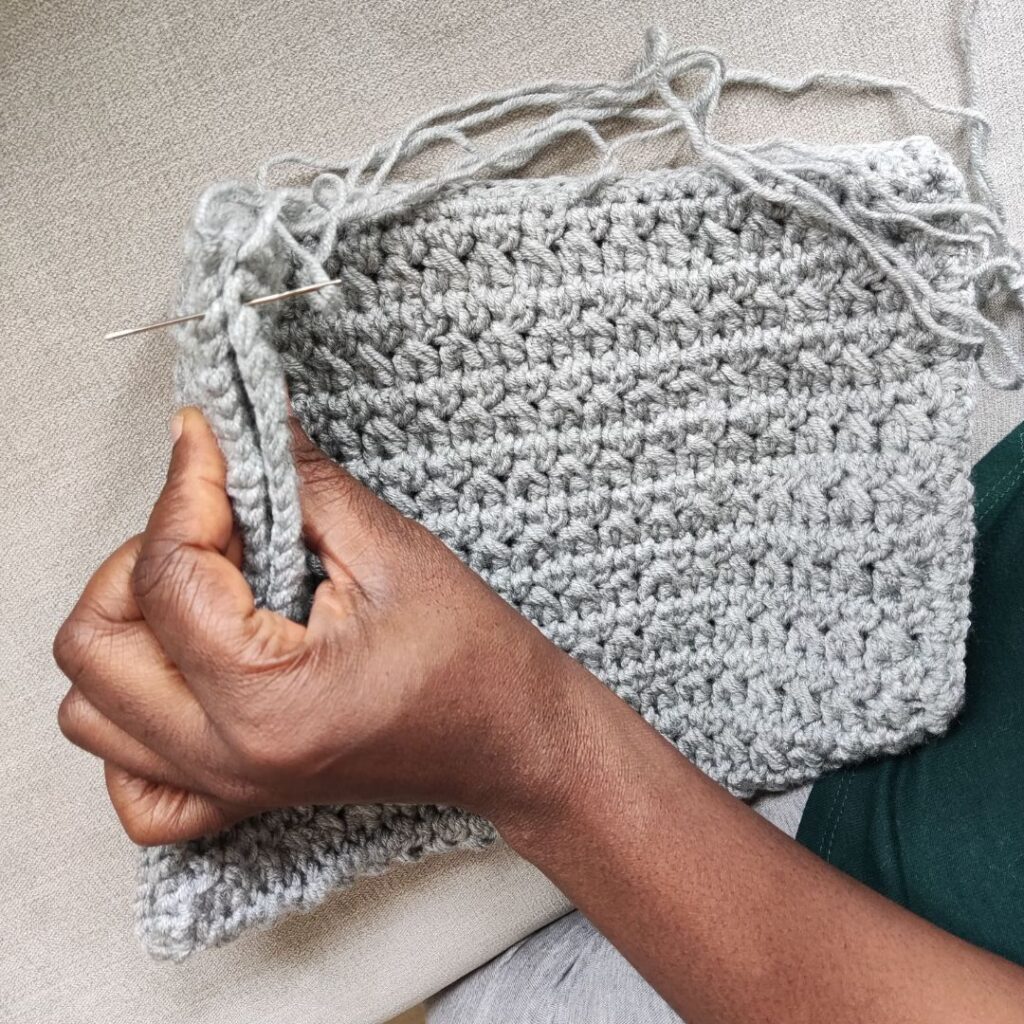
Sew the sides together.
Fasten off.
Optional – Sew pom.
There you have your slouchy crochet beanie. I will love to see your version made from this free pattern.

