Crochet hot water bottle cover pattern
I love the amount of insulation and heat retention added by the crochet hot water bottle cover! But the fact that I can keep my hands warm is even more fun. The hot water bottle cover can turn a functional item into a decorative piece that complements your home decor.
About the Crochet hot water bottle cover pattern
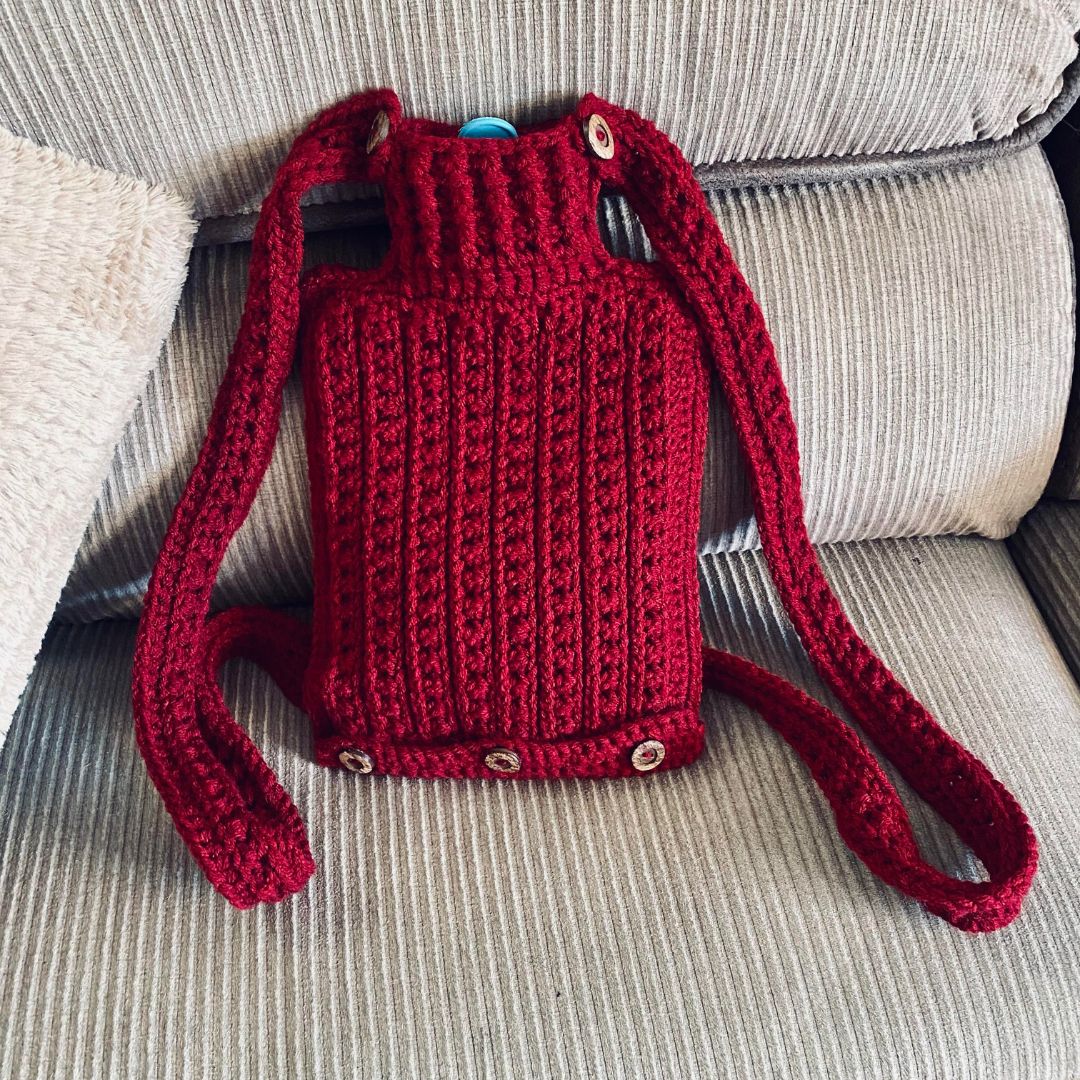
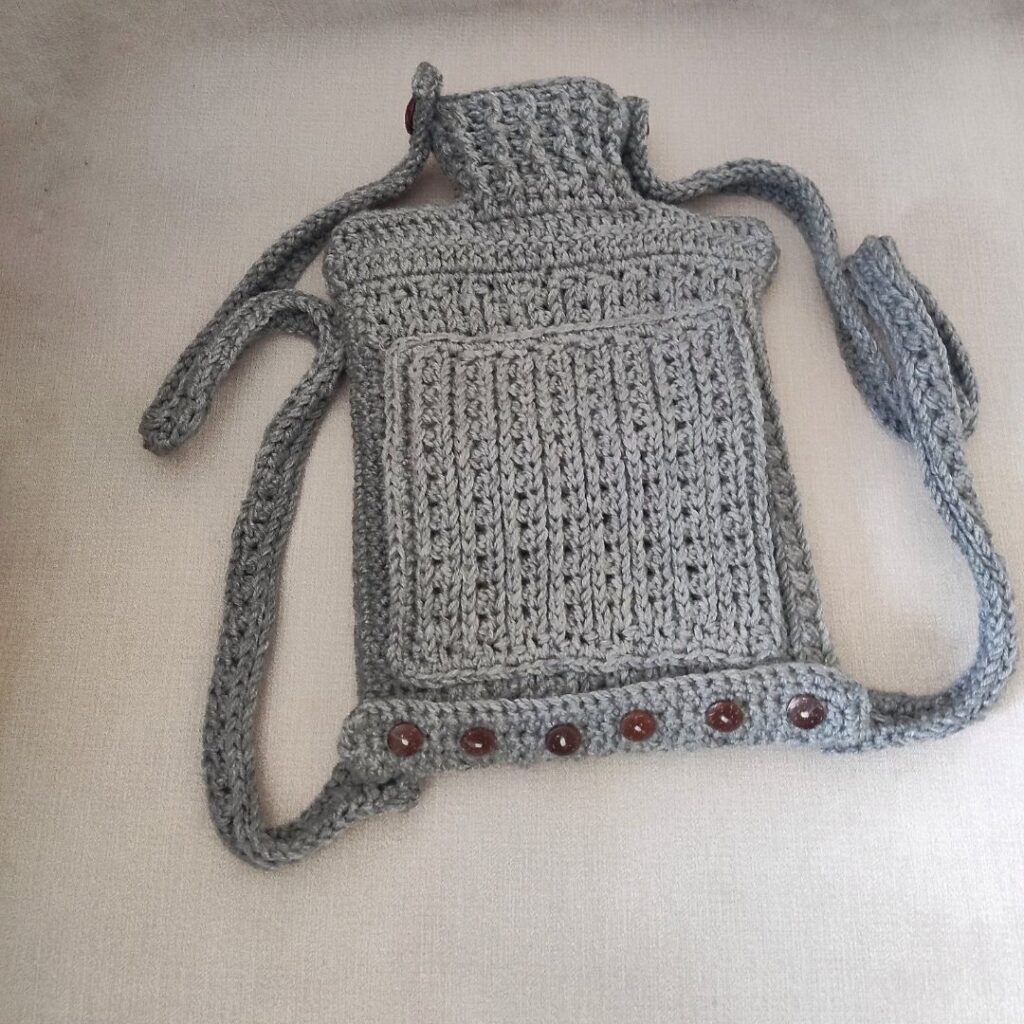
With the amount of comfort and protection from the hot water bottle cover, it prevents burns. I added some personalizations to this project. These include a pocket and the removable straps!
You can customize this hot water bottle cover to fit yours. I have made this easy by providing you with how to go about this in the free pattern below.
Also, this crochet project is Eco-friendly, durable, and washable.
This crocheted hot water bottle cover can be a thoughtful and personalized gift, especially during colder months.
In summary, crocheting a cover for a hot water bottle is not only about adding a personal touch but also about enhancing the functionality, safety, and aesthetic appeal of a common household item. It’s a practical, creative, and enjoyable project for both beginner and experienced crafters.
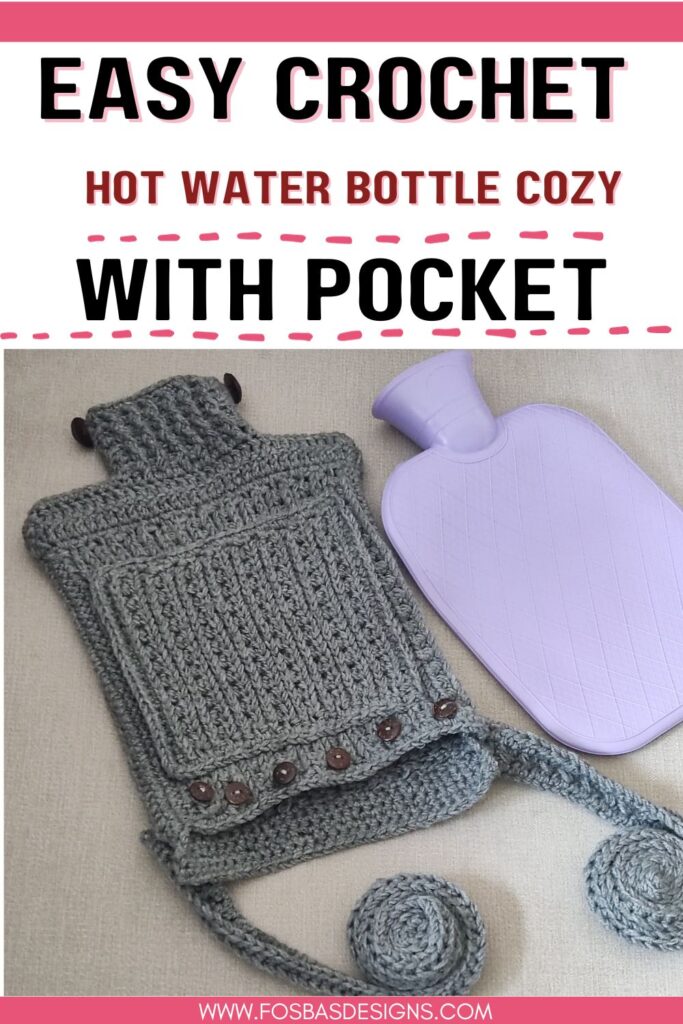
Supplies for this crochet hot water bottle cover
Yarn – You can use any worsted weight yarn, #4, in colors of your choice.
Prototype was made usign Stylecraft Special Aran
Estimated Yardage – 380 yards
Crochet Hook – 6 mm Crochet Hook
Buttons – 6 – 10 pcs
Gauge
14 sts over 10 Rows = 4” across, made using the pattern below, before blocking.
Chain 16
Row 1: Hdc in 3rd ch from hook and in each ch across, turn. 14 hdc
Row 2: Ch 2, In both loops, hdc in first st, in front 3rd loop, xhdc across until the last st, in both loops: hdc, turn. 2 hdc, 6 xhdc
Row 3: Ch 2, In both loops, hdc in the first st, in back loop, hdc in each st around until the last st, in both loops, hdc in last st, turn. 14 hdc
Rows 4 – 10: Repeat Rows 2 and 3
Adjust hook size, if necessary, to obtain gauge.
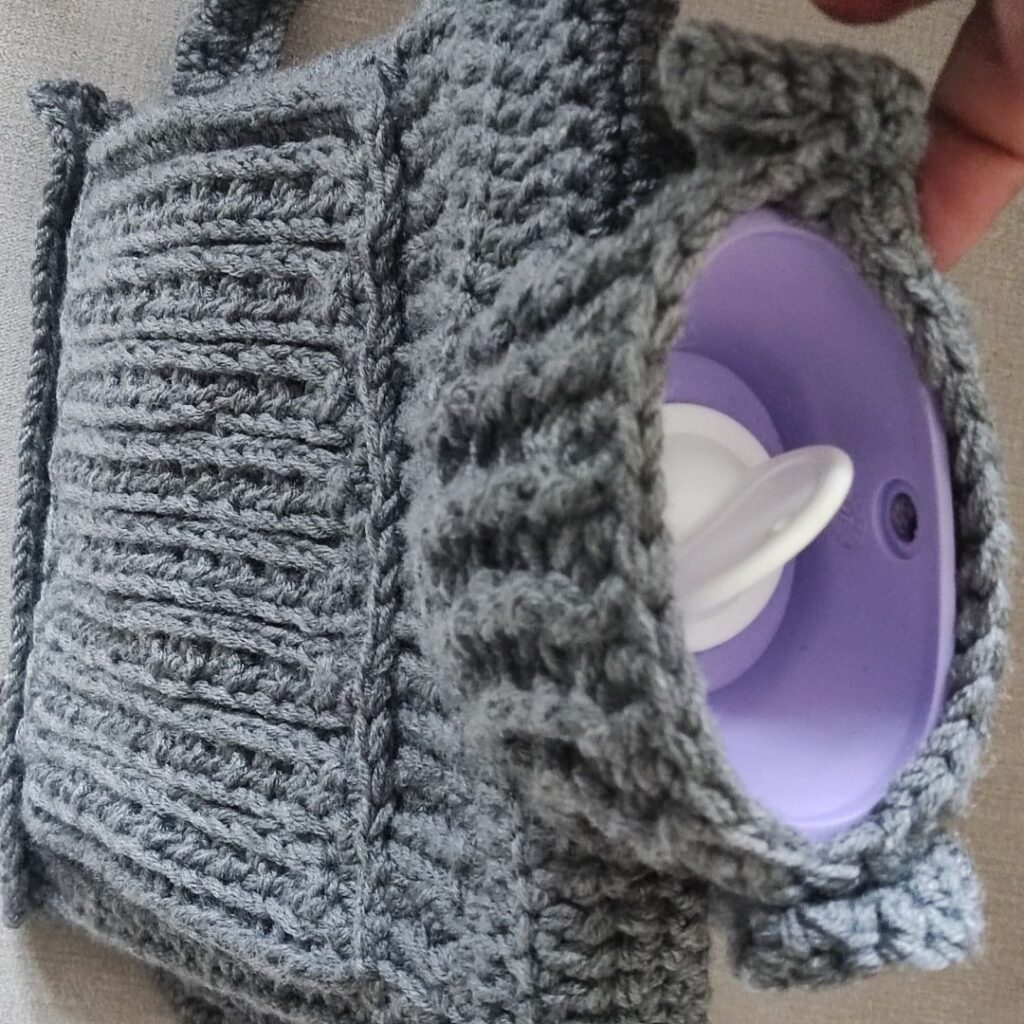
Crochet Hot Water Bottle Cover Pattern Notes
- Please kindly read through the pattern before starting.
- Any other #4 weight yarn can be substituted.
Skill Level – Intermediate
Terms – US Terminology
Stitches Abbreviations
Chain/chains – ch/chs
Half double crochet – hdc
Crossed half double crochet – xhdc
Back loop only – BLO
Front Post Half double crochet – FPhdc
Back Post Half double crochet – BPhdc
Special stitch
Xhdc – Crossed hdc – skip next st, hdc in next st, crocheting over the hdc just made, work hdc into the skipped st
Front Third Loop – This is the loop below the front loop. When you crochet into this stitch, it pushes the loops to the other side and creates beautiful braids.
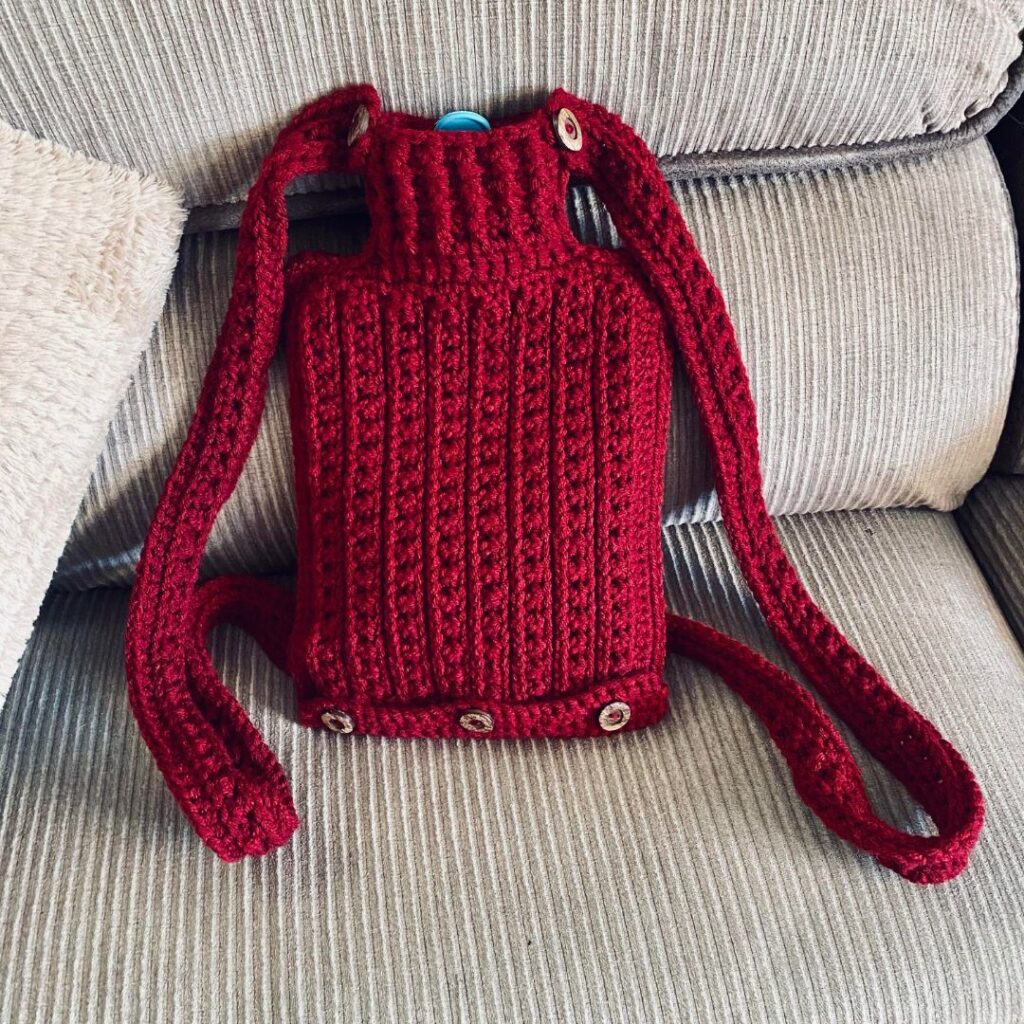
Finished Measurement of this crochet water bottle cover
One size – fits the regular water bottle
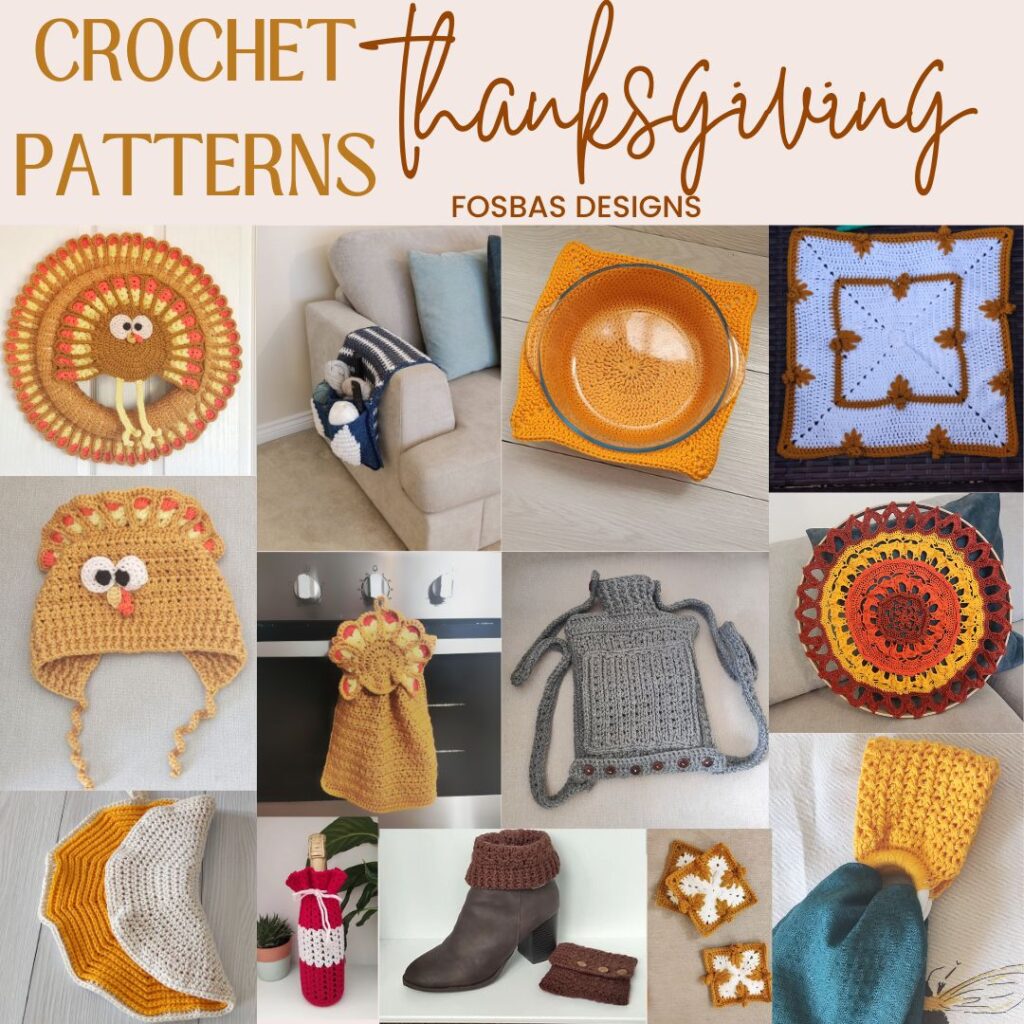
As part of the Thanksgiving crochet project event, this pattern is featured today. This means you get the Crochet hot water bottle cover pattern as a PDF download if you are subscribed to my newsletter. Use the image below

If you prefer to get the whole pattern in this event – 14 plus a free pattern to make 15, use the images below.

How to Crochet Hot Water Bottle Cover
Body – Make 2
Chain 38 – Adjust the length to be just a little shorter than the water bottle. But in multiple of 2.
Row 1: Hdc in 3rd ch from hook and in each ch across, turn. 36 hdc
Row 2: Ch 2, In both loops, hdc in first st, in front 3rd loop, xhdc across until the last st, in both loops, hdc, turn. 2 hdc, 17 xhdc
Row 3: Ch 2, In both loops, hdc in the first st, in back loop, hdc in each st around until the last st. hdc in both loops in last st, turn. 36 hdc
Rows 4 – 21: Repeat Rows 2 and 3
Repeat until you have nearly reached the width of your hot water bottle
Reduce or increase the repeats until you have a good width.
Measure your piece, and continue the repeats until you get you to have a width wide enough to cover one-half of the water bottle.
Do not fasten off, but make edging around the panel
Edging around the whole panel
Crocheting around the whole panel
Round 1: Ch 1, sc evenly around the panel, aim for (2 sc, ch 2, 2 sc) at each corner, join with a slst to the beginning ch.
Bottle Neck
Crocheting across the short edge and in rows
Your counts might be different, depending on the amount of stitches you have on the short edge.
Rows 1 – 2: Ch 2, dc in each st across the short edge, turn. 30 dc
Cut yarn
Join yarn with a sl st to the 10th stitch. If you have a different number of stitches, make sure to have the next rows close to the neck of the bottle.
Crocheting in rows
Row 1: Ch 2, dc in next 13 sts, turn. 13 dc
Row 2: Rep row 1
Row 3: Ch 2. Dc in first st, *FPhdc, BPhdc, rep from * across until the last st, dc in last st, turn. 2 dc, 6 FPdc, 5 BPdc
Row 4: Ch 2. dc in first st, *BPhdc, FPhdc, rep from * across until the last st, dc in last st, turn. 2 dc, 5 FPdc, 6 BPdc
Rows 5 – 6: Rep Round 3 – 4
Row 7: Rep row 3
Cut yarn
Weave in ends.
Fasten off.
Button hole
Crocheting across the lower end of the panel.
Join yarn with a sl st to the first stitch at the edge.
Crocheting in rows
Rows 1 – 3: Ch 1, sc in each st across, turn.
Row 4: Ch 1, sc in first 3 sts,* ch 1, skip next st, sc in next 4 sts, rep from * to the end, turn
Row 5: Ch 1, sc in each st across, aim for sc in ch 1 sp, turn.
Make the second panel but skip the button hole.
Sew the buttons on the second panel.

Crochet hot water bottle cover Pocket
Make 1
Chain 26 – Adjust to match the size of your hot water bottle in multiple of 2
Row 1: Hdc in 3rd ch from hook and in each ch across, turn. 24 hdc
Row 2: Ch 2, In both loops, hdc in first st, in front 3rd loop, xhdc across until the last st, in both loop, hdc, turn. 2 hdc, 11 xhdc
Row 3: Ch 2, In both loop, hdc in the first st, in the back loop, hdc in each st around until the last st, hdc in last st, turn. 36 hdc
Rows 4 – 15: Repeat Rows 2 and 3
Reduce or increase the repeats until you have a good width.
Measure your piece, and continue the repeats until you get you have a width wide enough to cover one-half of the water bottle cover.
Do not fasten off.
Edging
Crochet around the whole panel.
Aim for 2 sc, ch 2, 2 sc at each corner.
Round 1: Ch 1, sc evenly around the panel.
Seaming
Pocket to one of the panels.
- On the right side, place the pocket on one of the panels.
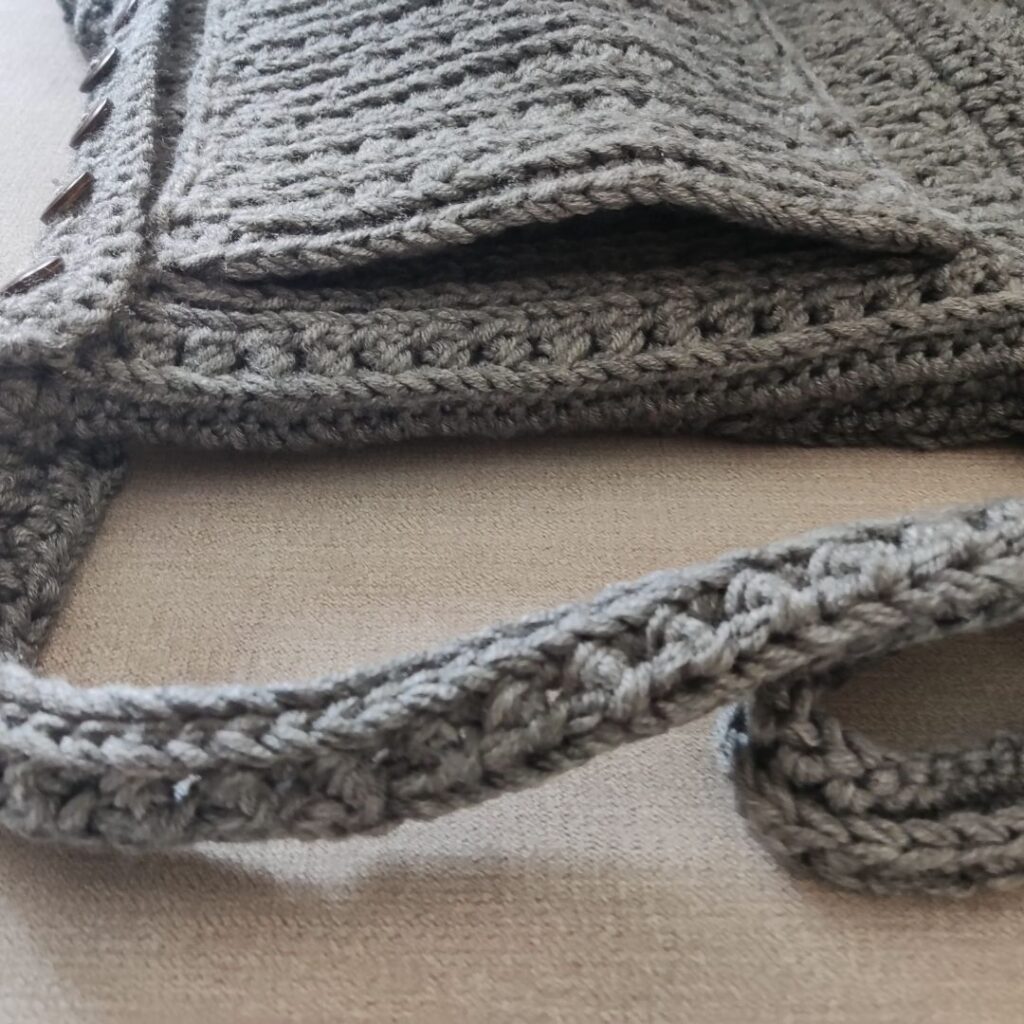
- I sew the upper and lower parts to make room for my hands. You can sew yours on the left and right sides to keep stuff.
- Sew the pocket to the panel.
Main panel sides
- With the wrong side facing you and the last row next to the foundation row.
- Using a darning needle or hook, use either mattress stitch or sl st, to join both sides together from the neck towards the lower end.
- Repeat on the other side
- Turn to the right side.
- Sew buttons on the other side of the main panel.
Straps
Make two
Chain 104 (adjust the number for a desirable fit)
Row 1: Hdc in 3rd ch from hook and in each ch across, turn. 102 hdc
Row 2: Ch 2, In both loops, hdc in first st, ch 1, skip next st, in front 3rd loop, xhdc across until the last 3 sts, xhdc in next st, ch 1, skip next st, in both loop, hdc, turn. 2 hdc, 50 xhdc
Row 3: Ch 1, in both loops, sc in the first st, in back loop, sc in each st around until the last st, sc in last st, turn. 36 sc
Buttons for the straps
Sew buttons to the sides of the “bottleneck”
Sew the second set on either side of the back of the bottle.
There you have your Crochet hot water bottle cover pattern, let me know what you think of this project.

