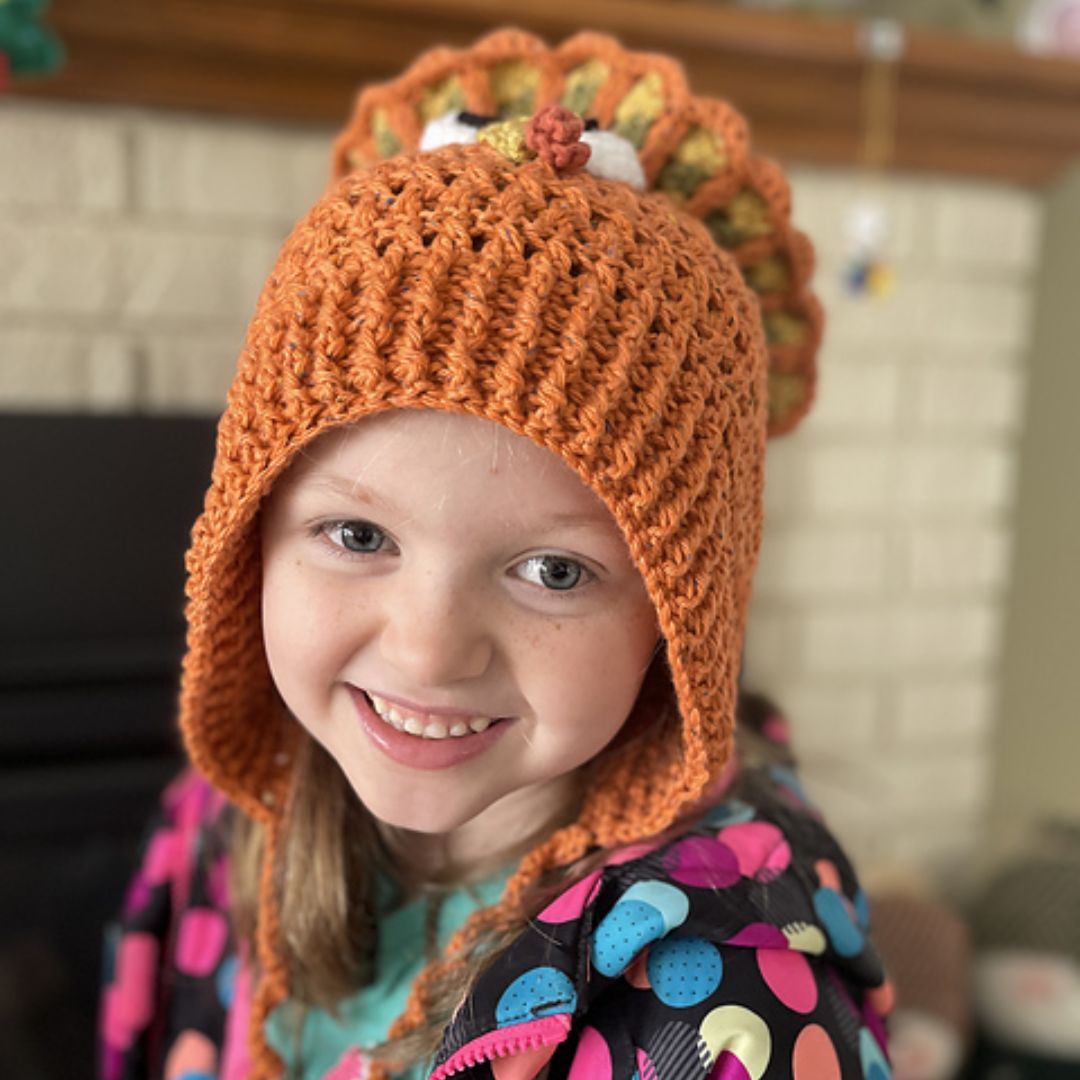
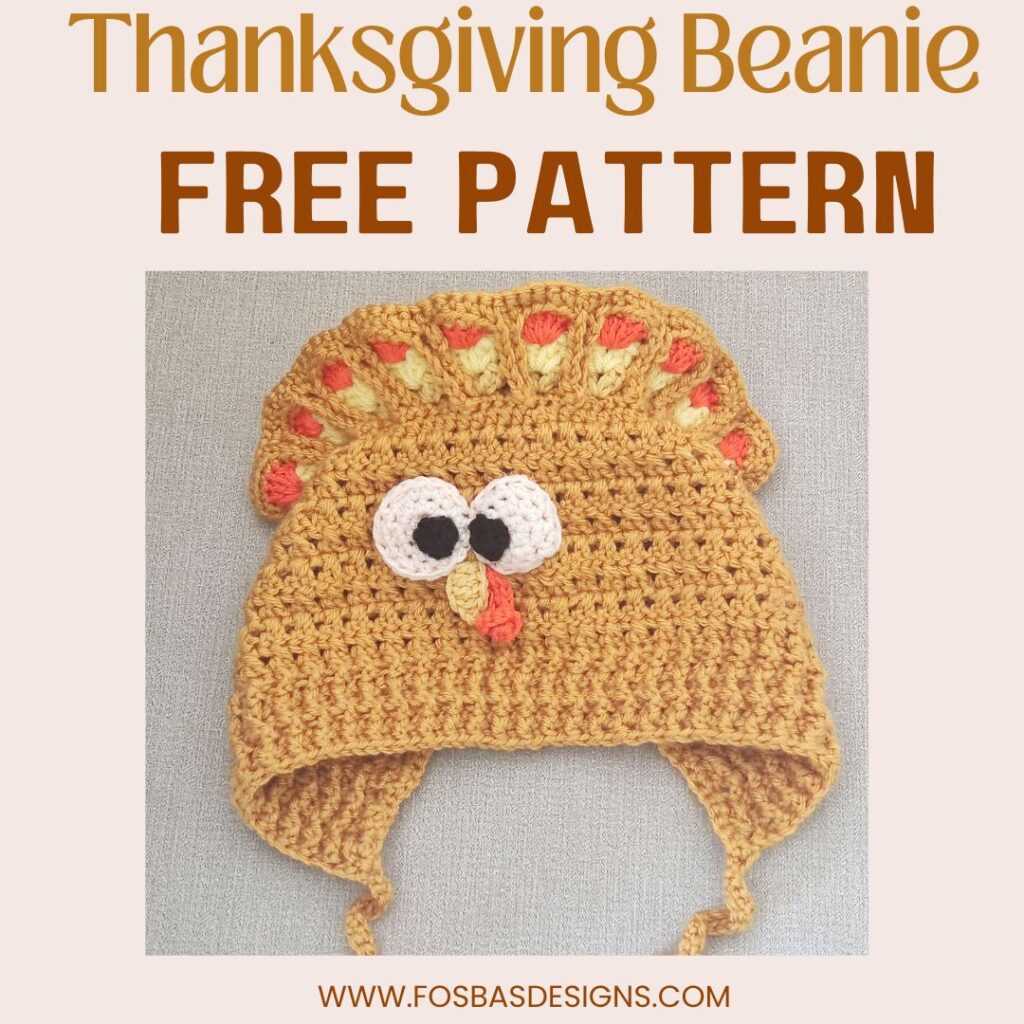
Easy Turkey Crochet Hat Pattern
Let’s make magic—this time, it’s the Turkey Crochet Hat Pattern. This fun crochet pattern is perfect for the holiday season and makes a statement at a Thanksgiving dinner!
This is a free crochet hat pattern, you can get the pdf at a small fee on Ravelry and Etsy shop, these include clear instructions and step-by-step photos.
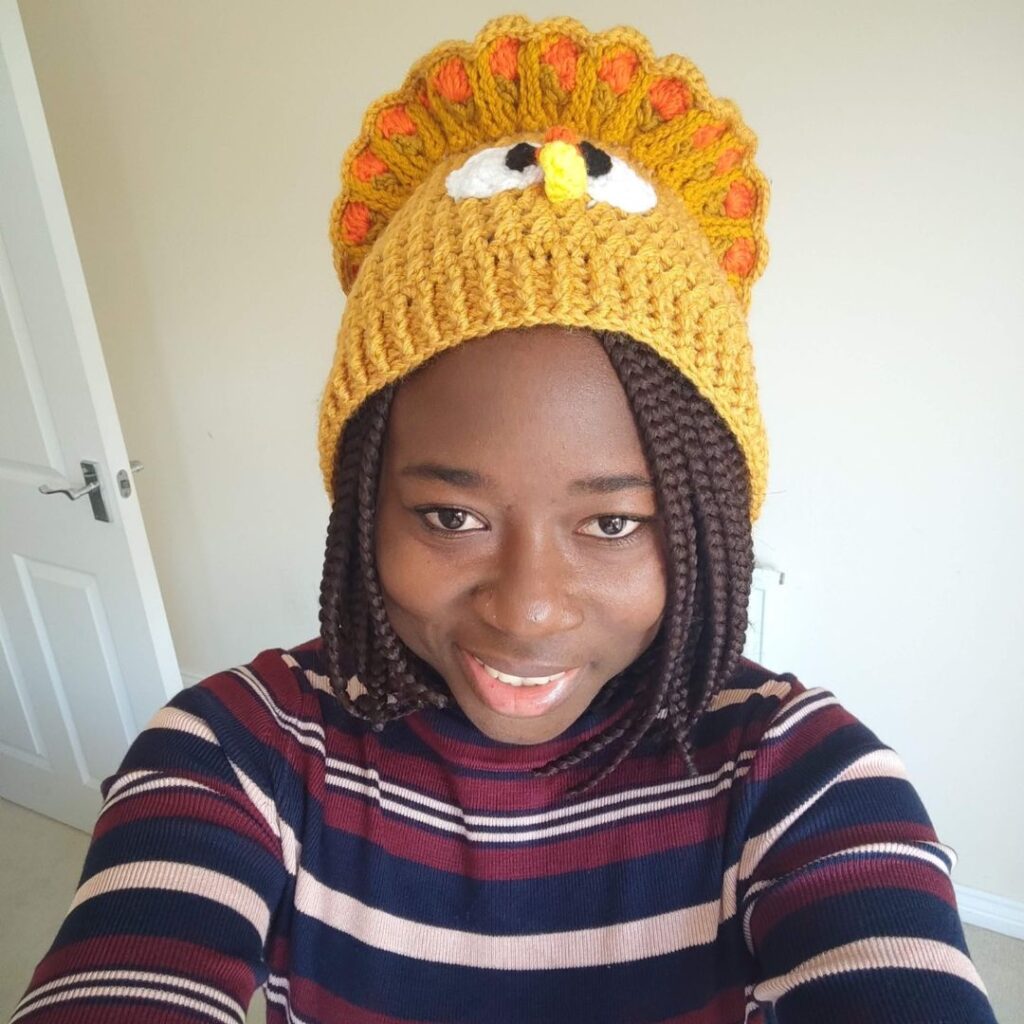
The free crochet turkey hat pattern is an easy project with a rewarding final result. This Thanksgiving turkey hat is the first crochet project that I made to twin with my baby.
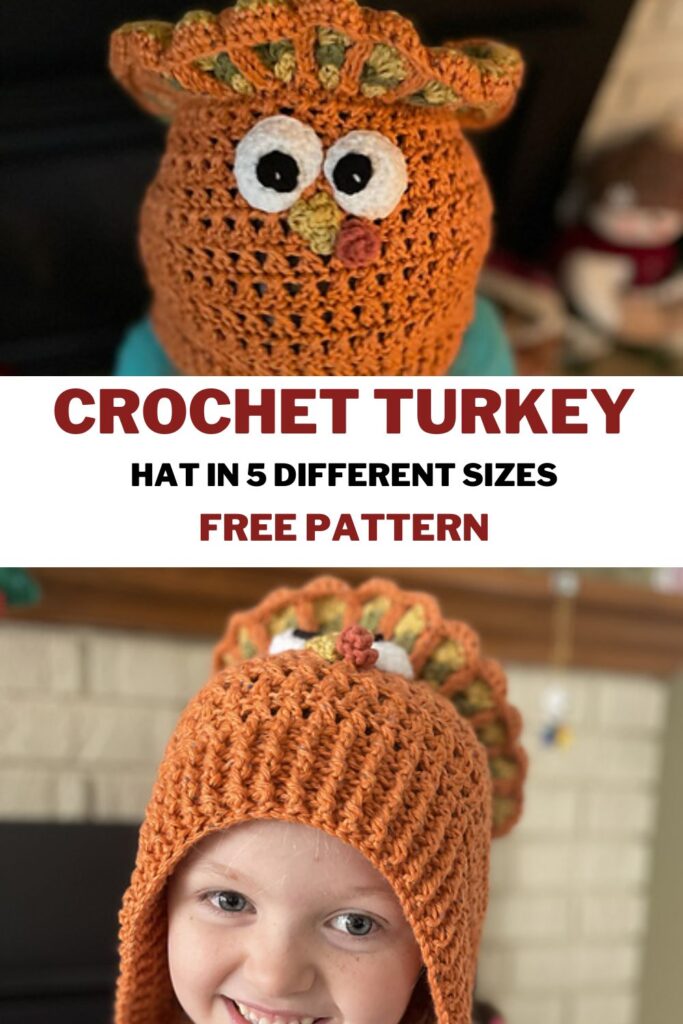
There are two versions of this turkey hat crochet pattern, you can make this bonnet style or beanie style.
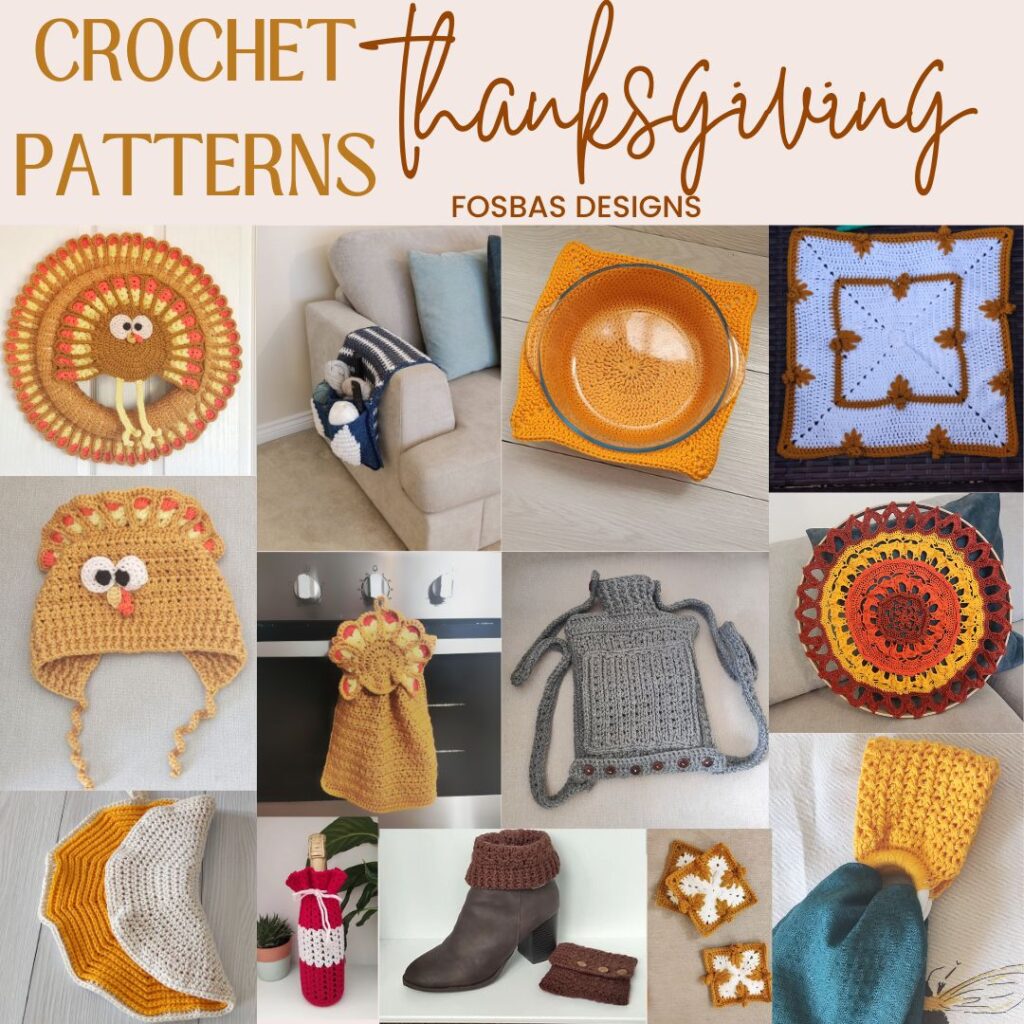
You can grab the 15 patterns right now here.

Supplies for this free crochet turkey hat pattern
Yarn – Any worsted-weight yarn will do.
Stylecraft Special (100% Acrylic, 196 m per 3.5 oz/100g Ball)
ESTIMATED YARDAGE
Mustard – Color A – 140 (160, 180, 200, 220, 260) yards
Deep Yellow – Colors B, Light yellow – C & Orange – D – 20 (30, 30, 40, 40, 50) yards each
each
White yarn – Color E – 15 yards
Black – Color F – 10 yards

HOOK AND OTHER MATERIALS
- 4.5 mm Crochet Hook
- Yarn needle
- Stitch marker
Gauge
16 sts over 10 rows = 4 x 4” made in hdc, before blocking.
Adjust hook size if necessary, to obtain gauge.
Turkey Crochet Hat Pattern notes
- Please kindly read through the pattern before starting.
- Any # 4 weight yarn can be substituted
Skill Levels – Advanced Beginner
Terms – US Terminology
Stitch abbreviations
Chain(s) – ch(s)
Stitch(es) – st(s)
Half Double crochet – hdc
Double crochet – dc
Back Loop Only – BLO
Crossed double crochet – xdc
Repeat – Rep
Special Stitch
Shell = 2 dc, ch 1, 2 dc in indicated stitch/chain sp
Crossed double crochet (xdc)
*skip next st, dc in next st, crocheting over the dc just made, work dc into the skipped st, rep from * to the end.
Construction Note
This project is made in 4 sections
- Section 1 – The crown, made in rounds with instructions for each size to skip to the next section.
- Section 2 – The turkey feathers. Made in rows directly onto the crown.
- Section 3 – The rest of the bonnet/beanie is made, simply follow the instructions for the type you are making.
- Section 4 – Facial, turkey legs and turkey feet details
Finished measurements for the Turkey Crochet Hat Pattern
Because your baby will look adorable in this little turkey hat, it will make the perfect baby’s first Thanksgiving gift. Or make the set for the whole family for a goofy family picture and fun family photoshoot. I think this adorable turkey hat will be a hit of Thanksgiving.
| Size | Circumference |
| 0 – 6 mths6 – 12 mths | 14”15” |
| Toddler | 16” |
| Child | 17” |
| Teen/Adult’s Small | 19” |
How to make a turkey crochet hat
Make 2 pcs
Section 1 – Crown
With Color A
For all sizes, simply skip as instructed. Round 1: In a magic ring, ch 2 (does not count as a stitch), 12 hdc in magic ring, join with a slip stitch to the top of the first stitch of the round 12 hdc
Round 2: Ch 2, 2 hdc in each around, join. 24 hdc
Round 3: Ch 2, *hdc in next, 2 hdc in next, repeat from * around, join. 36 hdc
Round 4: Ch 2, *hdc in next 2 sts, 2 hdc in next, repeat from * around, join. 48 hdc
0 – 6 mths size alone – The diameter should be about 3.25”, skip to section 2.
Round 5: Ch 2, *hdc in next 3 sts, 2 hdc in next, repeat from * around, join. 60 hdc
6 – 12 mths size alone – The diameter should be about 4”, skip to section 2.
Round 6: Ch 2, *hdc in next 4 sts, 2 hdc in
next st, repeat from * around, join. 72 hdc
Toddler Size
The diameter should be about 4.5”
Skip to section 2
Round 7: Ch 2, *hdc in next 5 sts, 2 hdc in next, repeat from * around, join. 84 hdc
Child Size
The diameter should be about 5”
Skip to section 2
Round 8: Ch 2, *hdc in next 6 sts, 2 hdc in next, repeat from * around, join. 96 hdc
Teen/Adult Size
The diameter should be about 5.5”
Continue to section 2 below.
For all Sizes
Section 2: Turkey Feathers
Crocheting in rows from here.
Fasten off A, join B
Do not forget to make row 1 in BLO, the other loop will be used for the body!
Row 1: In BLO, Ch 3 (counts as the first dc, here and throughout), dc in same st, ch 1, 2 dc in same st, *skip next 2 sts, (2 dc, ch 1, 2 dc) in next st, repeat * until you have made 8 (10, 12, 14, 16) sets, leave the remaining sts unworked. 8 (10, 12, 14, 16) shells
Fasten off B, join C
You can decide to turn or not.
Each row can be started either at the first or the last ch 1 sp.
Start at the ch 1 space of the previous row.
Row 2: Ch 3, dc in same space, ch 1, 2 dc in same space, *(2 dc, ch 1, 2 dc) in next ch1 space, repeat * until you reach the end. 8 (10, 12, 14, 16) shells
Fasten off C, join D
Start at the ch 1 space of the previous row
Row 3: Ch 3, 5 dc in same ch sp, *6 dc in the next chain space, repeat * until you reach the end.
Fasten off.
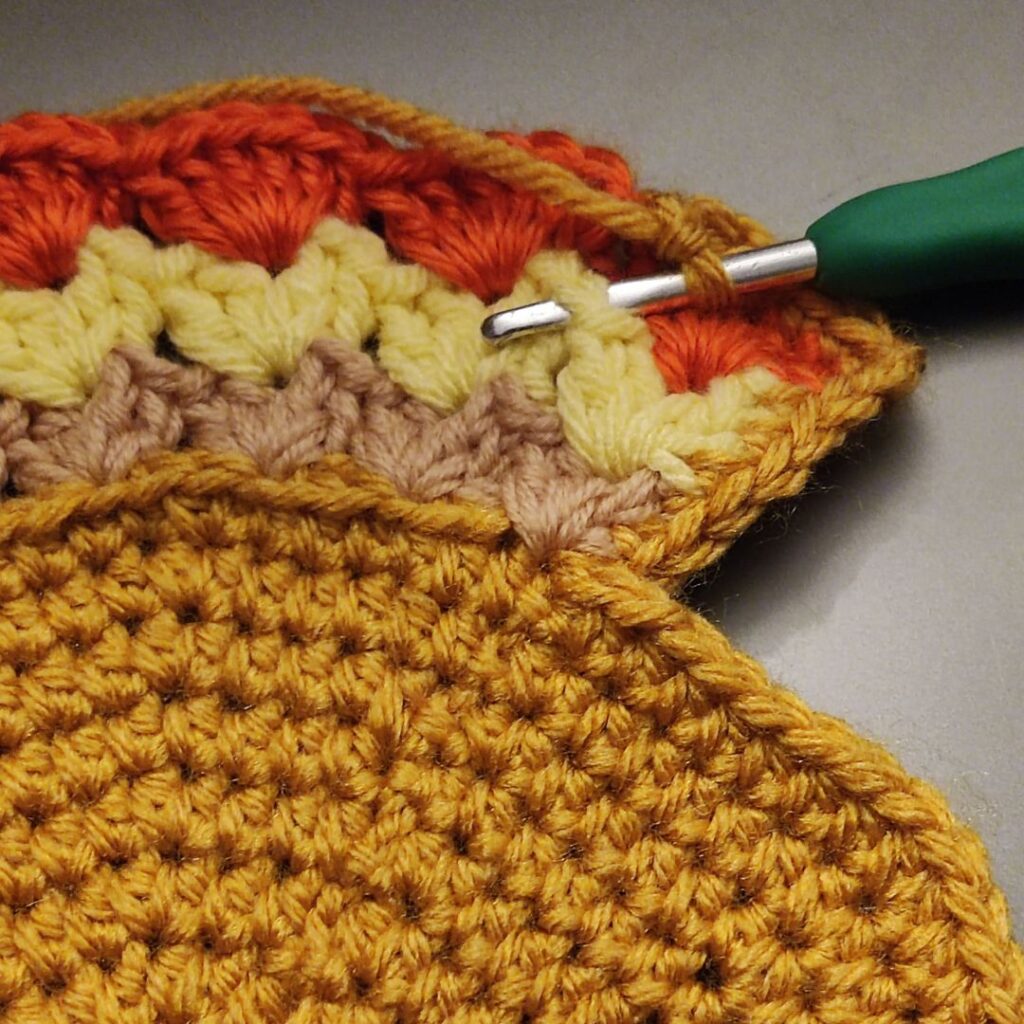
Feather edging
Join A with a sl st to the same stitch where you made the first ch 3 in Row 1
Crocheting across the edges up towards row 3
Row 1: Sc in each st across the edge until you get to the shells, ch 1
Step 1: Sc in the next 5 sts, sc in the st between the 2 shells
Step 2: Crocheting down the sides of the shell (rows 3-2-1), *ch 1, sc in between the shells, rep from *until you get to the 2 skipped sts in row 1, ch 1, in BLO, sc in first skipped st, ch 1, in BLO, sc in next skipped st.
Step 3: Crocheting upwards towards Row 3, (rows 2-3), *ch 1, sc in between the shells, rep from *until you get to row 3
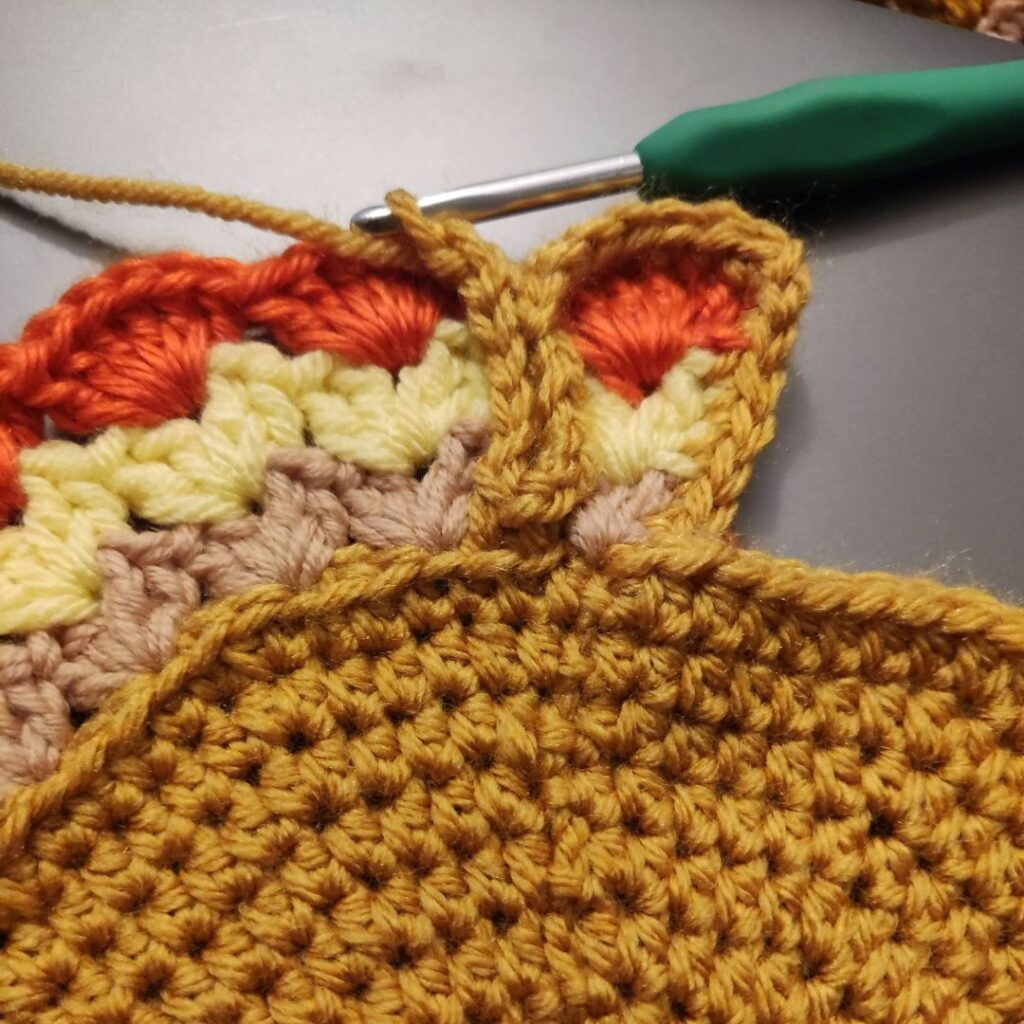
Rep steps 1 to 3 until the end.
Sc in the last 6 sts, continue across the edges, sc in each st across, and turn.
Fasten off.
Make the second piece.
Joining of the two pcs
With A, place both wrong sides together with the right side facing you
Crochet around the feathers through both pieces
Round 1: With A, Ch 1, sc evenly around both panels, join with a sl st to the beginning chain.
Fasten off, and continue to the body of the beanie/ bonnet for all sizes.
Section 3: Body Beanie style
- Crocheting around all the stitches from the crown, leaving out the feathers.
- Locate the center point on the lower part of the panel.
- Join yarn (A) with a sl st to crown.
- Working in rounds from here.
Round 1: Ch 2, hdc in each st around, join. 48 (60, 72, 84, 96) hdc
Round 2: Ch 3, xdc around, join. 24 (30, 36, 42, 48) xdc
Rounds 3 – 8 (8, 8, 8, 10): Rep Round 2
Beanie – Brim
Round 1: Ch 3, *FPdc around next st, BPdc around next st, rep from * until the end, join. 24 (30, 36, 42, 48) FPdc/BPdc
Rounds 2 – 4 (4, 4, 6, 6): Repeat Row 1
Fasten off
Weave in ends.
Bonnet style
Crocheting around the whole the stitches from the crown, leaving out the feathers.
Locate the center point on the lower part of the panel. Count one stitch away from the center.
Join yarn (A) with a sl st to crown.
Working in rows from here.
Row 1: Ch 2, hdc in each st across until the last 2 sts, leave the last 2 sts unworked, turn. 46 (58, 70, 82, 94) hdc
Row 2: Ch 3, xdc across until the last st, dc in last st, turn. 22 (28, 34, 40, 46) xdc, 2 dc.
Rows 3 – 8 (8, 10, 10, 12): Rep Row 2
Brim
Row 1: Ch 3, *FPdc around next st, BPdc around next st, rep from * until the last st, dc in last st, turn
Rounds 2 – 4 (4, 4, 6, 6): Repeat Row 1
Finishing/Rope
Chain 31 (39, 39, 43, 43), turn, sc in 2nd ch and in each ch across, join with a sl st to the body.
Continue crocheting across the back opening/edges of the body, sc evenly in each st across, sc in the 2 sts left in the crown, continue to the other side of the body/edges, sc evenly across until the brim of the bonnet.
Do not fasten off.
Make the second rope.
Chain 31 (39, 39, 43, 43), turn, sc in 2nd ch and in each ch across, join with a sl st to the body.
Fasten off.

Turkey Facial Details
Eyes
Big eyes – Make 2
With E
Round 1: In a magic ring, Ch 1, 6 hdc into the ring, sl st to the first hdc. 6 hdc
Round 2: Ch 1, 2 hdc in first st and each of next st around, sl st to the first hdc. 12 hdc
Round 3: Ch 1, 2 hdc in first st, *hdc in next st, 2 hdc in next st; repeat to around, sl st to the first hdc. 18 hdc
Cut the yarn and fasten off leaving about 5″ long yarn tail for sewing.
Smaller Part of the Eye
Note – You can replace this with a black button if you wish.
Make 2
With F
Round 1: Ch 1, 6 sc into the ring, sl st to the first sc. 6 sc
Cut the yarn and fasten off leaving about 4″ long yarn tail for sewing.
Beak
With B – Make 1
Row 1: Chain 6, sc in 2 nd ch from the hook, hdc in next ch, dc in last 3 chs, Cut the yarn and fasten off leaving about 5″ long yarn tail.
Wattle
With D
Row 1: Chain 7, 2 sc in 2nd ch from hook, 3 sc in each ch across, Cut the yarn and fasten off leaving about 3″ long yarn tail.
To assemble
Sew the smaller eyes to the bigger eyes with the darning needle and the yarn tail. Make sure to sew close to the edge.
Sew the bigger eyes to the upper part of the Wreath Turkey (made in section 3). Make sure to have both eyes meeting each other to look realistic.
Sew beak between two eyes.
Sew the wattle on one side of the beak.
I hope you have a memorable Thanksgiving and a fun time making this crochet turkey pattern.

Happy crocheting!!
About the Designer
Say Hi on Instagram and Subscribe To my email List for pattern discounts and freebies. For questions, send such to [email protected]. Read more about me here.