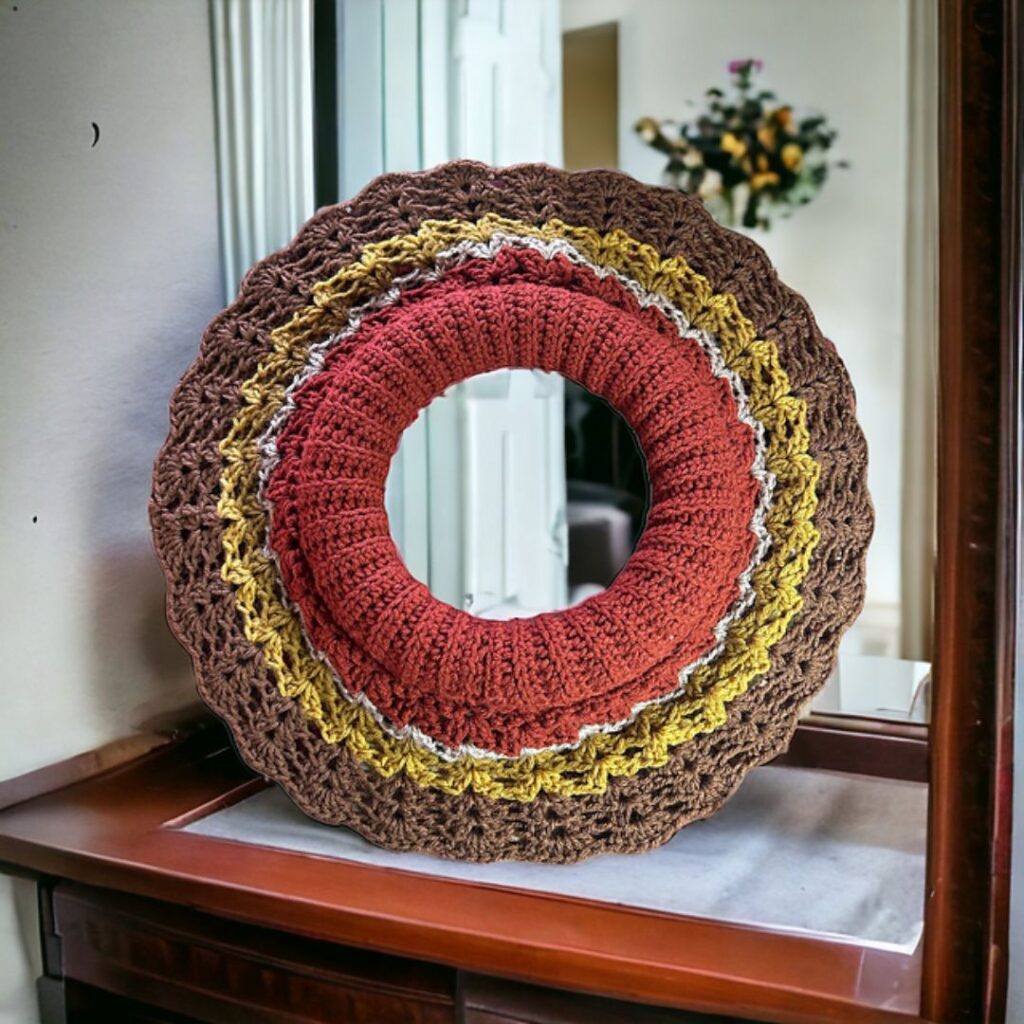
Easy Holiday Crochet Wreath Free Pattern
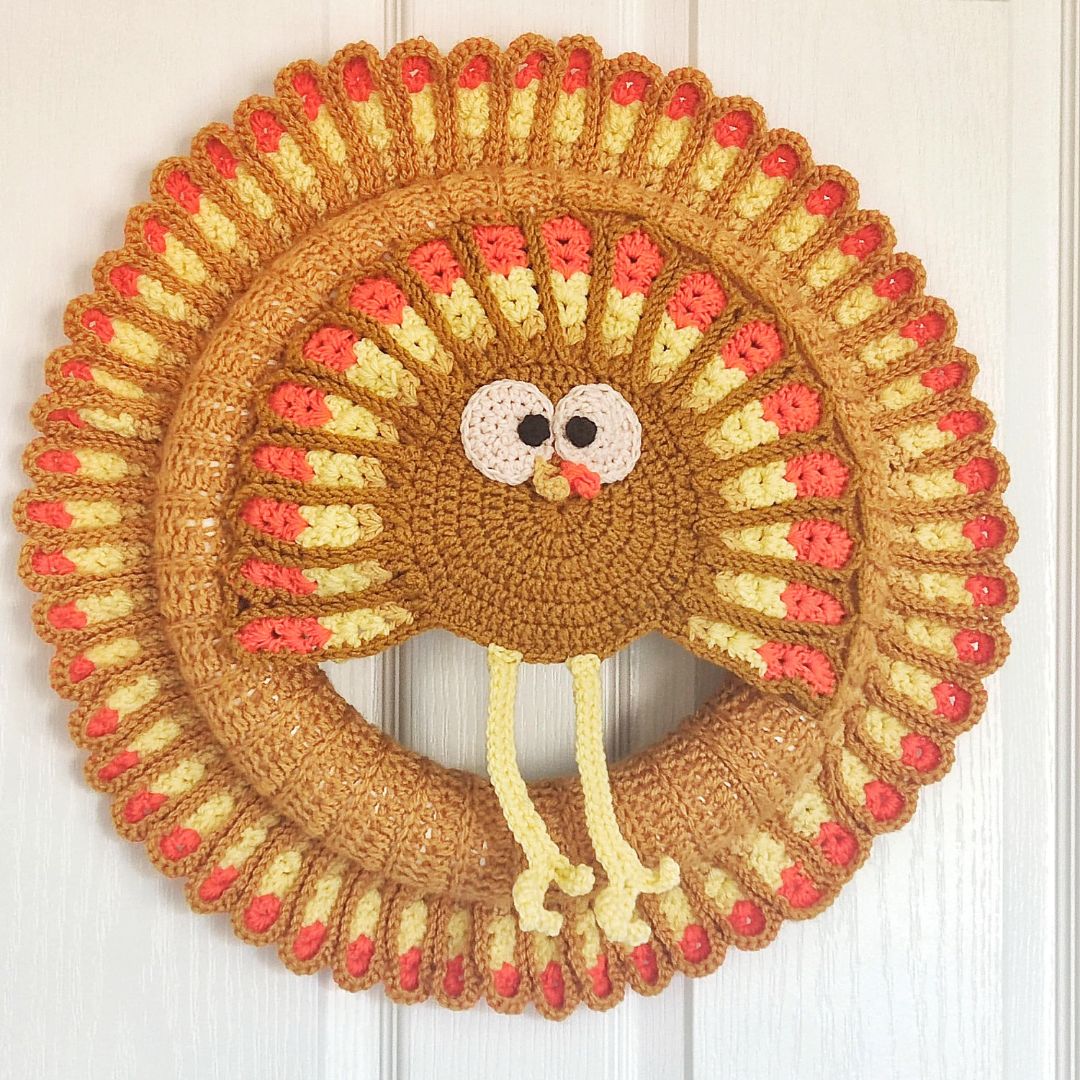
Decorate your front door with this fabulous fall crochet wreath a fun way to spice your home décor this holiday season. This easy crochet wreath-free pattern has detailed instructions and is a simple design that can be customized to your desire.
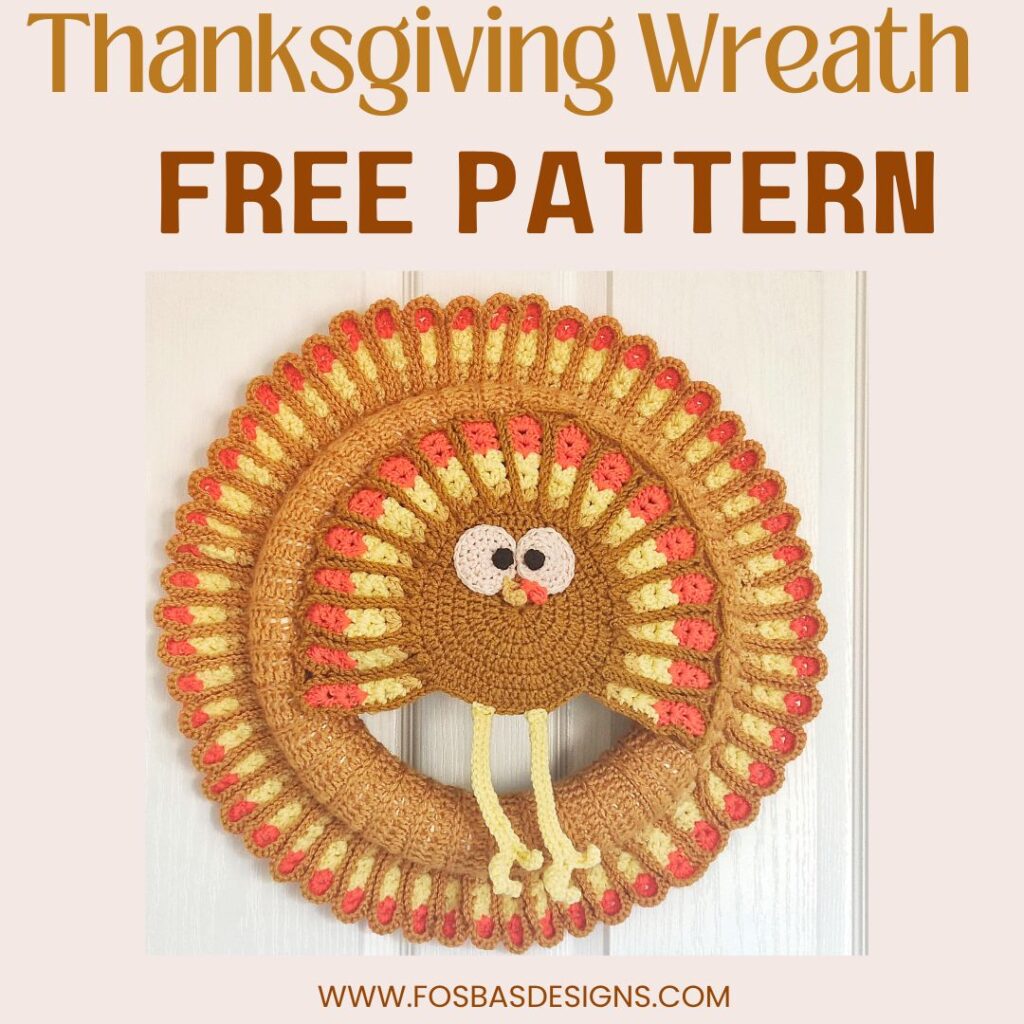
You can decorate your wreath with crochet wreath ornament, only flower and holiday decorations. This easy crochet pattern is made using just basic crochet stitches, a great addition to your fall season decoration. Scroll down for the free wreath crochet pattern or grab the PDf at a small fee.
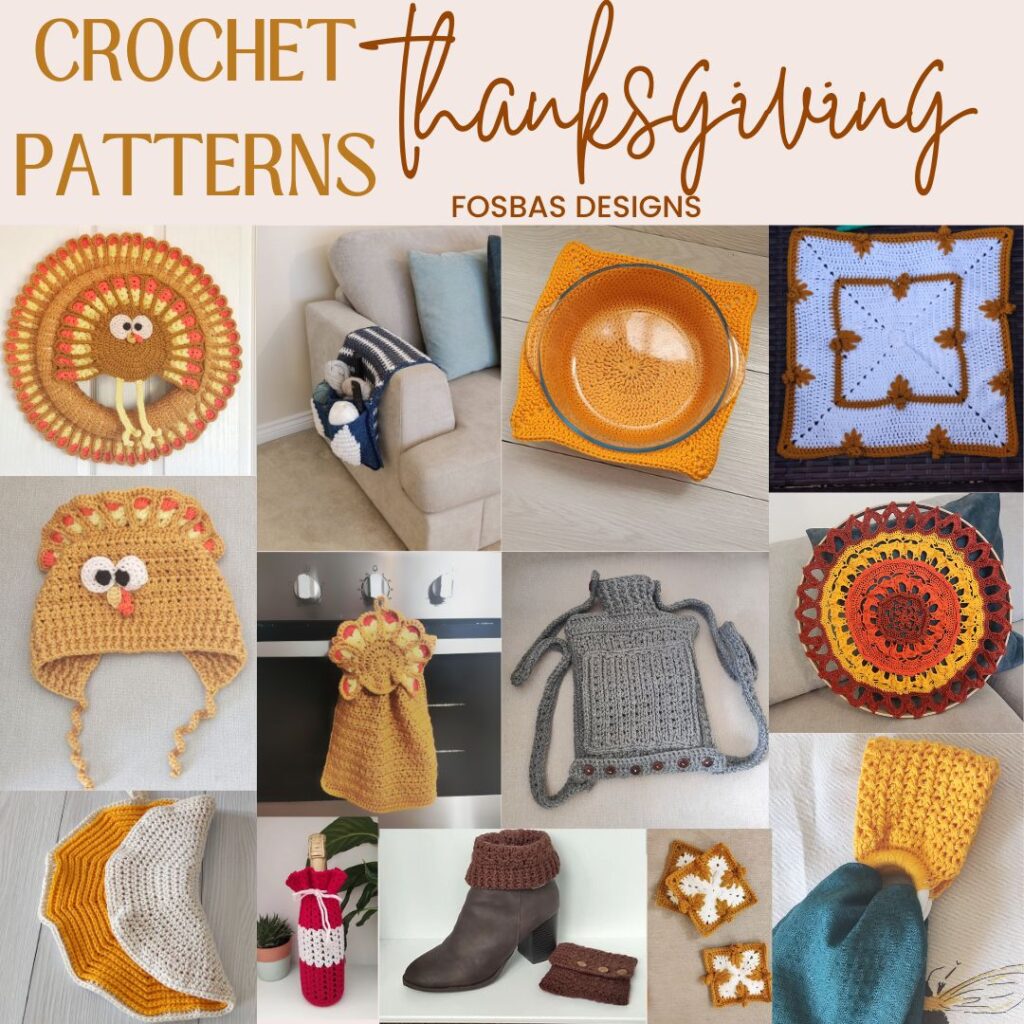
As part of the Thanksgiving event on my blog, you get this pattern and 13 others are featued in the hop. Each day, there is a new pattern.

Supplies needed for this free crochet wreath pattern
Yarn idea – Any Worsted weight yarn #4 in a solid color or different colors of your choice.
Stylecraft Special Aran, (#4, 100% Acrylic, 196 m per 3.5 oz/100g Ball)
ESTIMATED YARDAGE
Color A – 250 yards
Colors B & C – 50 yards each
Color D – 70 yards
Color E – 15 yards
Color F – 10 yards
Color G – 50 yards
HOOK AND OTHER MATERIALS
- 4.5 mm Crochet Hook
- Yarn needle
- Wreath frame / Wreath ring/ styrofoam wreath (25 cm/10”)
- Stitch Marker
- Tapestry needle
- Hot glue gun Optional
Gauge
16 sts over 10 rows = 4 x 4” made in hdc, before blocking.
Adjust hook size if necessary, to obtain gauge.
PATTERN NOTES
- Please kindly read through the pattern before starting.
- Any # 4 weight yarn can be substituted
Skill Level – Advanced Beginner. This free crochet pattern is an easy project.
Terms – US Terminology
STITCHES ABBREVIATIONS
Chain(s) – ch(s)
Half Double crochet – hdc
Double crochet – dc
Back Loop Only – BLO
Slip stitches – sl st
Special Stitch
Shell = 2 dc, ch 1, 2 dc in indicated stitch/chain sp
Construction Note
This wreath is made in 3 sections
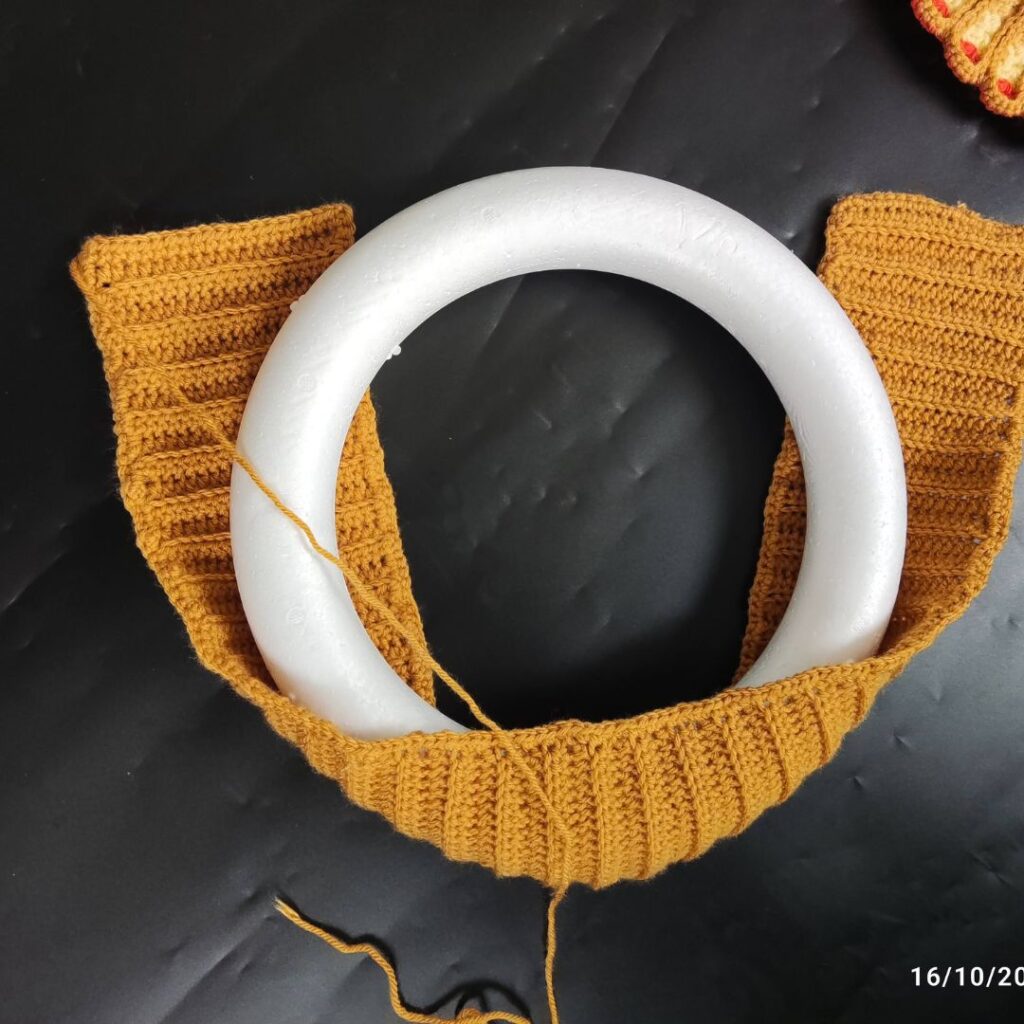
- Section 1 – The wreath form cover, is made in rows until you have a length long enough to cover the ring.
- Section 2 – The wreath ring turkey feather. Made in rows, to cover the diameter of the ring.
- Section 3 – Turkey feather and details.
Thanksgiving crochet wreath pattern on Ravelry

Free crochet wreath pattern
Section 1: Wreath covering
With A
Chain 18
The length should be adjusted to wrap around the ring.
Row 1: Hdc in 3rd chain from hook, and in each chain across, turn 16 hdc
Working in BLO from here until the end.
Row 2: Ch 2, hdc in each st across, turn (16hdc)
Row 3 – end: repeat Row 2.
Continue the repeats until you have a length long enough to wrap around the ring.
Do not fasten off
Edging
With color A
Crocheting around the whole panel
Aim for a sc in each st, crocheting loosely.
Round 1: Ch 1, sc evenly in each st across, (sc, ch 2, sc) at each corner, join with a slst to the beginning chain
Fasten off.
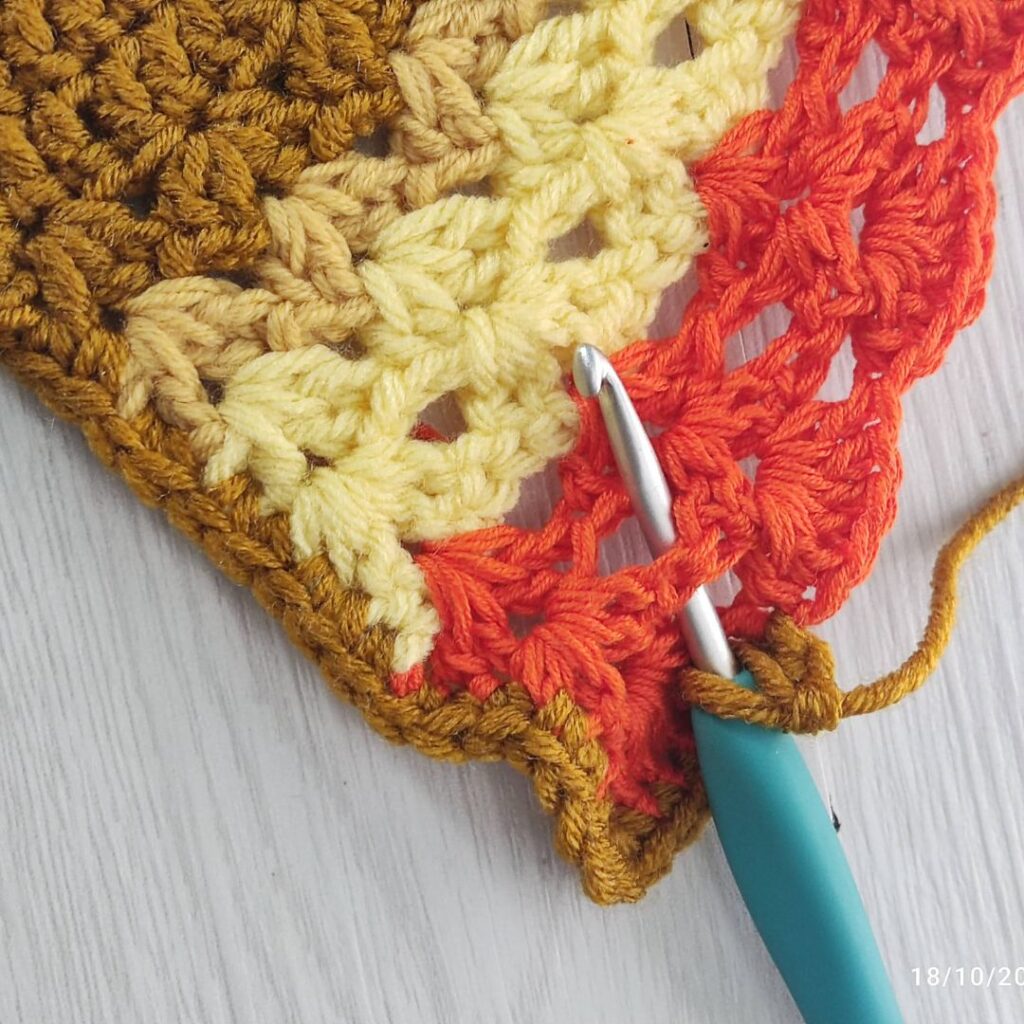
Section 2: Fall Wreath Feather
With B
- Count the number of sts on one of the long sides of the panel made in section 1.
- Add 1 chain
- For a wider wreath feather, repeat rows 3 with any of the colors
- If adjusting the numbers of your starting chain, make sure to have a multiple of 3 plus 2.
Chain 163 (adjust tas instructed above)
Row 1: Sc in 2nd ch from hook and in each ch across, turn. 162 sc
Row 2: Ch 3 (counts as the first dc, here and throughout), dc in same st, ch 1, 2 dc in same st, *skip next 2 sts, (2 dc, ch 1, 2 dc) in next st, repeat * until the end, turn. 54 shells
Row 3: Ch 3, *(2 dc, ch 1, 2 dc) in next ch 1 space, repeat * until you reach the end. 54 shells
Fasten off Color B, join C with a slst to the chain 1 space.
With Color C
Rows 4 – 5: Repeat Row 3
Fasten off Color C, join D with a slst to the chain 1 space.
With Color D
Rows 6: Repeat Row 3
Row 7: Ch 3, *6 dc in the next chain space, repeat * until you reach the end.
Fasten off.
Wreath feather edgingJoin A with a sl st to the foundation ch in Row 1
Crocheting across the edges up towards row 7
Row 1: Sc in each st across the edge until you get to the shells, ch 1
Step 1: Sc in next 5 sts, sc in the st between the 2 shells
Step 2: Crocheting down the sides of the shell (rows 7-6-5-4-3-2-1), *ch 1, sc in between the shells, rep from *until you get to the 2 skipped sts in row 1, ch 1, sc in first skipped st, ch 1, sc in next skipped st.
Step 3: Crocheting upwards towards Row 7, (rows 2-3-4-5-6-7), *ch 1, sc in between the shells, rep from *until you get to the 2
Rep steps 1 to 3 until the end.
Sc in the last 6 sts, continue across the edges, sc in each st across, and turn.
Fasten off.
Section 3: Wreath Turkey
For a wreath ring size less than 18cm, follow the instructions for small
For a wreath ring size between 18 – 22 cm, follow the instructions for small
With Color G
Round 1: In a Magic ring, ch 2 (does not count as a stitch), 12 hdc in magic ring, join with a sl st to ch 2. 12 hdc
Round 2: Ch 2, 2 hdc in each st around, join. 24 hdc
Round 3: Ch 2, hdc in each st around, join with a sl st to ch 2. 24 hdc
Round 4: Ch 2, *hdc in next st, 2 hdc in next st, rep from * around, join with a sl st to ch 2. 36 hdc.
Round 5: Ch 2,*hdc in next 2 sts, 2 hdc in next st, rep from * around, join with a sl st to ch 2. 48 hdc.
For a smaller wreath ring, skip to row 1 below
Round 6: Ch 2,*hdc in next 3 sts, 2 hdc in next st, rep from * around, join with a sl st to ch 2. 60 hdc.
For medium wreath ring, skip to row 1 below
Round 7: Ch 2,*hdc in next 4 sts, 2 hdc in next st, rep from * around, join with a sl st to ch 2. 72 hdc.
Fasten off G, Join Color B
Make the feathers
Crocheting in rows to make the feathers.
Row 1: Ch 3 (counts as the first dc, here and throughout), dc in same st, ch1, 2 dc in same st, *skip next 2 sts, (2 dc, ch 1, 2 dc) in next st, repeat * until you have made 14 (16, 18) shells.
- Fasten off G, Join B with a slst to ch 1 space.
- Start at the ch1 space of the previous row
Row 2: Ch 3, dc in same space, ch 1, 2 dc in same space, *(2 dc, ch 1, 2 dc) in next ch1 space, repeat * until the end, turn.
Fasten off B, Join C with a slst to ch 1 space.
Row 3: Repeat Row 2
Fasten off C, Join D with a slst to ch 1 space.
Rows 4 – 5: Repeat Row 2
Row 6: Start at the ch1 space of the previous row, ch3, 5dc in the same space, *6dc in the next ch1 space, and repeat * until you reach the end.
Make the feather edging, using the same instructions as with the wreath feather edging above.
Fasten off.
Legs
With Color C
Chain 21
Row 1: Sc in 2nd ch from hook and each remaining ch across, turn. 20 sc.
Row 2: *Ch 7, sc in 2nd ch from hook and in next 5 ch, slip st in end of Row 1; repeat from * twice; working in opposite side of foundation ch, slip st in each ch.
Fasten off, leaving a long tail for sewing.
Eyes
Big clear eyes – Make 2
With E
Round 1: In a magic ring, Ch 1, 6 hdc into the ring, sl st to the first hdc. 6 hdc
Round 2: Ch 1, 2 hdc in first st and each of next st around, sl st to the first hdc. 12 hdc
Round 3: Ch 1, 2 hdc in first st, *hdc in next st, 2 hdc in next st; repeat to around, sl st to the first hdc. 18 hdc
Cut the yarn and fasten off leaving about 5″ long yarn tail for sewing.
Smaller Part of the Eye
Note – You can replace this with a black button if you wish.
Make 2
With F
Round 1: Ch 1, 6 sc into the ring, sl st to the first hdc. 6 sc
Cut the yarn and fasten off leaving about 4″ long yarn tail for sewing.
Beak
With B – Make 1
Row 1: Chain 6, sc in 2 nd ch from the hook, hdc in next ch, dc in last 3 chs, Cut the yarn and fasten off leaving about 5″ long yarn tail.
Wattle
With D
Row 1: Chain 7, 2 sc in 2nd ch from hook, 3 sc in each of next ch across, Cut the yarn and fasten off leaving about 3″ long yarn tail.
To assemble
Step 1 – Wreath ring and cover.
Fold the wreath cover around the foam wreath and sew it up using a darning needle or crochet hook.
Aim to sew/join the sides on the outer side of the wreath – to make the joining of the turkey feathers easier.
Sew/join the ends together using either a darning needle or a crochet hook.
Weave in all ends and fasten off.
Step 2 – Turkey feather
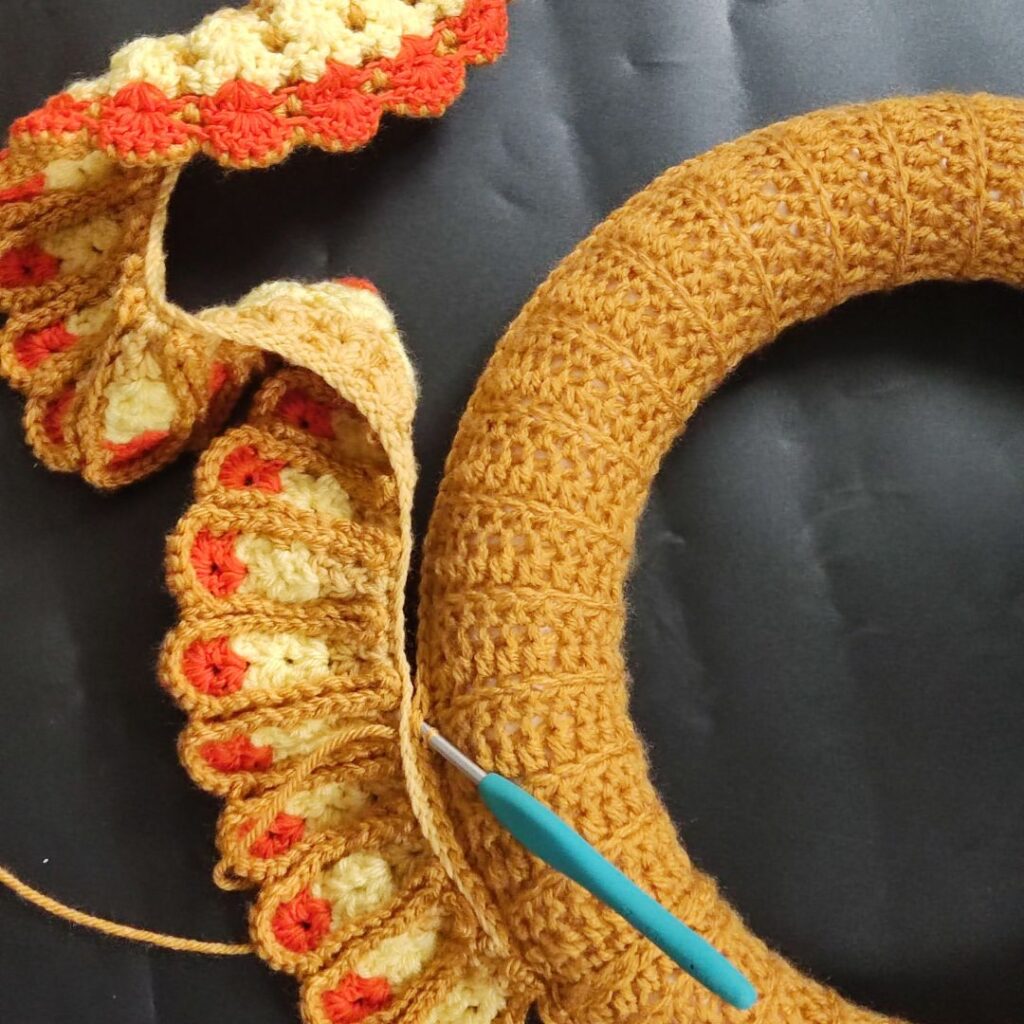
Sew the foundation stitch of the turkey to the other part of the wreath using a single crochet.
Be mindful not to break your wreath ring while sewing.
Step 3 – Facial Details
Sew the smaller eyes to the bigger eyes with the darning needle and the yarn tail. Make sure to sew closer to the edge.
Sew the bigger eyes to the upper part of the Wreath Turkey (made in section 3). Make sure to have both eyes meeting each other to look realistic.
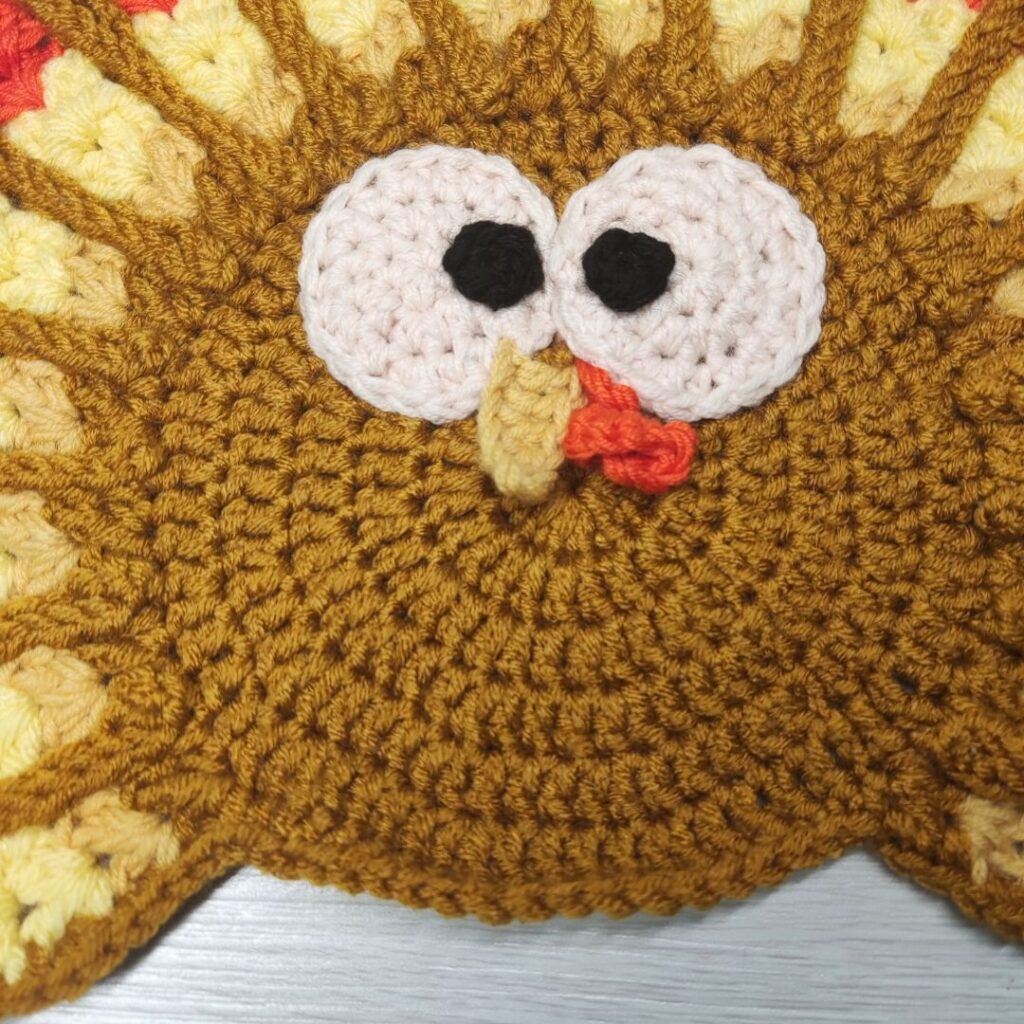
Sew beak between two eyes.
Sew the wattle on one side of the beak.
Sew the legs to the lower part of the wreath turkey, making sure to evenly space it out.
Step 4 – Joining the wreath turkey to the wreath
Pickup the wreath and the wreath turkey
Using stitch markers, tack the wreath turkey to the wreath and check the positioning to make sure you are happy with its placement.
Using a darning needle or crochet hook, join the wreath turkey to the upper part of the wreath.
Weave in all ends.
There you have your ready-made craft wreath.
Happy Holidays
Have a look at the other festive crochet pattern(s)
1. Small snowflakes and large snowflakes
2. Christmas tree ornaments free patterns
About the Designer
Say Hi on Instagram and Subscribe To my email List for pattern discounts and freebies. For questions, send such to [email protected]. Read more about me here.