Roo crochet water bottle holder with phone pouch
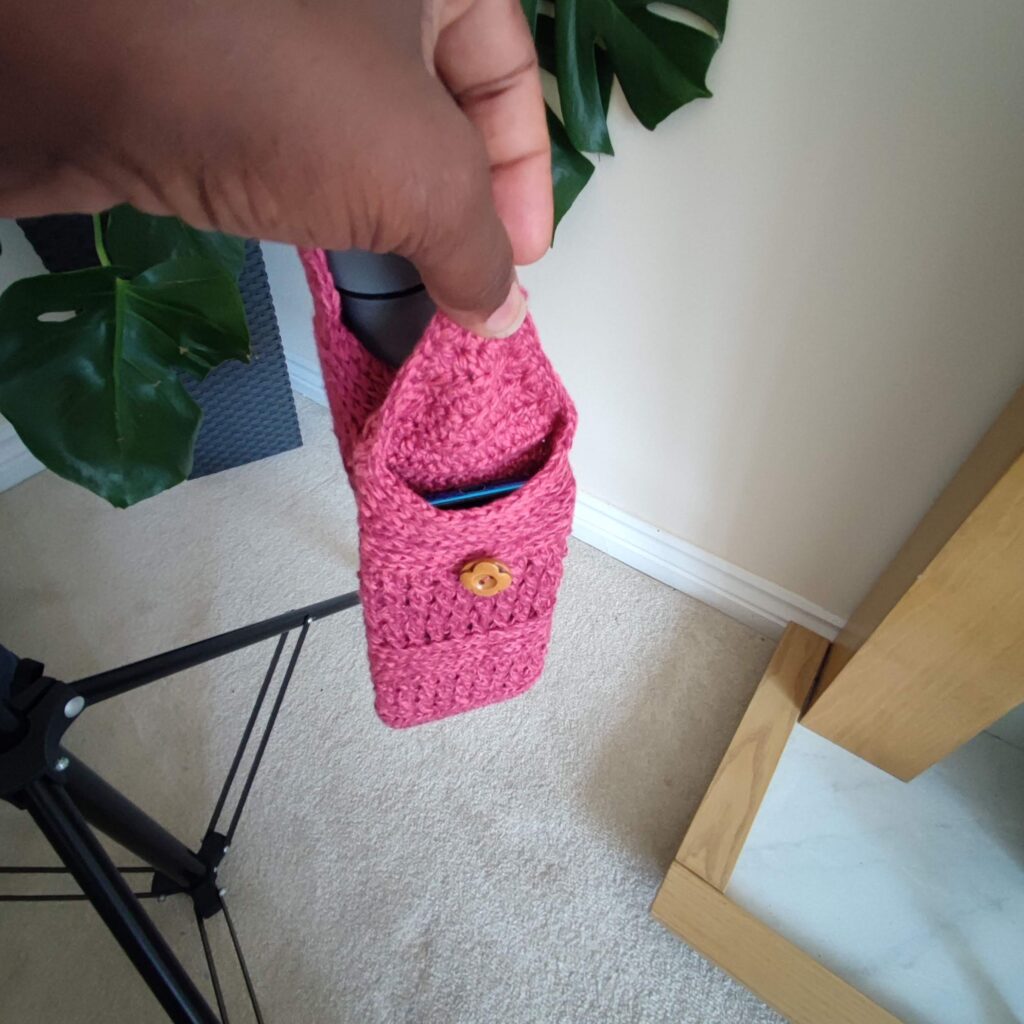
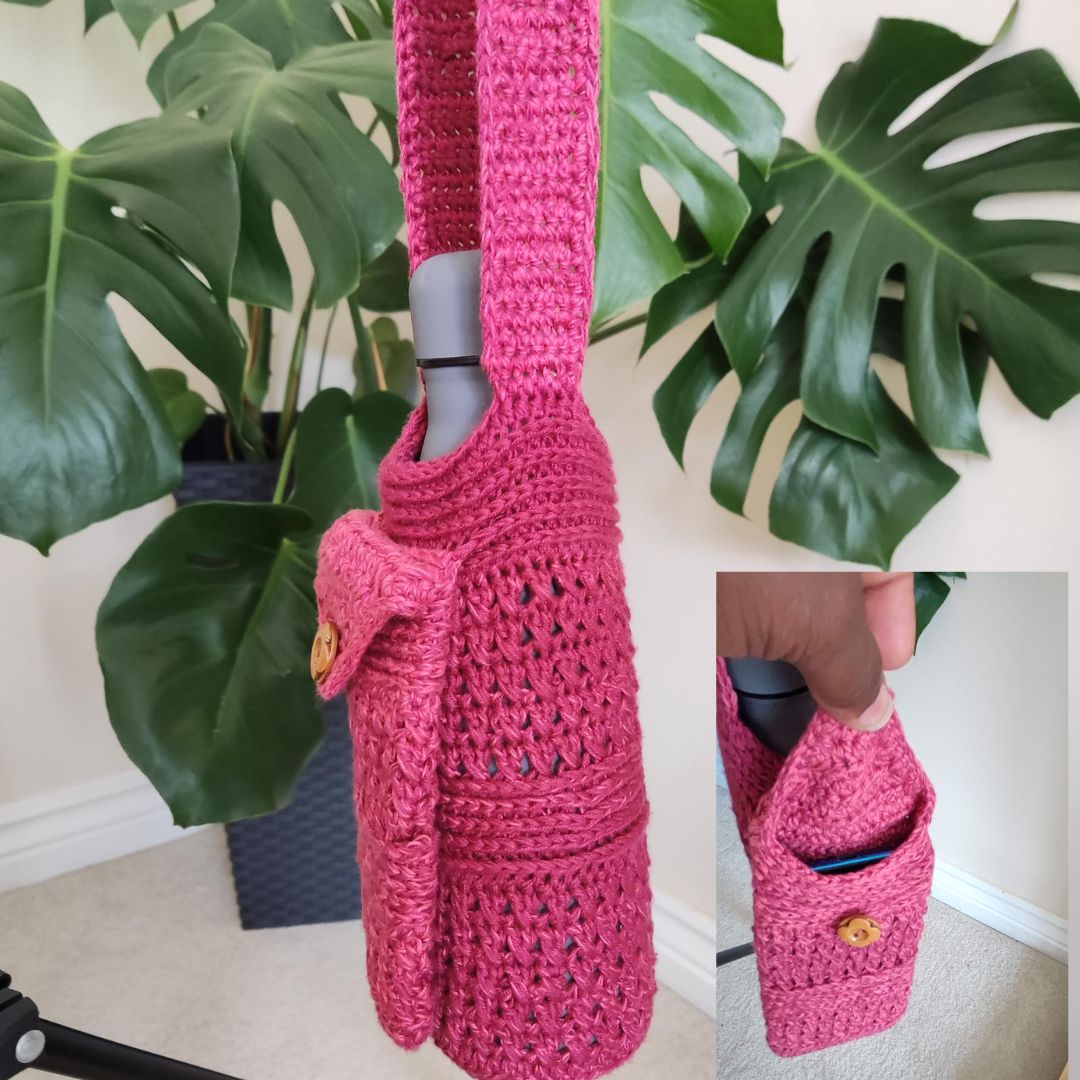
A Crochet water bottle holder and a phone pouch, the perfect and fun way to have your water and phone with you on days you are out and about. This cute water bottle holder with a phone pouch is one that would greatly come in handy when going on a walk!
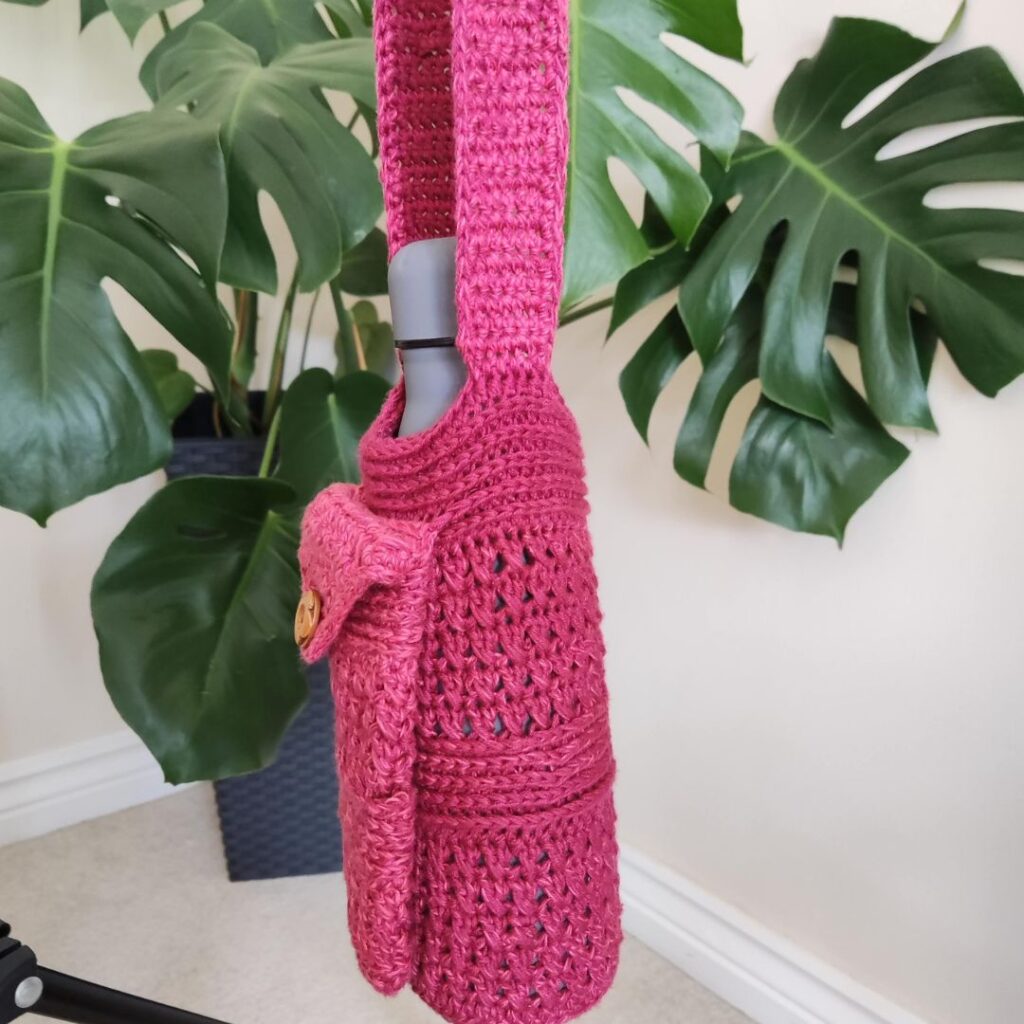
Recently, I decided to be more conscious about my health and one of the ways I am doing that is to drink more water. This water bottle carrier would go a very long way in helping me archive my goals.
Oh, how I love adding some twists to my crochet patterns. The crochet water bottle holder is not left out! How about keeping your phone secured in a phone pouch when you are also out? And having your hands free? This sounds divine as I find it difficult to hold multiple items with two kids!
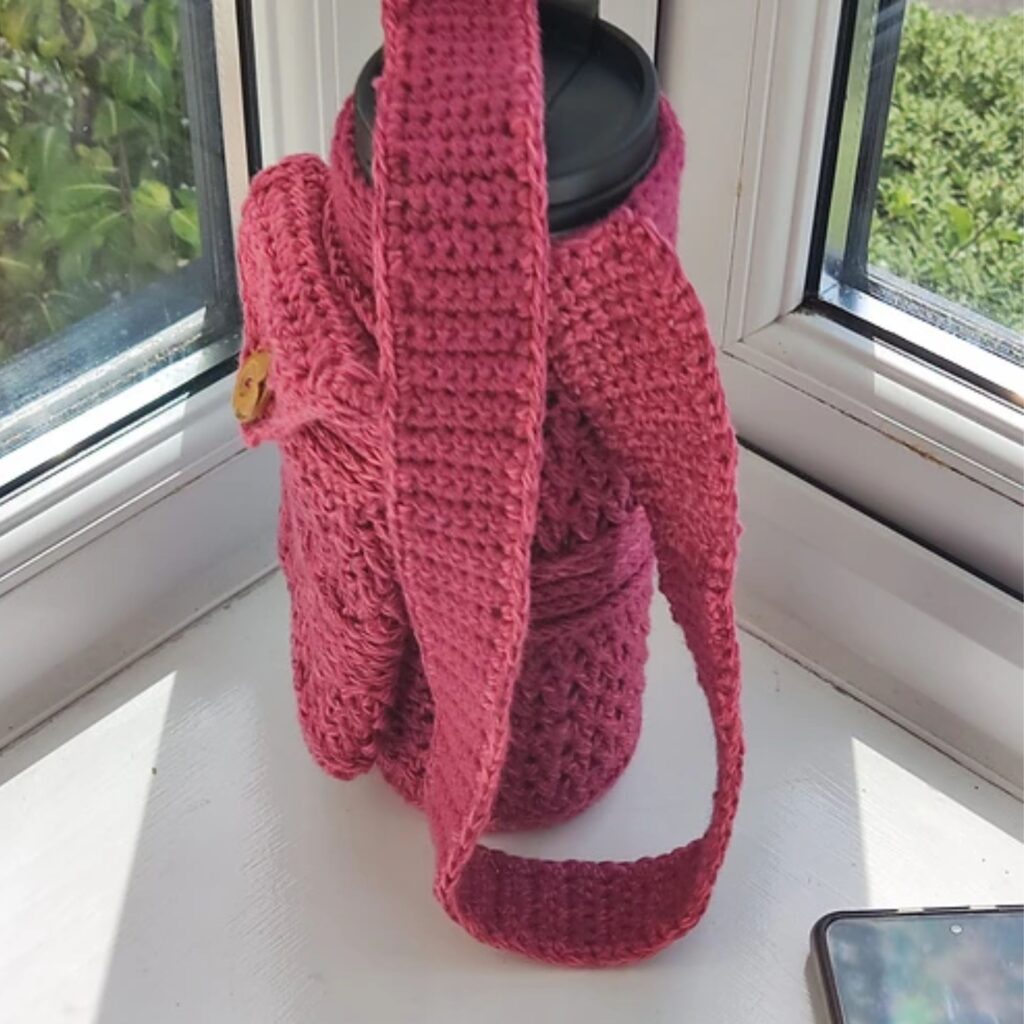
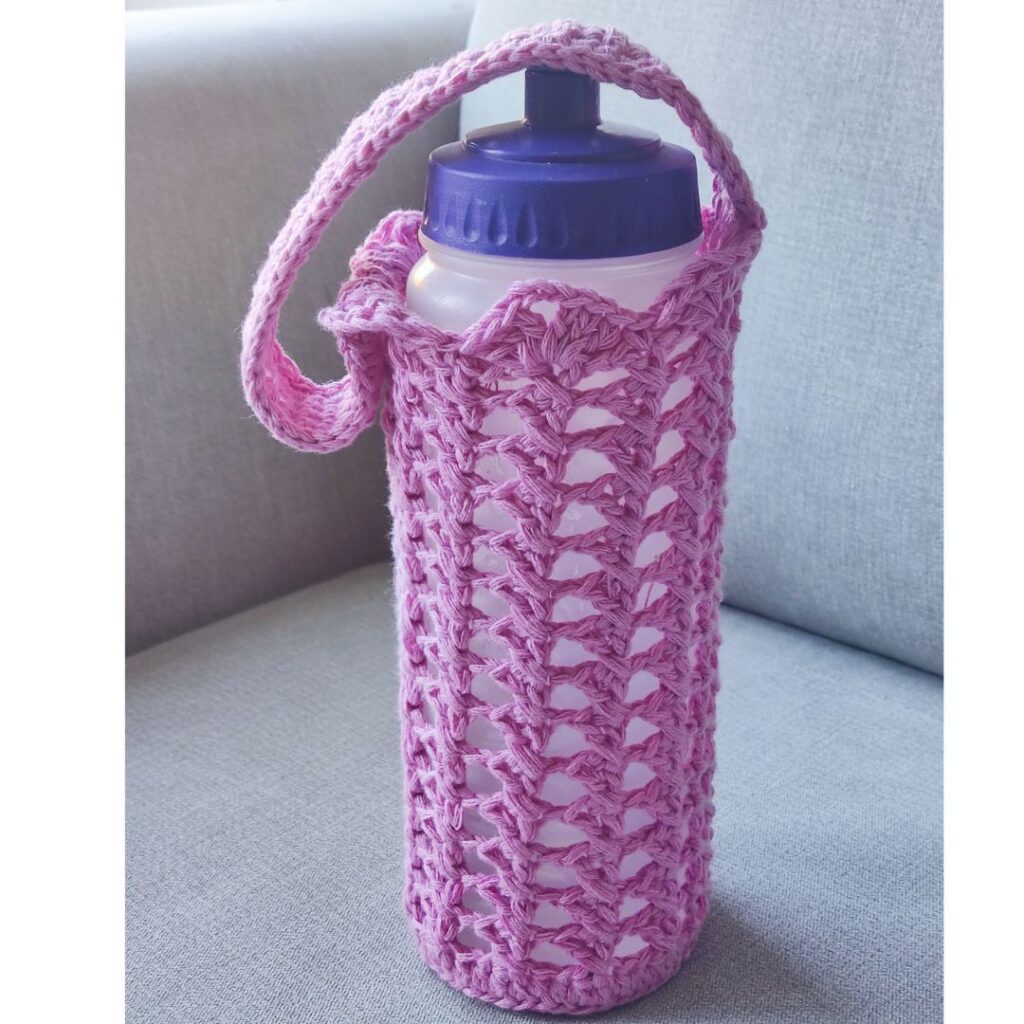
Since you love this pattern, you might also want to check out my wine bottle holder pattern – free here on my blog. If you will rather make your water bottle holder without a pouch, check out this 1-hour project and also the roundup post with more crochet water bottle carrier patterns.
How about you pin this pattern to your favorite board on Pinterest?
And add it your Ravelry’s queue?
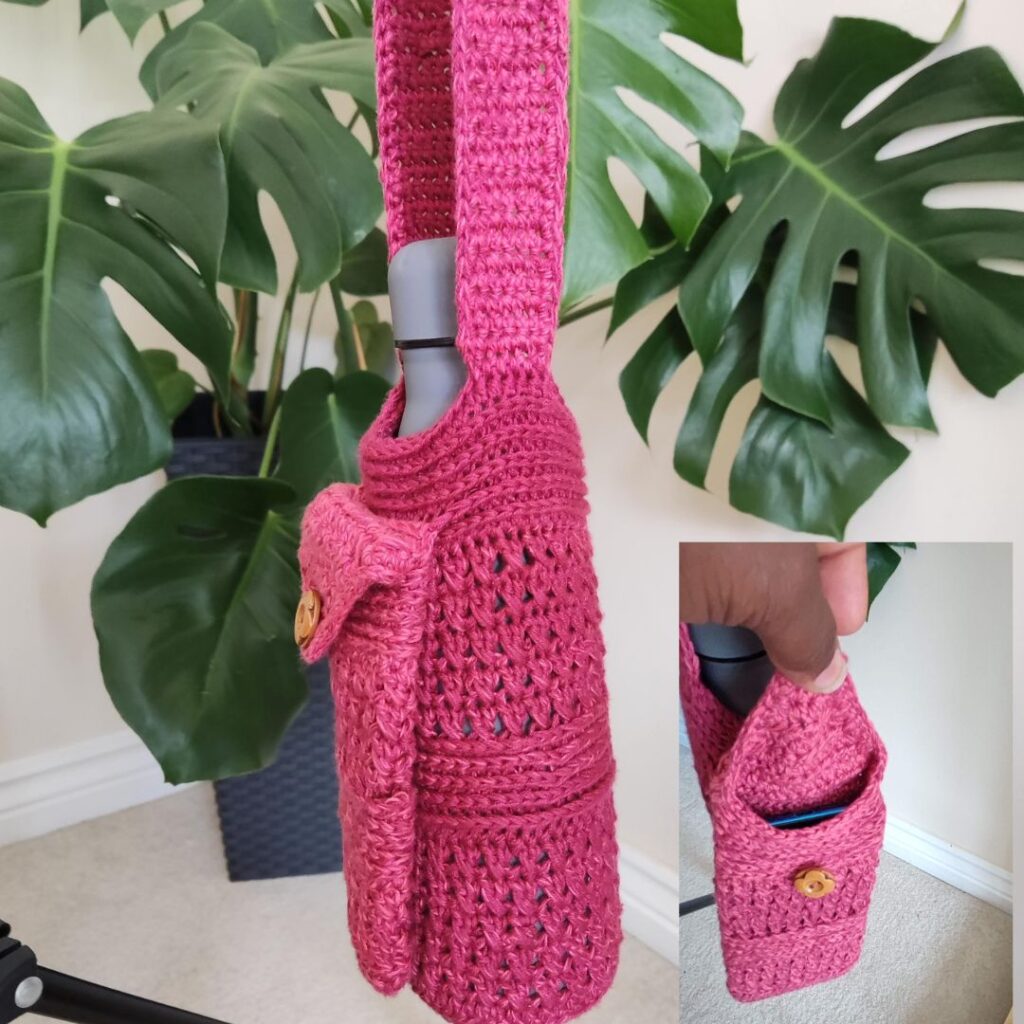
The water bottle bag carrier pattern is free to view, scroll down for the written pattern. If you prefer a print-friendly version, you can get it using the buttons below.

How to crochet a water bottle holder
Crocheting your own version of the water bottle holder is a quick project. For this project, all you need are just your best yarn and hook and preferably make sure to have a water bottle handy as it would be helpful to keep checking for measurement.
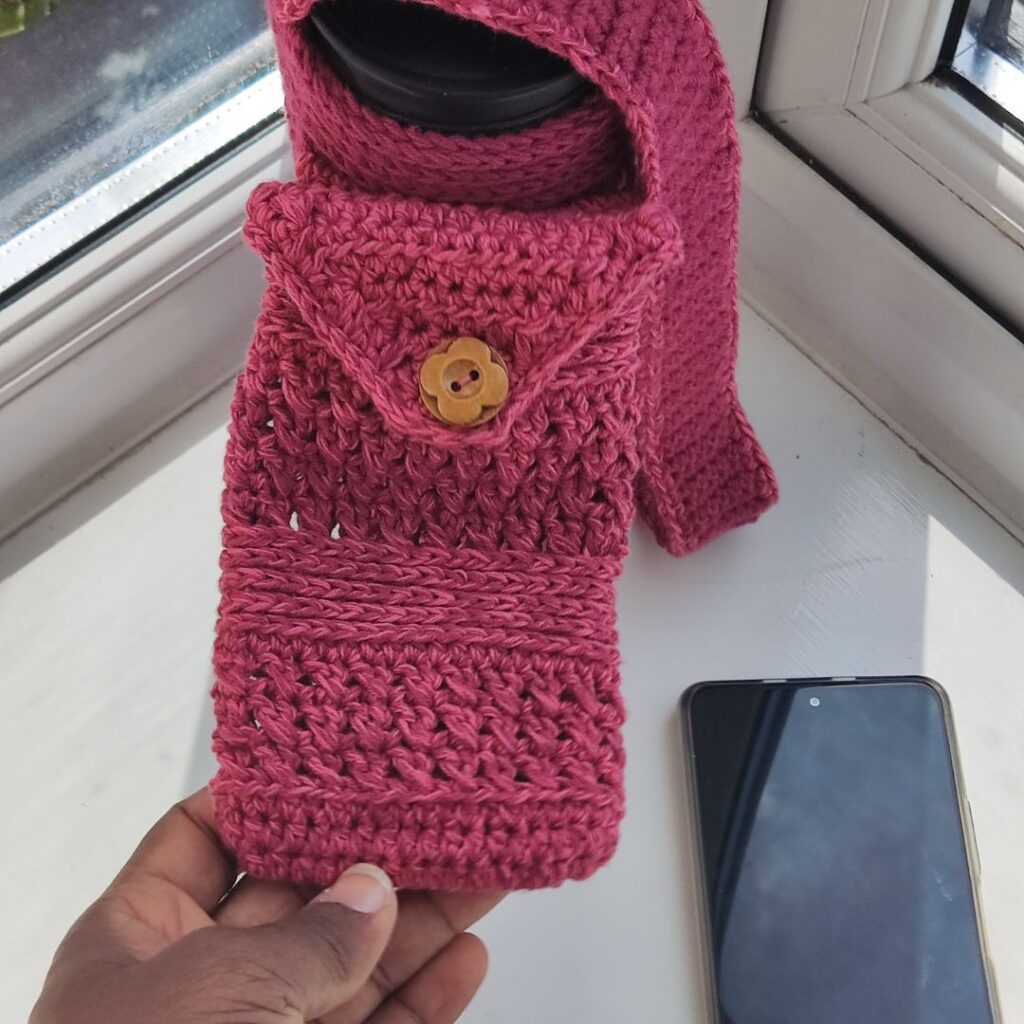
Inspiration for this water bottle carrier with phone pouch pattern
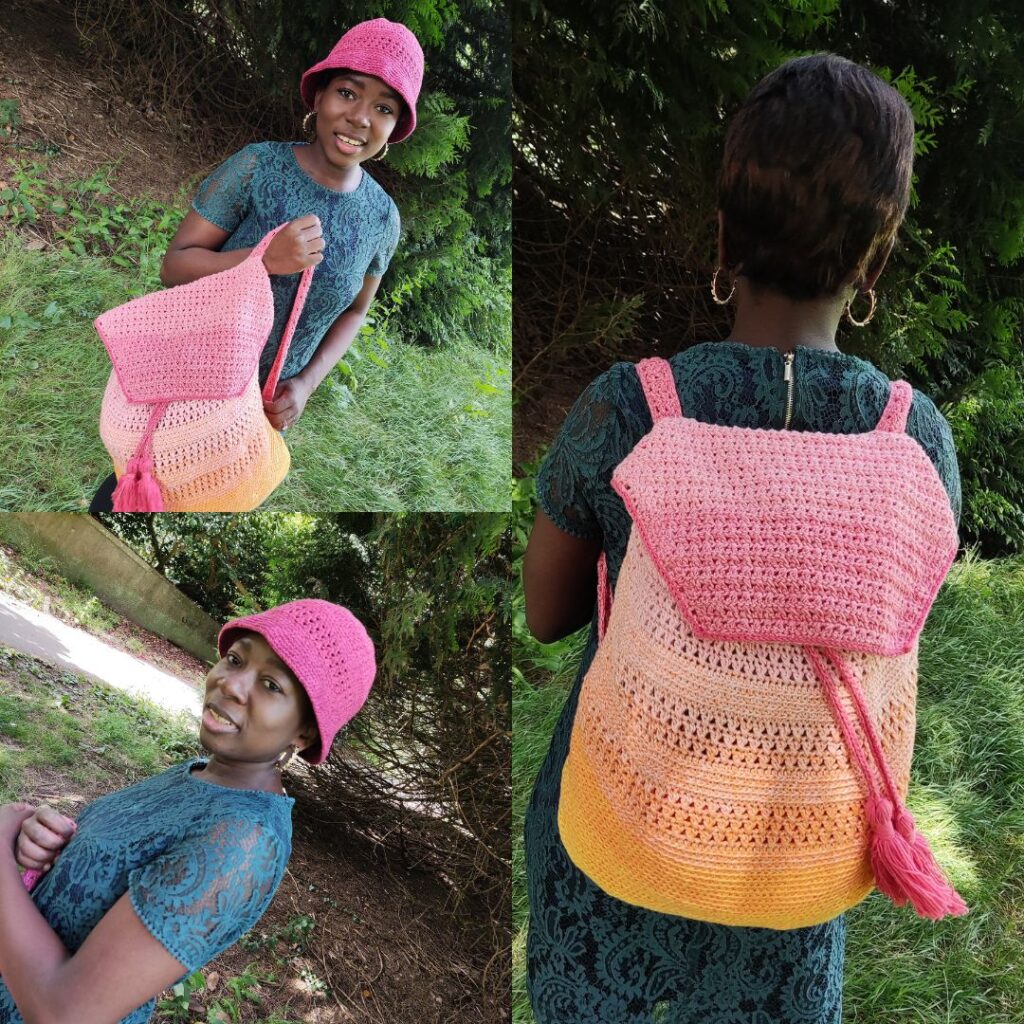
A few weeks ago, I published Roo Backpack with a bucket hat and so much love the set as it’s so functional. The backpack also has a pocket incorporated inside of the bag which makes keeping little items easier. Since I got lots of compliments and usage from this bag, a water bottle bag with a phone ouch came to mind.
Materials needed for this water bottle holder and phone pouch pattern
Yarn – Any DK (#3) weight yarn would make a beautiful water bottle holder. For this prototype, I used 2 strands of #2. Please, note that you do not need 2 strands as I did, you are welcome to use a DK weight. This pattern was also tested using various DK weights.
Hobbii Twister Summer, fine, #2 (55% Cotton, 45% Acrylic, 1093 yards/1000m per 250g Cake)
Suggested substitutes include
LionBrand Mandela
Dishie solid
Cotton Sprout
Please note that 2 strands of the above yarn were used throughout. You can substitute with any DK (#3) yarn.
ESTIMATED YARDAGE
320 yards
HOOK AND OTHER MATERIALS
- US size G (4 mm) Crochet Hook
- Yarn needle
- Button – 8 mm = 1 pcs
- Stitch marker – 1 pcs
Gauge
Rounds 1 – 6 of the base = 3.5” Diameter
Adjust hook size if necessary, to obtain gauge.
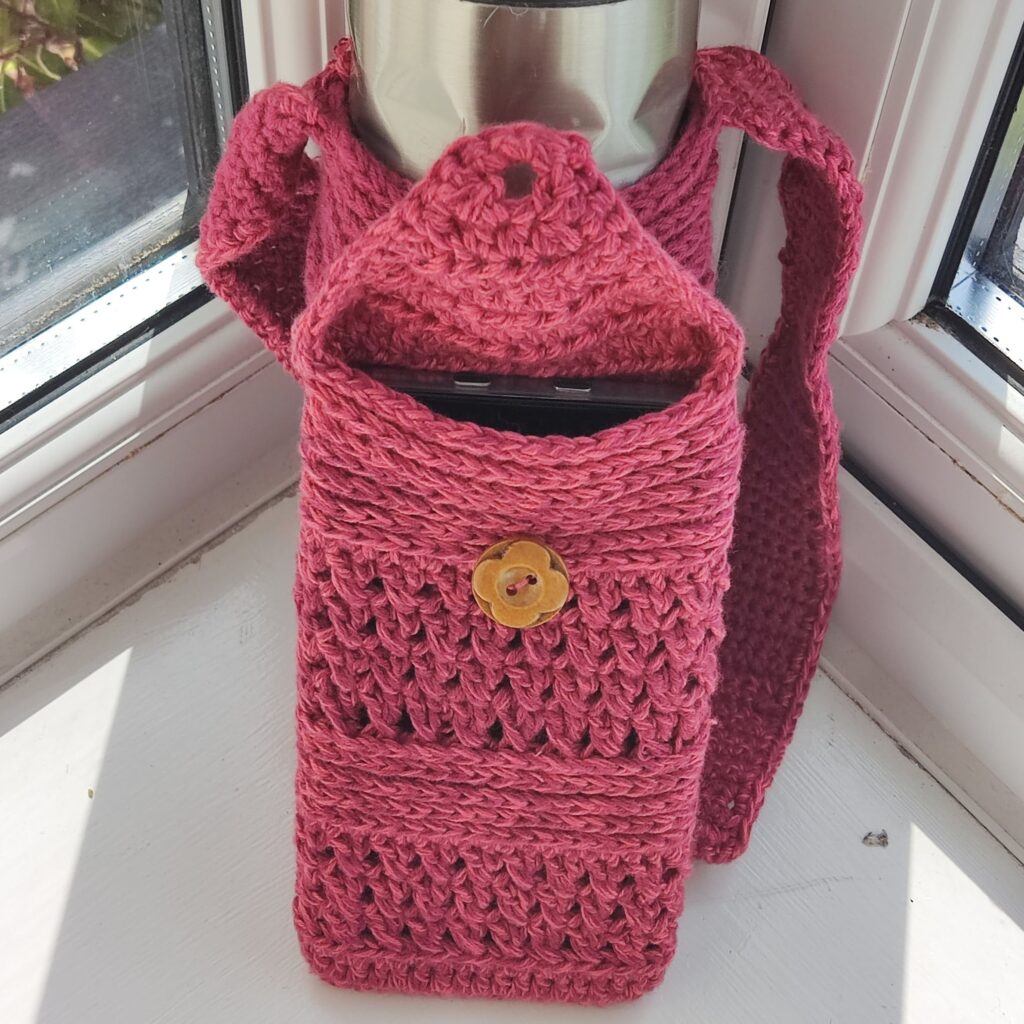
Quick and easy Crochet Water Bottle Holder pattern notes
- Please kindly read through the pattern before starting.
- Any # 3weight yarn can be substituted
- Chains at the beginning of Rounds or Rows do not count as a stitch.
DIFFICULTY LEVEL – Easy
TERMS– US Terminology
STITCHES ABBREVIATIONS
Chain(s) – ch(s)
Single Crochet – sc
Half Double crochet – hdc
Back Loop Only – BLO
3rd loop
Special Stitch
Crossed double crochet (xdc) – here is a tutorial for the xdc https://fosbasdesigns.com/how-to-crochet-the-crossed-double-crochet/
Skip next st, dc in next st, crocheting over the dc just made into the skipped st, yarn over, insert hook into skipped stitch and yarn over (3 loops on the hook), yarn over, pull through 2 loops, yarn over, pull through the remaining 2 loops.
Finished measurement of this crochet water bottle holder
Bottle cover
Base = 3.5”
Body = 8” Excluding the strap
Pouch = 3 x 4”

Instruction for the crochet water bottle carrier pattern
Section 1 –Base
Round 1: In a magic ring, ch 2 (does not count as a stitch), 8 hdc in magic ring, join. 8 hdc
Place the stitch marker on the last stitch and move it after every round, no need to join.
Round 2: 2 hdc in each around. 16 hdc
Round 3 :*hdc in next, 2 hdc in next, repeat from * around. 24 hdc
Round 4: *hdc in next 2 sts, 2 hdc in next, repeat from * around. 32 hdc
Round 5: *hdc in next 3 sts, 2 hdc in next, repeat from * around. 40 hdc
Round 6: *hdc in next 4 sts, 2 hdc in next, repeat from * around. 48 hdc
With a sl st, close the height difference.
Section 2: Body
Round 1: Ch 1,in BLO, hdc in each st around, with a sl st, join with a sl st to the beginning ch. 48 hdc
Rounds 2 – 6: Ch 3, in both loops, xdc around, join with a sl st to the beginning ch. 24 xdc
Round 7: Ch 2, in both loops, hdc in each st around, join with a sl st to the beginning ch. 48 hdc
Rounds 8 – 12: Ch 2, in 3rd loop, hdc in each st around, join with a sl st to the beginning ch. 48 hdc
Rounds 13 – 17: Repeat Rounds 2 – 6
Round 18: Repeat Round 7
Rounds 19 – 23: Repeat Rounds 8 – 12
Round 24: Ch 1, sl st in 3rd loop around, join with a sl st to the beginning ch.
Strap
Row 1: Ch 1, sc in next 6 sts, turn. 6 sc
Rows 2 – 110: Ch 1, sc across, turn. 6 sc
Increase the length of your strap accordingly
Edging – sc around the long side of the strap.
Fasten off.
Repeat on the other long side.
Do not fasten off.
Sew the other end of the strap to the body of the bag
Fasten off.
Section 3 – Pouch
Base
Round 1: Chain 15, hdc in 3rd ch from hook and in next 11 chs, 3 hdc in the last ch, turn your work so as to crochet along the other side of the chains, hdc in next 11 chs, 2 hdc in last ch, join with a sl st to beginning ch. 28 hdc
Round 2: Ch 2, 2 hdc in first st, hdc in next 11 sts, 2 hdc in next 3 sts, hdc in next 11 sts, 2 hdc in next 2 sts, join with a sl st to beginning ch. 34 hdc
Round 3: Ch 2, hdc in each st around, join with a sl st to beginning ch. 34 hdc
Body
Keep checking the dimension with that of your phone.
Round 1: Ch 3,in BLO, xdc around, join with a sl st to the beginning ch. 17 xdc
Rounds 2 – 3: Ch 3, in booth loops, xdc around, join with a sl st to the beginning ch. 17 xdc
Round 4: Ch 2, in booth loops, hdc in each st around, join with a sl st to the beginning ch. 34 hdc
Rounds 5 – 9: Ch 2, in 3rd loop, hdc in each st around, join with a sl st to the beginning ch. 34 hdc
Rounds 10 – 13: Repeat Rounds 2 – 3 twice
Rounds 14: Repeat Round 4
Rounds 15 – 20: Ch 2, in 3rd loop, hdc in each st around, join with a sl st to the beginning ch. 34 hdc
Crochet pouch holder for your phone
Row 1: Ch 2, in 3rd loop, hdc in next 18 sts, turn. 18 hdc
Row 2: Ch 2, in both loops, hdc2tog, hdc in each st across until the last 2 sts, hdc2tog, turn 16 sts
Rows 3 – 8: Repeat Row 2
Row 9: Ch 2, hdc2tog, ch 2, hdc2tog, turn. 2 hdc
Edging
Round 1: Ch 1, sc across the long side, continue to the remaining sts on the pouch, in 3rd loop, sc in the next 18 sts, continue across the remaining sts on the cover, in both loops, sc across, join with a sl st to the beginning ch.
Round 2: sl st around
Fasten off
Sew Button on the opposite side
To assemble
- Pick up the bottle cover bag
- Pick a preferred spot at any of the upper “Braids” created when working into the 3rd loop for your pouch and also on the bottle cover.
- Using your hook, sc over both sts on the bottle and the pouch.
- Fasten off
I hope to see your own version of this crochet water bottle holder with a pouch pattern. When you do, come share with me in my Facebook group
I can’t wait to see your beautiful makes! Come share your projects with me and the crochet community on Facebook and on Instagram.
Fosbas

Rounds 8 – 12: Ch 2, in 3rd loop, hdc in each st around, join with a sl st to the beginning ch. 48 hdc —- Please help me understand what it is to be done here. I tried this but it came out uneven and with a gap. I’m right in the middle of making this for a friend. I need to finish by next Thursday. So if you could respond asap I would really appreciate it. Linda
Hi Linda,
You can skip the beginning chain 2 space and continue in the round (in a spiral), you also do not need to join after each round. But keep in mind that there will be a height difference when you work in a spiral without joining at the end of the round. Just slip stitch into the next two stitches to close the height difference.
I hope this helps.
In section 2: Body, rounds 2 – 7, it refers to “booth loops”. Is that a typo or some term I’m not familiar with?
Hi,
Thank you for asking. It’s a typo and it has been corrected to “both”.
I am crocheting these for friends and I couldn’t figure out how to do the Cross double crochet (xdc). I just replaced it with double crochets. Is that Okay?