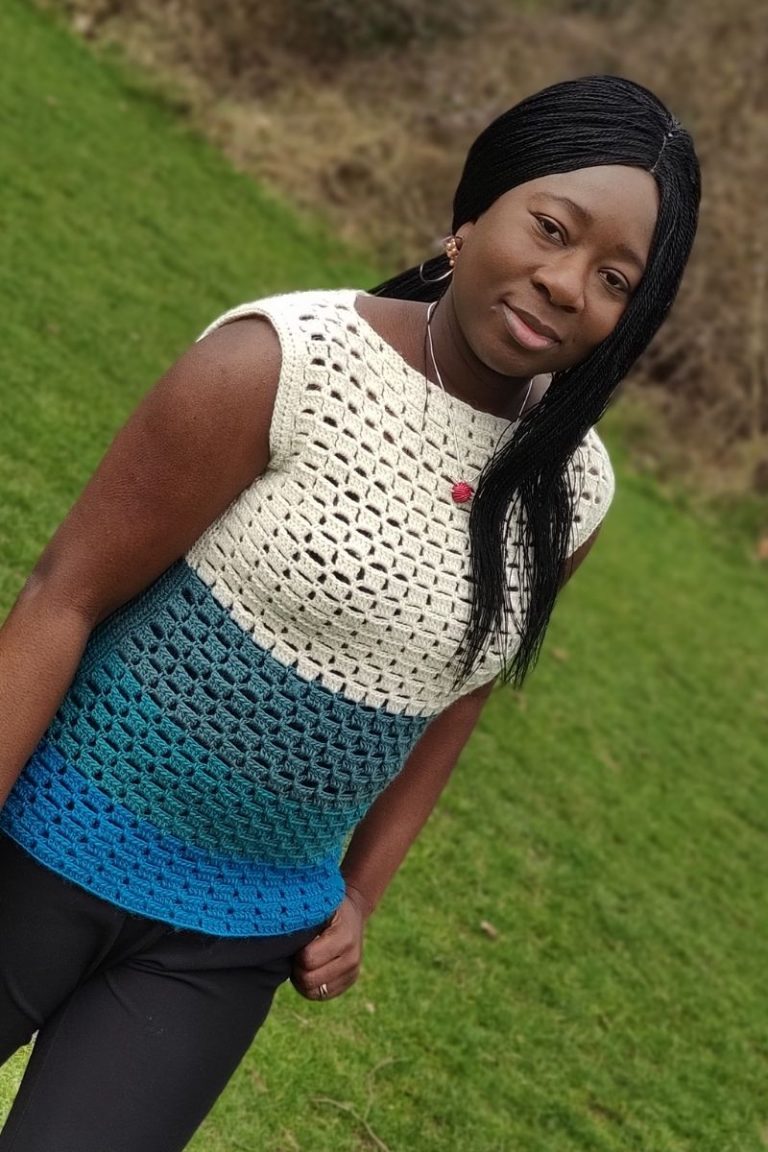
Summer Cropped Crochet Cardigan
The honeycomb summer cropped crochet cardigan is a perfect project that can be completed over a few hours.
I love the versatility of this project as it is easy to style this cardi up or down.

The cardigan is part of the ongoing 31 days of summer crochet wearables on the blog.
Honeycomb Crochet Cropped Cardigan Details
The pattern is free on the blog; scroll down for the details. Or grab a print-friendly version on ETSY or Ravelry.
You can add this project to your Ravelry queue.

Cropped Crochet Cardigan Finished Measurements
Size(s) and color codes – XS (S, M, L, XL, 2XL, 3XL, 4XL, 5XL)
Bust Measurement: 30 (34, 38, 42, 46, 50, 54, 58, 62)”
Armhole Circumference: 14 (14, 16, 16, 16, 16, 18, 18, 18)”
Length of cardigan: 8 (8, 10, 10, 12, 12, 14, 14, 14)”
The modeled garment is shown in M, with about 2” of Negative Ease.
Adjustments/fittings
Materials needed
Yarn: Any DK weight yarn
This prototype was made using Cotton Bamboo LB Collection – #3 (52% Cotton, 48% Rayon from Bamboo, 235 yards per 100g)
Have a look at the yarn details here: https://shrsl.com/4wsqn

Estimated Yardage
680 (740, 820, 900, 980, 1040, 1120, 1200, 1280) yards
Hook and other Materials
5 mm Crochet Hook
Difficulty Level – Intermediate
Terms – US Terminology
Gauge
23 sts over 7 rows = 5” across unblocked.
Chain 25, follow the written instructions for 7 rows.
Row 1: hdc in 3rd ch from hook and in each ch across, turn. 23 hdc
Row 2: Ch 5 (counts as the first tr and first ch 1, here and throughout), *skip next 3 sts, tr in next st, ch 1, tr in 2nd skipped st, ch 1, rep from *to until the last 2 sts, ch 1, skip next st, tr in last, turn.5 xtrl, 2 tr.
Row 3: Ch 5, *xtrl, ch 1, rep from *until last st, ch 1, skip ch sp, tr in last st (4th ch from the beginning ch 5), turn. 44 (48, 52) Xtr, 2 tr.
Rows 4 – 7: Rep row 3.
Note that the 2nd tr of the xtrl is inserted into the stitch from the back.
Adjust hook size, if necessary, to obtain gauge.

Pattern Notes
- Please kindly read through the pattern before starting.
- Any other weight of #3 weight yarn can be substituted.
- Stitch count is written after each row/round, with the smallest XS (S, M, L, XL, 2XL, 3XL, 4XL, 5XL)
- written first and the other in the ().
Stitches Abbreviations
Chain/chains – ch/chs
Single Crochet – sc
Half double crochet – hdc
Treble crochet – tr
Crossed treble crochet – Xtrl
Back loop only – BLO
Special Stitch
Crossed treble crochet – Xtrl
First row = *skip next 3 sts, tr in next st, ch 1, tr in 2nd skipped st, ch 1, rep from *to until the last sts, ch 1, skip next st, tr in last,
Subsequent rows of Xtrl = tr in the second leg of tr from a row below, ch 1, crocheting in front of the tr just made, tr in the first leg of tr from a row below.
This part is crocheted/stacked on previous tr stitches from the row below. All chain sps are skipped.

How to make this cropped crochet cardigan
The Honeycomb summer crochet cropped cardigan is worked flat in rows, with the sleeves made in rounds.
The main panel is made in one piece, and then folded and joined at the shoulder to create the front and back panels.
The sleeves are then made into the body, reducing sewing and also making it easier to check the fit.
A band is then made around the front panels.
Length: Increase or decrease the repeats for part of the Body.
Sleeves:
Too Long? Reduce the length of the sleeves by reducing the number of rounds.
Too short: Increase the length of the sleeves by increasing the number of repeats.


1 FREE DOWNLOAD PER MONTH
WITH JUST $3 PER MONTH!
- Pick your desired pattern each month.
- It can be a new or old pattern.

2 FREE DOWNLOADS PER MONTH
WITH JUST $5 PER MONTH!
- Pick your desired patterns each month.
- It can be a new or old pattern.
- You get 2 patterns per month.

3 FREE DOWNLOADS PER MONTH
WITH JUST $8 PER MONTH!
- Pick your desired patterns each month.
- You get 3 free patterns per month.
- It can be a new or old pattern.


Honeycomb Cropped Crochet Cardigan Pattern
Lower Brim
Row 1: Chain 11, sc in 2nd ch from hook and in each ch across, turn. 10 sc
Row 2: Ch 1, sc in first st, in BLO, sc across until the last st, sc in both loops, turn. 10 sc
Rep Row 2 until you have 26 (30, 34, 38, 42, 56, 50, 54, 58)”
Edging
Ch 1, sc in each st around the panel, ch 2 at each corner.
The finished count across the long side should be a multiple of 4 + 3. My estimated count for each size = 91 (115, 139, 163, 187, 211, 235, 259, 283) sc
Do not fasten off.
Body of the Cardigan
Crocheting across one of the long sides of the band.
Row 1: Ch 1, hdc in each st across, turn. 91 (115, 139, 163, 187, 211, 235, 259, 283)
Row 2: Ch 1, hdc in each st across, turn. 91 (115, 139, 163, 187, 211, 235, 259, 283)
Row 3: Ch 5 (counts as the first tr and first ch 1, here and throughout), *skip next 3 sts, tr in next st, ch 1, tr in 2nd skipped st, ch 1, rep from *to until the last sts, ch 1, skip next st, tr in last, turn. 22 (28, 34, 40, 46, 52, 58, 64, 70) xtrl, 2 tr.
Row 4: Ch 5, *xtrl, ch 1, rep from *until last st, ch 1, skip ch sp, tr in last st (4th ch from the beginning ch 5), turn. 22 (28, 34, 40, 46, 52, 58, 64, 70) xtrl, 2 tr.
Rows 5 – 6 (6, 6, 7, 7, 7, 9, 9, 9): Rep row 3.
Section 2: Split for Sleeves
Front Panel: Right side
Row 1: Ch 5, *xtrl, ch 1, rep from * 3 (4, 5, 6, 7, 8, 9, 10, 11) more times, ch 1, tr in same st the first leg of the last xtrl, turn, leave the remaining stitches unworked. 4 (5, 6, 7, 8, 9, 10, 11, 12) xtrl, 2 tr.
Row 2: Ch 5, *xtrl, ch 1, rep from *until last st, ch 1, skip ch sp, tr in last st (4th ch from the beginning ch 5), turn. 4 (5, 6, 7, 8, 9, 10, 11, 12) xtrl, 2 tr.
Rows 3 – 10 (10, 11, 11, 12, 12, 13, 13, 13): Rep Row 2.
Fasten off.
Left side
Join yarn with a sl st to the 4th ch from the ch 5 sp at the other end.
Repeat as with the right side.
Back Panel
Crocheting across the unworked stitches.
Join yarn with a sl st to the last stitch of Row 1 on the right side of the front panel.
Row 1: Ch 5, *xtrl, ch 1, rep from *until the end, ch 1, tr in next st (this is the first leg of the xtrl of the left part of the front panel), turn. 14 (18, 22, 26, 30, 34, 38, 42, 46) xtrl, 2 tr.
Row 2: Ch 5, *xtrl, ch 1, rep from *until last st, ch 1, skip ch sp, tr in last st (4th ch from the beginning ch 5), turn. 14 (18, 22, 26, 30, 34, 38, 42, 46) xtrl, 2 tr.
Rows 3 – 10 (10, 11, 11, 12, 12, 13, 13, 13): Rep Row 2.
Fasten off.
Finishing
Shoulder seam(s)
- Fold the front panels over the back panel.
- Join yarn with a slip stitch to the outer edge, crocheting towards the neckline across both front and back panels.
- Ch 1, sc over both sides, towards the shoulder tip.
- Fasten off, repeat on the other side.
Neckline Edging
Crocheting across the stitch on the front panel.
Join yarn with a sl st to the Neckline opening.
Row 1: Ch 1, sc in each st across the front, remaining sts on the back panel and the other side of the front panel, fasten off.
Sleeves
- Join yarn with a sl st to the base of the armhole opening (this is where you divided the front and back panels)
- Crocheting in the rounds.
- For round 1, since you are crocheting into the ch sps, you can make a tr-v st instead of xtrl.
- Tr-vst = tr, ch 1, tr in indicated stitch.
Round 1: Ch 5, in each ch 4 sps, work *tr-Vst, ch 1, rep from *until the end, tr in beginning st, ch 1, sl st to the 4th ch from the beginning ch 5.
Round 2: Ch 5, *xtrl, ch 1, rep from *until last st, ch 1, skip ch sp, tr in last st, join with a sl st to the 4th ch.
Rounds 3 – 20: Repeat round 2
Increase or reduce the repeats for a comfortable length. The band will add 2”
Round 21: Ch 1, sc in each st/ch sp around, join
Round 22: Ch 1, hdc2tog around, join
Round 23: Ch 1, *hdc2tog, sc in next st, rep from * in each st/ch sp around, join
Round 24: Ch 1, sc in each st/ch sp around, join.
Fasten off for option two.
Sleeve band/Band:
You can adjust the length of the band by increasing or decreasing the number of chains made.
Option 1: band made directly on the sleeve.
Row 1: Chain 11, sc in 2nd ch from hook and in each chain across, skip corresponding st on the sleeve, sl st into the next 2 sts on the sleeves, turn. 10 sc
Note:
- You can go down a hook size for the ribbing.
- Skip 3 sts instead of 2 sts for a neater joining on the Cardigan.
Row 2: Skip the first 2 sl sts, In BLO, sc in each st across, turn
Row 3: Ch 1, in BLO, sc in each st across, skip corresponding st on the Cardigan, sl st into the next 2 sts on the Cardigan, turn. 10 sc
Rows 4 – end: Repeat Rows 2 and 3 until you have crocheted into all the stitches on both sides of the cardi.
Crocheting across the band just made, join yarn with a sl st to any of the sts on the edge.
Row 1: Ch 1, sc evenly across.
Fasten off.
Option 2: The band is made separately and then joined to the sleeve
Row 1: Ch 11, sc in 2nd ch from the hook and in each ch across, turn. 20 sc
Row 2: Ch 1, in BLO, sc in each st across
Rows 3 – until you have a length long enough around the sleeve lower end: Repeat Row 2
Joining the band with the sleeve
Step 1: Place the band next to the sleeve.
Step 2: Turn the band and sleeve to the wrong side.
Step 3: Using sl st or sc to join the band to the sleeve.
Step 4: Sew the sides of the band together.
Step 5: Crocheting around the sts on the other end of the band for a smooth finish. Ch 1, sc in each st around, join with a sl st.
Cardigan front Opening band
- Crocheting across the front opening (front panels).
- Crocheting from the right part of the front panel, continue to the stitches left at the back panels and then towards the left part of the front panel.
- Join yarn with a sl st to the beginning of the foundation chain (made at the beginning).
Row 1: Ch 1, 3 sc in each ch 5 sp/tr across, turn.
Row 2: Ch 1, sc in each st across, fasten off.
Option 1: band made directly on the cardigan.
Row 1: Chain 11, sc in 2nd ch from hook and in each chain across, skip corresponding st on the front of the cardi, sl st into the next 2 sts on the cardi, turn. 10 sc
Note:
- You can go down a hook size for the ribbing.
- Skip 3 sts instead of 2 sts for a neater joining on the Cardigan.
Row 2: Skip the first 2 sl sts, In BLO, sc in each st across, turn
Row 3: Ch 1, in BLO, sc in each st across, skip corresponding st on the Cardigan, sl st into the next 2 sts on the Cardigan, turn. 10 sc
Rows 4 – end: Repeat Rows 2 and 3 until you have crocheted into all the stitches on both front of the cardi.
Crocheting across the band just made, join yarn with a sl st to any of the sts on the edge.
Row 1: Ch 1, sc evenly across.
Fasten off.
Option 2: The band is made separately and then joined to the cardigan.
Row 1: Ch 11, sc in 2nd ch from the hook and in each ch across, turn. 20 sc
Row 2: Ch 1, in BLO, sc in each st across
Rows 3 – until you have a length long enough across the opening at the front of your cardigan: Repeat Row 2
Joining the band with the cardigan
Step 1: Place the band next to the cardigan.
Step 2: Turn the band and cardigan to the wrong side.
Step 3: Using sl st or sc to join the band to the cardigan.
Step 4: Crocheting around the sts on the other end of the band for a smooth finish. Ch 1, sc in each st across.
Fasten off, sew in ends
Block to measurement.
There you have the Summer Cropped Crochet Cardigan pattern. I would love to see your version! Do tag me with your makes using the outlets below.
About the Designer
Say Hi on Instagram and Subscribe To my email List for pattern discounts and freebies. For questions, send such to [email protected]. Read more about me here.