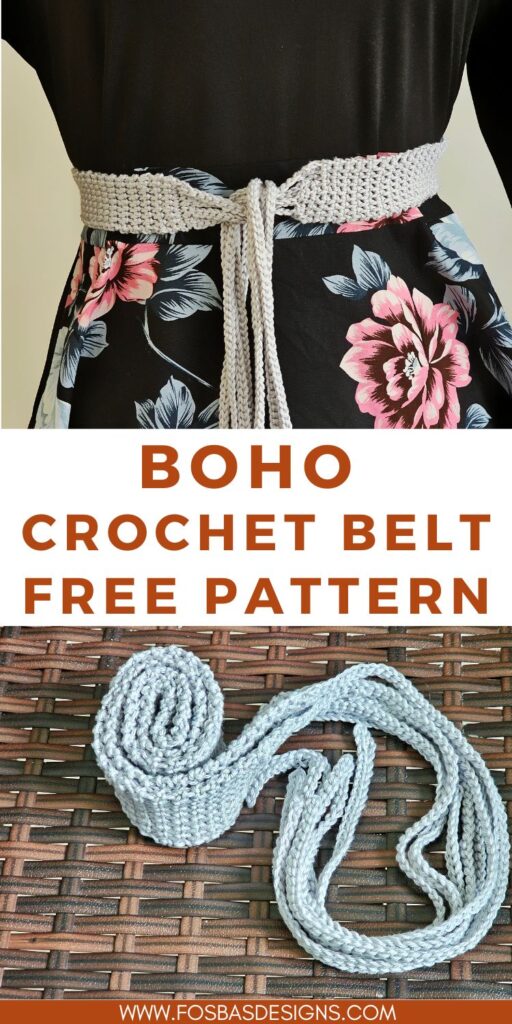
Beginners crochet belt pattern: A Step-by-Step Guide
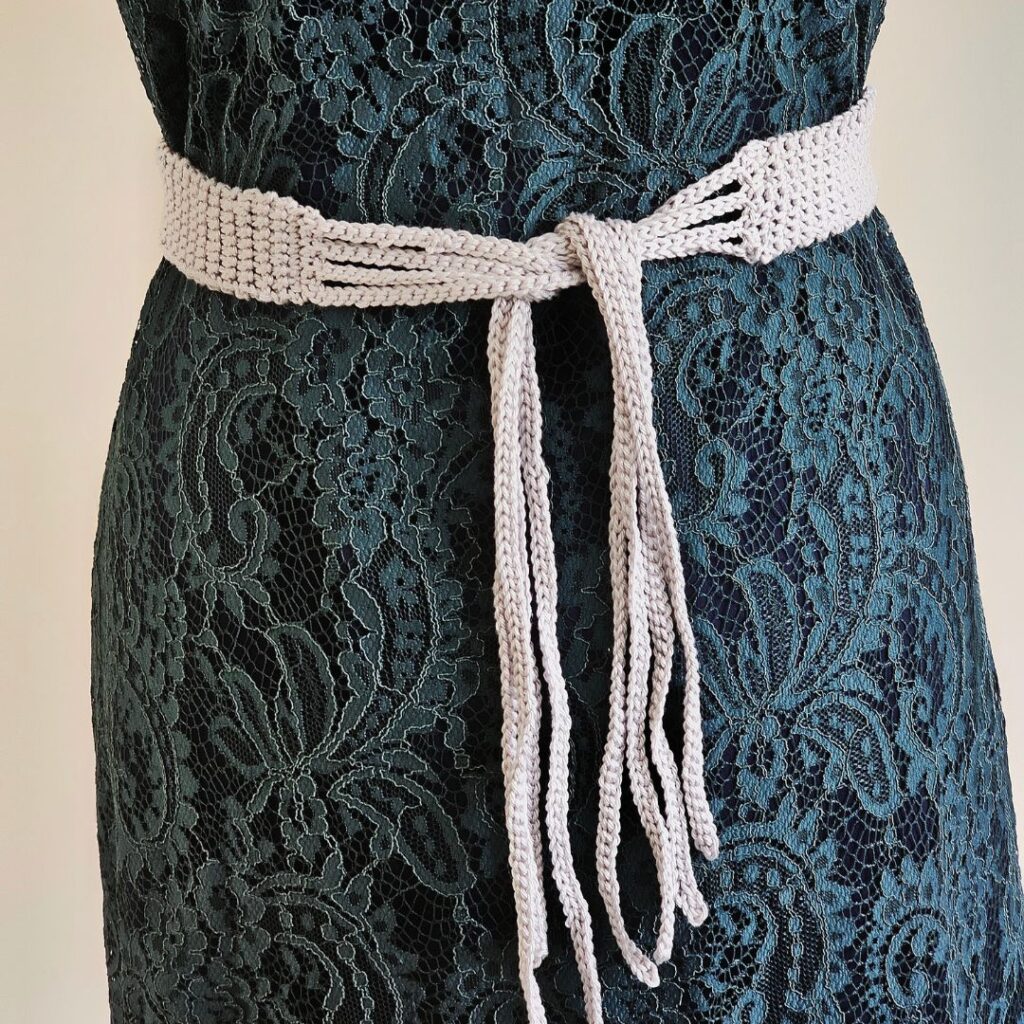
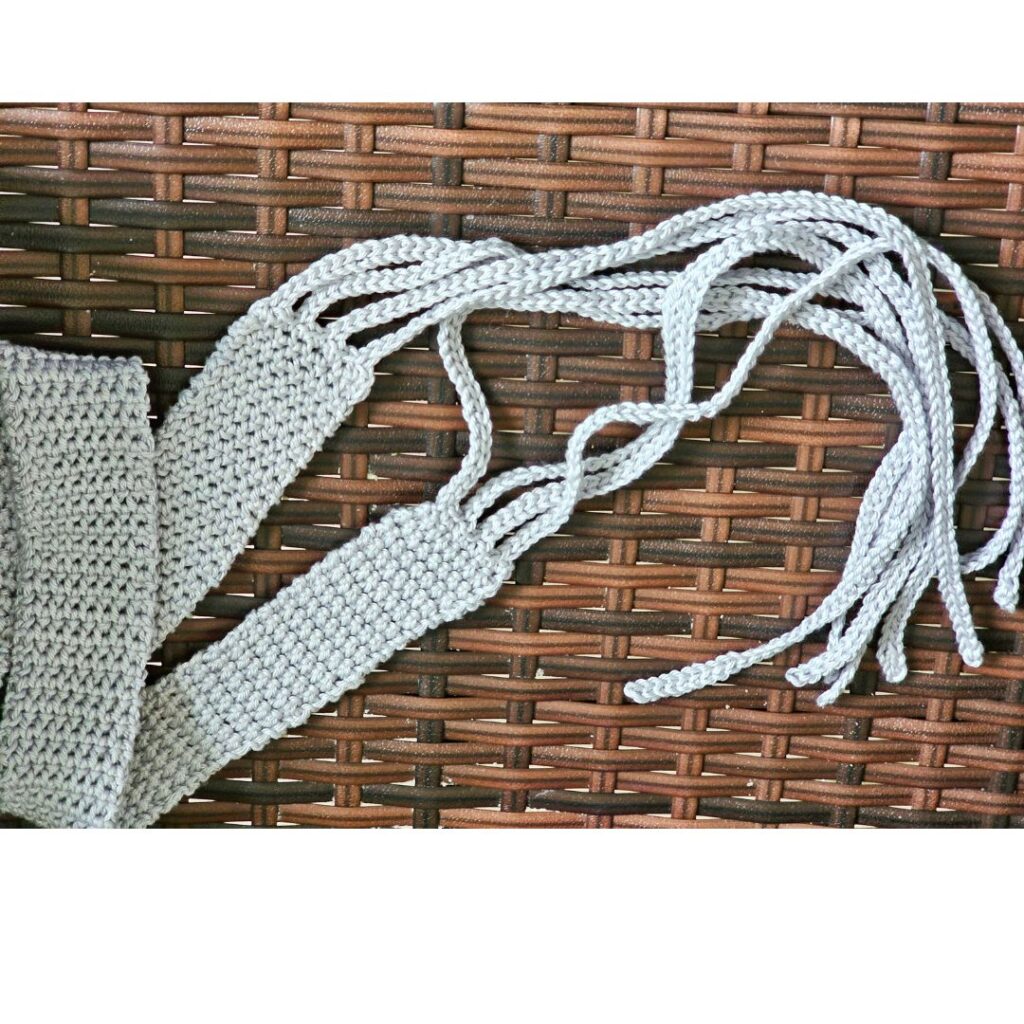
Designing this crochet belt pattern has been fun! I wanted a belt that was simple enough but also functional. For a lacy version, check out this easy lace belt-free pattern. The added chains are my way of adding class and elegance to make using the belt much easier. I have added a couple of chains to either end of the main belt.
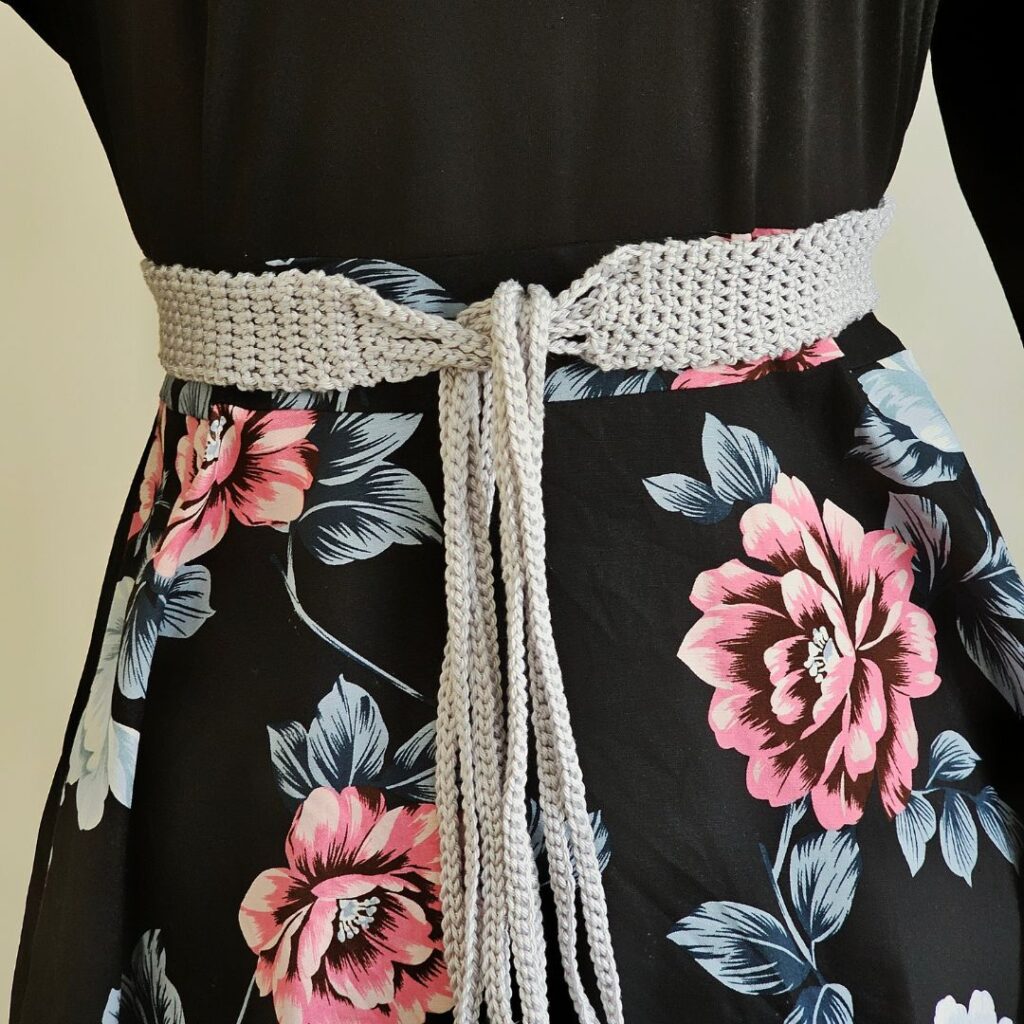
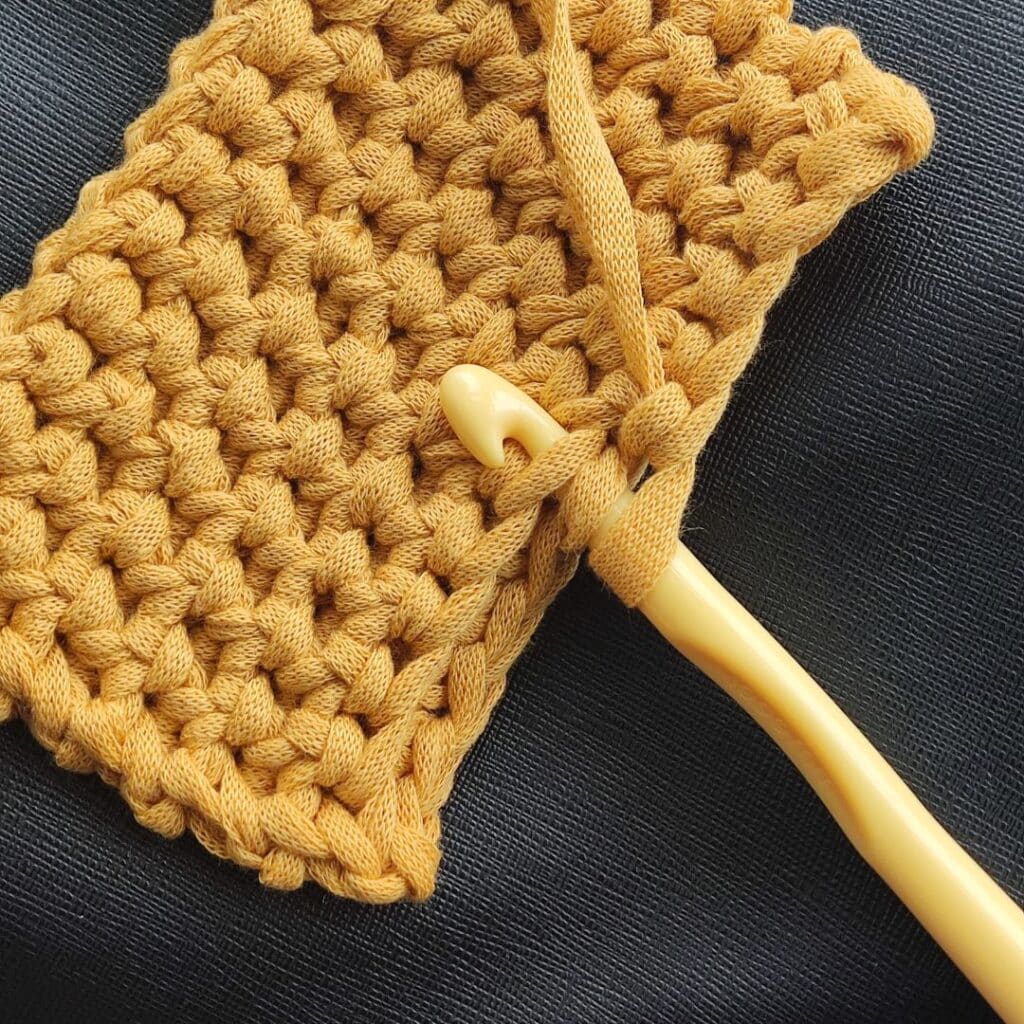
The entire belt has just two crochet stitches – single crochet and chains!
Crocheting a belt is a fantastic project for beginners looking to practice basic stitches and techniques. It’s not only a practical accessory but also a fun way to showcase your crochet skills.
This pattern covers everything you need to know about making a crochet belt, from selecting the right yarn to adding the finishing touches.
Which Yarn is Best for Crochet Belts?
Selecting the right yarn is essential for creating a durable and stylish belt. You need a yarn that won’t stretch too much so your belt can retain its shape. Here are some tips:
- Cotton Yarn: Provides strength and a clean finish.
- Acrylic Yarn: Offers a variety of colors and is easy to care for.
- Blended Yarns: Combine the best qualities of different fibers for added durability and texture.
About Crochet Belt Pattern
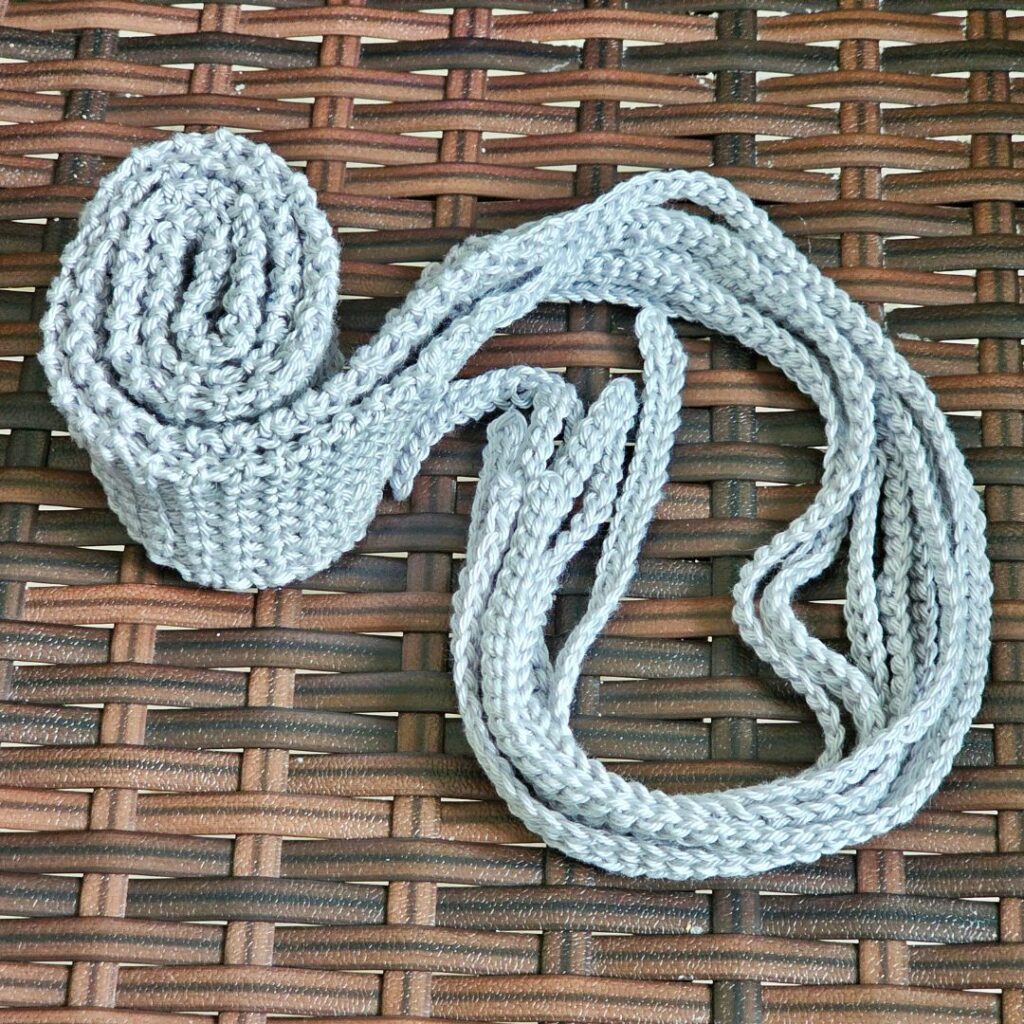
This crochet belt pattern has a simple design and repeats just one row! It is perfect for beginners. It uses an adapted version of the single crochet stitch called thermal stitch, which gives this belt sturdiness, is thick enough to retain its shape, and is super easy to customize until you have your desired length.
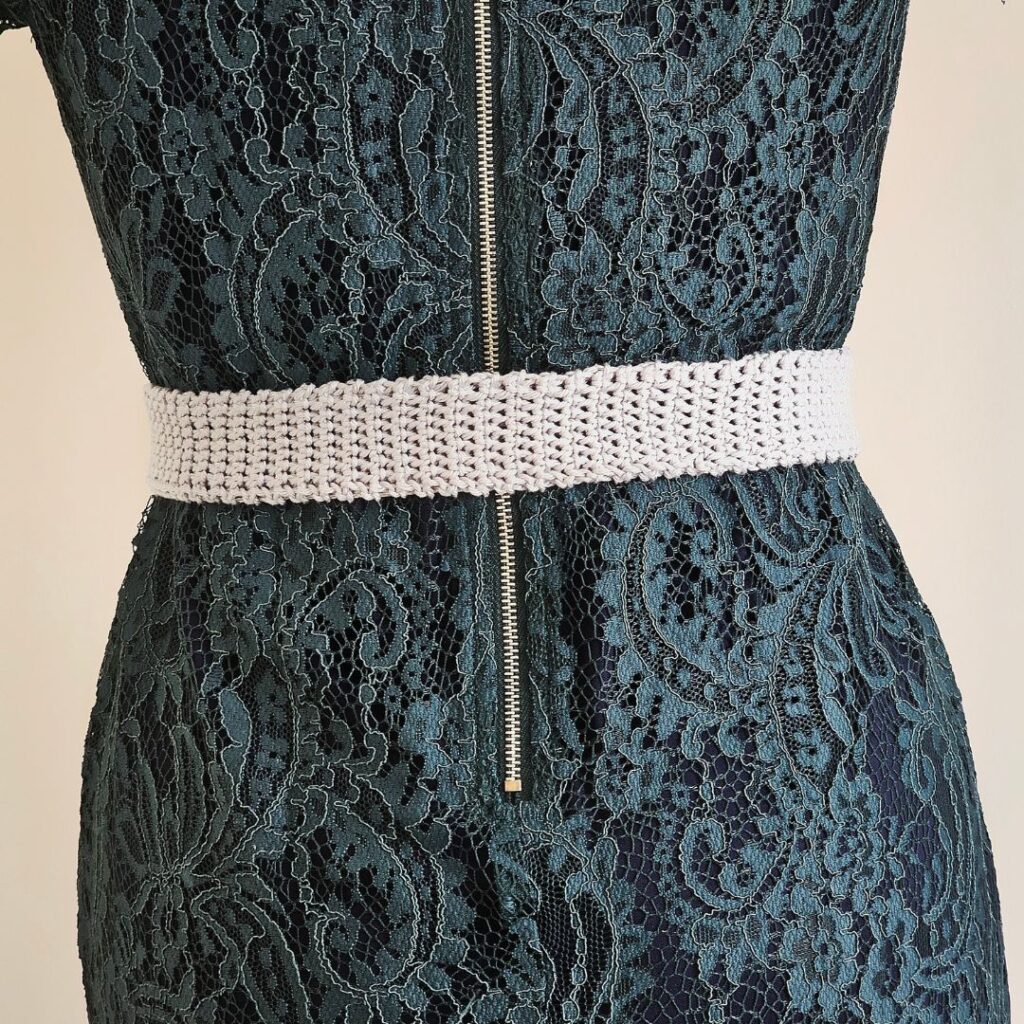
How to wear or style your Boho crochet belts
You can wear them over your dress or tops.
Use your belts on your pants.
Crochet belts also make cute hair or headbands!
Adding Finishing Touches
For this version, I have decided to add chain fringes! But you can add either of the following to your crochet belts.
- Belt Buckle: Attach a buckle at one end of the belt using a tapestry needle and some yarn.
- Picot Edge: Add a picot edge around the belt for a decorative finish.
- Buttons or Embellishments: Add buttons or other decorative elements to personalize your belt.
List of Supplies
- Yarn of your choice: This version was made using 24/7 Cotton – Worsted weight, #4 lightweight (100% Cotton, 186 yd/170 m per 3.5 oz/100g skein)
- Crochet hook – 5 mm Hook
- Tapestry needle
- Belt buckle
- Scissors
Estimated Yardage = 120 yards
Gauge
Gauge isn’t essential for this project.
Crochet belt pattern notes
- Please kindly read through the pattern before starting.
- Any #4 weight of yarns can be substituted
- If using another weight of yarn, make sure to pick a perfect crochet hook and reduce or increase the number of your starting chains. You can also use 2 pieces of yarn held together for a much stronger version.
- For a wider belt, add a couple of stitches/chains to the beginning chain.
- Chains at the beginning of rows do not count as stitches.
Skill Level – Easy
Terms – US Terminology
Stitches
Chain(s) – ch(s)
Single Crochet – sc
Slip Stitch – sl st.
Finished measurement
Size(s) – XS (S, M, L, XL, 2XL, 3XL, 4XL, 5XL)
Finished width of the belt: 3″
belt length: 44 (48, 54, 60, 66, 72, 78, 84, 90)”
Finished Circumference/Waist Measurement: 27 (28, 30, 32, 34, 36, 38, 40, 42)”
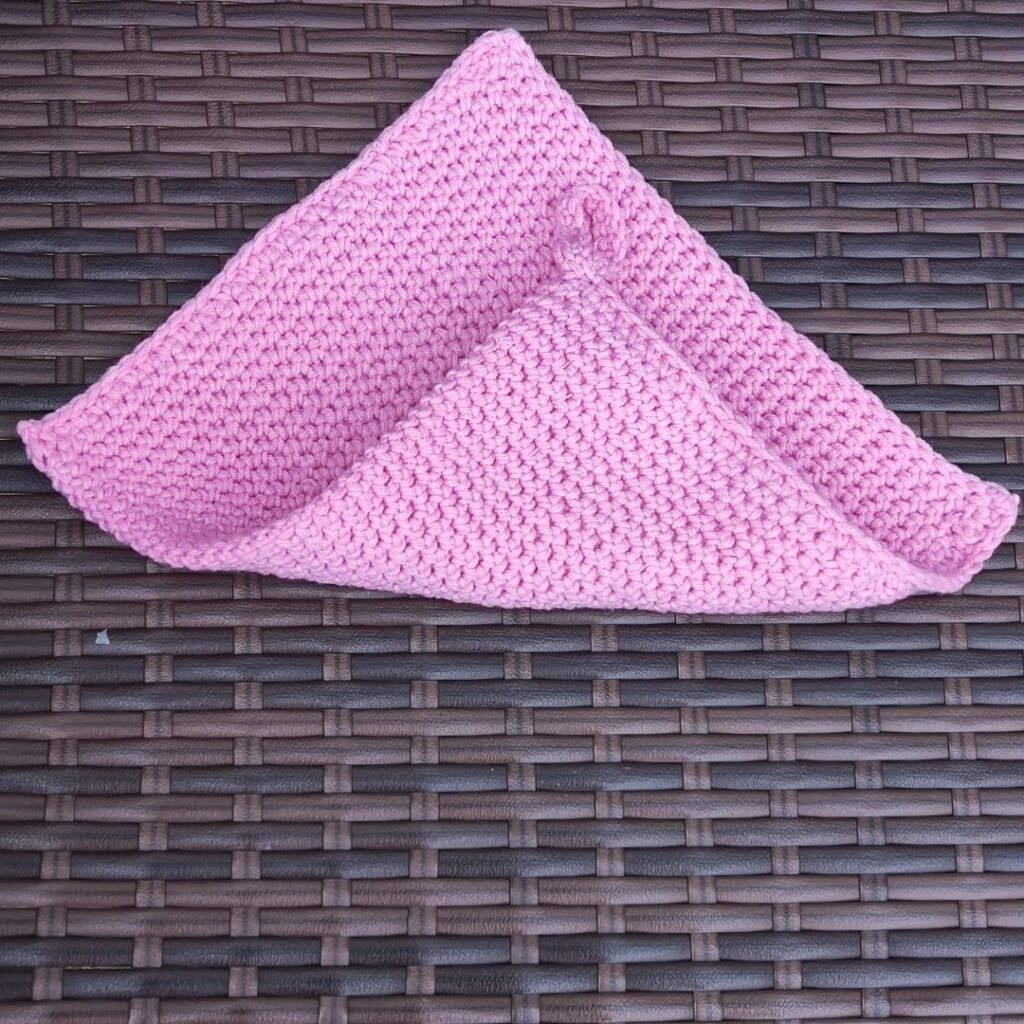
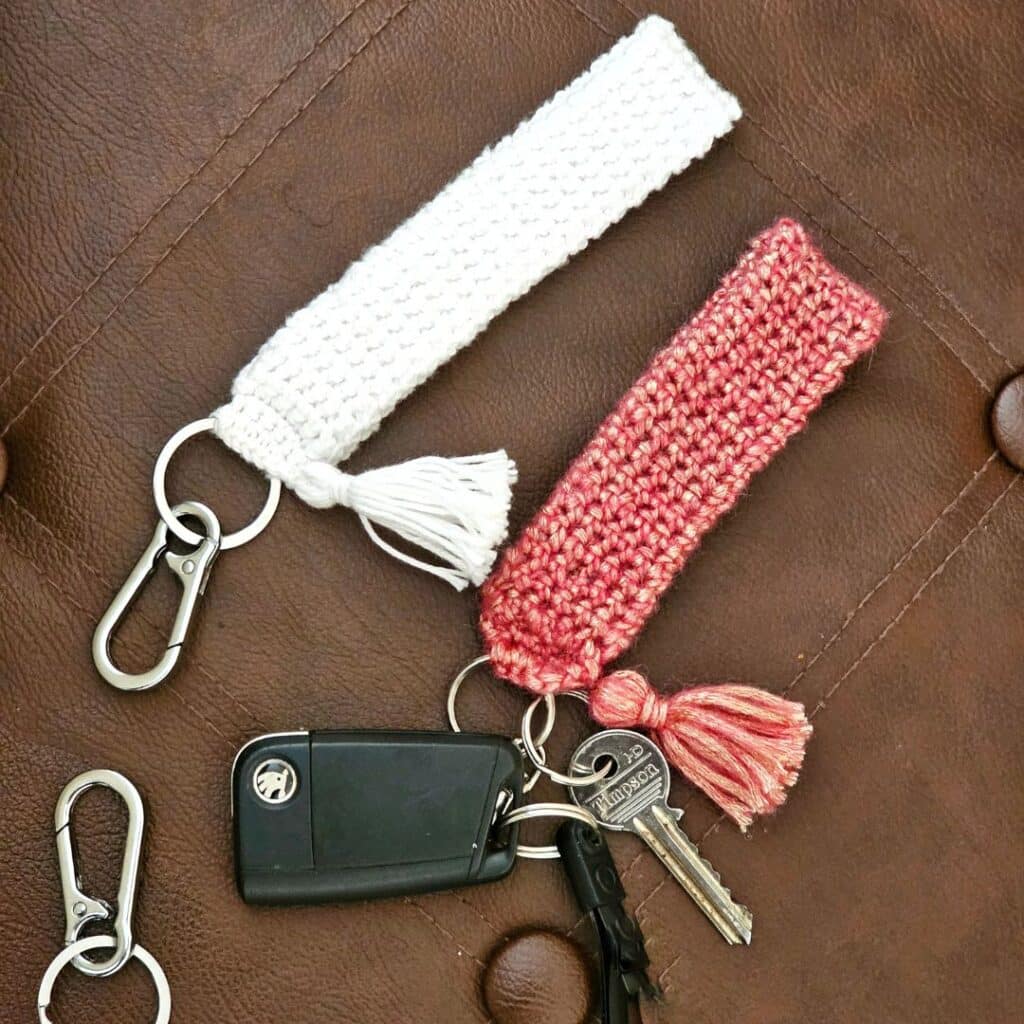
More free patterns on the blog that use thermal stitch
Extra Thick
Crochet Wash Cloth
Easy and Simple
Crochet Keychain Holder.
Thermal Stitch
Detailed Tutorial and Tips.
Add this pattern to your Ravelry queue, or pin this post for later.
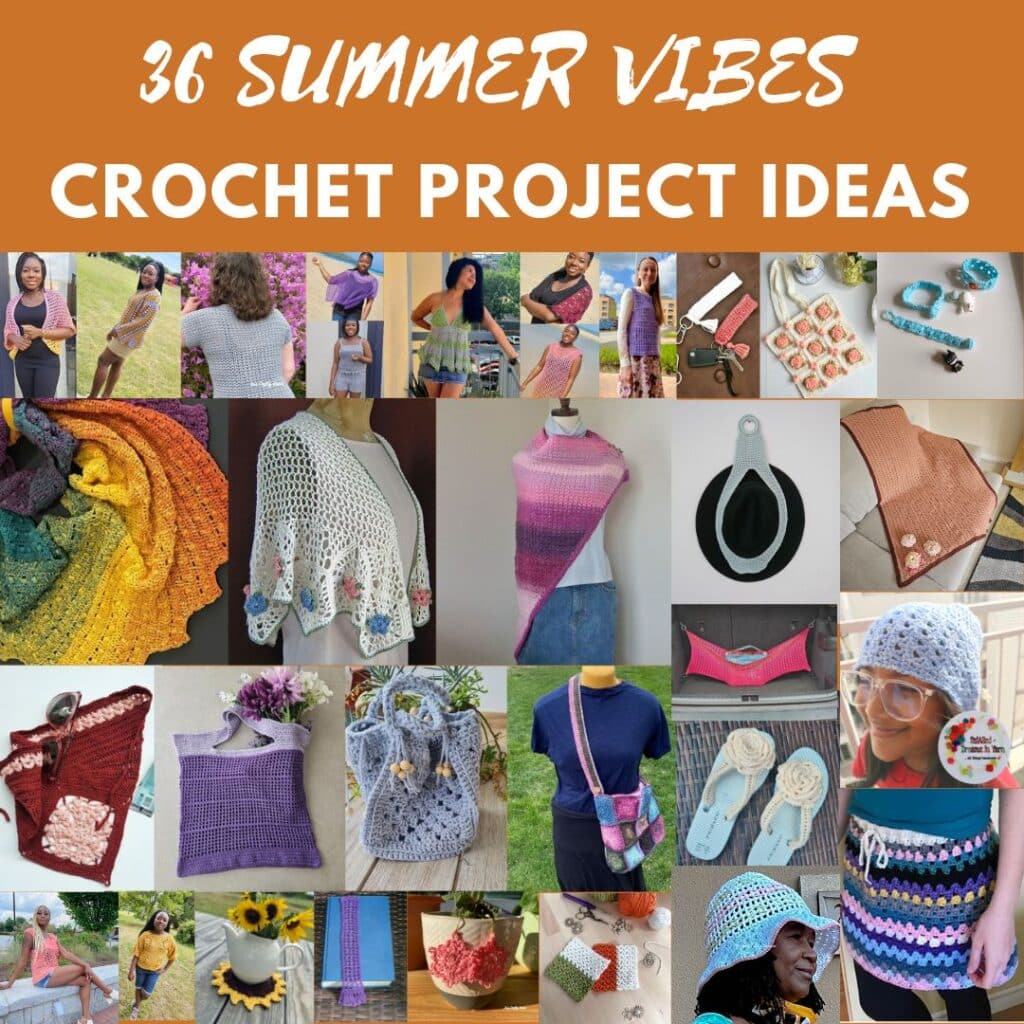
This free crochet pattern is featured along with other fun summer crochet patterns on the blog!

Crochet belt pattern
For all sizes: Main Belt
Row 1: Chain 10, using the back loop only, sc in 2nd ch from hook, sc in each chain across, turn. 9 sc
Row 2: Working into the front loop only of this row and the loop left from the foundation chain, sc in each st across, turning. 9 sc
Row 3: Using only the front loop of the current row and the unworked loop from the row below, sc across, and turn. 9 sc
Rows 4 until the end: Repeat Row 3.
Repeat the last row until your piece measures 27 (28, 30, 32, 34, 36, 38, 40, 42).”
Last row: Ch 1, going through BOTH loops of the current row AND the open loop from the previous row (for three loops total), sc across.
Ropes
Row 1: *Chain 77, slip stitch in the 2nd ch from the hook and in each ch across, sc in the next 2 sts on the last round of the belt, repeat from * 2 more times, ch 77, slip stitch in the 2nd ch from the hook and in each ch across, sl st into the last stitch.
Join yarn with a sl st to the last stitch of your foundation chain.
Repeat on the other side.
Fasten off.
Weave in any end.
For more details about thermal stitch, check this post = Thermal Stitch Crochet Tutorial – Fosbas Designs.
FAQs About Crocheting Belts
What skill level is required for crocheting a belt?
Belts are perfect for beginners. Basic knowledge of single crochet, slip stitch, and simple patterns is sufficient.
How do I measure the right size for a crochet belt?
Measure around your waist or hips (where you plan to wear the belt) and add a bit of length for a comfortable fit.
What is the best crochet hook size for belts?
A 4mm or 5mm hook is typically recommended, but always check your pattern for specific requirements.
How do I care for my crochet belt?
Follow the care directions for the yarn used. Generally, hand washing and laying flat to dry is recommended.
Additional Tips
- Gauge Swatch: Make a gauge swatch to ensure your stitches match the pattern’s required size.
- Turning Stitches: Ensure you add the correct number of turning stitches at the end of each row.
- Finishing: Use a tapestry needle to weave in ends neatly.
Conclusion
Crocheting a belt is a rewarding project that allows you to practice and refine your crochet skills. With the right materials and patience, you can create a stylish accessory that showcases your hard work.
I would love to see your version made from this crochet belt pattern.
For more patterns and tips, check out our other posts and join our crochet community!