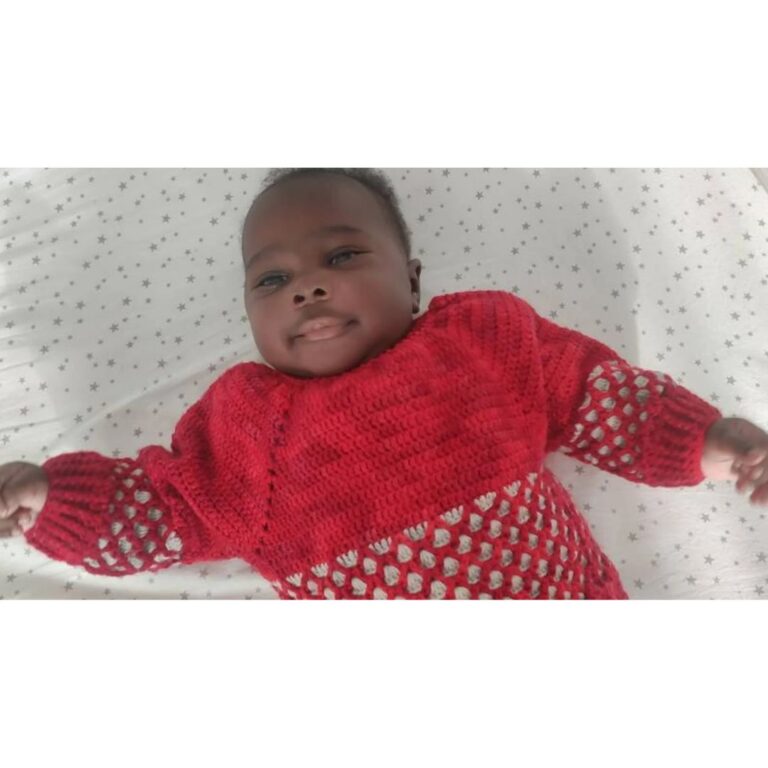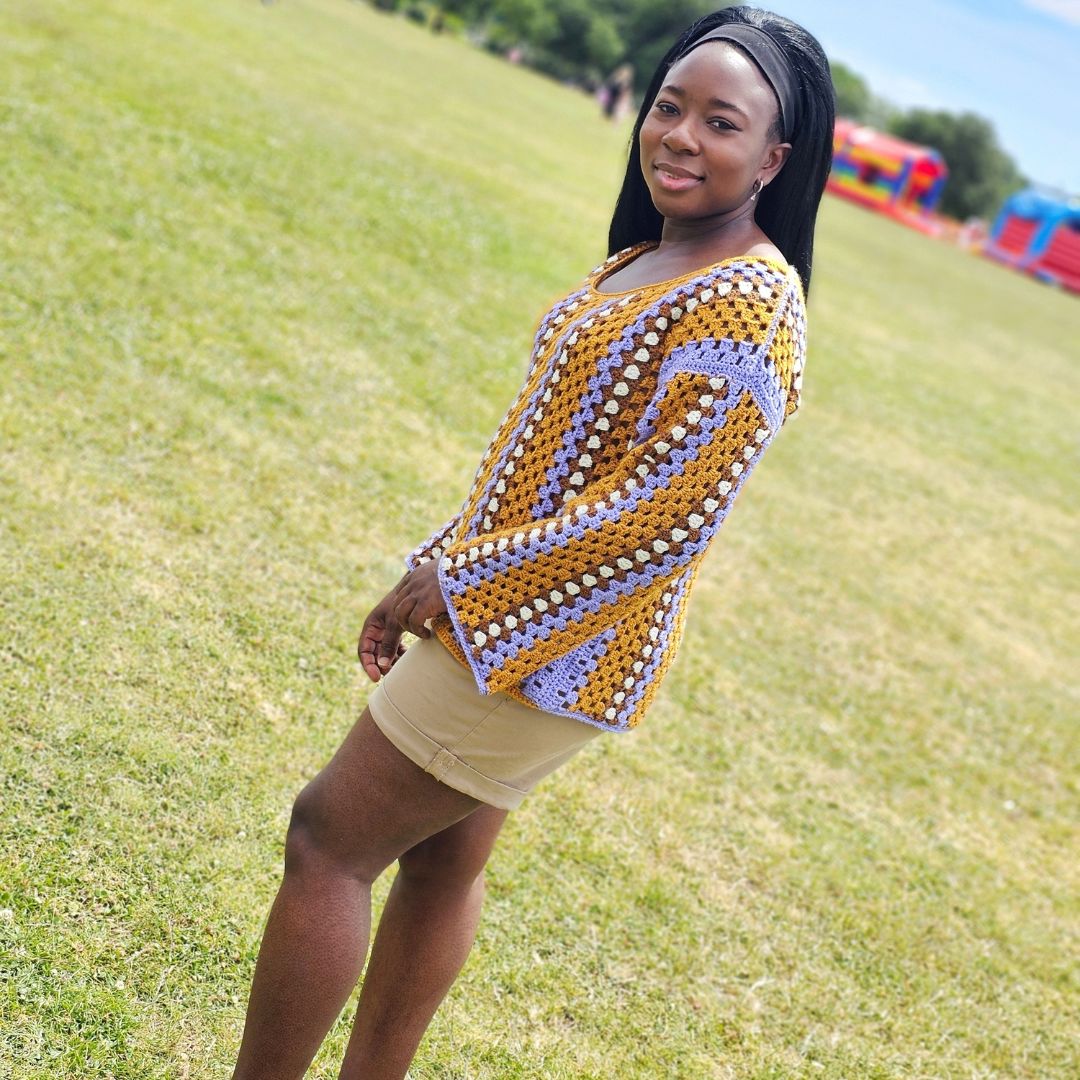
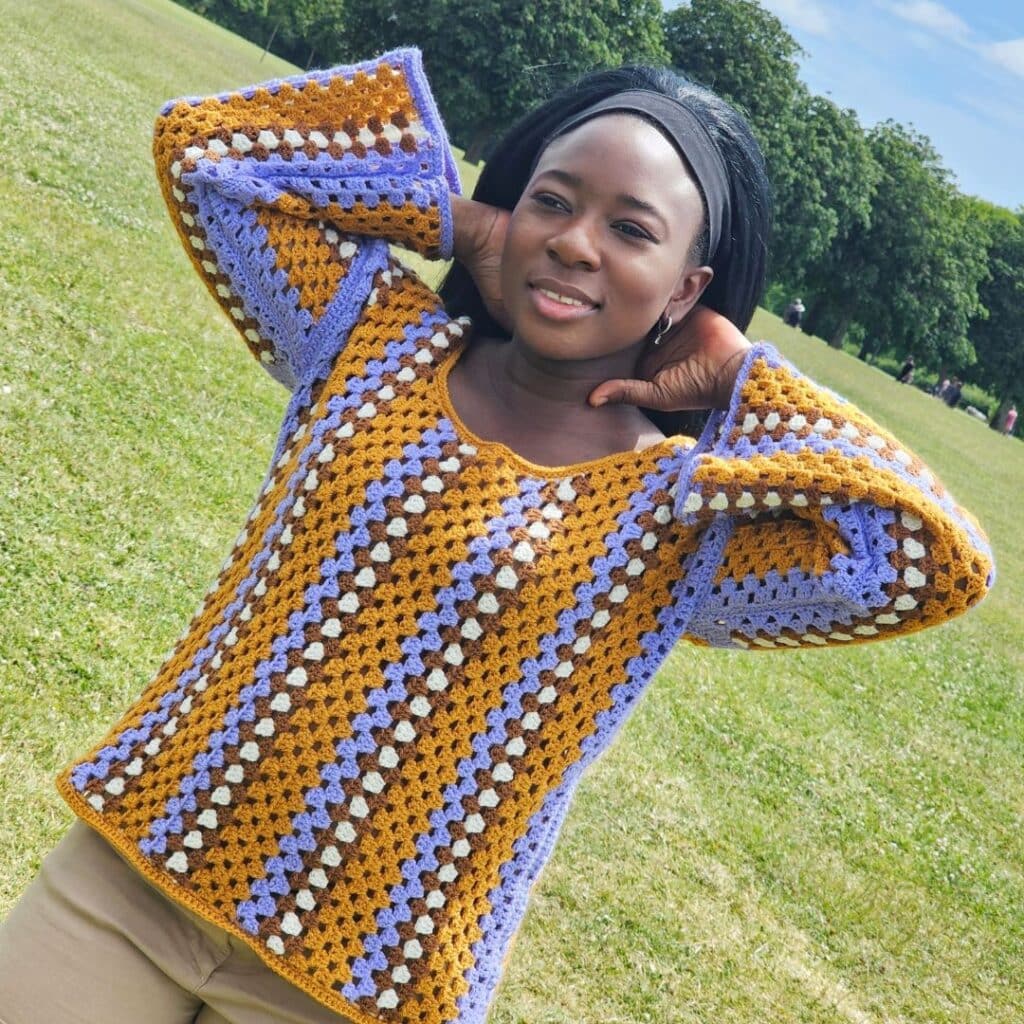
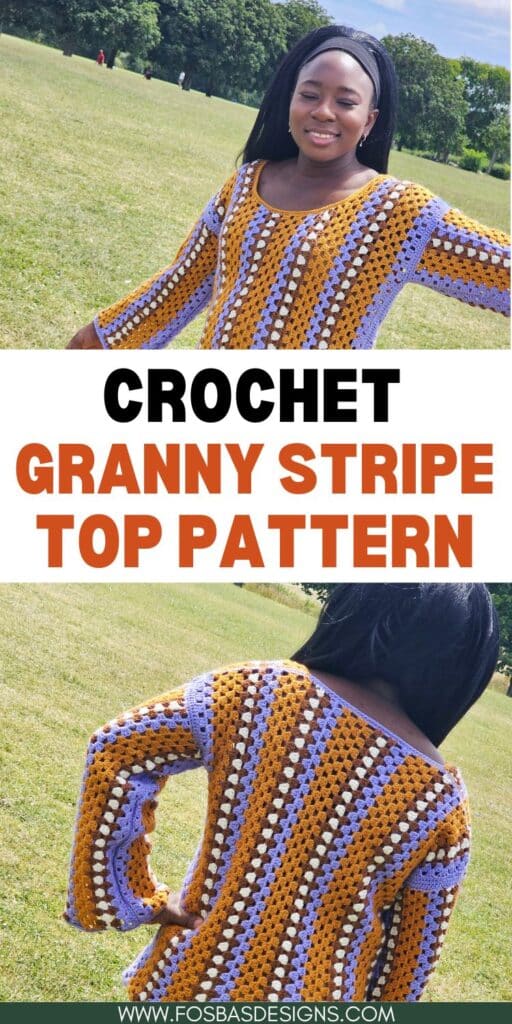
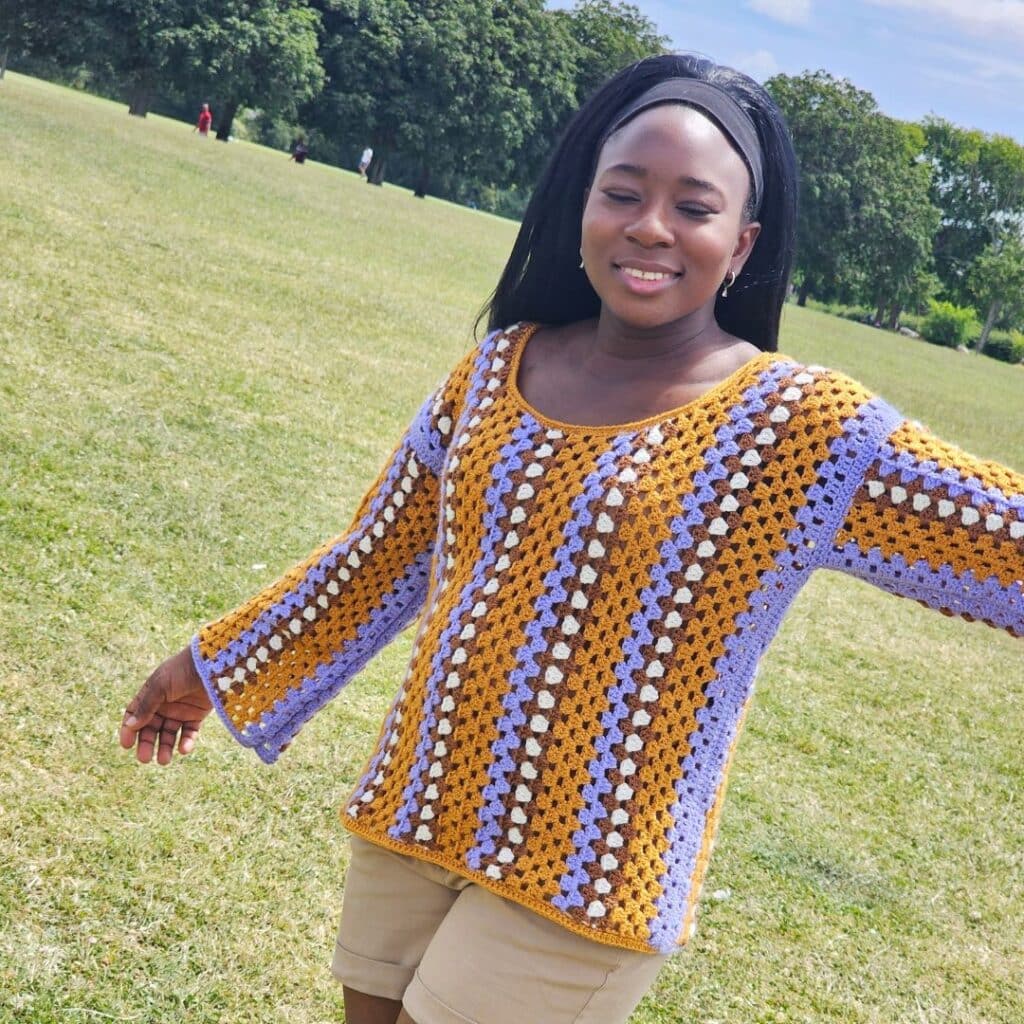
Crochet Granny Stitch Dress: Free Pattern
Since the crochet community was all about Taylor Swift’s Crochet Granny Stitch Dress, I decided to make mine hip-level using striped crochet.
The better part is that I have added tips for you on adjusting the length and fit of your own version. Scroll down for the free pattern, or grab the ad-free version on ETSY or Ravelry.
This sweater is featured with 35 other patterns as part of this year’s summer vibes.
The event details are here.
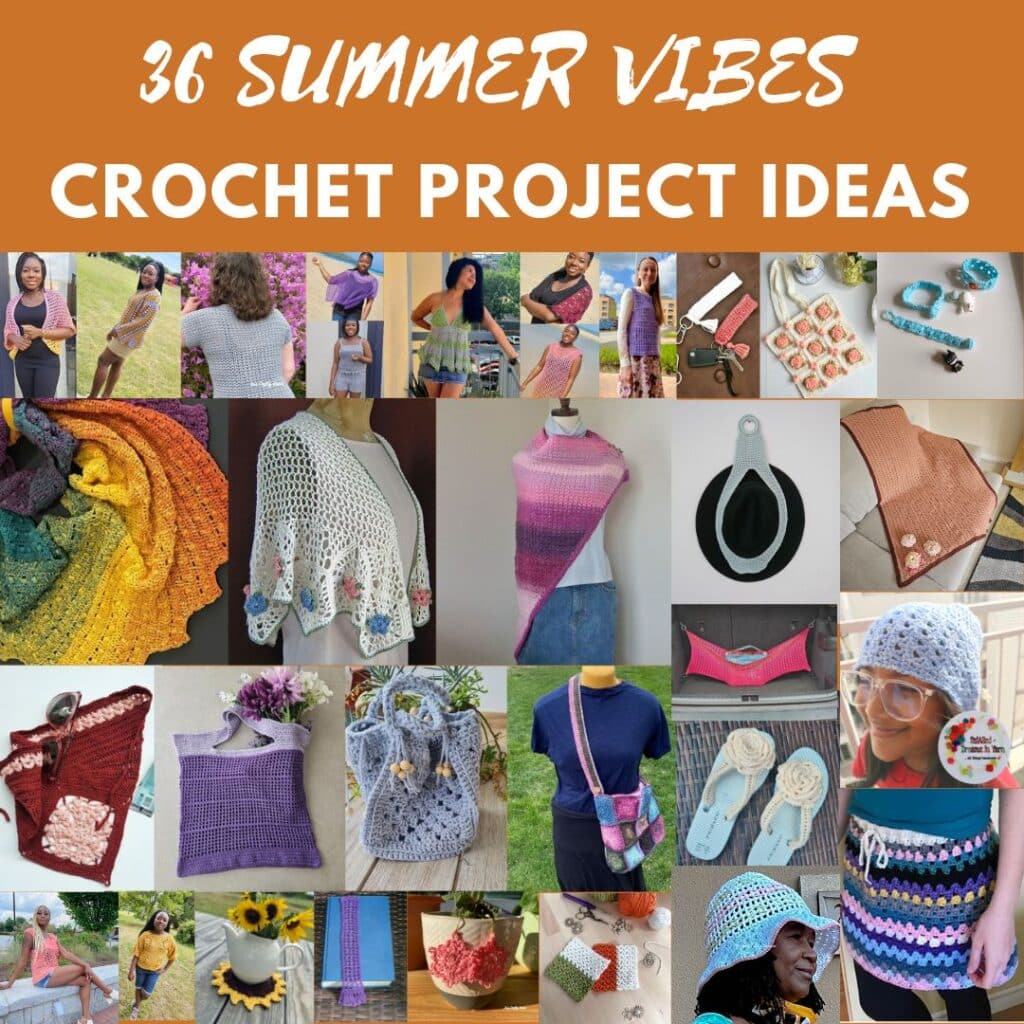
You can immediately grab the 35 patterns included in the event at a huge discount!


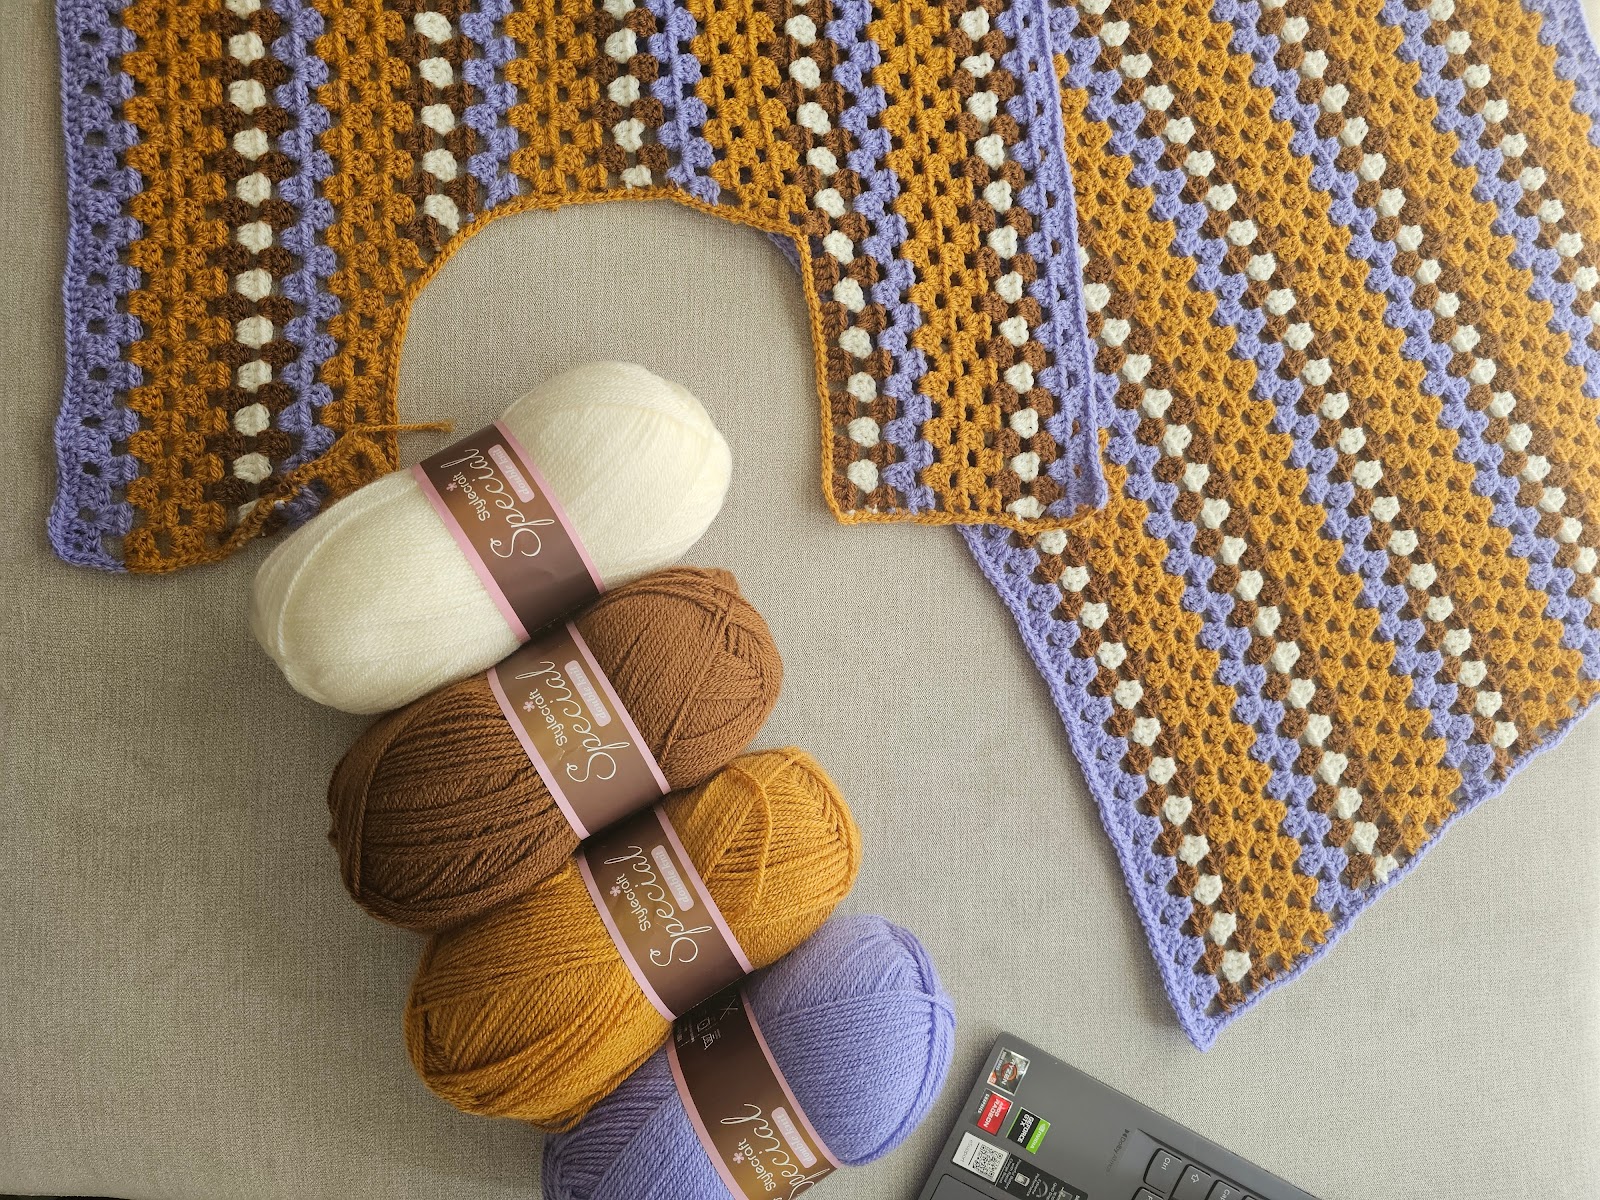
Materials needed for this crochet stripy dress
I wanted a lightweight project, so I went with DK-weight yarn. The good thing is that if you want a longer dress, you can increase the length of the starting chain.
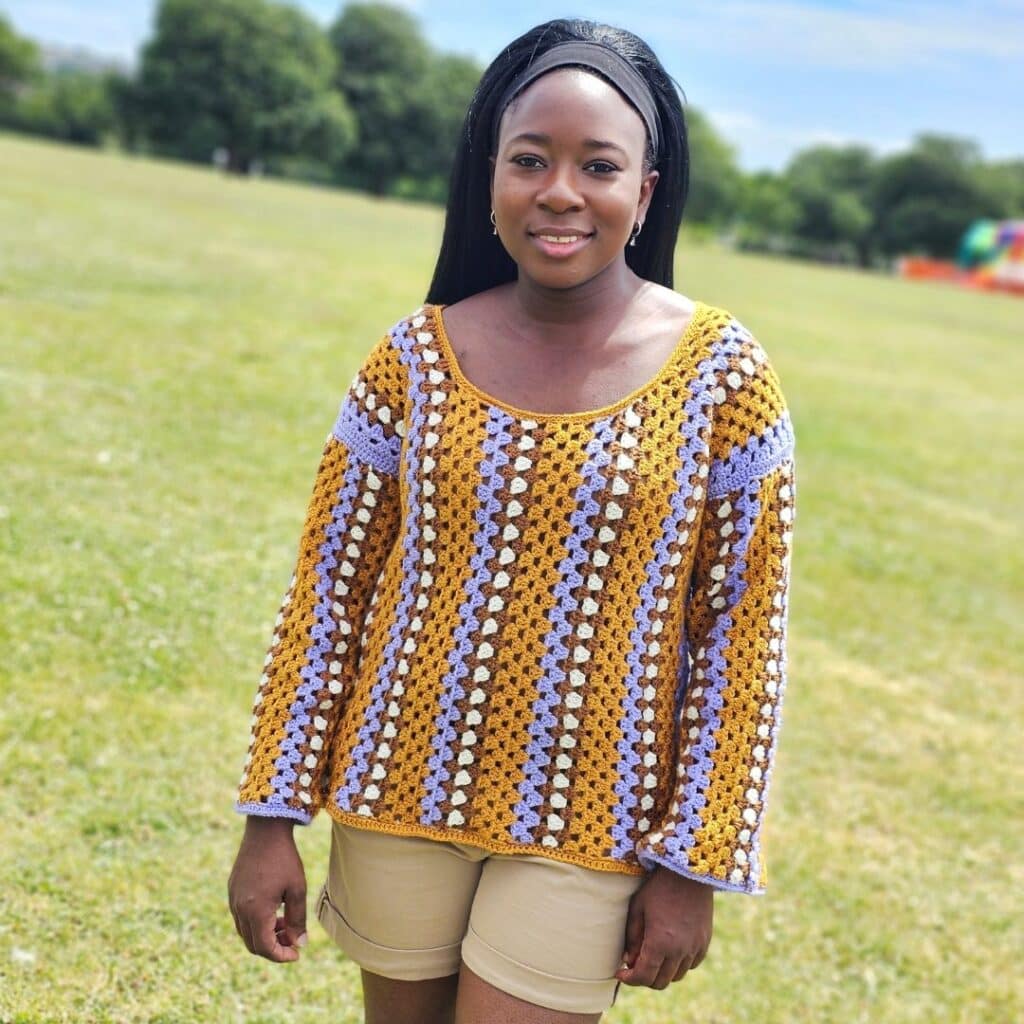
Yarn: Stylecraft, Special DK, #3 (100% Acrylic, 295 yards/322 m per 3.5 oz/100g Ball).
Color A (Shade 1188, Lavender) – 1 (2, 2, 2, 2, 2, 2, 3, 3) Ball(s)
Color B (Shade 1709, Gold) – 2 (3, 3, 3, 3, 4, 4, 4, 4) Ball(s)
Color C (Shade 1806, Gingerbread) – 1 (1, 1, 1, 1, 2, 2, 2, 3) Ball(s)
Color D (Shade 1005, Cream) – 1 (1, 1, 1, 1, 1, 1, 2, 2) Ball
Skill level – Intermediate
Hook: 5.0 mm
Terms – US Terms
Estimated Yardage
Color A – 320 (350, 400, 450, 500, 550, 600, 650, 700) Yards
Color B – 600 (700, 750, 800, 850, 900, 950, 1000, 1050) Yards
Color C – 200 (240, 280, 320, 440, 480, 520, 560, 600) Yards
Color D – 100 (120, 140, 160, 220, 240, 260, 280, 300) Yards
Sequence used in the pattern = A, A, B, B, B, B, C, D, C.
Granny stripes crochet pattern stitches
Ch – chain
st – stitch
sp – space
hdc – Half Double Crochet
dc – Double Crochet
sl st – Slip Stitch

Gauge
19 dc and 10 rows = 4”/10 cm.
Adjust hook size, if necessary, to obtain gauge.
Crochet Granny Stitch Dress Pattern Notes
1. Please kindly read through the pattern before starting.
2. Chains at the beginning of the rows count as a stitch unless stated.
3. The instruction below is for DK weight yarn. I have added tips to help you make your dress with any other yarn weights.
Finished Measurement
Size – XS (S, M, L, XL, 2XL, 3XL, 4XL, 5XL)
Bust Measurement: 30 (34, 38, 42, 46, 50, 54, 58, 62)”
Length of Sleeve: 18”
Length of Sweater: 25”
The modeled garment is shown in Medium, with 1” of Positive Ease.
Do you want to use another yarn weight or adjust the fit? Check the customization note.
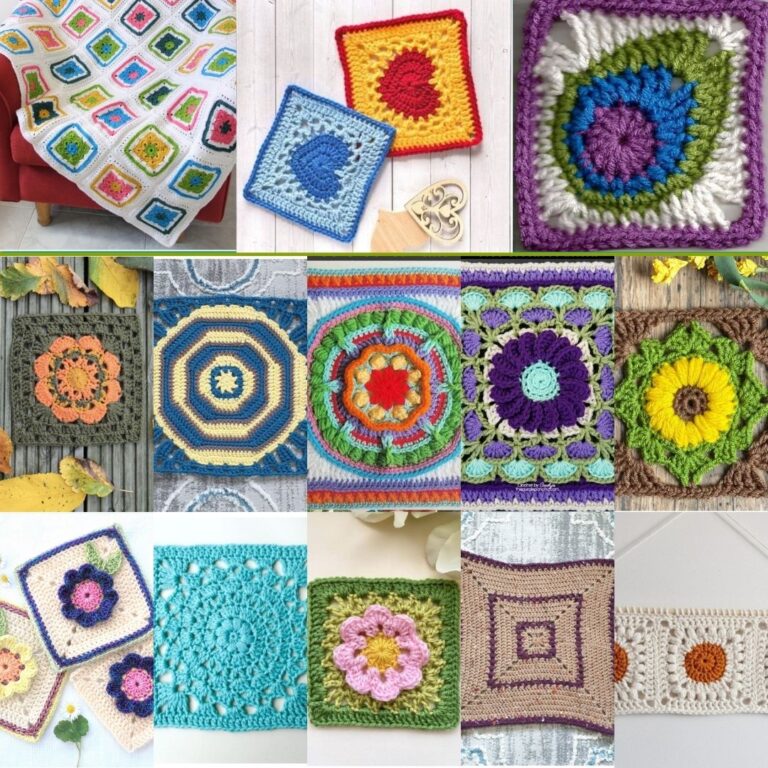
More fun crochet granny square projects on the blog:
Sweater
Long sleeve granny square sweater
- Size inclusive.
- Easy pattern.
- Size Inclusive.
Top
Fun styled crochet granny square top
- Perfect fit.
- Easy to adjust.
- Size inclusive.

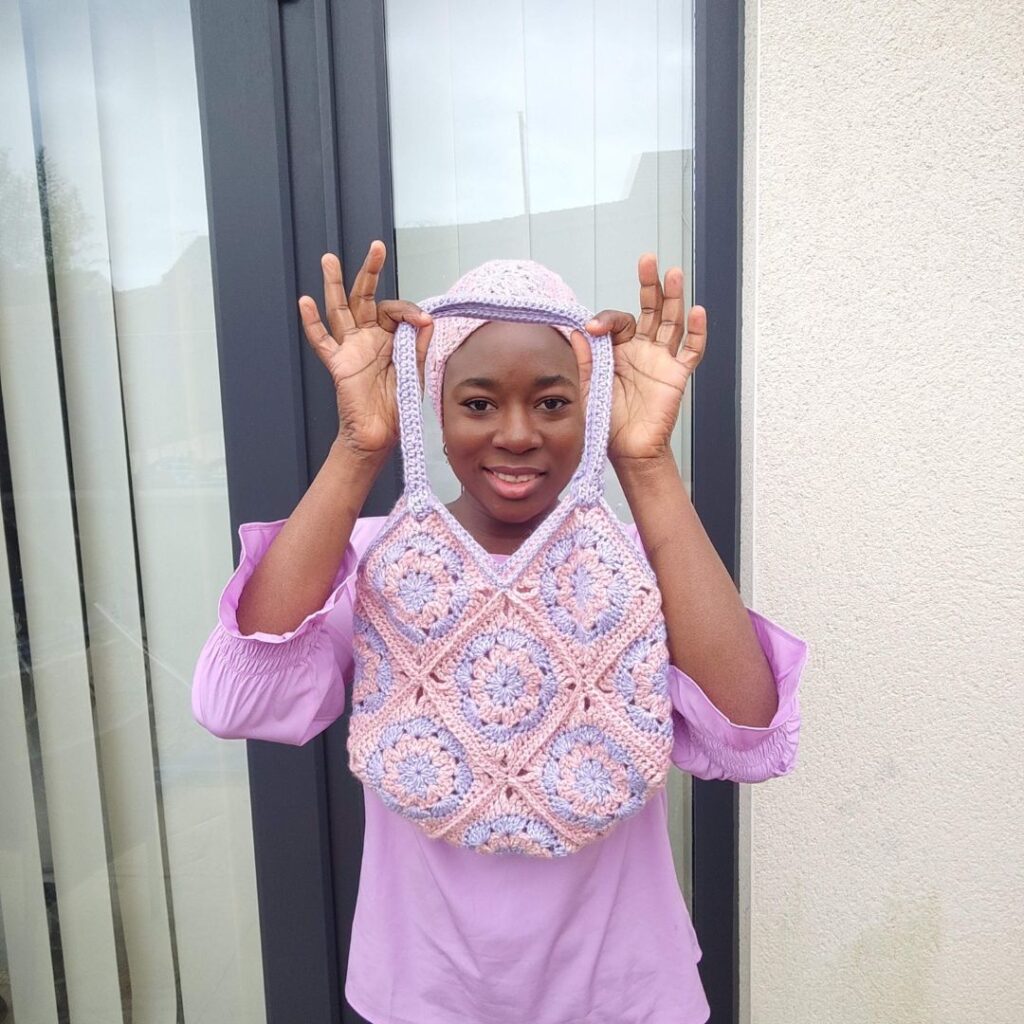
Bag
African flower square bag
- Easy to make.
- Cute and fun to make.
- lightweight but sturdy
Customization
- Make your starting chain for a different yarn weight as long as you would love in multiple of 4 + 2.
- For a more relaxed fit, go up by a size.
- The premium version has tips on customizing your sweater into a dress and adjusting the fit, especially when you use another yarn weight.
Crochet Granny Stitch Dress Pattern
Front Panel
For all sizes:
Adjust the foundation chain in a multiple of 4 + 2 for a longer or shorter sweater.
The sequence used in the pattern =
2 rows of A.
4 rows of B.
1 row of C.
1 row of D;
1 row of C.
How to make the Crochet Granny Stitch Dress
Chain 110
Row 1: Dc in 4th ch from hook and in next 2 chs, *ch 1, skip next ch, dc in next 3 chs, rep from * to the end. 27 shells
Row 2: Ch 4 (counts as the first dc + ch 1 sp, here and throughout), *3 dc in ch 1 sp, ch 1, rep from * to the last shell, ch 1, dc in last st of the shell. 26 shells, 2 dc.
Row 3: Ch 3, 2 dc in first ch-1 sp, ch 1 *3 dc in next ch-1 sp, ch 1; repeat from * to the last ch 1 sp, 3 dc in the last ch 1 sp, turn. 27 shells
Rows 4 – 9 (11, 13, 15, 17, 19, 21, 23, 25): Repeat rows 2 and 3.
Row 10 (12, 14, 16, 18, 20, 22, 24, 26): Repeat Row 2
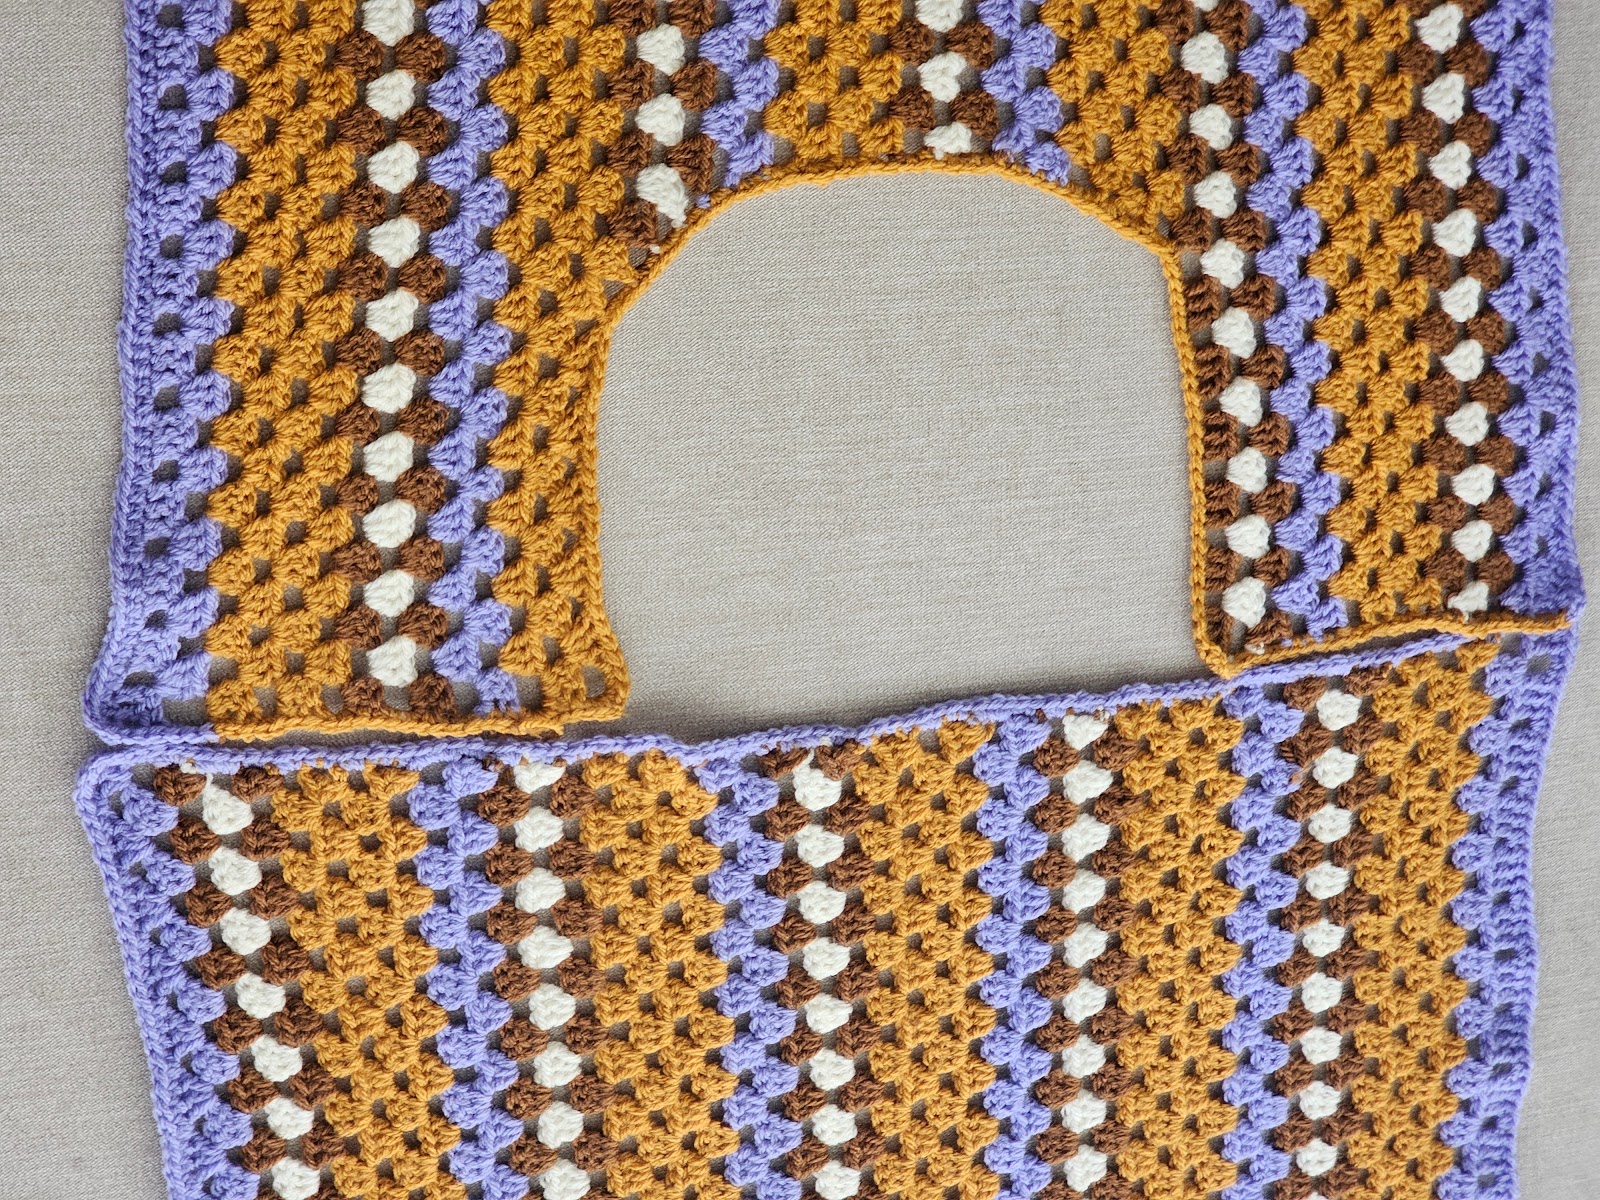
Shape Neckline
For all sizes:
Row 1: Ch 4, skip first ch-1 sp, *3 dc in next ch-1 sp, ch 1; repeat from* until you have 6 ch-1 sps left, dc in next ch-1 sp, turn. 21 shells, 1 dc
- Leave remaining sts unworked
- You should have 5 ch-1sps left unworked.
- You can adjust this number to provide more coverage of your chest.
Join yarn with a sl st to the ch 1 sp.
Row 2: Ch 4, skip 1st ch-1 sp, 3 dc in next ch-1 sp, *ch 1, 3 dc in next ch-1 sp; repeat from * to the last ch-1 sp, ch 1, dc in the last ch-1 sp, turn. 20 shells, 2 dc.
Join yarn with a sl st to the first st on the row.
Rows 3: Ch 3, 2 dc in ch 1 sp, ch 1, *3 dc in next ch-1 sp; repeat from* to the last ch-1 sp, dc in ch-1 sp, turn. 20 shells, 1 dc.
Join yarn with a sl st to the ch 1 sp.
Row 4: Ch 4, skip 1st ch-1 sp, 3 dc in next ch-1 sp, *ch 1, 3 dc in next ch-1 sp; repeat from * to the last ch-1 sp, ch 1, dc in the last ch-1 sp, turn. 19 shells, 2 dc
Row 5: Ch 3, 2 dc in ch 1 sp, ch 1, *3 dc in next ch-1 sp; repeat from* to the last ch-1 sp, dc in ch-1 sp, turn. 19 shells, 1 dc
Stop decreasing
Rows 6 – 8 (12, 14, 14, 14, 14, 14, 14, 14): Ch 3, 2 dc in first ch-1 sp, ch 1 *3 dc in next ch-1 sp, ch 1; repeat from * to the last shell, dc in the last st of the shell, turn. 19 Shells, 1 dc.
Increasing the neckline
Crocheting upwards towards the neckline
Row 1: Ch 3, 2 dc in first ch-1 sp, ch 1, *3 dc in next ch-1 sp, ch 1; repeat from* to the end, ch-1 sp, 3 dc in the last st, turn. 20 Shells
Row 2: Ch 4, *3 dc in next ch-1 sp, ch 1; repeat from* to the end, dc in last st, turn. 19 Shells, 2 dc.
Row 3: Ch 3, 2 dc in first ch-1 sp, ch 1, *3 dc in next ch-1 sp, ch 1; repeat from* to the end, ch-1 sp, 3 dc in the last ch-1 sp, turn.
20 Shells.
Row 4: Ch 3, 2 dc in first st (same as the chain 3 sp), ch 1, *3 dc in next ch-1 sp, ch 1; repeat from* to the end, ch-1 sp, dc in the last st, turn. 20 Shells, 1 dc.
Row 5: Ch 3, 2 dc in first ch-1 sp, ch 1, *3 dc in next ch-1 sp, ch 1; repeat from* to the end, ch-1 sp, dc in the last st, turn.
19 Shells, 1 dc
Other side
Row 1: Chain 28, dc in 4th ch from the hook and in next 2 chs, *ch 1, skip next ch, dc in next 3 chs, rep from * to the last 1 ch, ch 1, skip last ch, *3 dc in next ch-1 sp, ch 1; repeat from* to the end, ch-1 sp, dc in the last st, turn. 26 Shells, 1 dc
Row 2: Ch 3, 2 dc in first ch-1 sp, ch 1 *3 dc in next ch-1 sp, ch 1; repeat from * to the last ch 1 sp, dc in the last st, turn. 26 shells, 1 dc
Row 3: Ch 3, 2 dc in first ch-1 sp, ch 1 *3 dc in next ch-1 sp, ch 1; repeat from * to the last ch 1 sp, dc in the last st, turn. 26 shells, 1 dc
Rows 4 – 8 (12, 14, 16, 18, 20, 22, 24, 26): Repeat row 3
Fasten off.
Edging
- Crocheting around the whole piece, including the neckline.
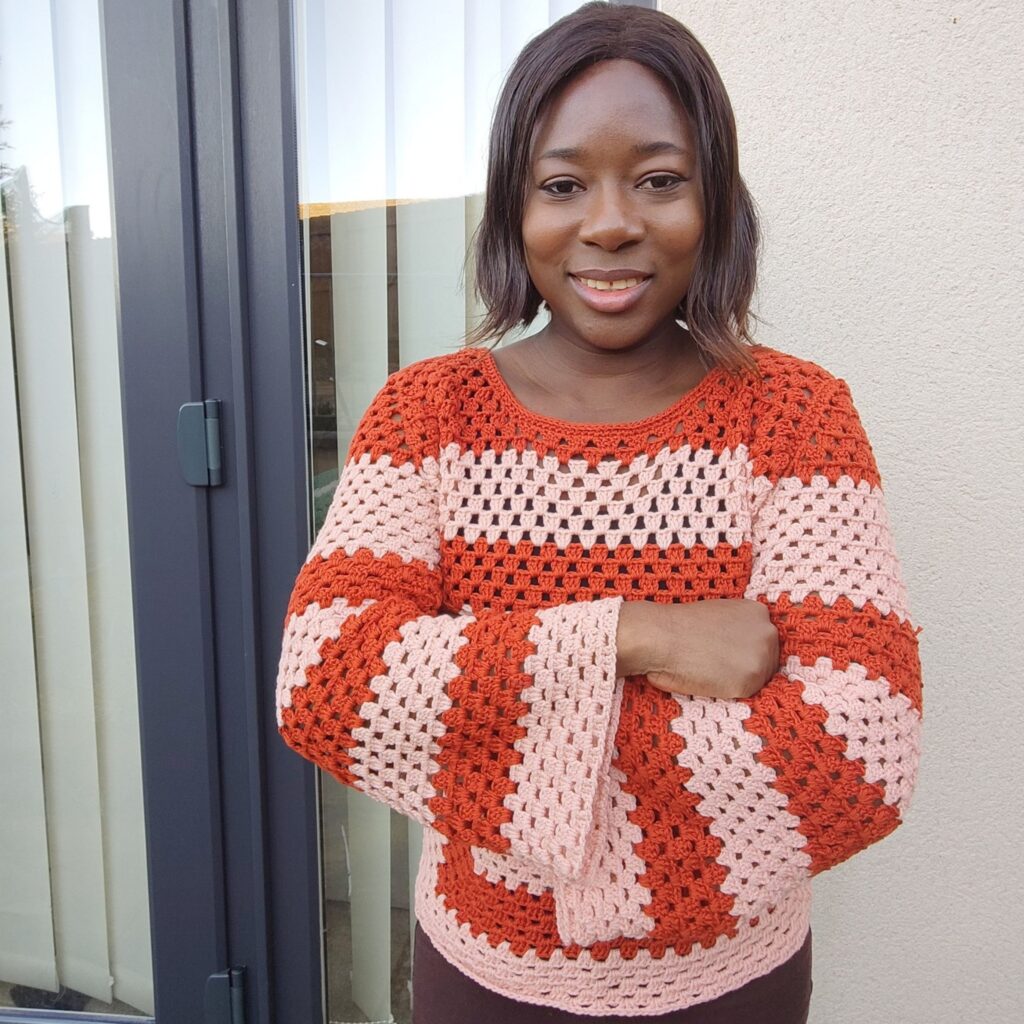
- You can use a single color of your choice or similar colors according to the row you are crocheting on.
- Join yarn with a sl st to any part of the project.
- Aim for 2 sc in each ch 3/dc sp/st and a sc in each st
- Aim for 1 sc in each st/ch 1 sp.
- Aim for (sc, ch 2, sc) at each corner.
- Crochet over the ends to reduce the weaving in of ends.
Round 1: Ch 1, sc in each st/edge across, join with a sl st to the beginning chain.
Fasten off.
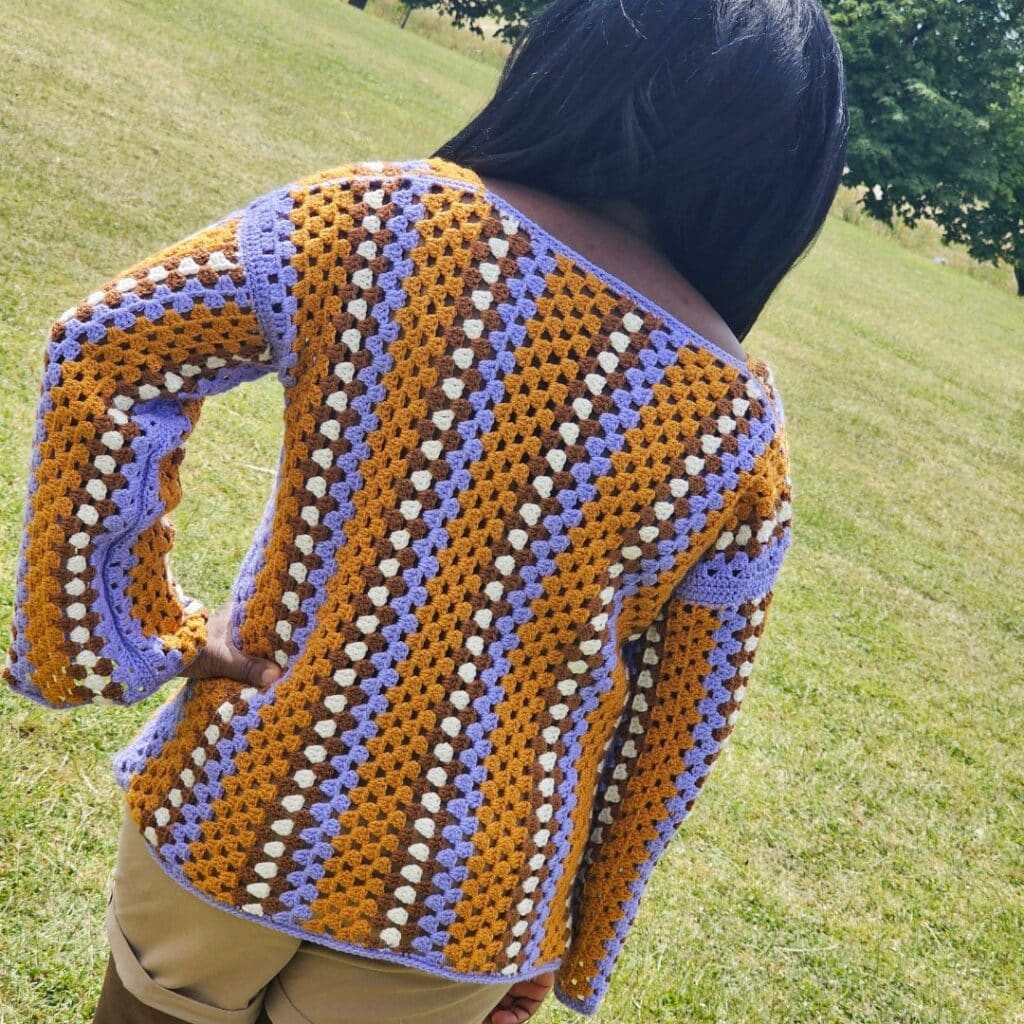
Section 2: Back panel
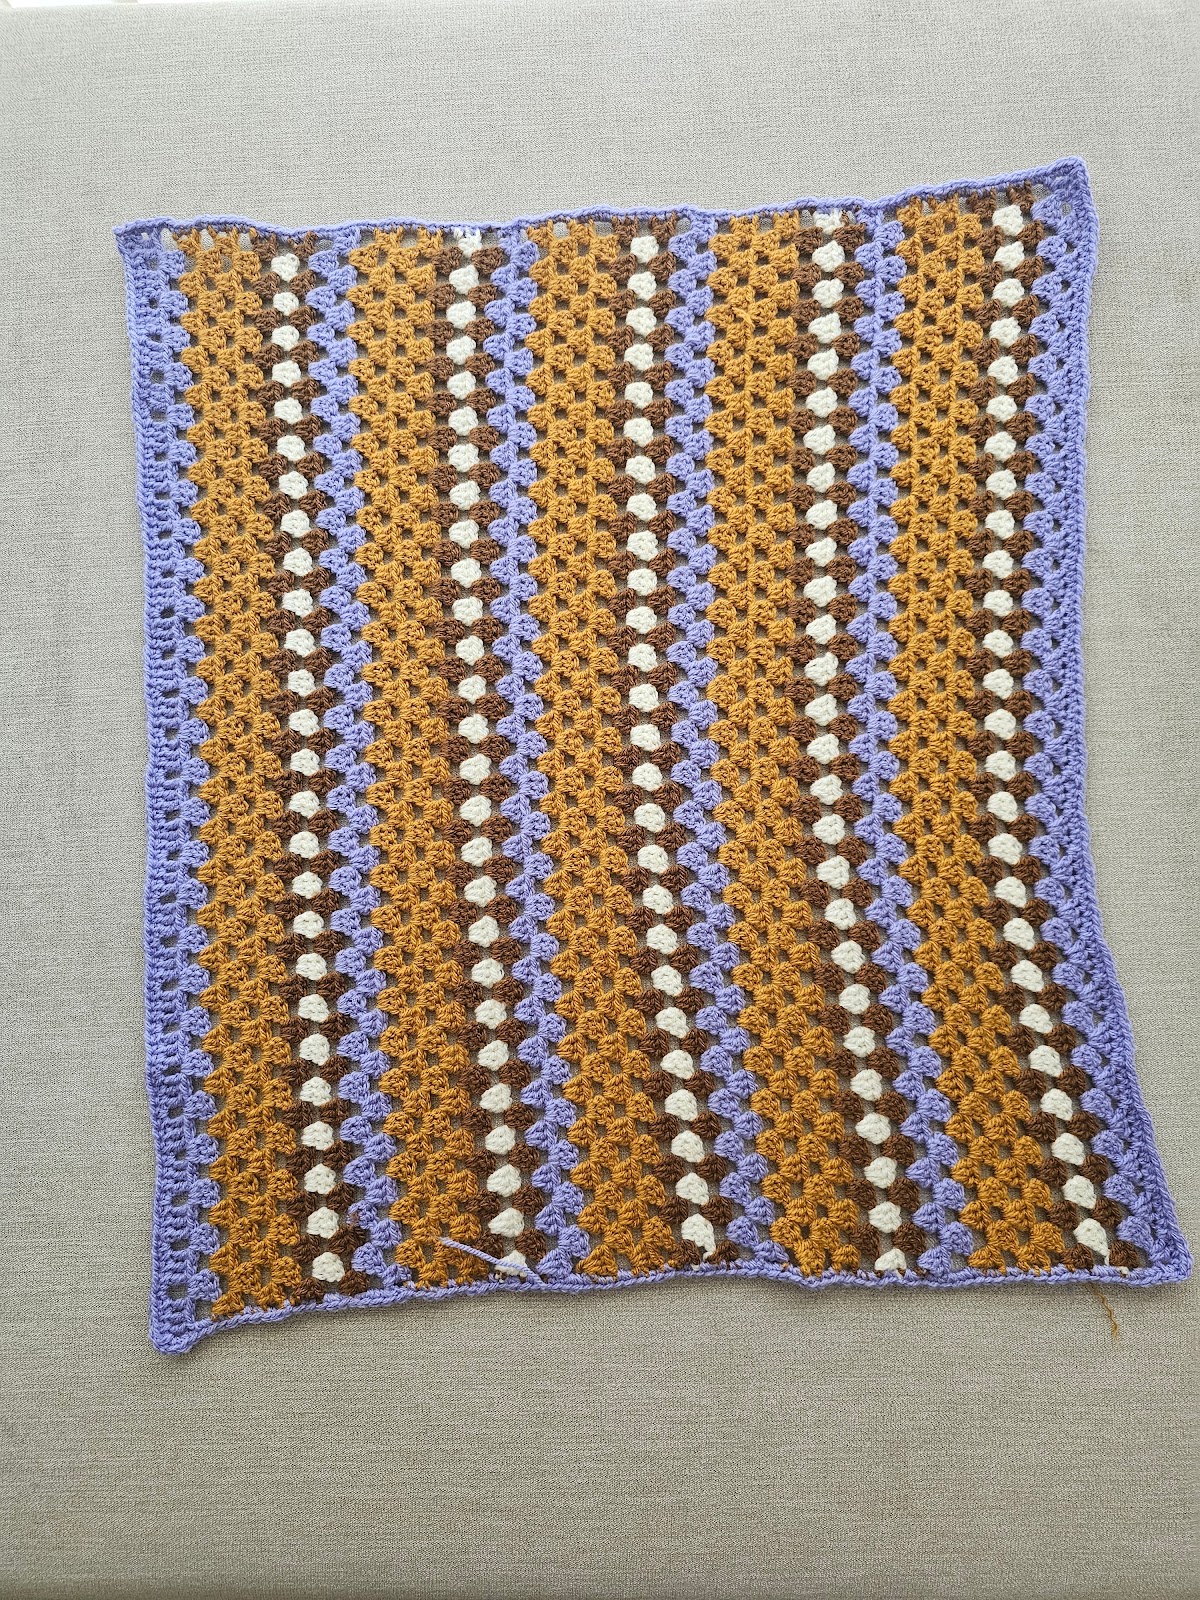
- The Color sequence is the same as with the front panel.
Chain 110 (multiple of 4 + 2)
Row 1: Dc in 4th ch from hook and in next 2 chs, *ch 1, skip next ch, dc in next 3 chs, rep from * to the end. 27 shells
Row 2: Ch 4 (counts as the first dc + ch 1 sp, here and throughout), *3 dc in ch 1 sp, ch 1, rep from * to the last shell, ch 1, dc in last st of the shell. 26 shells, 2 dc.
Drop color A, pick up color B
Row 3: Ch 3, 2 dc in first ch-1 sp, ch 1 *3 dc in next ch-1 sp, ch 1; repeat from * to the last ch 1 sp, 3 dc in the last ch 1 sp, turn. 27 shells
Rows 4 – 47: Repeat rows 2 -3
Edging
- Crocheting around the whole piece.
- You can use a single color of your choice or use similar colors according to the row you are crocheting on.
- Join yarn with a sl st to any part of the project.
- Aim for 2 sc in each ch 3/dc sp/st and sc in each st.
- Aim for 1 sc in each st/ch 1 sp.
- Aim for (sc, ch 2, sc) at each corner.
- Crochet over the ends to reduce the weaving in of ends.
Round 1: Ch 1, sc in each st/edge across, join with a sl st to the beginning chain.
Fasten off.
Section 3: Sleeves (make 2)
- Note that you can vary the colors accordingly.
- For a more fitted sleeve, go down one or more sizes!
- You can reduce the length of the sleeves as you deem fit, the length of your foundation chain would be the length of your sleeve. Increase the foundation chain by a multiple of 4 + 2.
Chain 82
Follow the same color sequence as with the body
Row 1: Dc in 4th ch from hook and in next 2 chs, *ch 1, skip next ch, dc in next 3 chs, rep from * to the end. 20 shells, 19 ch-1 sps.
Row 2: Ch 4, *3 dc in next ch-1 sp, ch 1; repeat from * to the end of row, dc on top of last st. 19 shells, 20 ch-1 sps.
Row 3: Ch 3, turn, 2 dc in same ch-1 sp, *ch 1, 3 dc in next ch-1 sp; repeat from * to the end of row.20 shells, 19 ch-1 sps.
Rows 4 – 39: Repeat Rows 2 – 3.
Fasten off and weave in the end.
Edging
- Crocheting around the whole piece.
- You can use a single color or similar colors according to the row you are crocheting on.
- Join yarn with a sl st to any part of the project.
- Aim for 2 sc in each ch 3/dc sp/st and sc in each st
- Aim for 1 sc in each st/ch 1 sp.
- Aim for (sc, ch 2, sc) at each corner.
- Crochet over the ends to reduce the weaving in of ends.
Round 1: Ch 1, sc in each st/edge across, join with a sl st to the beginning chain.
Fasten off.
Assembling
Shoulder Seam(s)
- Turn both panels to the wrong side.
- Place the front panel over the back panel.
- Join yarn with a slip stitch at the tip of the shoulder
- Ch 1, sc over both sides, towards the neckline.
- Fasten off, repeat on the other side.
Sleeves
- Place the sleeve next to the body of the sweater.
- Turn both panels to the wrong side.
- Ch 1, sc over both sides.
- Fasten off
- Repeat on the other side.
Side seam(s)
- Turn both panels to the wrong side.
- Fold the sleeve lengthwise as with the sweater.
- Join yarn with a slip stitch to the tip of the sleeve.
- Crocheting over both panels, across the base of the sleeve towards the sides.
- Ch 1, sc over both sides.
- Fasten off, repeat on the other side.
Edging (Neckline)
With the right side facing, join yarn with a sl st to any point at the neckline. Crocheting around the neckline opening.
Round 1: Ch 1, sc evenly in each st, join with a sl st to the beginning chain.
Round 2: Ch 1, hdc in each st, join with an sl st to the beginning chain
Edging (Sleeve Opening).
With the right side facing, join yarn with a sl st to any point at the sleeve edge.
Round 1: Ch 1, sc evenly in each st, join with a sl st to the beginning chain.
Repeat on the other side.
Fasten off and sew in the ends.
Edging (Sweater lower edge)
With the right side facing, join yarn with a sl st to any point at the lower edge.
Round 1: Ch 1, sc evenly in each st, join with a sl st to the beginning chain.
Repeat on the other side.
Fasten off and sew in the ends.

I hope you enjoyed making your own version of this Crochet Granny Stitch Dress: Free Pattern.
When you make yours, do charge with me in my community.
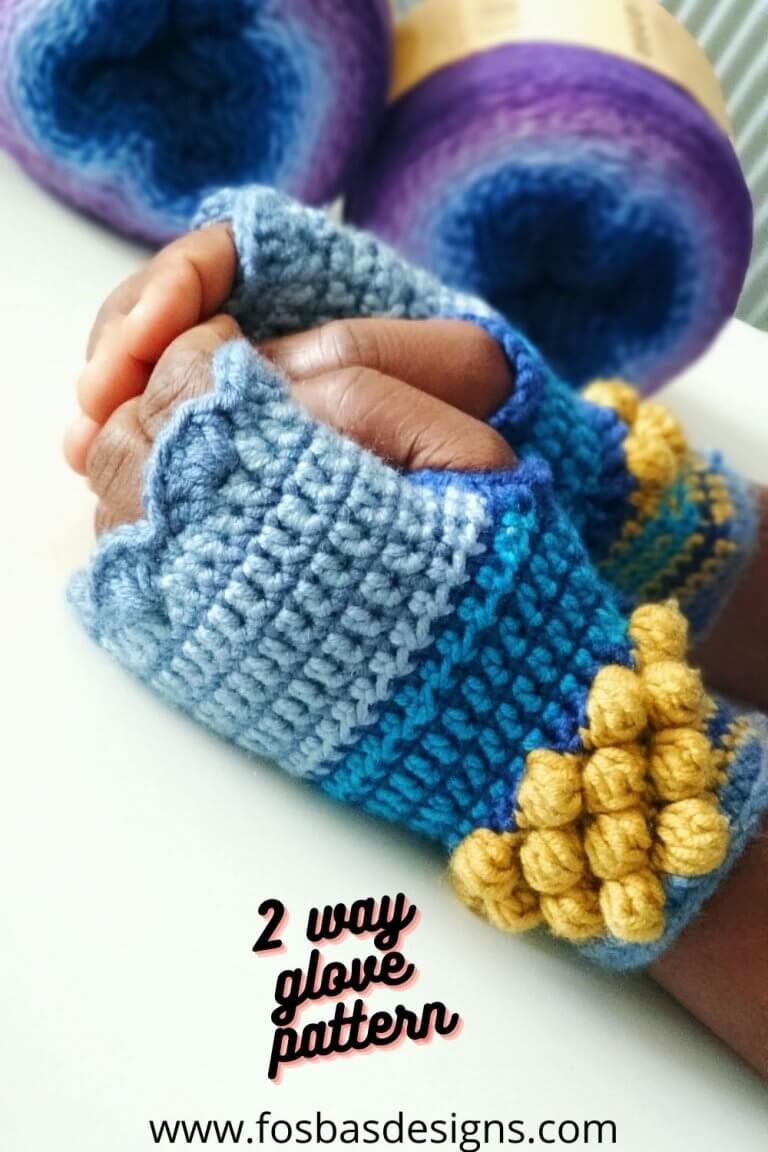
About the Designer
Hi, I am Susanna, the designer behind Fosbas Designs. I love yarn and crochet (obviously, that is why I have a blog to share all my beautiful crochet projects). These designs are aimed at bringing out the crocheter in you.
Say Hi on Instagram and Subscribe To my email List for pattern discounts and freebies. For questions, send such to [email protected]. Read more about me here.