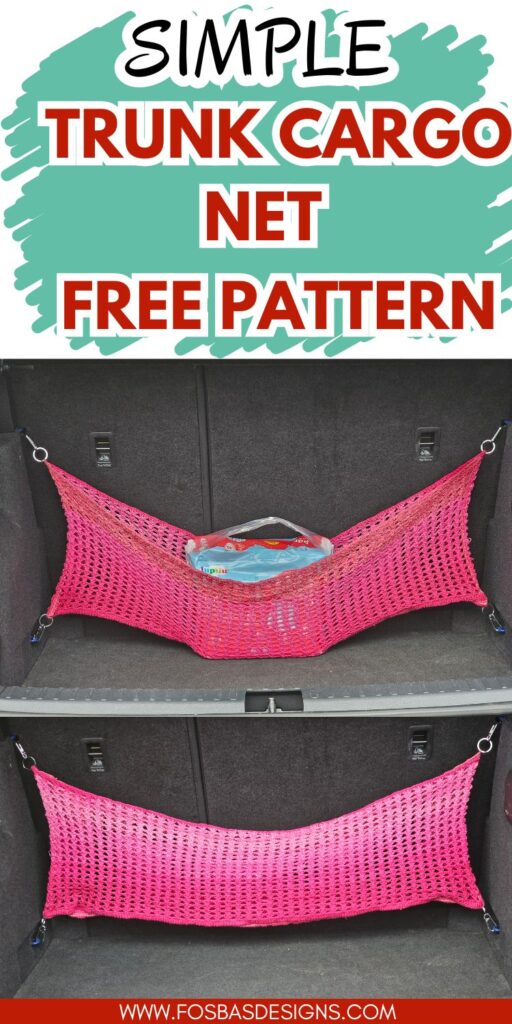
Crochet Trunk Cargo Net Free Pattern
Are you looking for a unique and functional crochet project for your trunk? Introducing the Truck Cargo Net Crochet Pattern– a practical and creative way to keep your cargo secure during transit.
This pattern provides step-by-step instructions to crochet a durable and versatile cargo net, perfect for trunks or any other vehicle with a cargo area.
It adds a personalized touch to your vehicle’s storage solutions and ensures your items stay in place while you’re on the move.
Supplies needed for the Truck Cargo Net
Yarn: Any DK yarn
The prototype was made using two strands of Hobbii Twister. ( a sport weight to get DK weight)
Estimated Yardage
450 yards
Hook and other Materials
5 mm Crochet Hook
2 or 4 Carabiners or Keychains, depending on your vehicle
Gauge
23 sts over 7 rows = 4” across unblocked.
Chain 25, follow the written instructions for 7 rows.
Adjust hook size, if necessary, to obtain gauge.
Trunk Cargo Net Crochet Pattern Notes
- Please kindly read through the pattern before starting.
- Any other #3 weight yarn can be substituted.
- Chains at the beginning of the rounds do not count as a stitch.
Skill Level – Intermediate
Terms – US Terminology
Stitch Abbreviations
Chain/chains – ch/chs
Half double crochet – hdc
Treble crochet – tr
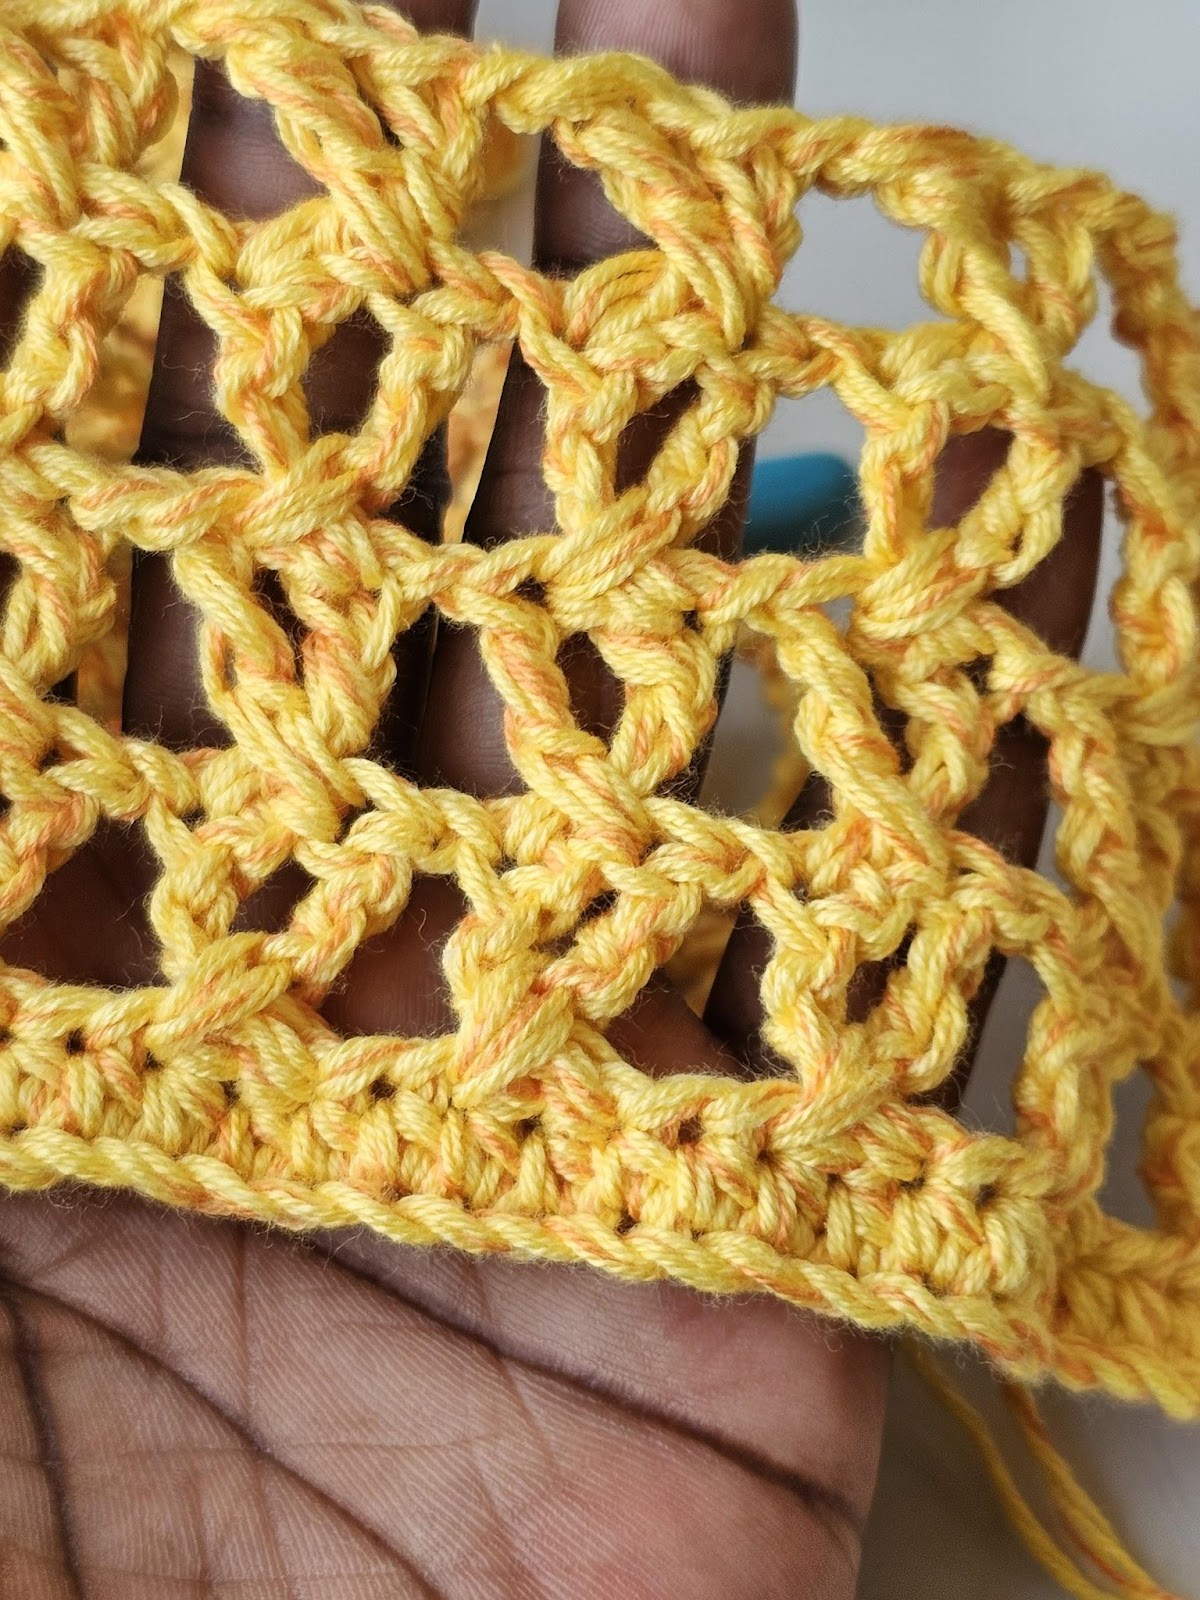
Crossed treble crochet – Xtrl
Special Stitch
Crossed treble crochet – Xtrl
First row = *skip next 3 sts, tr in next st, ch 1, tr in 2nd skipped st, ch 1, rep from * to the last sts, ch 1, skip next st, tr in last,
Subsequent rows of Xtrl = tr in the second leg of tr from row below, ch 1, crocheting in front of the tr just made, tr in the first leg of tr from row below.
This part is crocheted/stacked on previous tr stitches from the row below. All chain sps are skipped.
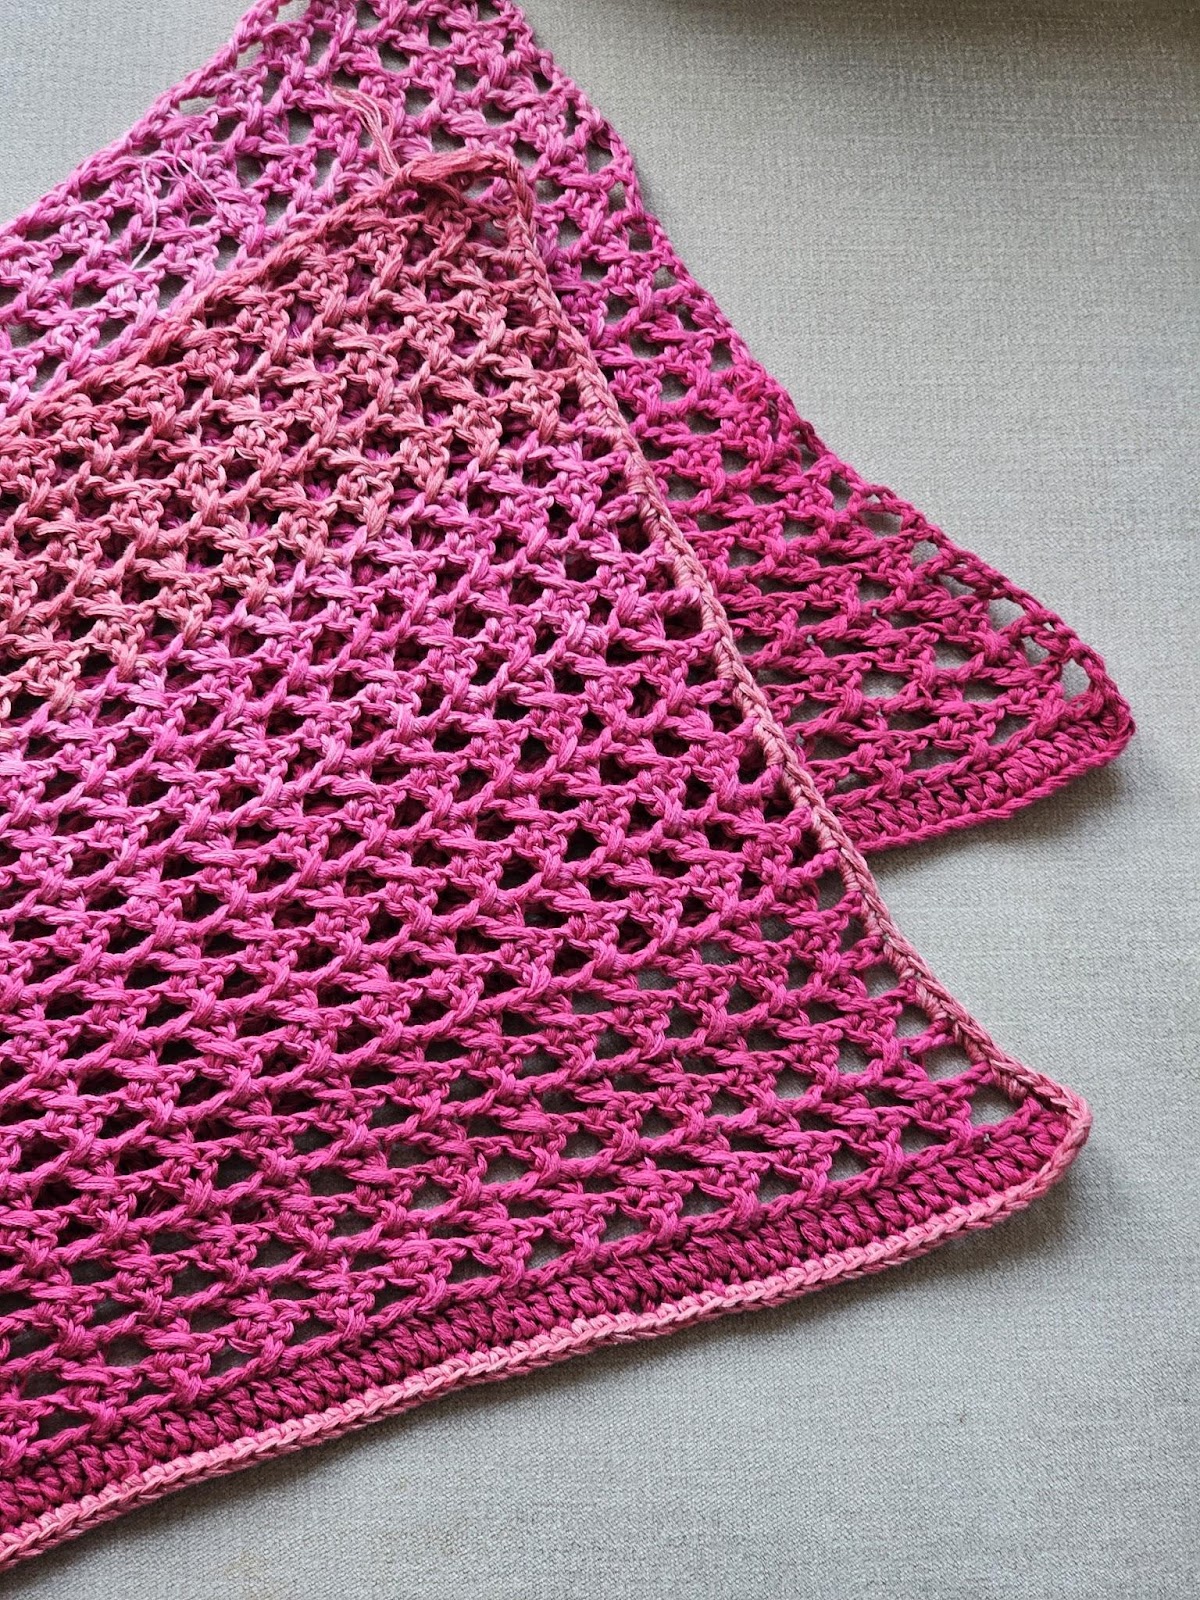
How this Truck Cargo Net Crochet Pattern is made
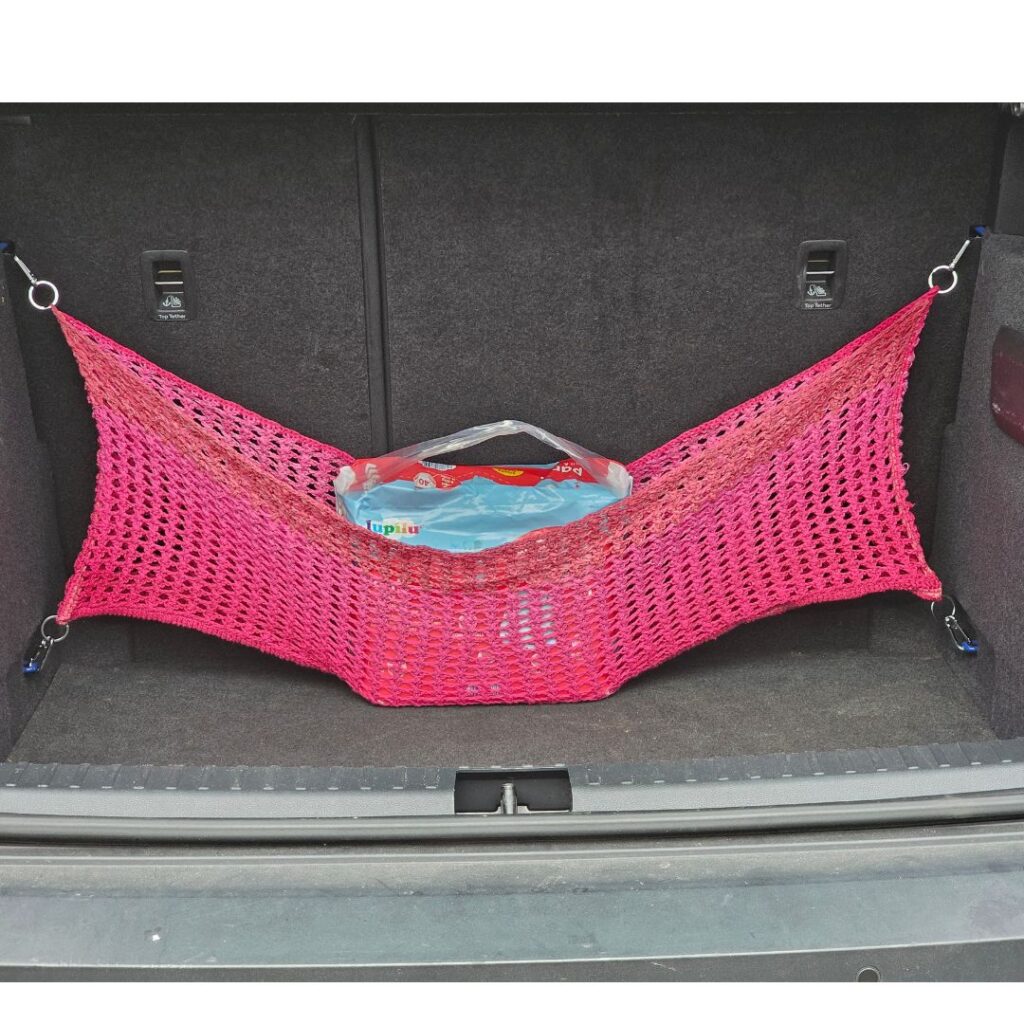
1. Make two rectangles and join 3 sides together.
2. The pattern works flat; you can customize the size by increasing or reducing your starting chains.
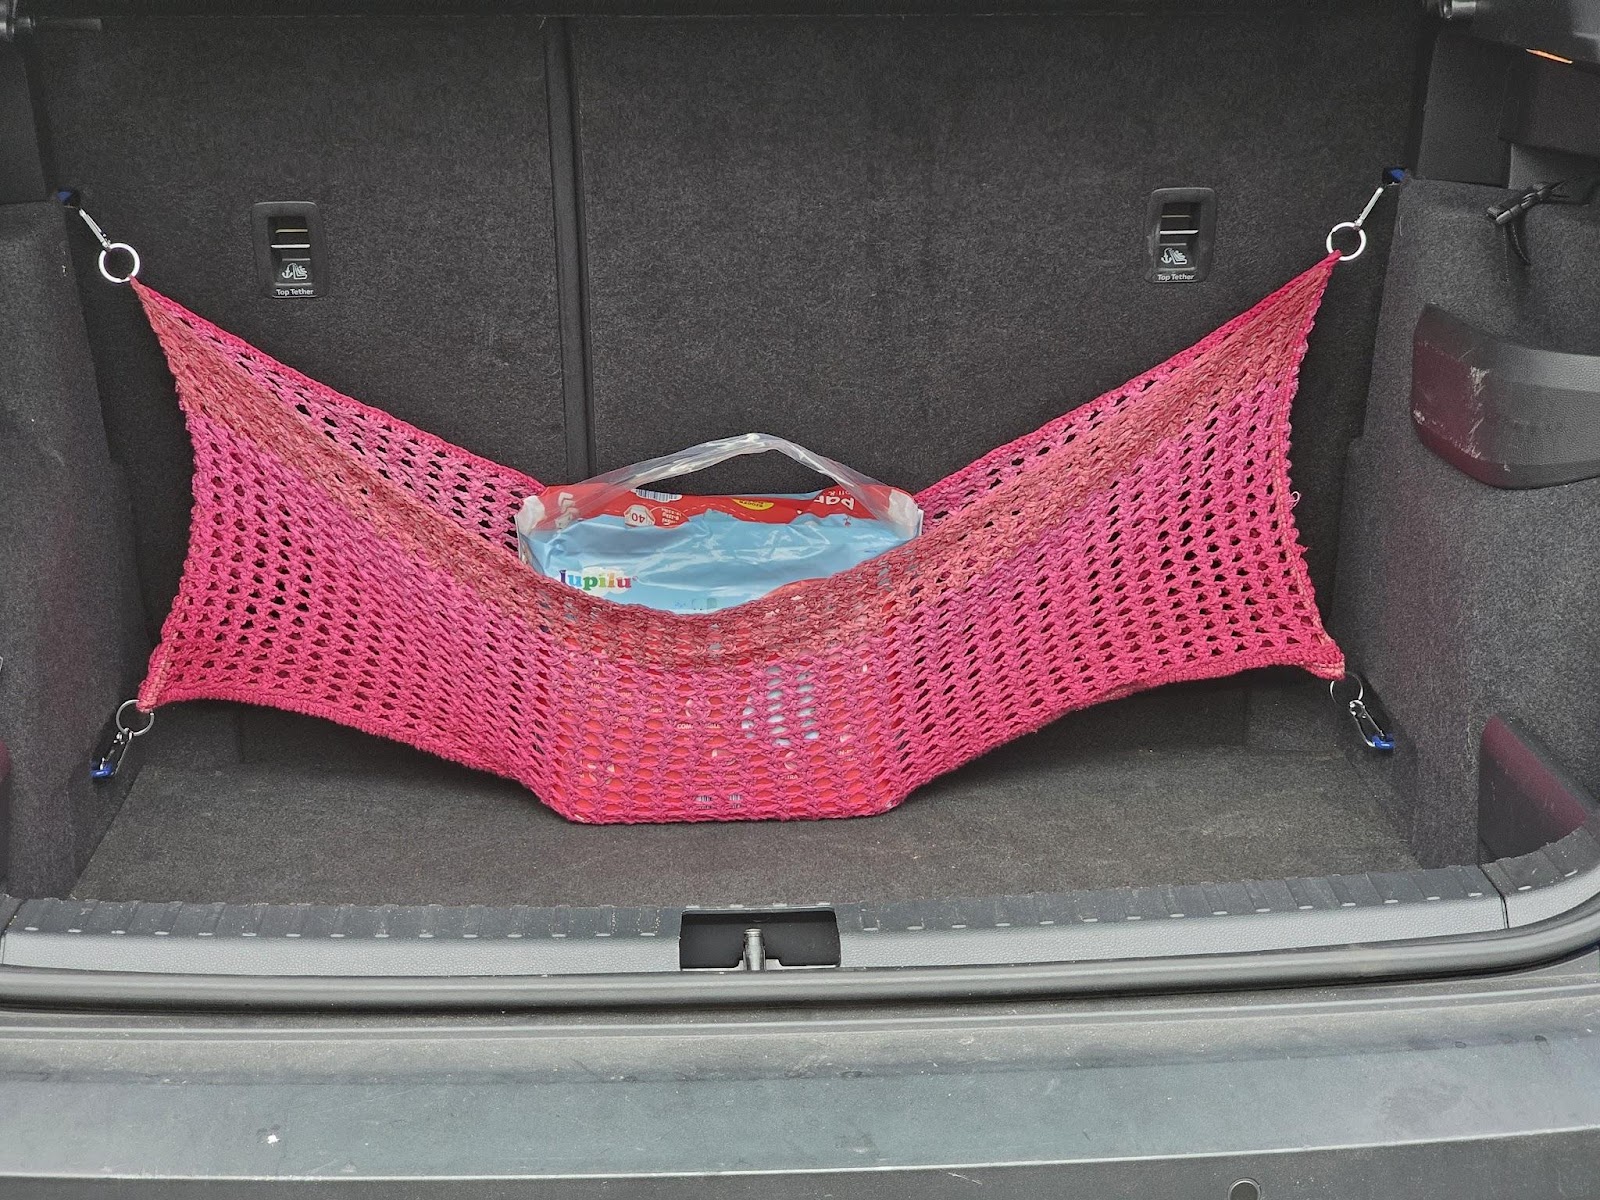
Finished Measurement of the prototype truck cargo net: 33” by 12”
Trunk net organizer Adjustments
Width: Adjust the foundation chain in a multiple of 4 plus 5.
Length: Increase or decrease the repeats.
This pattern and 35 other summer project ideas are featured on the Summer Vibes blog hop. Check out all the fun projects here.
How to make Trunk Cargo Net Crochet Pattern
Make 2
Chain 181
To customize your size, adjust the starting chain using a multiple of 4 plus 5
Row 1: hdc in 3rd ch from hook and in each ch across, turn. 179 hdc
Row 2: Ch 5 (counts as the first tr and first ch 1, here and throughout), *skip next 3 sts, tr in next st, ch 1, tr in 2nd skipped st, ch 1, rep from * to the last sts, ch 1, skip next st, tr in last, turn. 44 xtrl, 2 tr.
Row 3: Ch 5, *xtrl, ch 1, rep from * until last st, ch 1, skip ch sp, tr in last st (4th ch from the beginning ch 5), turn. 44 Xtr, 2 tr.
Rows 4 – 23: Rep row 3.
Aim for a sc in each st/ch sp.
Row 24: Ch 1, 2 sc in each ch 1 sp across.
Do not fasten off.
Edging
Crocheting around the whole panel
Aim for 3 sc in each ch 5/tr
Round 1: Ch 1, *3 sc in each ch 5/tr across, (2 sc, ch 2, 2 sc) at the corner, sc in each hdc st at the foundation sts, (2 sc, ch 2, 2 sc) at next corner, rep from * around, join with a sl st to the beginning ch.
Make the second panel.
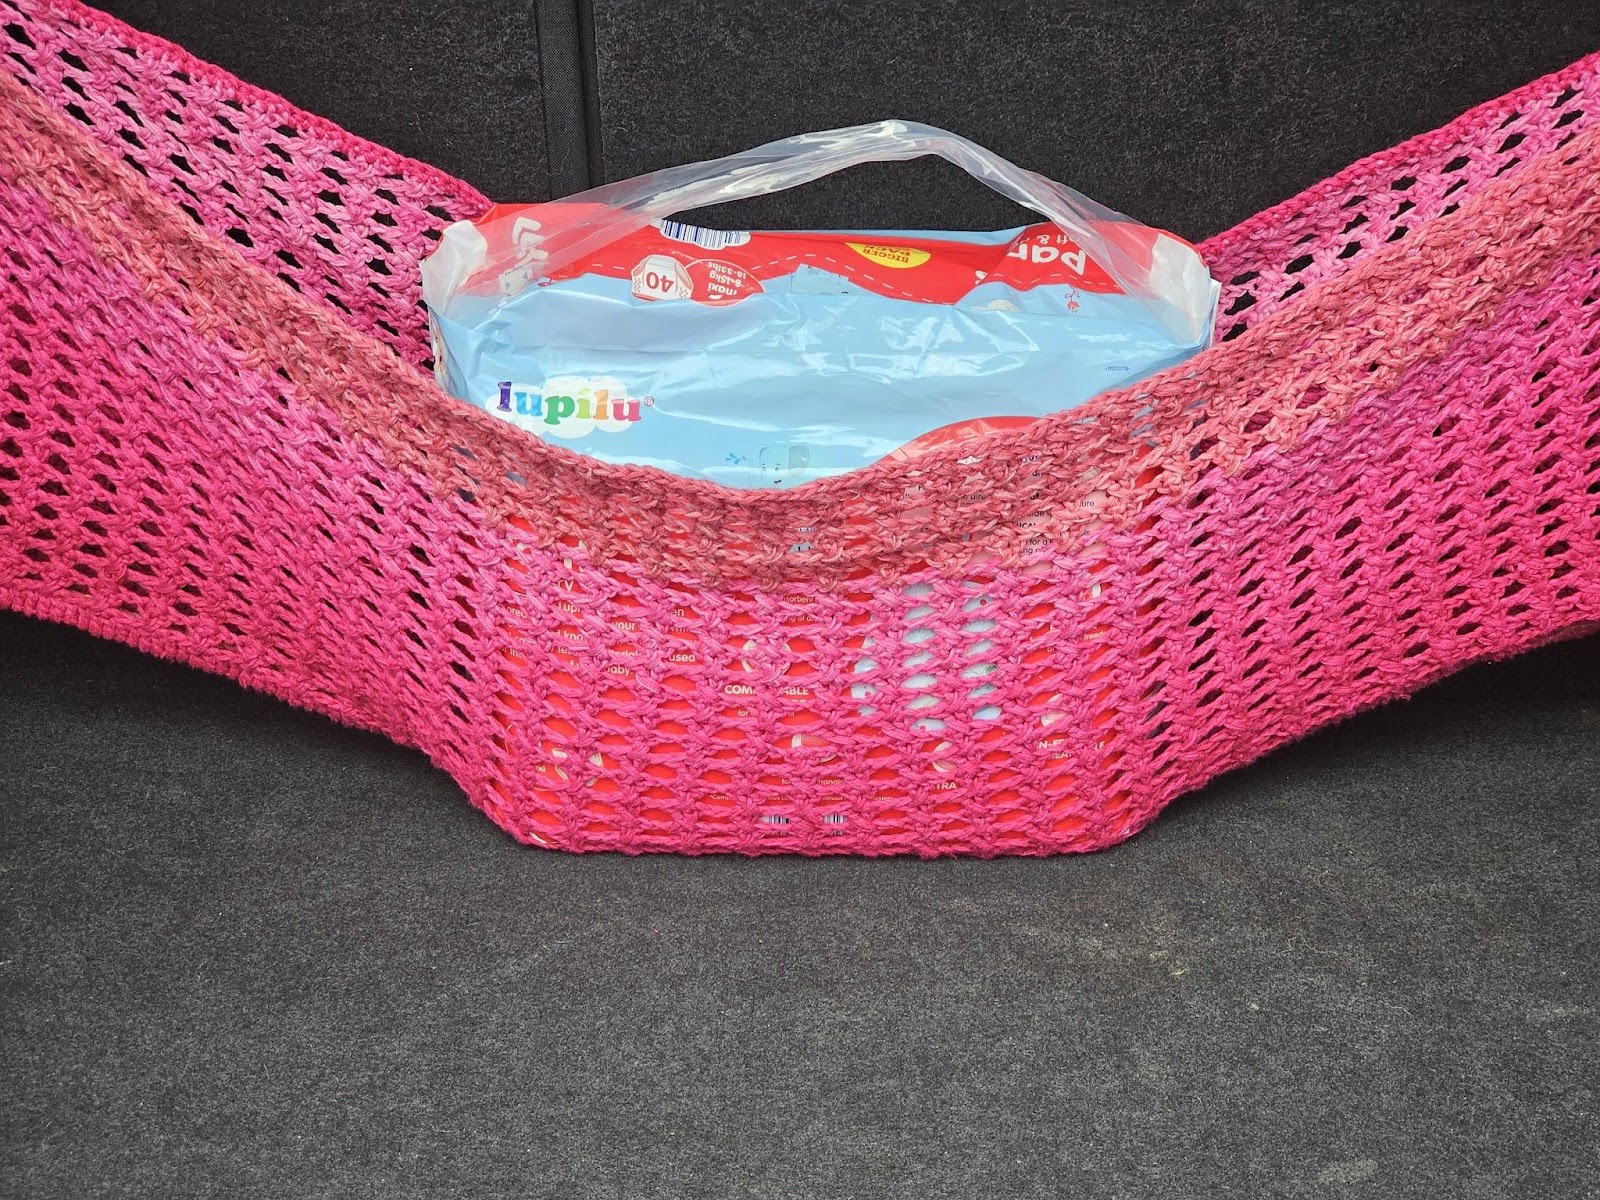
Joining the two panels:
- Place the panels next to each other.
- Using either a darning needle or crochet hook, sew with mattress stitch or sc over the two short edges and the lower long edge.
- Leave out the 4th upper edge as the opening.
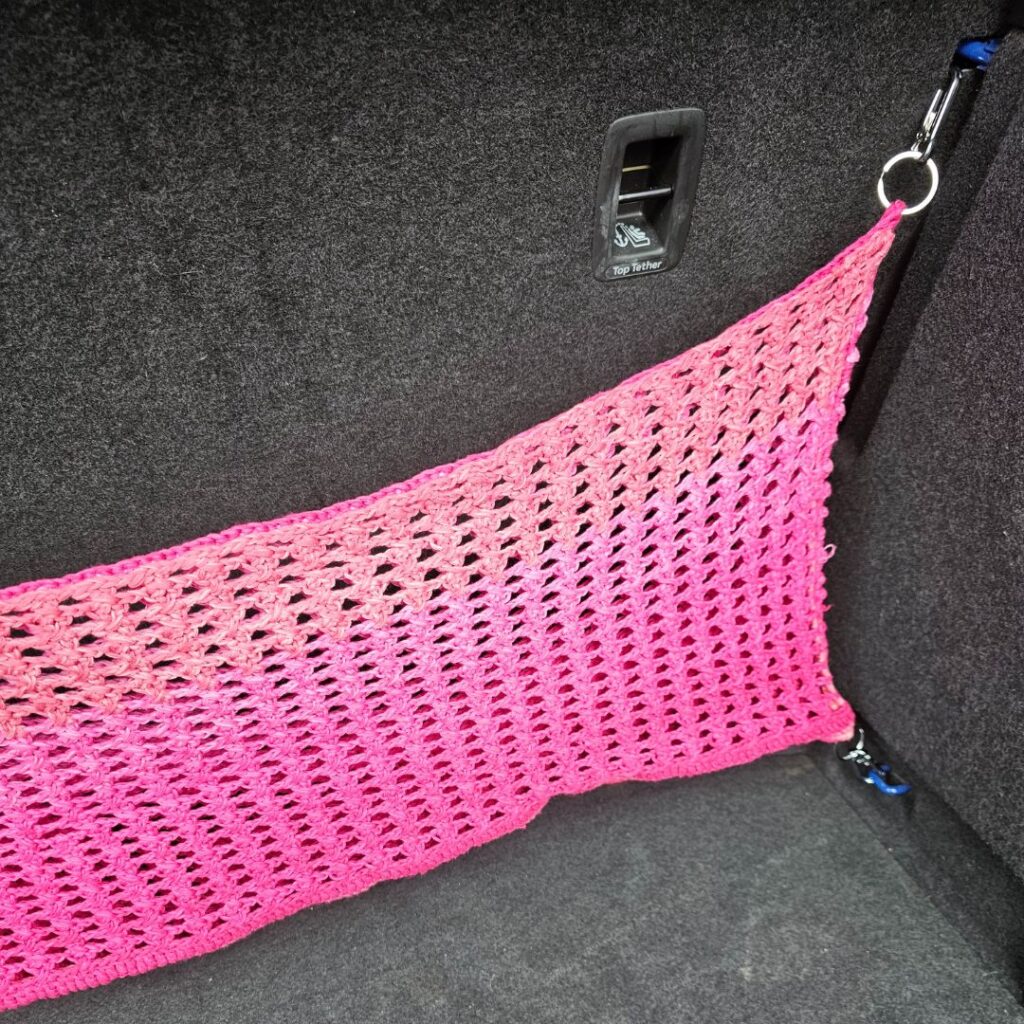
Adding the Carabiners or Keychains
- I added four to mine, one on either corner of the panels. Depending on your trunk’s model, you can choose to use just two.
- With a crochet hook or the tip of a scissor, gently slip the keychain ring open and pass one or a few stitches on the corner of the project through the keychain.
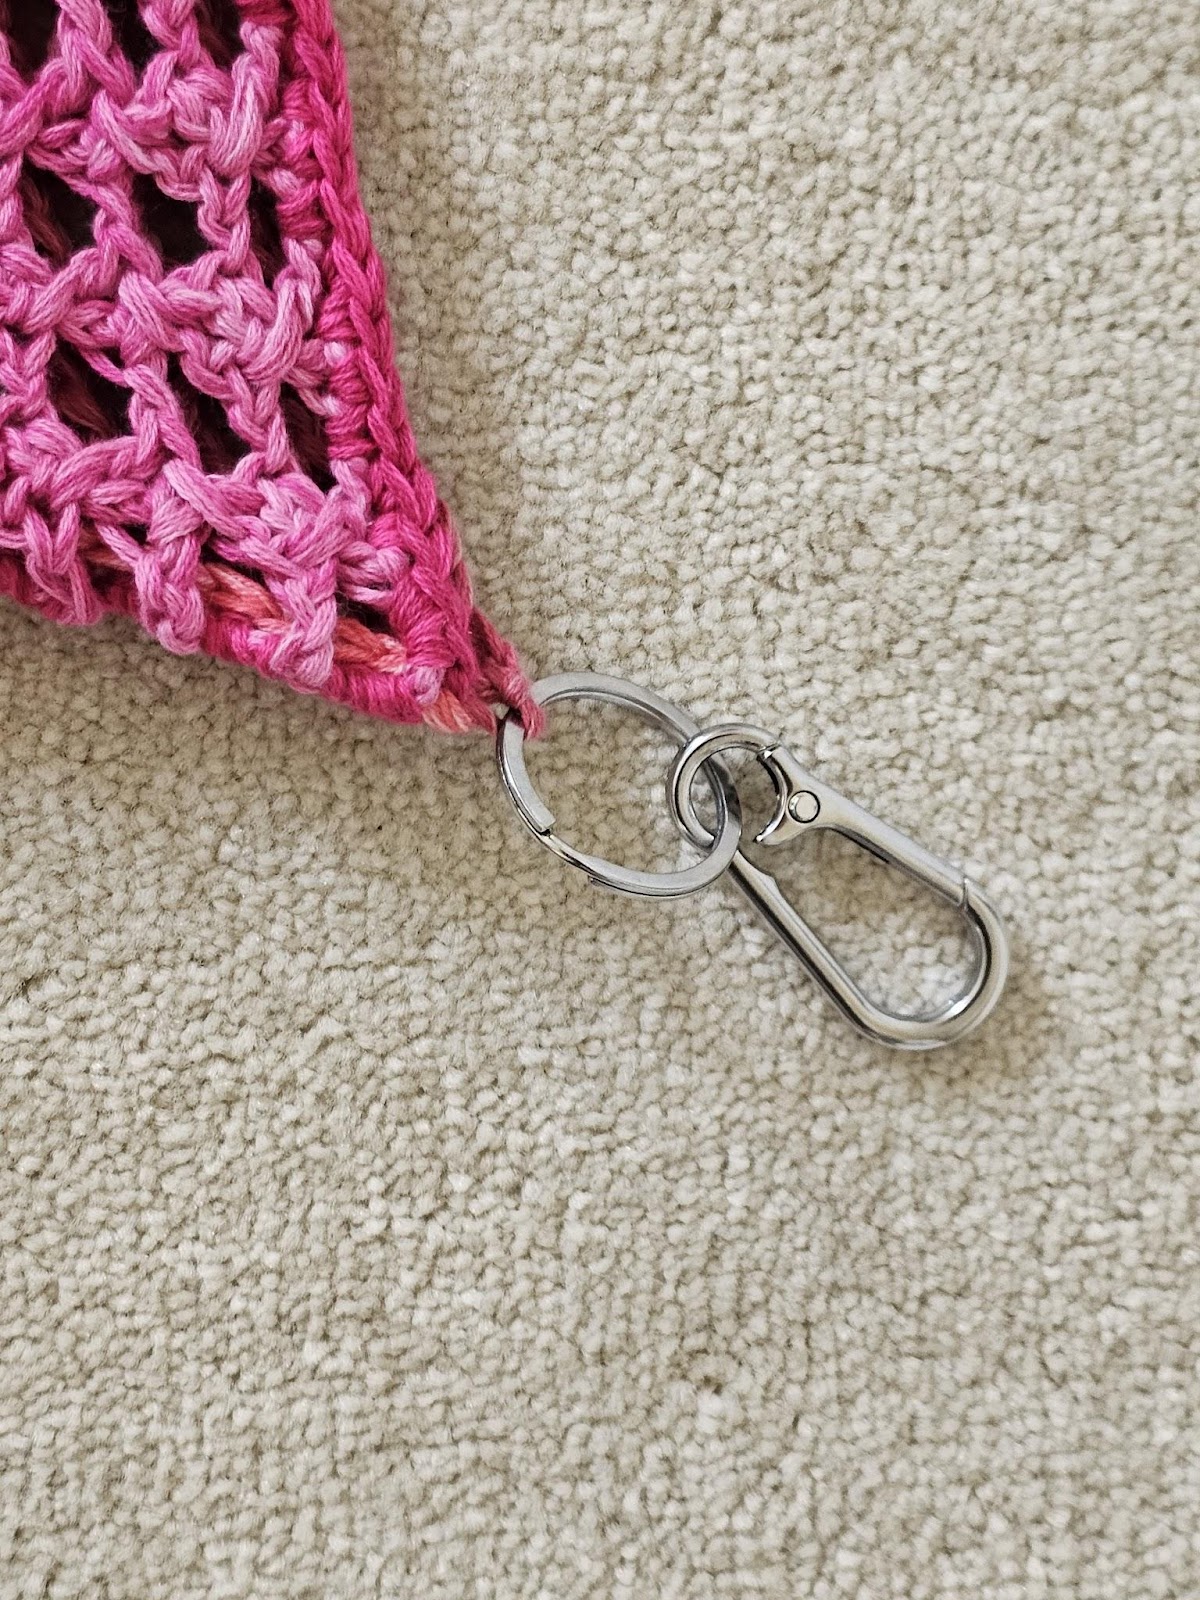
- You can also replicate this using the carabinars.
- Repeat this step across the corners.
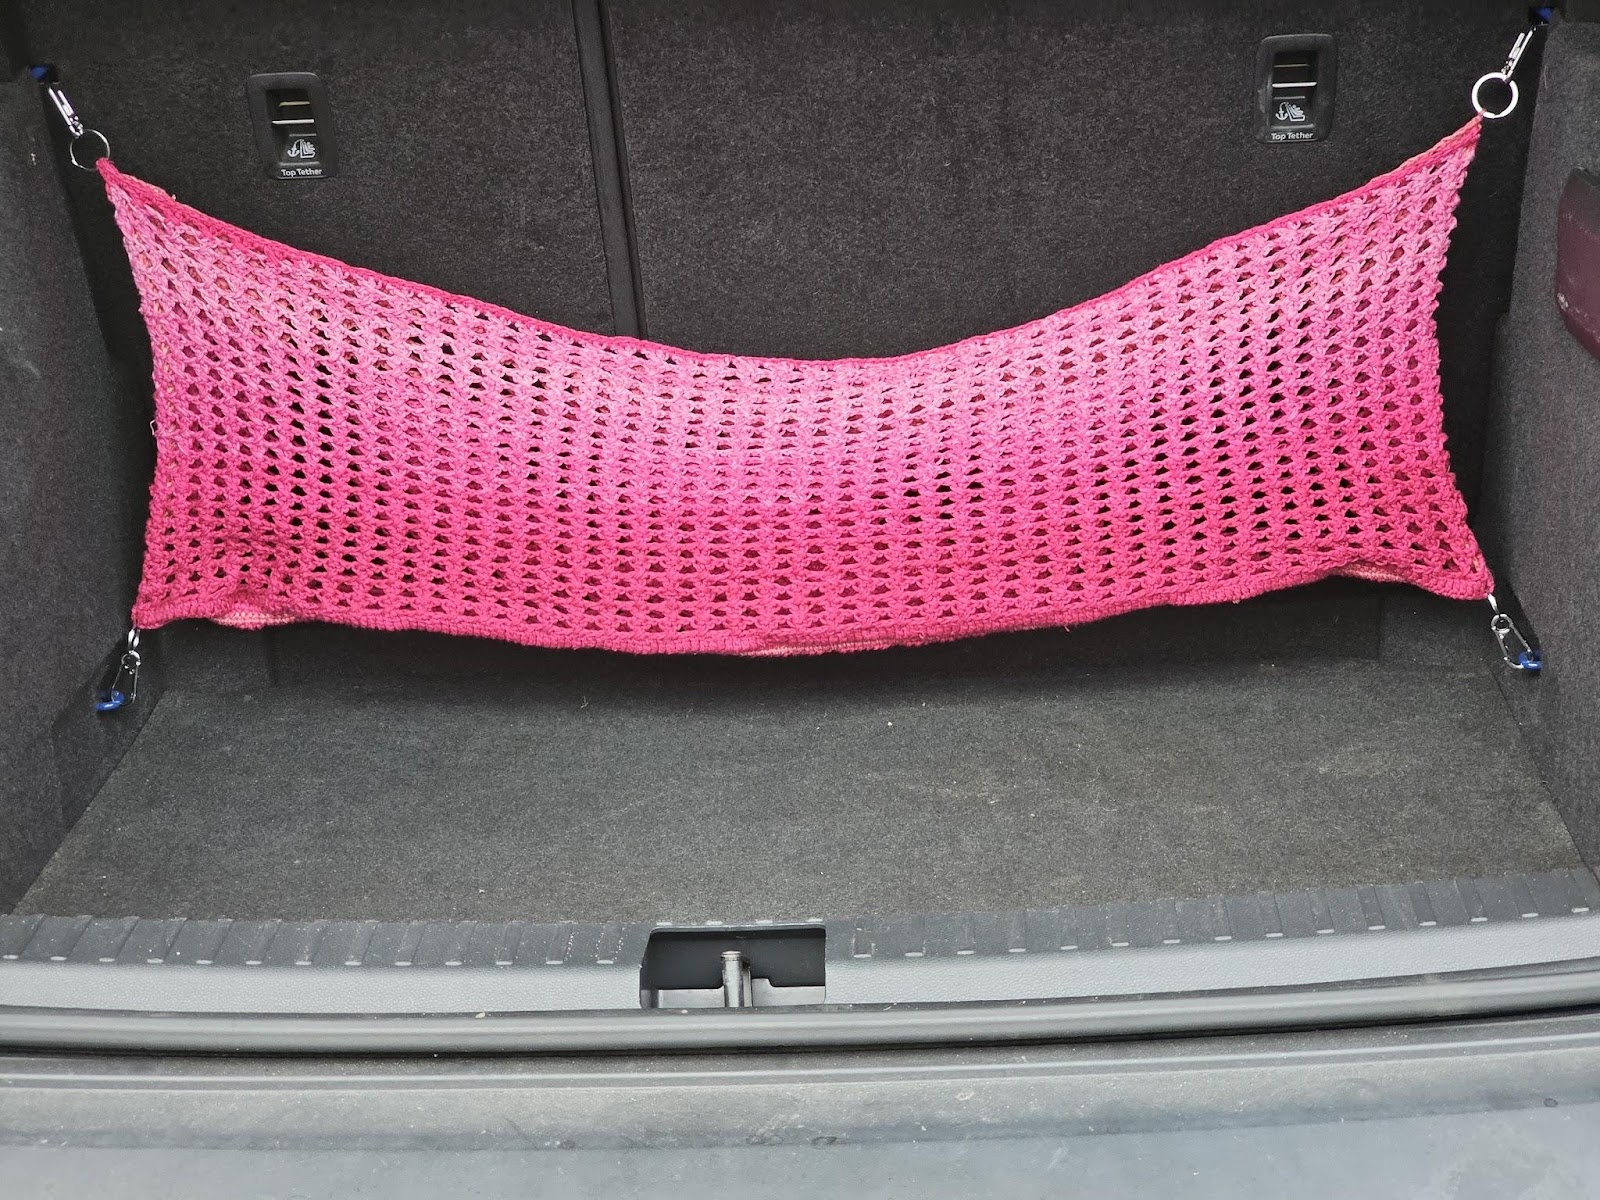
Hook your carabiner or key chain to the sides.
My car has four slots into which the carabiners can be hooked.
Join the rings to these slots and enjoy.
Fasten off.
Block to measurement.

What size cargo net do I need?
To determine the appropriate size of a cargo net, you’ll need to consider several factors, including:
Dimensions of the Cargo Area: Measure the length, width, and height of the area where you’ll be using the cargo net. This could be the bed of a truck, the trunk of a car, or any other space where you need to secure items. Follow the guide provided in the pattern for th perfect lenght.
Type of Cargo: Consider the types of items you’ll be securing. Large, bulky items might require a larger net with bigger openings, while smaller or more delicate items may need a net with smaller mesh sizes to prevent them from slipping through.
Stretch and Flexibility: This crochet trunk cargo net is not as elastic as the store bought ones but strong enough to keep your stuffs. Check the yarn specifications for the maximum stretch dimensions to ensure it will adequately cover your cargo.
Attachment Points: I added four hooks to the attachment points of my car. This helps to secure the cargo net properly. If the cargo area has specific tie-down points, ensure the net’s attachments are compatible.
For example, if you’re securing items in the bed of a truck that measures 6 feet by 4 feet, and the items are not too tall, you might choose a cargo net that can stretch to at least 6 feet in one dimension and 4 feet in the other. If you’re securing smaller items, a net with a smaller mesh size would be more suitable.
I hope you find this cargo trunk net useful. When you make yours, kindly share your version with me.
About the Designer
Say Hi on Instagram and Subscribe To my email List for pattern discounts and freebies. For questions, send such to [email protected]. Read more about me here.