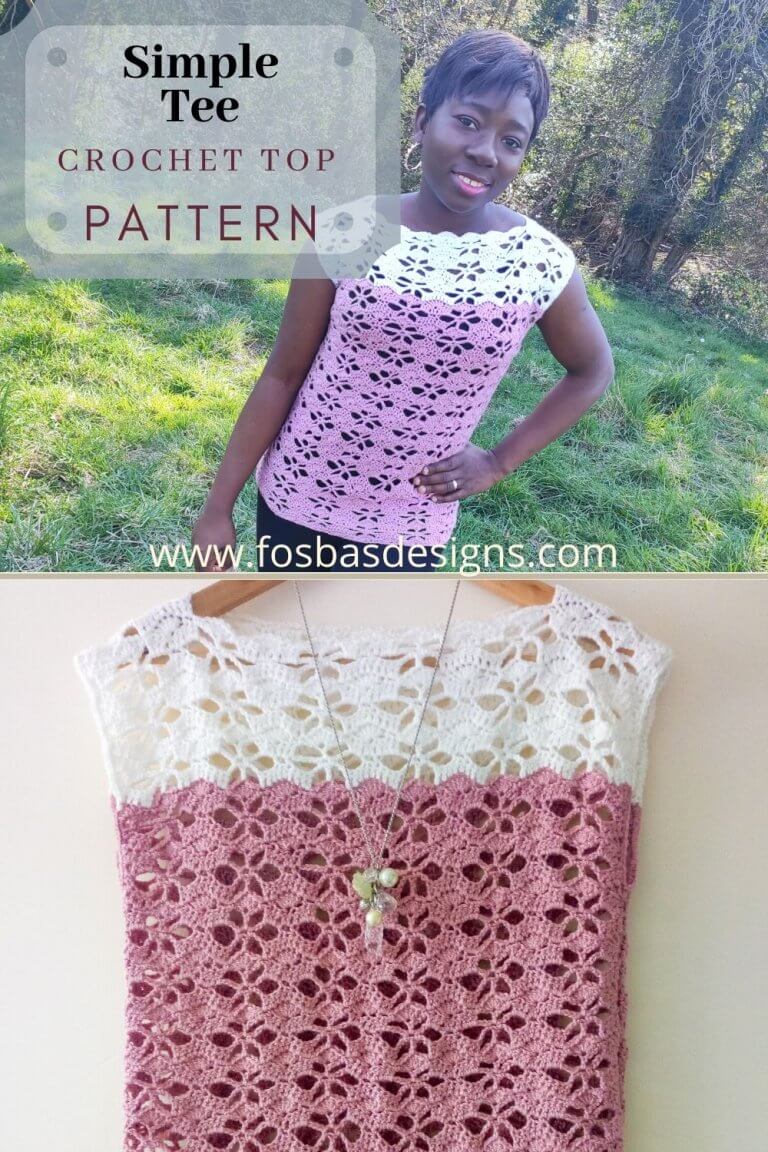
How to Crochet a Magic Ring (Magic Circle Tutorial)
It’s time to perfect another crochet technique; it is the magic ring, also called the magic circle. This is an adjustable circle, making it super easy to customize the start of your project. Some crocheters are still not confident when it comes to making the magic ring! This is the essence of this post.

The Magic Ring or Magic Circle is a very common technique in crochet, especially for projects worked in the round. It can be a bit tricky to master, and beginners often have questions about it.
What is the magic ring or magic circle in crochet?
The magic circle, also known as the magic ring or adjustable loop, is a great way to start a crochet project that is worked in rounds, like a hat, amigurumi, or doily. It allows you to pull the hole tight, creating a neat and professional finish.
Why use a Magic Ring instead of chaining and joining?
The magic ring is often used because it lets you close the center hole completely, making it perfect for projects like amigurumi or hats where you don’t want a hole at the start of your work. Chaining and joining, on the other hand, often leaves a small gap in the center.
Substitutes to the Magic Ring
As with most things, there are other ways of doing things. You can also make a circle in other ways, such as starting with a certain number of chains and then either joining with a slip stitch to the first chain or crocheting into the first chain.
Method 1: Chain 4, slip stitch to the first chain and continue with the pattern instruction. The drawback to this method is that you might have a big hole in the middle of your project. You can alternatively chain 3!
Method 2: Chain 4, work 6 double crochet into the first chain. You can add or reduce the number of stitches. You can also use ch 3 instead of chain 4. This method also has similar drawback to method 1 above.

How to Crochet a Magic Ring step by step
Step 1: Make a loop: Hold the end of the yarn in your left hand and wrap it around your fingers to create a loop.
Step 2: Insert the hook: Insert your crochet hook through the loop, from front to back.
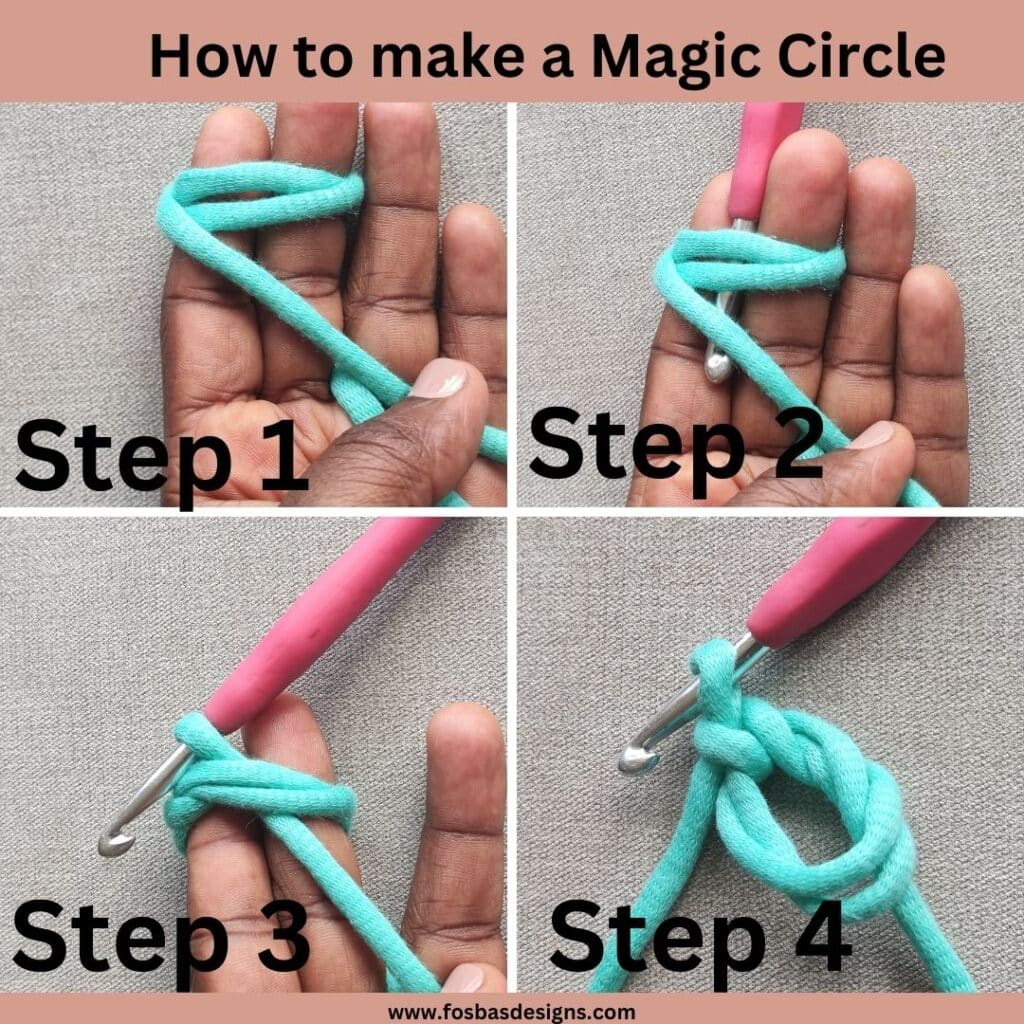
Step 3: Yarn over hook: Pick up the yarn that leads to the ball (not the short end), and pull it through the loop. You should now have one loop on your hook. This step is a bit like making a crochet chain.
Step 4: Make the first stitch: Yarn over your hook again, and pull the yarn through the loop on your hook. This makes your first chain stitch if you’re using single crochet stitches for your project, chain once more.
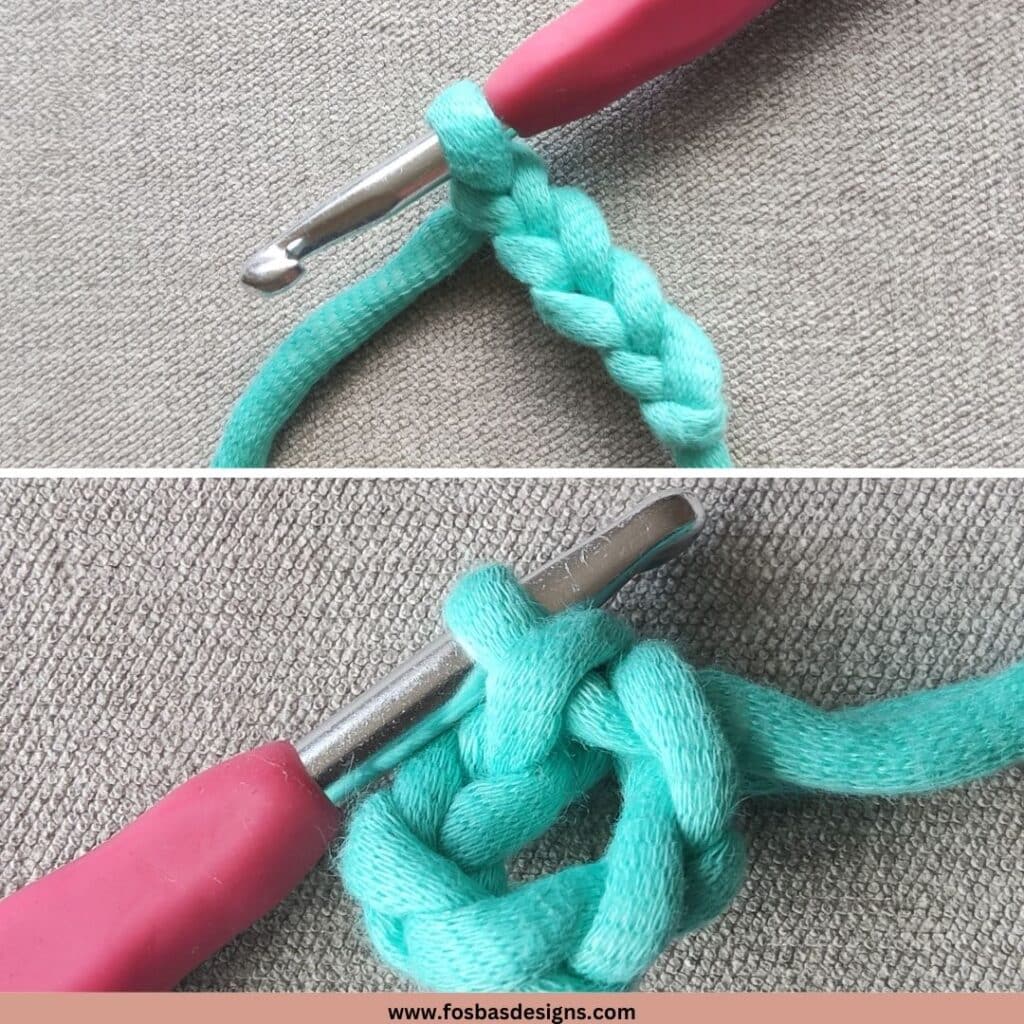
Step 5: Continue the round: Make as many stitches as you need into the loop. For example, if you’re starting with a single crochet, you might make six single crochet stitches into the loop.
Step 6: Close the circle: Pull the loose end of the yarn to tighten the loop and bring your stitches into a circle. Be sure to pull it tight so there is no hole left in the center.
Step 7: Join the round: Use a slip stitch to join your round’s first and last stitches. Insert your hook into the first stitch, yarn over, and pull through all loops on your hook. You’ve now completed your magic circle!
Step 8: You can continue to follow your pattern, working in rounds. Just remember that the magic circle replaces the first chain stitches that your pattern might call for.
This technique may take some practice, but once you’ve got it, it’s a useful skill for many crochet projects!
Can I use the Magic Ring with any type of stitch?
Yes, you can use the Magic Ring with any type of stitch. However, the most common are single crochet and double crochet. Just remember to do the same number of chain stitches at the beginning that you would for the stitch if you were not using a Magic Ring.
My Magic Ring keeps coming undone. What am I doing wrong?
If your Magic Ring is coming undone, it might be because you’re not securing the ring properly after making your stitches. Make sure to pull the tail end of the yarn tight to close the ring, and consider working over the tail for a few stitches in the next round to help secure it.
Is there a way to secure the magic ring more firmly?
Yes. After you’ve pulled the tail end tight to close the ring, you can add an extra knot or weave in the tail end with a yarn needle to secure it more firmly.
I’m left-handed. Is there a different way to do the Magic Ring?
The Magic Ring technique itself isn’t different for left-handed and right-handed people. The only difference is the hand in which you hold your yarn and hook. As a left-handed person, you would hold your hook in your left hand and yarn in your right hand, doing everything in the mirror image of a right-handed person.
Do I need to use a Magic Ring in every crochet project?
No, the Magic Ring is mainly used for projects worked in the round. If your project is not worked in the round, or if the small hole left by chaining and joining won’t be a problem, you don’t need to use a Magic Ring.
Remember, the Magic Ring technique might take a bit of practice, but once you get the hang of it, it’s a really useful skill to have in your crochet toolkit.
More crochet projects to check out on the blog.
Best yarn to crochet with and the ones to avoid
How to Crochet a Sweater for a Beginner
Real-time to crochet a sweater
Real-time it takes to crochet a hat
How to Crochet a Magic Ring