How to crochet a skirt for the beginner
Crocheting a skirt can be intimidating for a beginner, but it’s also an incredibly rewarding experience that can lead to a sense of accomplishment and pride in one’s own creativity.
Not only will you learn new crochet techniques and improve your skills, but you’ll also end up with a one-of-a-kind piece of clothing that fits you perfectly and reflects your personal style.
Crocheting a skirt has been so fun for me and I want it to be for you too! This is the whole essence of this post. I have lost count of the number of crochet skirts I have designed over the past years.
Don’t be afraid to give crocheting a skirt a try! With just a few basic skills and some patience, you’ll be able to create a beautiful garment that you can wear with pride. Plus, the satisfaction of creating something with your own two hands is unparalleled.
Crochet skirts do not need to be complicated, in fact, you can make a simple rectangle and seam it together to get a skirt. Then your next question would be, what do I do with the wait?
How to crochet a skirt – The beginner’s guide
To crochet your skirt you need to gather your supplies which should include the following
Yarn – Decide how heavy or lightweight you want your finished skirt to be. This would inform the weight of yarn to select. You can select from sport weight to DK to Worsted weight to chunky weight yarns!
Hook – Crochet hook appropriate for the yarn
Stitch markers – Can be optional. Depending on the project you are making. Stitch markers were important in making the pocket skirt!
Tape measure – A very important notion both for measuring your waist, hip, and length and also for measuring your crochet skirt piece.
Buttons, snap buttons, and or elastic bands – Important for making a fitted skirt or as decorations. You can totally do without these!
After getting your supplies, you need a good pattern – One specifically marked as a beginner-friendly pattern.
Step-by-step instructions to crochet a skirt
Using a pencil skirt as our prototype
Step One: Before you start crocheting, you’ll need to take your measurements to ensure that your skirt fits properly. Measure your waist, hips, and desired skirt length. If making the skirt for someone else, pick a size based on the standard measurement below to determine how many stitches and rows you’ll need to achieve the correct size.
The standard measurement you would need according to the industry standard
Waist: 24 (26, 28, 32, 36, 40, 44, 46, 50)”
Hip Measurement: 32 (36, 40, 44, 48, 52 56, 60, 64)”
If you are making a pencil skirt, and have no intention fo rshaping your skirt, you might want to go with your hips measurement.
Step Two: Gather your supplies, as listed above.
Step Three: Get an easy-to-follow pattern. Or make yours using the guide below.
Step Four: Decide the stitch pattern to use.
Step Five: Make a gauge swatch – Creating a swatch is an important step in any crochet project, as it allows you to test your gauge and adjust your hook size if needed. To create a swatch, simply crochet a small square using your chosen yarn and hook, and measure it against the recommended gauge for your pattern.
Step Six: Now it’s time to start crocheting! Begin with the waistband, and then work your way down to the body of the skirt, using basic stitches such as single crochet to half double crochet, and start with the foundation (starting) chain. This should be loose around your waist, and easily slip down your hips.
Step Seven: Work hdc in each ch and continue adding more rows of hdc, turn after each row. Continue until you have your desired length. Fasten off
Step Eight: You should have a rectangle. Set aside.
Step Nine: Make the band – Make a foundation chain with about 10 chains fewer than that of the skirt work 6 rows of single crochet. Fasten off
Step Ten: Finishing. Fold both the skirt and the band in half. Place the band across the foundation chain of the skirt and using stitch markers, join the two pieces together.
Step Eleven: Sew the long side of the skirt together.
Weave in ends
Basic types of Crochet skirts
There are several basic types of crochet skirts that you can make as a beginner. I have classified the crochet skirts based on the shape as follows:
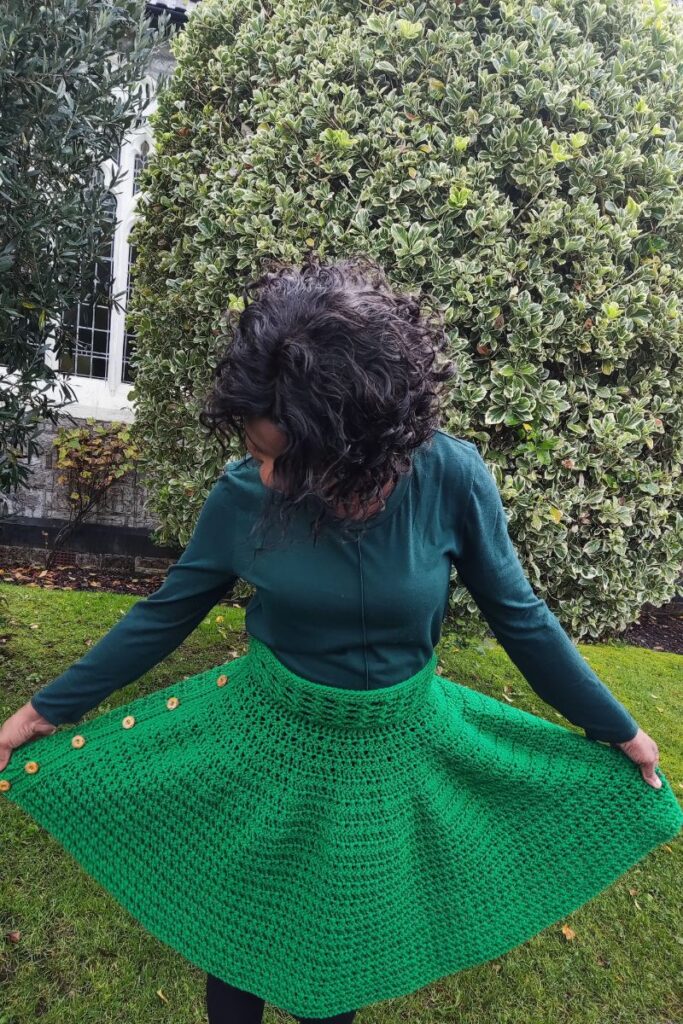
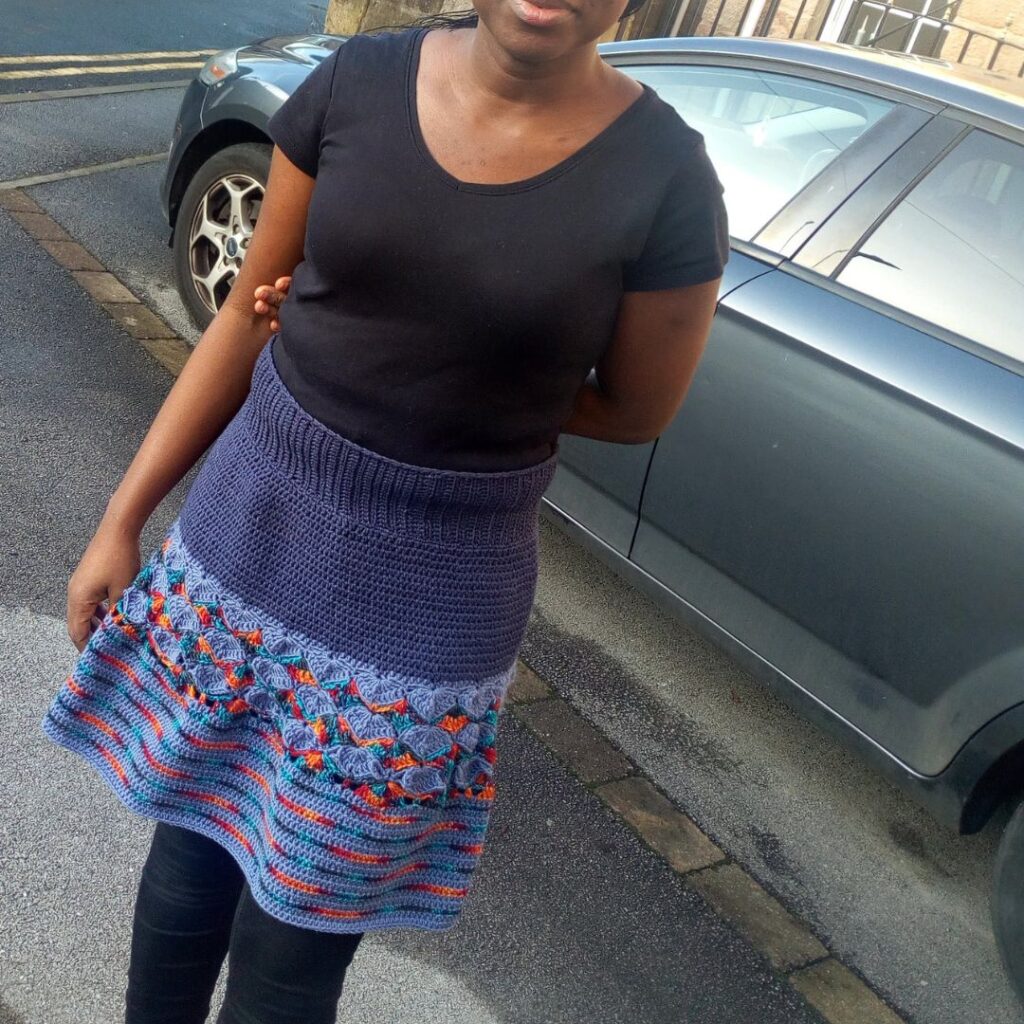
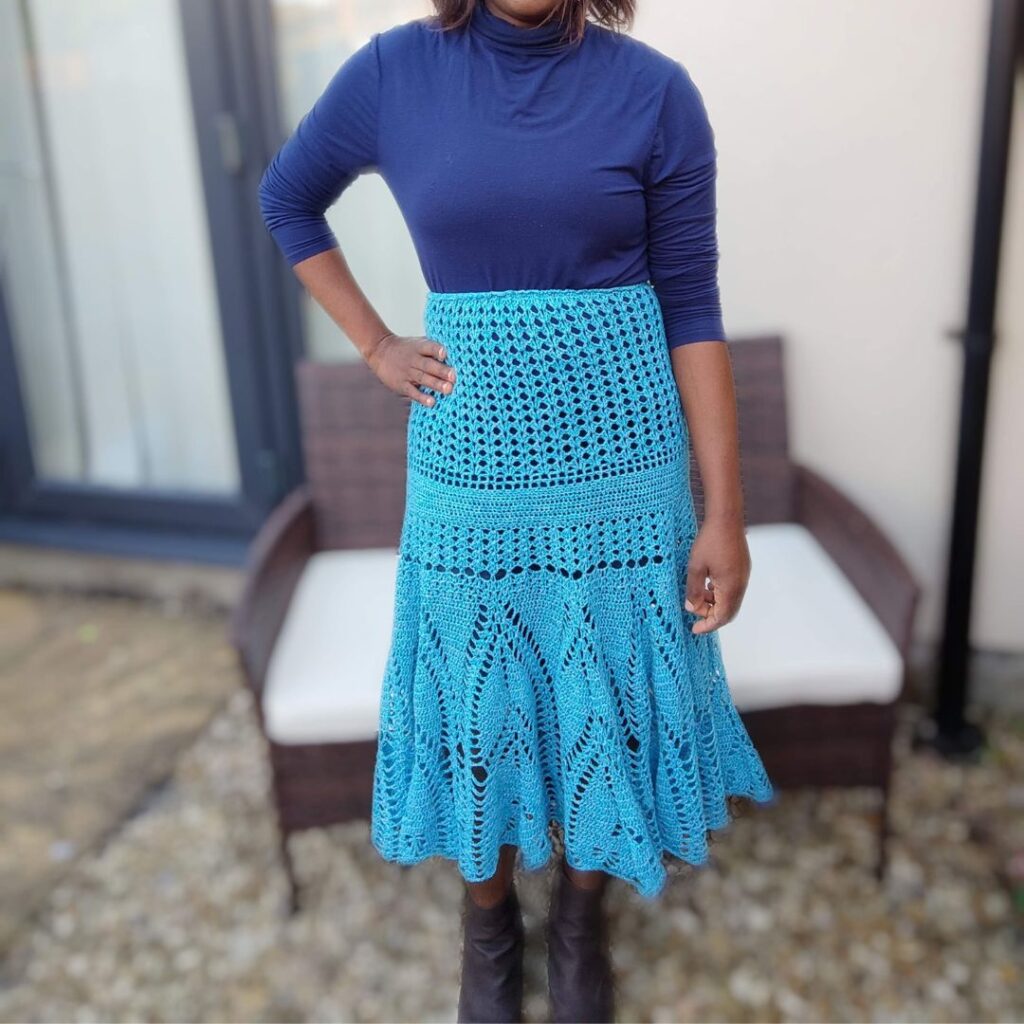
A-line skirt: This is a classic, flattering silhouette that flares out slightly from the waist to the hem. It’s a versatile style that can be dressed up or down, depending on the occasion. The Isabella skirt is the perfect example.
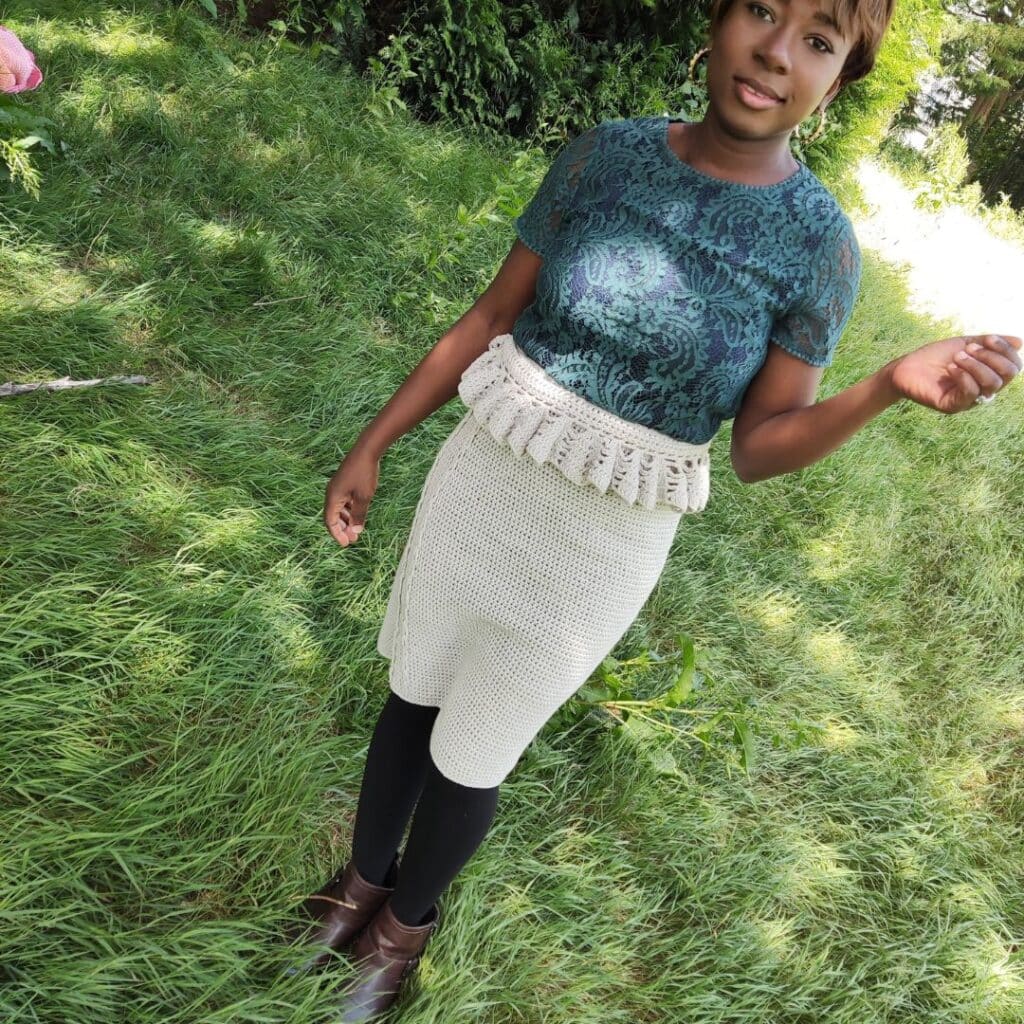
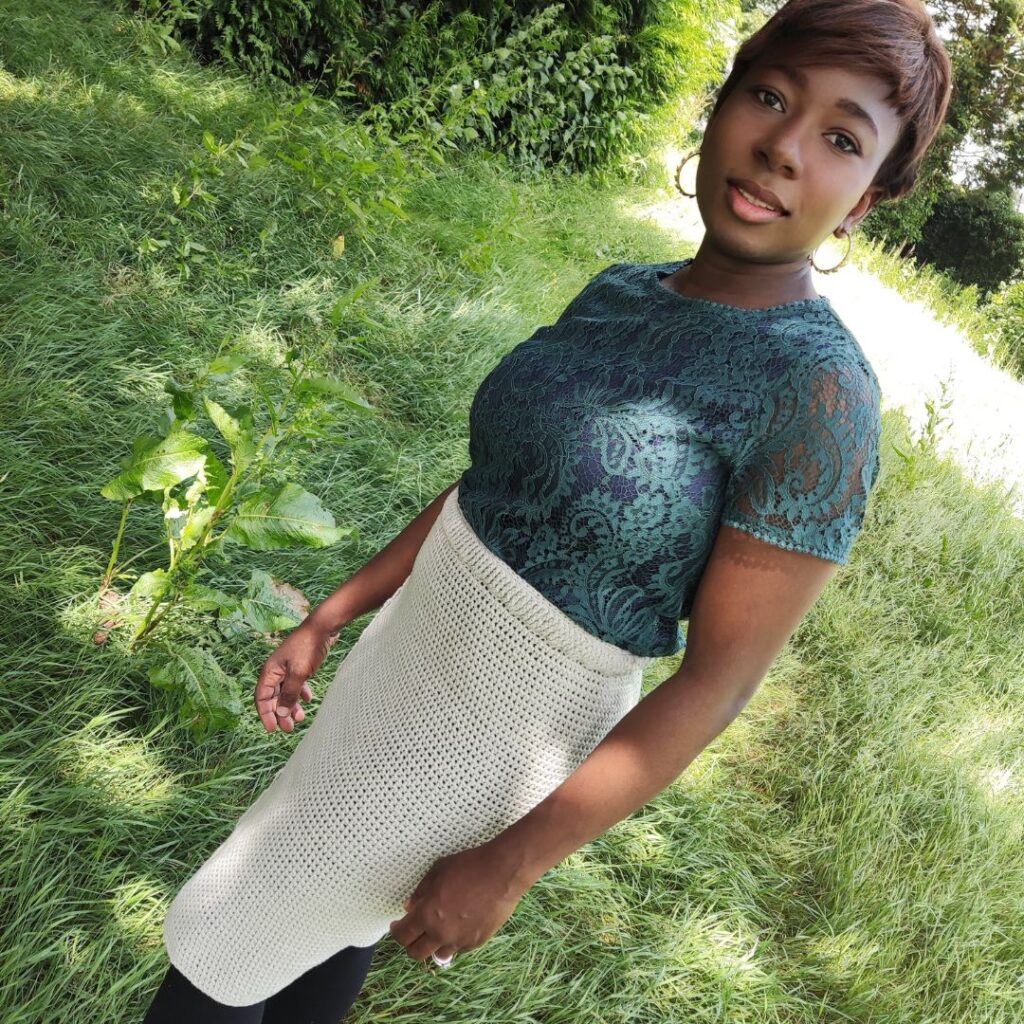
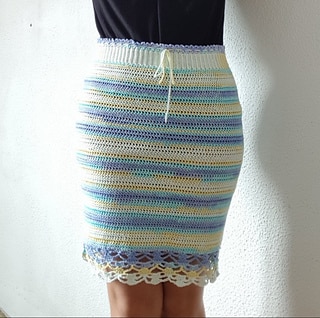
Pencil skirt: This is a more fitted style that hugs the hips and thighs and tapers down to the knees or just above them. It’s a great choice for a more formal or professional look. The perfect example is this skirt.
Maxi skirt: This is a longer skirt that typically reaches the ankles or floor. It’s a popular choice for a bohemian or beachy look and can be made with lighter-weight yarns for a flowy, breezy feel. The tulip skirt is an example.
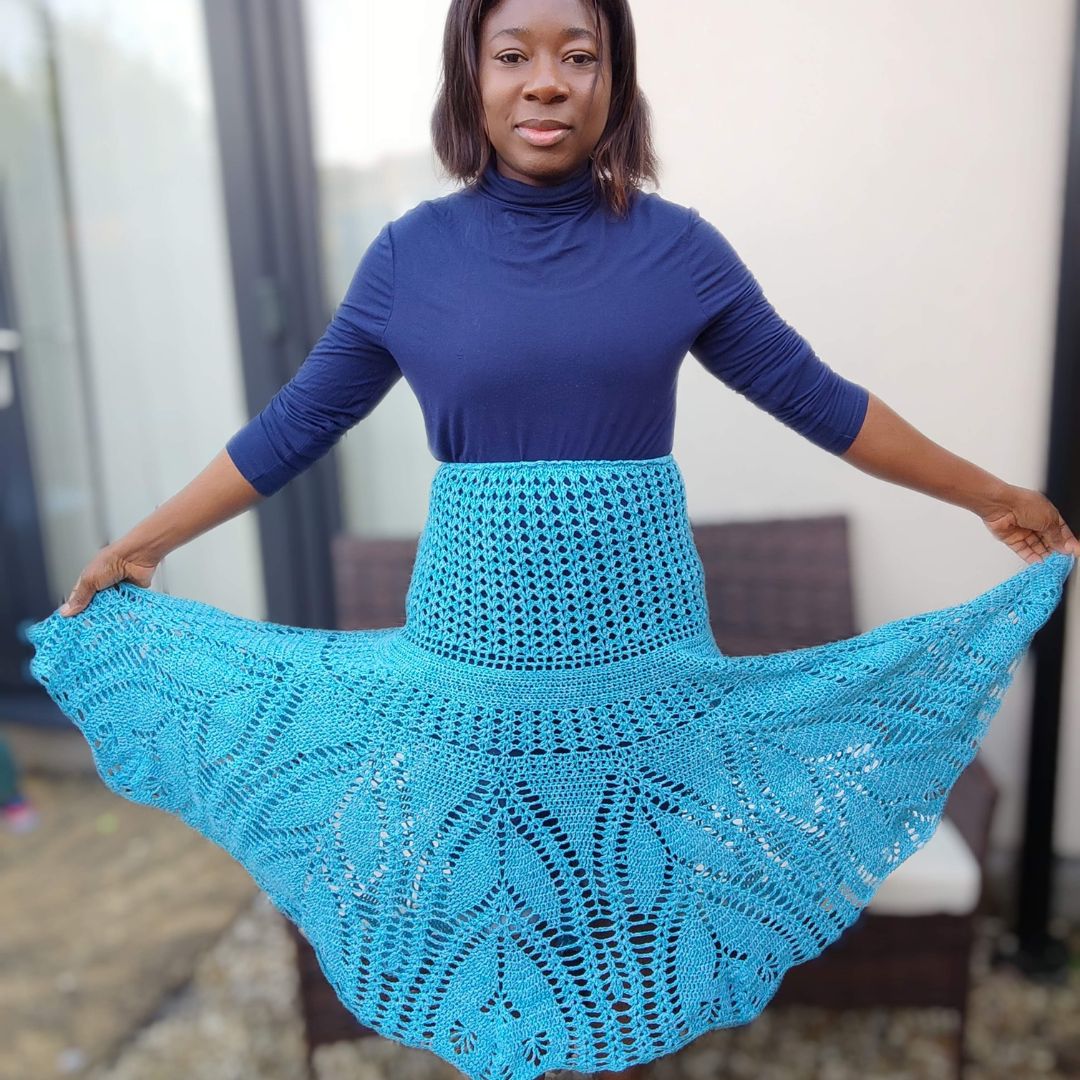
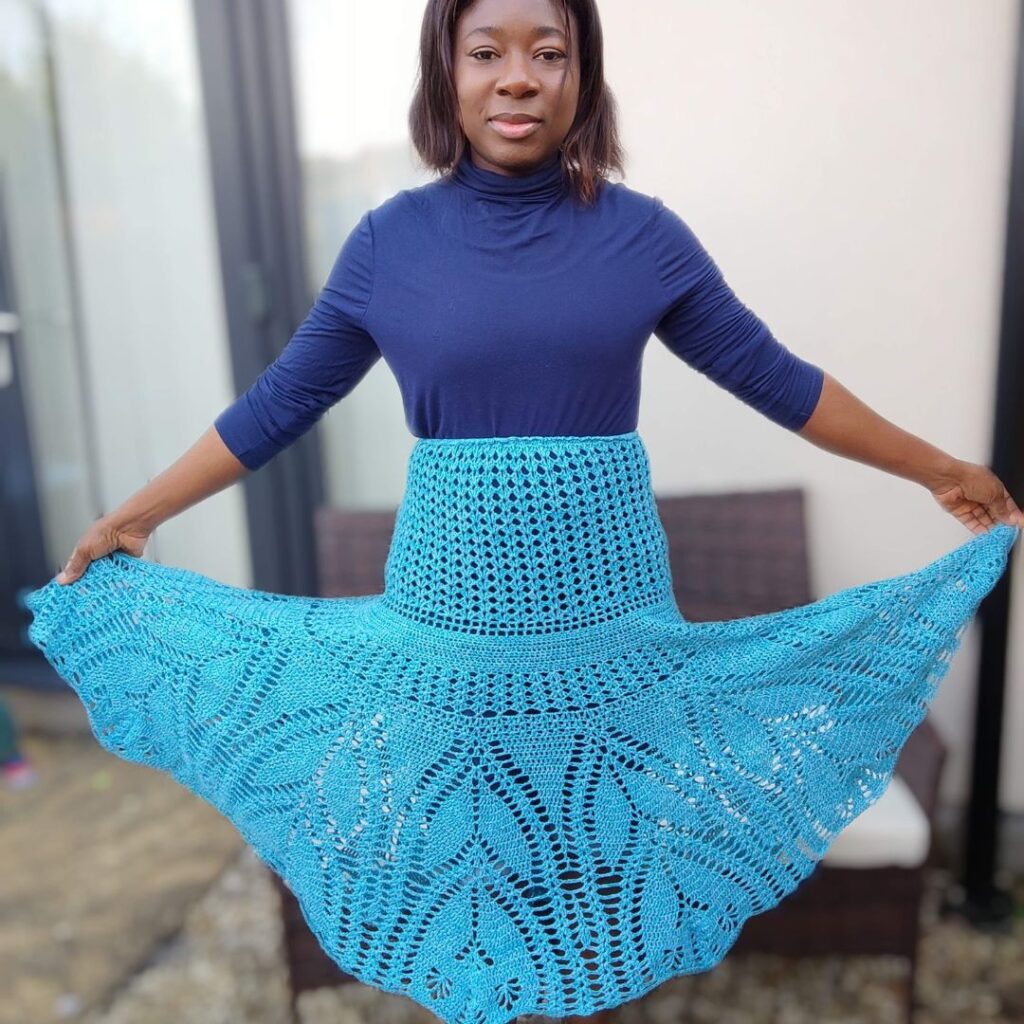
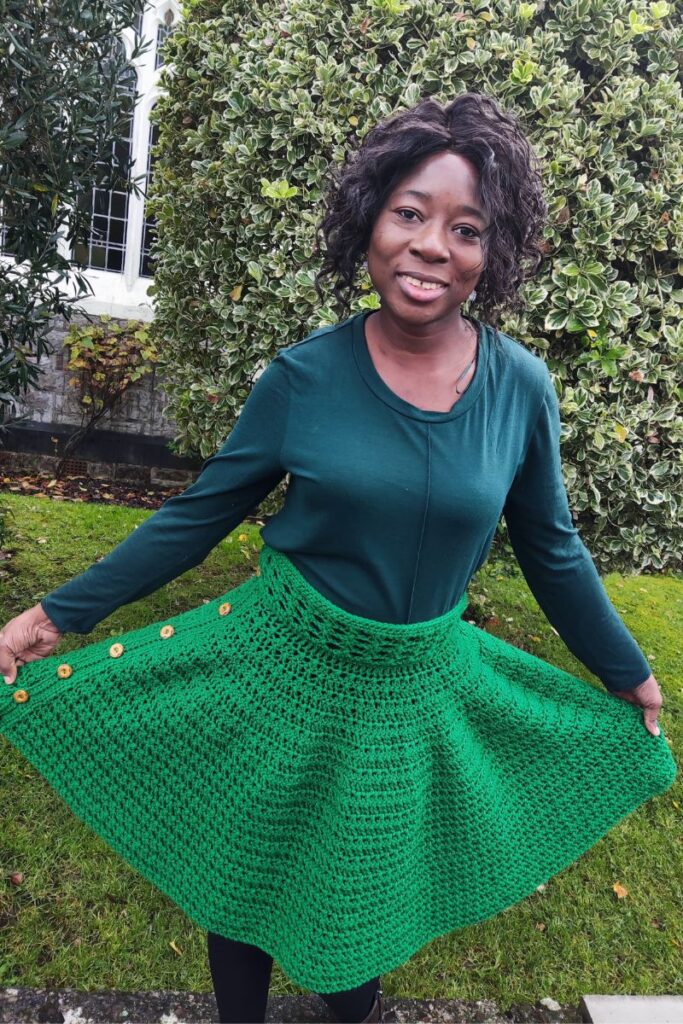
Circle skirt: This is a full, twirly skirt that’s made by crocheting a large circle and adding a waistband. It’s a fun and playful style that’s great for dancing or spinning around in. Serenity skirt is an example
Wrap skirt: This is a skirt that wraps around the waist and is tied or fastened in the front or side. It’s a versatile style that can be adjusted for a perfect fit and is great for layering over leggings or shorts.
As you work on your skirt, don’t be afraid to experiment with different stitch patterns and yarns to create a unique and personalized piece. And if you make a mistake, don’t worry – it’s all part of the learning process.
Finally, remember that crocheting a skirt should be a relaxing and enjoyable project, so don’t put too much pressure on yourself to create a perfect skirt right away. Take your time, enjoy the process, and don’t be afraid to ask for help or advice if you need it.
So go ahead and give crocheting a skirt a try – you might just surprise yourself with what you can create!
More inspirations for crochet skirts – include more than 40 skirts!
I can’t wait to see your beautiful makes! Come share your projects with me and the crochet community on Facebook and on Instagram.
Fosbas
Since you love this article, you might also love the following posts
Picking the best yarn for your crochet project
Blocking in crochet, everything you need to know
How long does it take to crochet a sweater – Real-time data