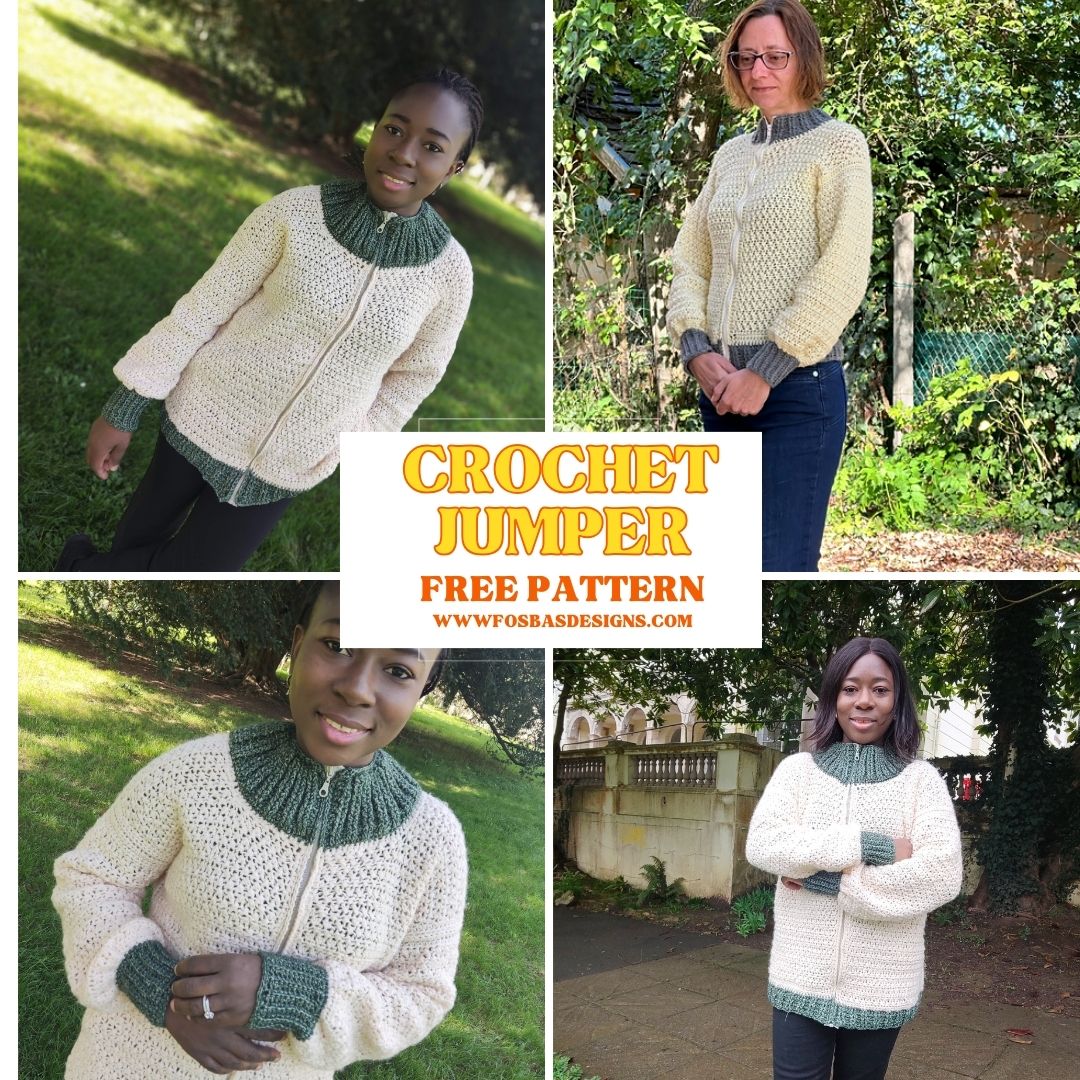
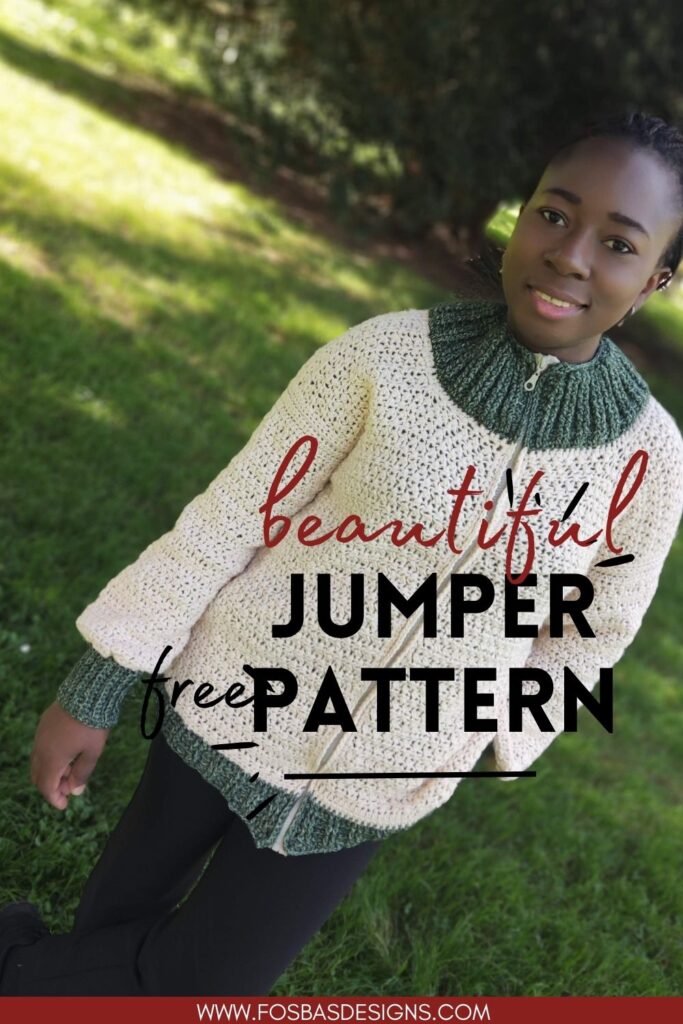
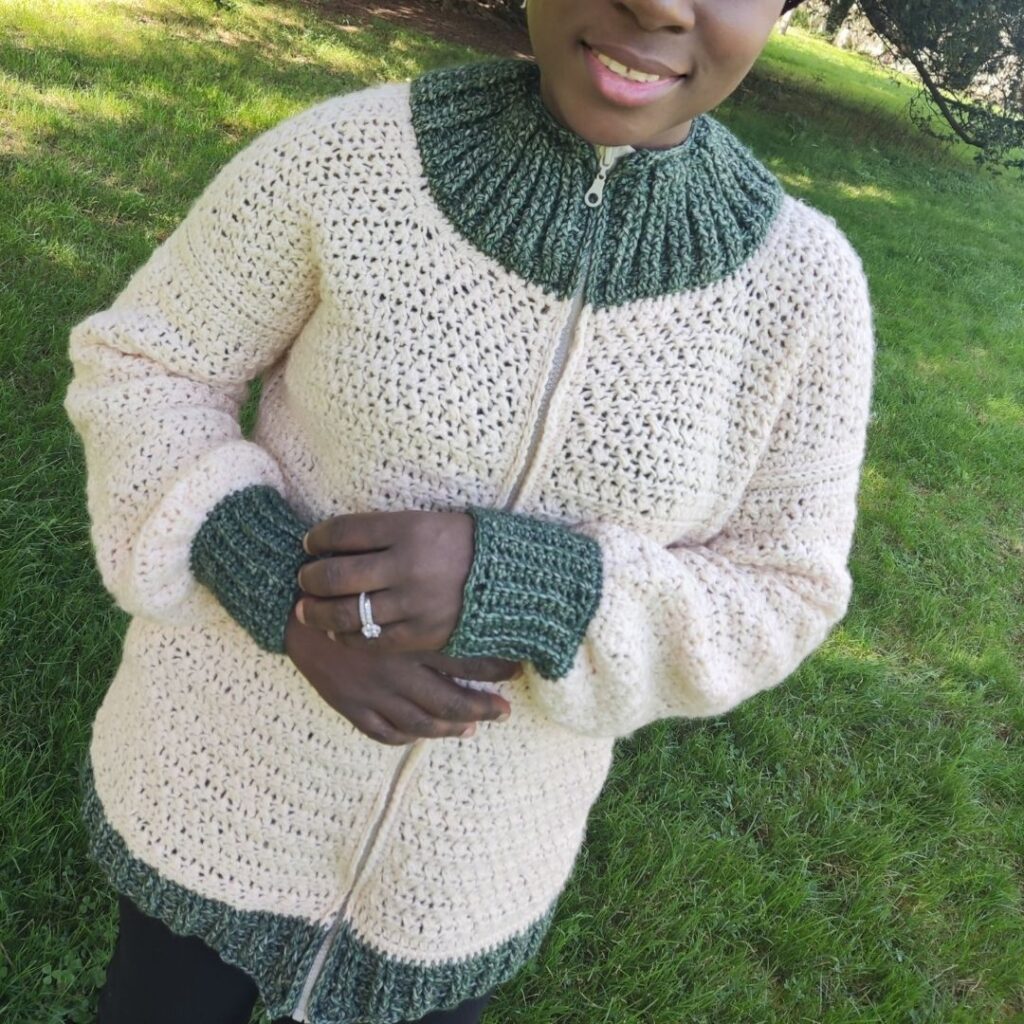
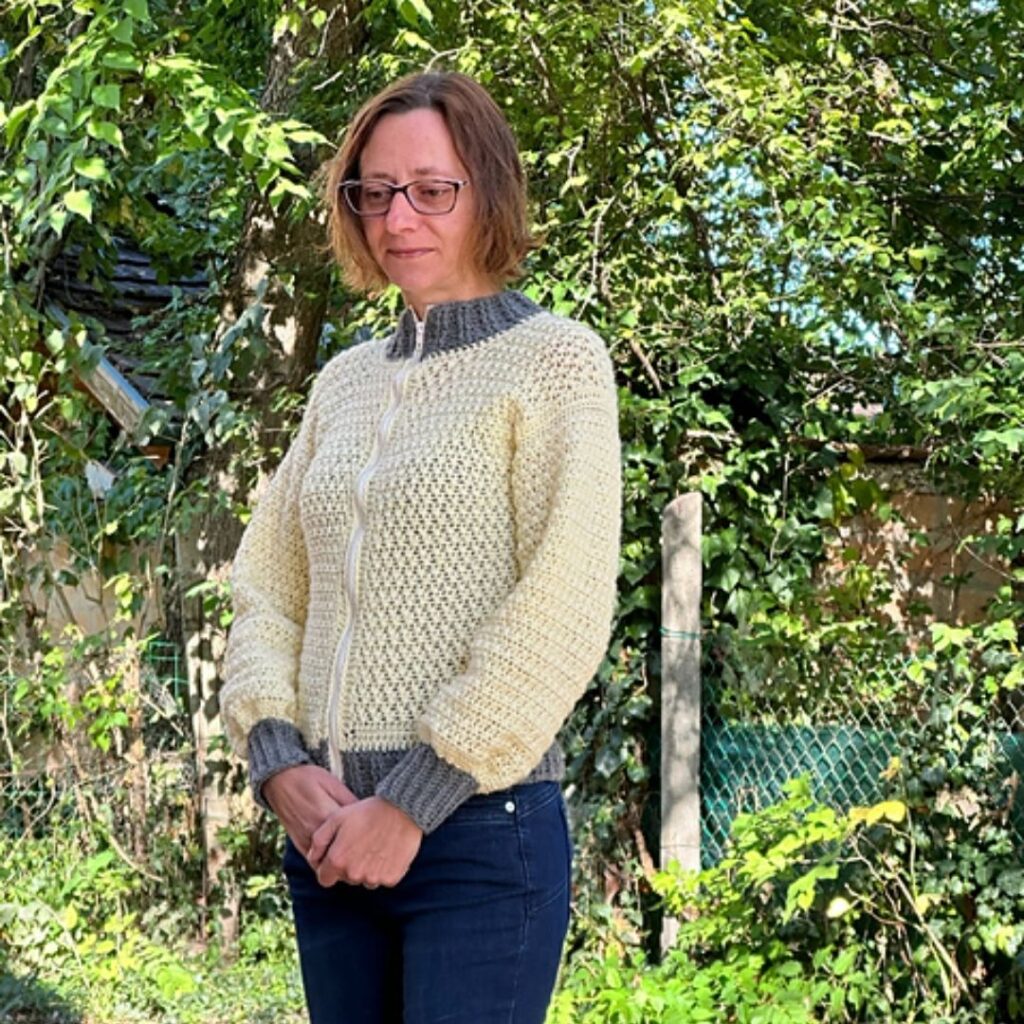
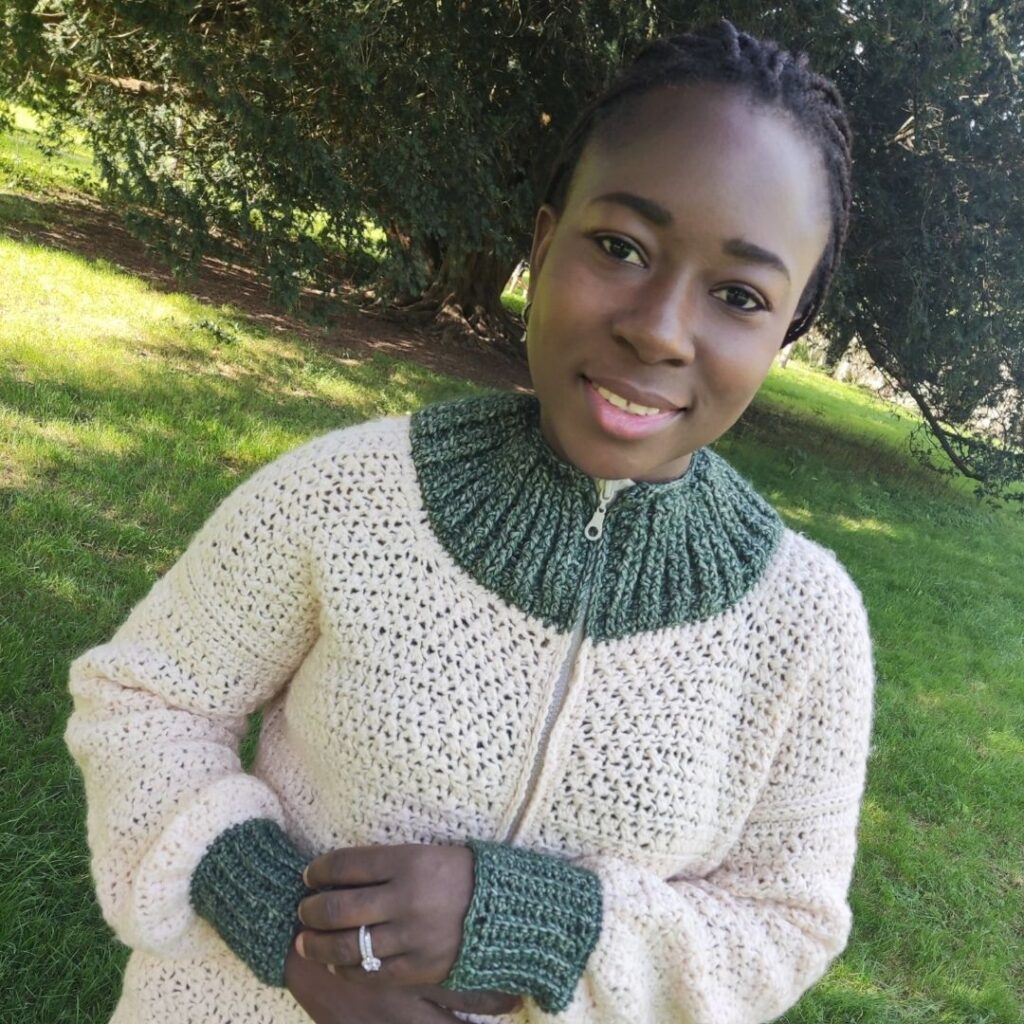
Cozy Zipper Crochet Jumper Pattern
It’s time for a twist! Introducing the Portobello sweater, a super cozy zipper crochet jumper pattern! I love my jumpers having zippers, this makes dressing easy and fun, so replicating this on my crochet sweater makes me so pumped.

If you have never added a zipper to your jumper before, do not worry! I have you covered. The printable pattern has numerous photos to help you do this! I have tried two different methods of adding zippers to my crochet jumper and included both versions to help you make a decision.
As part of the Handmade Wardrobe, this sweater is featured today. You can get the PDF at a 50% discount! Use the button below for the whole patterns or scroll down for the link (button) to get the PDF on Etsy or Ravelry.

Pin this jumper post for later.
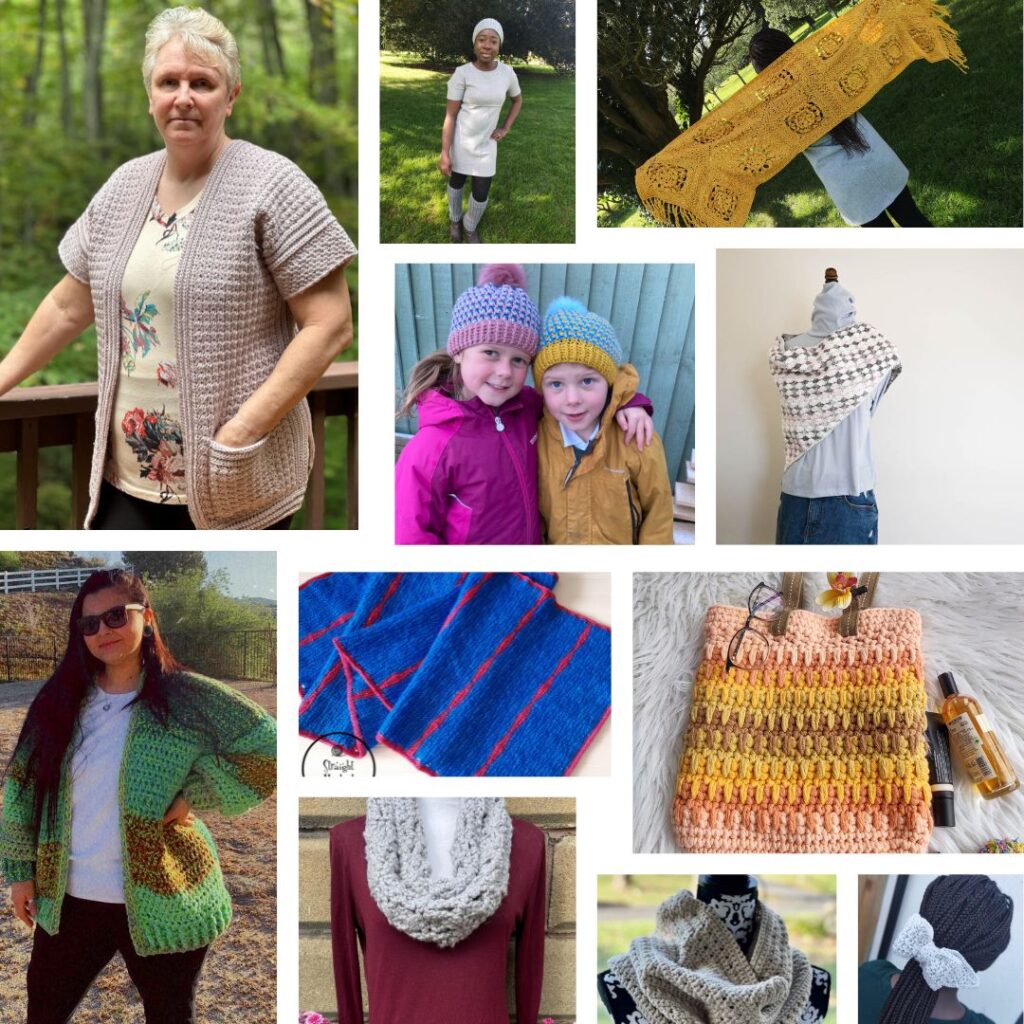
A few other crochet patterns on the blog that I have incorporated Zippers include:
The Knotty Bag – A Vest that transforms into a Bag
The Lillian Jacket and also the Lilly-Roo Jacket with a detachable baby carrier cover.


Yarn – Portobello, Aran weight, #4, 60% Cotton, 28% Acrylic, 12% Wool, 120 m (131 yds) per 1.75 oz/50g skein)
Color A = Cream (04)
Color B = Hunter Green (116)
Estimated Total Yardage
1300 (1400, 1500, 1600, 1800, 1900, 2000, 2100, 2200) yards in Color A
300 (320, 340, 360, 380, 400, 420, 440, 460) yards in Color B
Hook – 6 mm Crochet Hook
Zipper (the length of which would be determined by the length of your finished sweater)
A separating Zipper is advised
Gauge
14 sts over 8 Rows = 4 x 4” made in xhdc, before blocking.
Instructions for the gauge
Row 1: Chain 16, hdc in 3rd ch and in each ch across, turn. 14 hdc
Row 2: Ch 1, hdc in first st, xhdc across until the last st, hdc in last st, turn. 6 xhdc, 2 hdc
Rows 3 – 8: Rep Row 2
Adjust hook size if necessary, to obtain gauge.
Zipper Crochet Jumper Pattern Notes
- Please kindly read through the pattern before starting.
- Similar #4 weight yarn can be substituted. Please check the gauge.
- Chains at the beginning of the rounds do not count as a stitch.
- Stitch count is written after each row/round, with the smallest written first and the other in the ().
- The stitch count written in black is for all sizes, but at some points, the stitch counts are color-coded for clarity.
Difficulty Level – Intermediate
Terms – US Terminology
Stitches Abbreviations
Chain(s) – ch(s)
Single Crochet – sc
Half double crochet – hdc
Double crochet – dc
Crossed half double crochet – xhdc
Crossed double crochet – xdc
Back loop only – BLO
Front post half double crochet – FPhdc
Front post double crochet – FPdc
Special stitch
Xhdc – Crossed hdc – skip next st, hdc in next st, crocheting over the hdc just made, work hdc into the skipped st
xdc – Crossed dc – skip next st, dc in next st, crocheting over the dc just made, work dc into the skipped st
Finished Measurement for the Zipper Crochet Jumper Pattern
Size(s) and color codes – XS (S, M, L, XL, 2XL, 3XL, 4XL, 5XL)
Bust Measurement: 30 (34, 38, 42, 46, 50, 54, 58, 62)”
Armhole Circumference: 14 (16, 16, 18, 18, 18, 20, 22, 22)”
Length of Sweater: 21 (21, 23, 25, 25, 26, 26, 28, 30)”
The modeled garment is shown in M, with about 1” of Positive Ease.
Construction Notes
1. This sweater is worked in 3 sections.
2. In section 1, the main panels are made in rows using 1 color.
3. In Section 2, the sleeves are made in rows and joined to the main panel.
4. Section 3 – The Sweater edging is made in rows and can be adjusted for a better fit.
5. Section 4 – The collar and the lower trim are made directly on the sweater in rows.
6. The Zipper is then added to the opening. The length of your sweater will determine the length of the zipper


How To Crochet The Cozy Zipper Sweater
Section 1 – Sweater Body. Make 2. Front and back panels
Using Color A
Chain 26 (30, 34, 38, 42, 46, 50, 54, 58)
Row 1: Hdc in 3rd ch and in each ch across, turn. 24 (28, 32, 36, 40, 44, 48, 52, 56) hdc
Row 2: Ch 1, hdc in first st, xhdc across until the last st, hdc in last st, turn. 11 (13, 15, 17, 19, 21, 23, 25, 27) xhdc, 2 hdc
Rows 3 – 32 (32, 36, 36, 40, 40, 40, 40, 40): Rep Row 2.
Fit check = Your piece width should measure approx. 7.5 (8.5, 9.5, 10.5, 11.5, 12.5, 13.5, 14.5, 15.5)”
Continue the repeat of row 2 until Your piece measures 17 (17, 18, 19, 19, 20, 20, 20, 20)”
Neckline shaping
Row 1: Ch 1, hdc in first st, xhdc across until the last 4 (4, 4, 4, 4, 5, 5, 5, 5) xhdc, hdc in next st, leave the remaining sts unworked, turn. 7 (11, 11, 13, 15, 16, 18, 20, 22) xhdc, 2 hdc
Row 2: Ch 1, hdc in first st, xhdc across until the last st, hdc in last st, turn. 7 (9, 11, 13, 15, 16, 18, 20, 22) xhdc, 2 hdc
Rows 3 – 8 (8, 8, 8, 10, 10, 10, 10, 10): Rep Row 2
Or Until Your piece measures 4 (4, 4, 4, 4.2, 4.2, 4.2, 4.2, 4.2)”
Note:
The depth is the neckline, you can adjust the number of stitches for a better fit.
If you have adjusted the neckline, make sure the chains in the row below is on the same side as the skipped stitches in Row 1.
Row 9 (9, 9, 9, 11, 11, 11, 11, 11): Ch 1, hdc in first st, xhdc across until the last st, hdc in the last st, chain 10 (10, 10, 10, 10, 12, 12, 12, 12), turn. 7 (9, 11, 13, 15, 16, 18, 20, 22) xhdc, 2 hdc
Row 10 (10, 10, 10, 12, 12, 12, 12, 12): Hdc in 3rd ch from hook, xhdc in the remaining chs until the last ch, xhdc in next ch and next st, xhdc across the remaining sts, hdc in next st, turn. 11 (13, 15, 17, 19, 21, 23, 25, 27) xhdc, 2 hdc
Back panel
Row 1: Ch 1, hdc in first st, xhdc across until the last st, hdc in last st, turn. 11 (13, 15, 17, 19, 21, 23, 25, 27) xhdc, 2 hdc
Rows 2 – 32 (32, 36, 36, 40, 40, 40, 40, 40): Rep Row 1
Row 33 (33, 37, 37, 41, 41, 41, 41, 41): Ch 1, hdc in each st across, turn. 40 (44, 48) hdc
if you’ve adjusted the front panel, remember to replicate it on the back panel.
Do not fasten off.
Edging
Crocheting around the whole piece
Aim for hdc2tog at each corner(depth) of the neck panel. (that will be 2 per each panel).
Round 1: Ch 1, hdc in each st evenly around, aim for (hdc, ch 2, hdc) at each corner, join with a sl st to the beginning ch.
Fasten off.
Joining the back panels together
- Place the two panels side to side.
- Pick your desired right and wrong sides.
- On the back panel, with the wrong side facing you, join the inner edges (the part with the neckline at the middle).
- In BLO, join using either a sl st or mattress stitch.
- Fasten off.
- Leave the front panel unjoined.
Section 2 – Sleeves
Make 2
With A, chain 49 (57, 57, 65, 65, 65, 71, 71, 71)
Row 1: sc in 2nd ch from hook and in each ch across, turn. 48 (56, 56, 64, 64, 64, 70, 70, 70) sc
Row 2: Ch 1, hdc in first st, xhdc across until the last st, hdc in last st, turn. 23 (27, 27, 31, 31, 34, 34, 34, 34) xhdc, 2 hdc
Rows 3 – 32 (32, 36, 36, 40, 40, 40, 40, 40): Rep Row 2.
Fit check = Your piece width should measure approx. 17”
Continue the repeat of row 2 until Your piece measures 17”
The sleeve cuff will add 2”. So you can reduce or increase the length as you prefer.
Sleeve shaping- decreasing to attach the cuff later.
Last row: Ch 1, *sc2tog, sc in next 2 sts, rep from * until the end.
Do not fasten off.
Sleeve Edging
Ch 1, sc in each st around the panel, ch 2 at each corner.
Fasten off.
Sleeve cuff: Make 2
Set aside
With B, chain 13
Row 1: Sc in 2nd ch from hook and in each ch across, turn. 12 sc
Row 2: Ch 1, in BLO, sc in each st across, turn.
Rows 3 until you have a length wide enough to wrap around your wrist: Rep Row 2
Sleeve Cuff Edging
Ch 1, sc in each st around the panel, ch 2 at each corner.
Joining the sleeves to the main panel and side seam
- Pick up your main panel
- Fold the main panel into two (as if you are putting it on)
- The folded edge of the sleeves should be a continuation of the folded edge of the main panel.
- Sew the short edge of the sleeve to the main panel.
Join the sleeve cuff to the sleeve
- Pick up the sleeve and the cuff.
- Sew the long edge of the sleeve cuff to the sleeve.
Sleeve Seam
- With the wrong side facing you.
- Sew the side edge of the sleeve together.
Side seam:
Continue sewing the back and front panels together.
Fasten off.
Repeat on the other side.
Section 3 – Collar
With A
- With the right side facing you, join yarn with a sl st to any point on the neckline.
- Crocheting around the neckline.
- Aim for an even number in multiples of 4 + 2 when working Round 1.
Row 1: Ch 1, hdc evenly around, turn.
Fasten off A, join B
Row 2: Ch 1, hdc in each st around, turn.
Row 3: Ch 1, hdc in first st, *FPhdc in next 2 sts, BPhdc in next 2 sts, rep from * to the last st, hdc in last st, turn.
Row 4: Ch 1, hdc in first st, *BPhdc in next 2 sts, FPhdc in next 2 sts, rep from * to the last st, hdc in last st, turn.
Rows 5 – 10: Rep rows 3 – 4.
Row 11: Ch 1, sc in each st across, turn.
Row 12: Ch 1, sl st in each st across.
Fasten off.
Sew in ends.
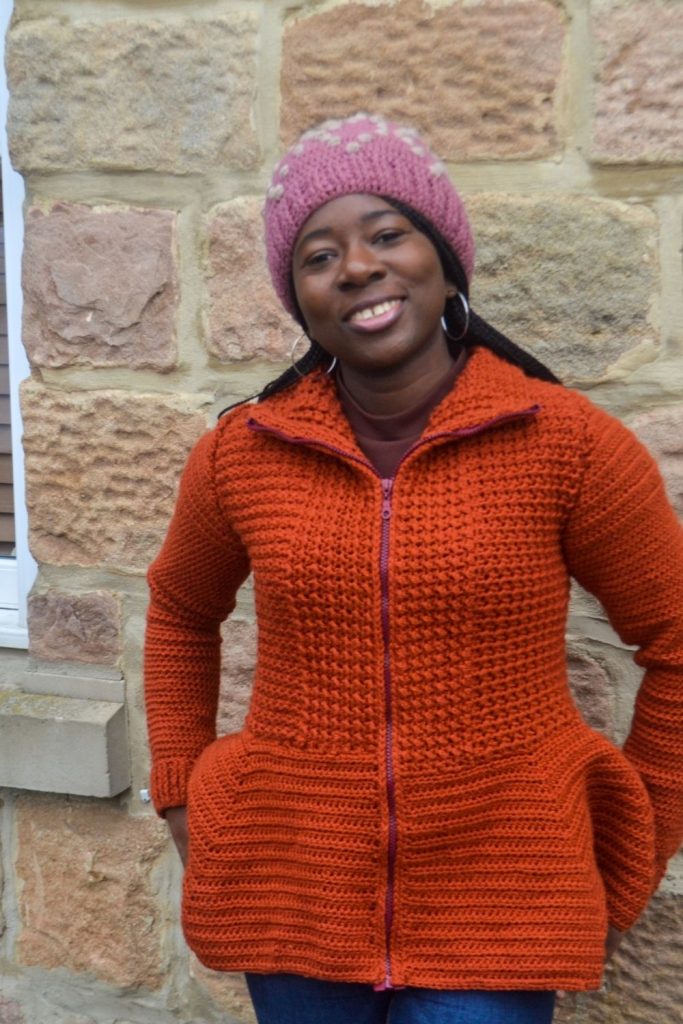
Sweater lower-trim
With A
- With the right side facing you, join yarn with a sl st to the lower edge.
- Crocheting across the lower end.
- Aim for an even number in multiples of 4 + 2 when working Round 1.
Row 1: Ch 1, hdc evenly around, turn.
Fasten off A, join B
Row 2: Ch 1, hdc in each st around, turn.
Row 3: Ch 1, hdc in first st, *FPhdc in next 2 sts, BPhdc in next 2 sts, rep from * to the last st, hdc in last st, turn.
Row 4: Ch 1, hdc in first st, *BPhdc in next 2 sts, FPhdc in next 2 sts, rep from * to the last st, hdc in last st, turn.
Rows 5 – 10: Rep rows 3 – 4.
Row 11: Ch 1, sc in each st across, turn.
Row 12: Ch 1, sl st in each st across.
fasten off
Fasten off.
Section 4: Adding Zippers
- Measure the distance between the collar to the sweater trim.
- This would be the measurement of your zippers.
Step 1: Pick up your double-end zippers and sew around the zippers.
Step 2: Sew the Zippers to the Sweater.
Fasten off, weave in all ends securely, and block to measurement.
There you have it, Portobello zipper crochet jumper pattern.