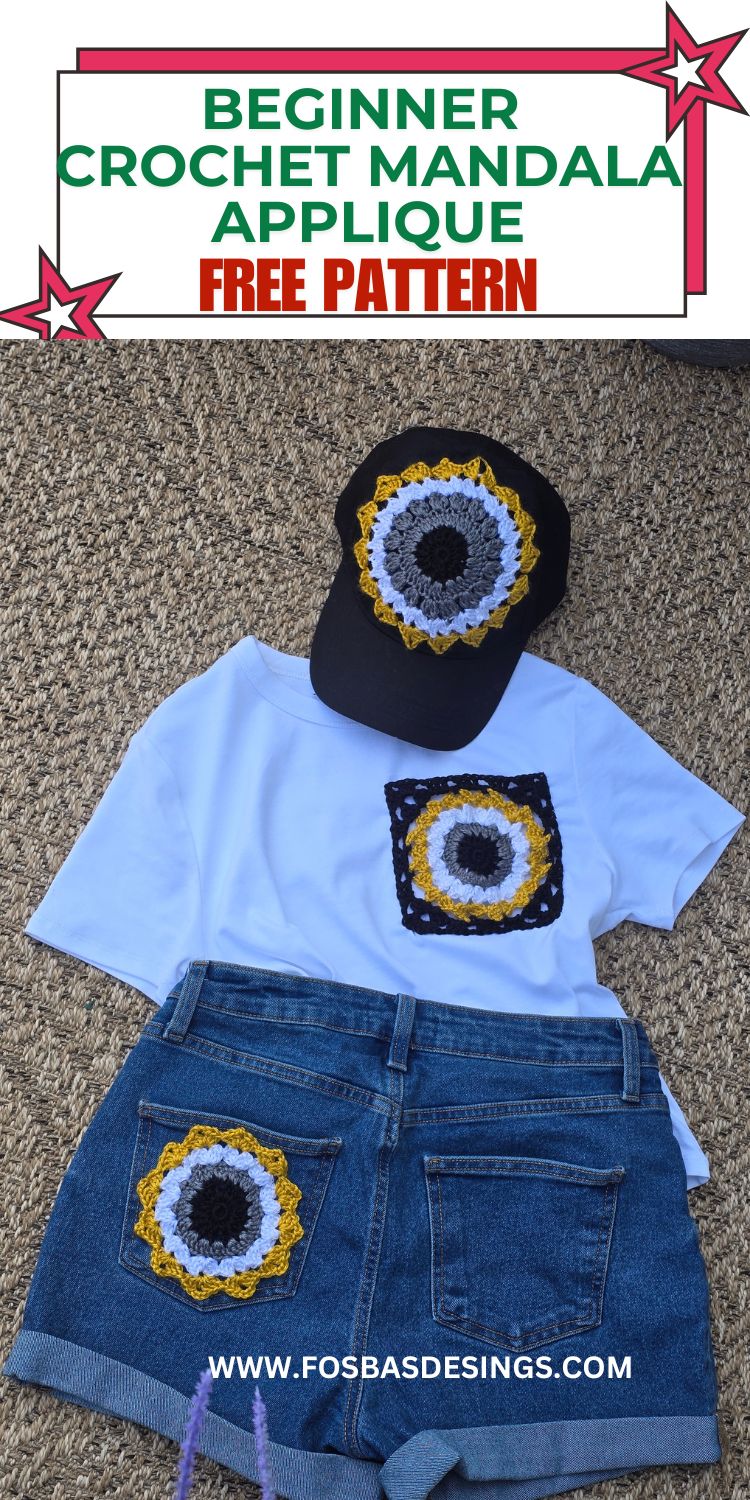
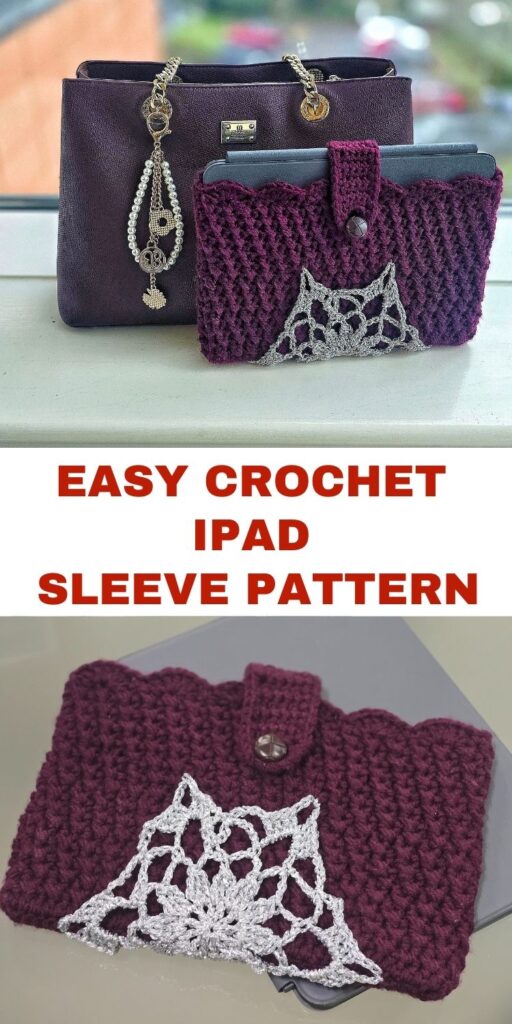
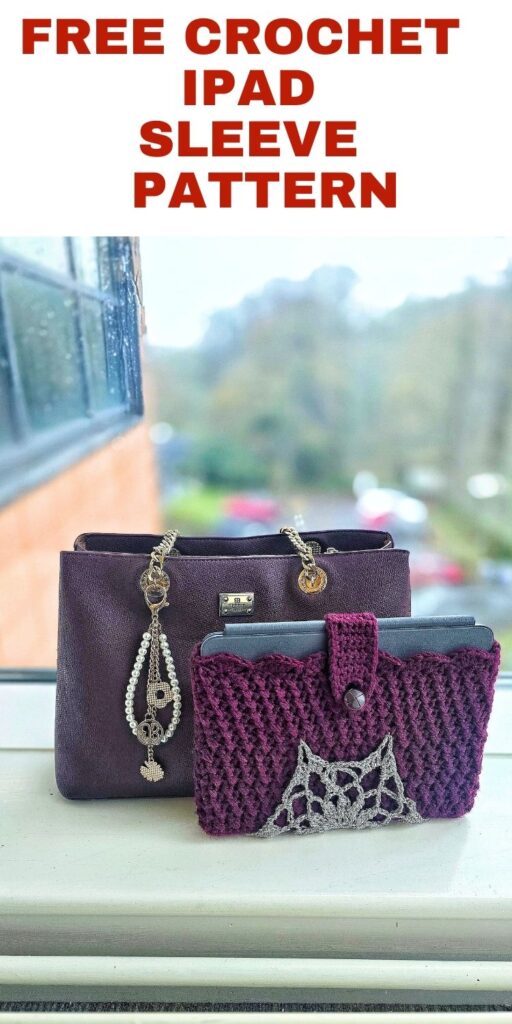
Easy Crochet iPad Sleeve Pattern
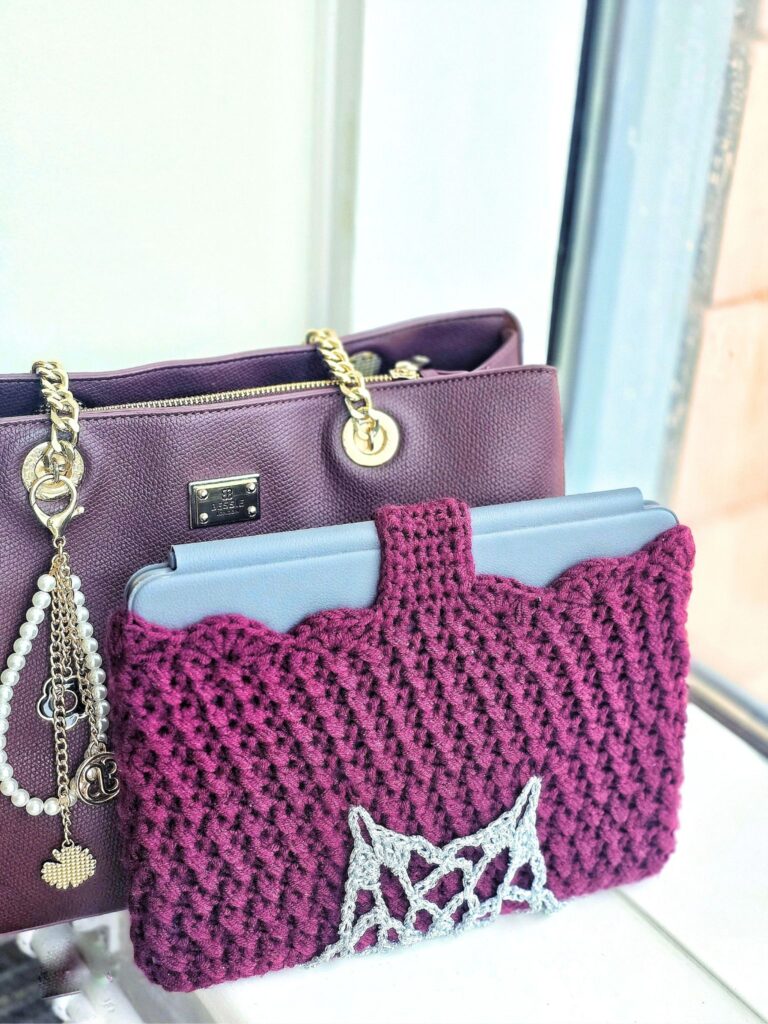
This crochet iPad case pattern is a beautiful blend of style, protection, and practicality. Designed with a sturdy textured stitch and a secure button closure, this pouch keeps your iPad or tablet safe while adding a touch of handmade charm. The silver lace motif on the front brings an elegant and unique touch, making it feel like a luxury accessory you crafted yourself.
Whether you use your iPad for work, school, travel, or creativity, this cover ensures it stays protected from scratches and scuffs. The pattern is simple and beginner friendly, yet the final look is polished enough to make a thoughtful gift.
Materials & Yarn Suggestions
Medium-weight yarn gives the case the right balance of strength and flexibility. Choose acrylic for easy care or cotton for a sturdy, polished finish. Use a 4 mm–5 mm hook for a nice, dense fabric that protects your device.
The decorative lace element can be made in metallic, cotton, or fine acrylic yarn to add texture and contrast.
Skill Level
Confident Beginner — simple stitches, light shaping, optional appliqué, and a little seaming.
Customization Ideas
- Adjust the panel width/height to fit any tablet or notebook.
- Add lining using fabric for extra padding.
- Use a magnetic clasp instead of a button.
- Swap the lace motif for flowers, hearts, initials, or appliqués.
- Add a shoulder strap to turn it into a crossbody case.
How to Use Your Crochet iPad Case
This sleeve works as a travel case, everyday tablet protector, or even a stylish project bag for planners, journals, or small notebooks.
It’s great for commuting, storing your iPad in a backpack, or keeping your device dust-free at home.
Crochet Pattern
Snowflakes iPad Sleeve
Materials
24/7 Cotton – Worsted weight, #4 lightweight (100% Cotton, 186 yd/170 m per 3.5 oz/100g skein)
Estimated Yardage
Sleeve = 140 yards
Snowflakes = 20 yards
Crochet Hook = 6 mm
Button – 1 pcs (8 mm)
Darning needle
Gauge – Not crucial to this project.
Finished Measurement
Sleeve = 10” by 8”
Applique = 5” by 5”
Pattern Notes
- Please kindly read through the pattern before starting.
- Any other weight of #4 weight yarn can be substituted.
Terms – US Terminology
Stitches Abbreviations
Chain/chains – ch/chs
Single Croceht – sc
Half double crochet – hdc
Double crochet – dc
Treble crochet – tr
Slip Stitch – sl st
Treble 3 stitches together- tr3tog
Crossed Half double crochet – xhdc
Special stitches
Shell – 5 dc in the indicated stitch.
Crossed half double crochet – skip next st, hdc in next st. Crocheting in front of the just-made hdc, work an hdc into the skipped stitch.
Adjustment
You can adjust the size by using a thicker weight of yarn or a thinner yarn.
Instructions
Section 1: Main sleeve
Round 1: Chain 74, join with a sl st to the
Adjust the number of chains to fit your intended book.
Don’t make the chains too tight.
Round 2: Ch 1, xhdc around, join with a sl st to the beginning ch. 37 xhdc
Rounds 3 – 15: Rep Round 2.
You can work Row 2 till the desired length.
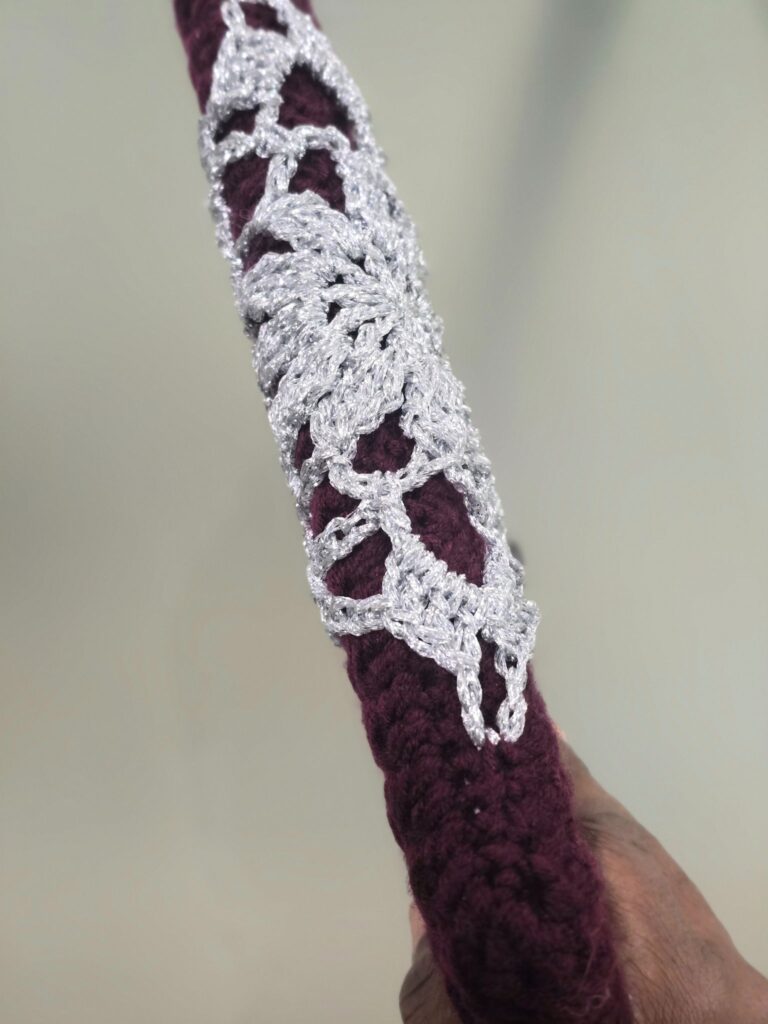
Edging and strap
Round 16: Ch 3, *shell in next st, skip next 2 sts, sc in next st, rep from * 2 more times, sc in next 4 sts, turn, leave the remaining stitches unworked. 3 shells, 6 sc
Strap – Button Holes
Rows 1 – 13: Ch 1, sc in next 5 sts, turn. 5 sc
Row 14: Ch 1, sc in first st, ch 4, skip next 3 sts, sc in last st, turn. 2 sc, ch 3 sp
Row 15: Ch 1, sc in first st, 3 sc in ch 3 sp, sc in last st, turn. 5 sc.
Increase or decrease the number of repeats.
Fasten off.
Join yarn with a sl st to the base of the strap, crocheting upwards towards the buttonhole and the other side of the strap to continue the edging.
Round 1: Ch 1, sc in each st across the edge until you reach the other side of the sleeve, *shell in the next st, skip the next 2 sts, sc in the next st; rep from * until the beginning ch-3 sp, join with a sl st.
Fasten off and weave in all ends.
Turn the panel to the wrong side.
Sew close the base for the foundation round.
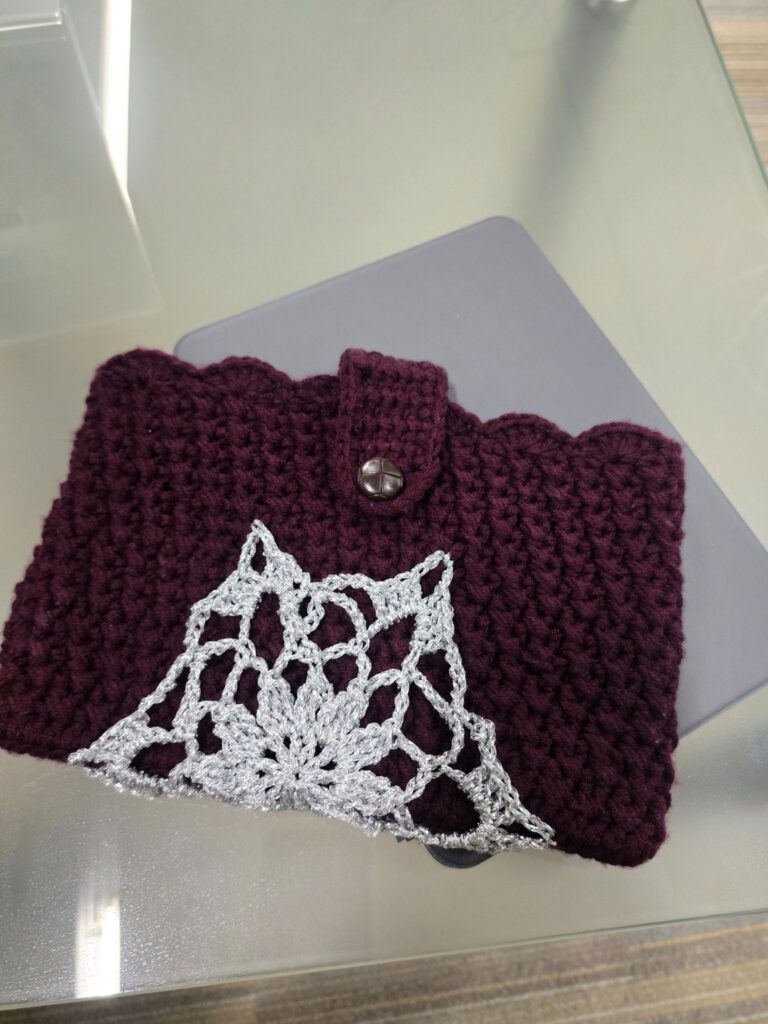
Button
Sew a button on the panel corresponding to the buttonhole space.
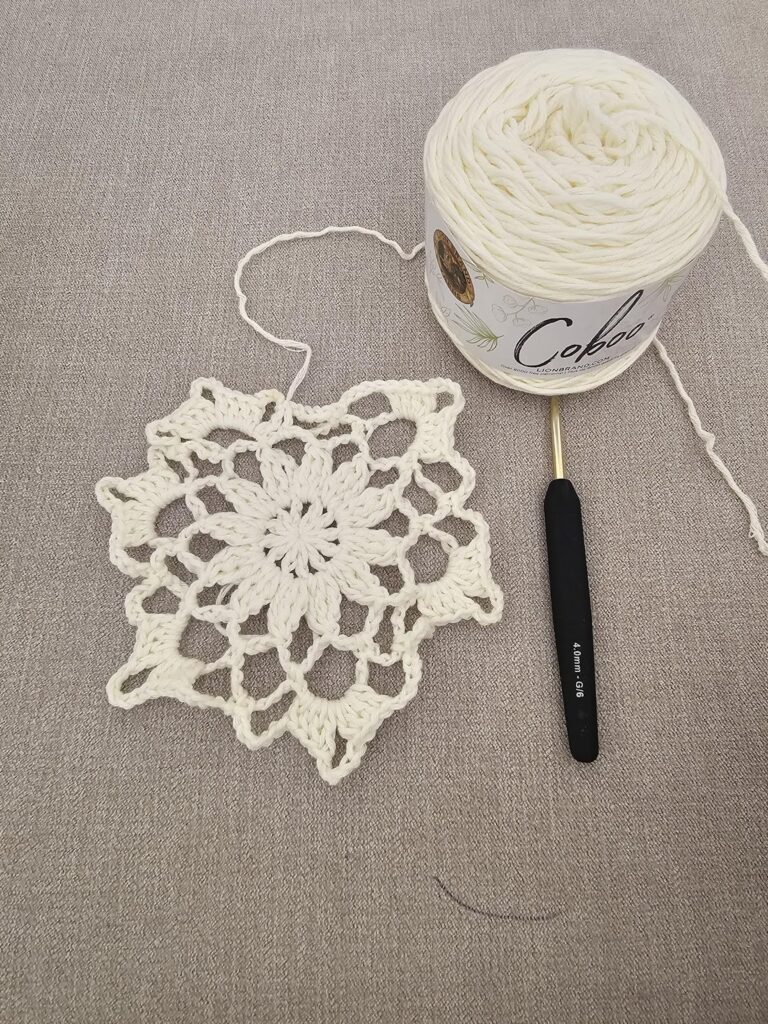
Snowflakes
Round 1: In a MR, ch 4 (counts as dc+ch 1), *dc, ch 1, repeat from * for a total of 12 dc, sl st to 3rd ch. 12 dc, 12 ch 1 sps.
Round 2: Ch 4, 2trtog in ch 1 sp, *ch 5, 3trtog in next ch 1 sp, rep from * around, ch 5, join with a sl st to the top of the first tr set. 12 trtog, 12 ch 5 sps
Round 3: Sl st in first ch 5 sp, ch 9, sc in next ch sp, *ch 7, sc in next ch sp, rep from around until the last ch sp, join with a sl st to the 2nd ch from the ch 9 sp. 12 ch sps, 12 sc.
Round 4: Sl st in ch 9 sp, ch 3 (counts as the first st here and throughout), 3 dc, ch 5, 4 dc in same ch sp, *ch 5, sc in next ch sp, ch 5, (4 dc, ch 5, 4 dc) in next ch sp, rep from* around, join with a sl st to the top of ch 3 from the beginning. 48 dc, 18 ch sps, 6 sc.
Optional
You could chain 25, sl st to the first chain to create a loop for hanging.
Fasten off, sew in ends.
You could starch your stars and allow it to dry.
Sew in all ends and fasten off.
Sewing the snowflakes to the sleeve
Step 1: Insert a book inside the sleeve.
Step 2: Place the snowflake on the booksleeve, and adjust the placement of the snowflakes until you are happy with the placement. I decided to place mine on the lower end, to have the snowflakes show on both front and back panels.
Step 3: Secure the ch 5 spaces between each corner to the sleeve