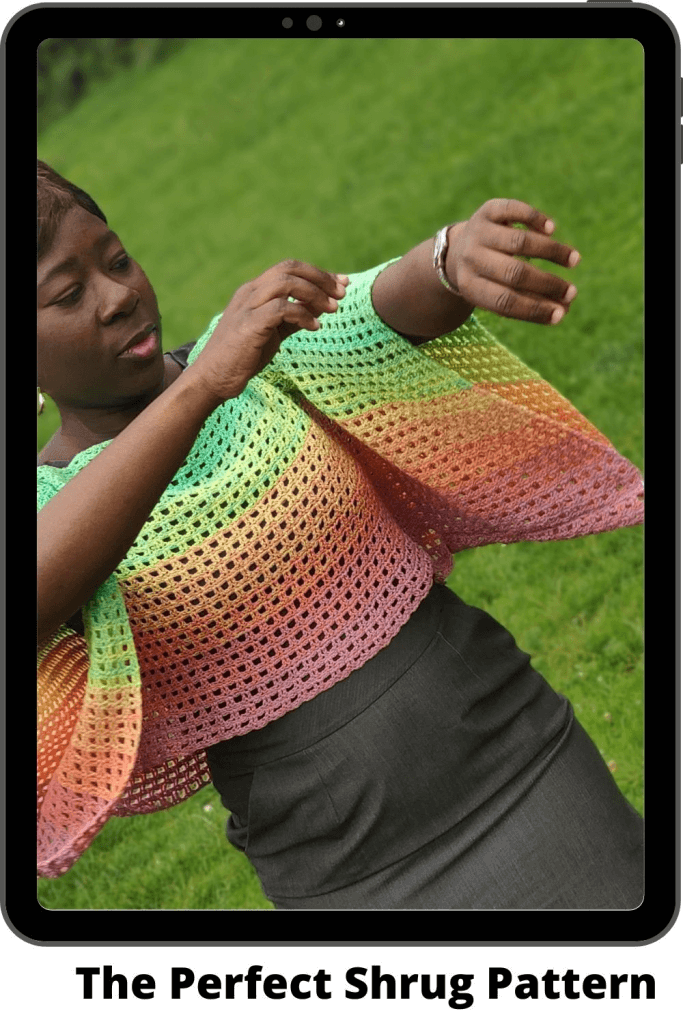
Easy Crochet Shrug Pattern
The easy crochet shrug pattern is perfect for anyone looking to add a cozy and stylish layer to their wardrobe. This crochet shrug pattern is ideal for anyone who wants to create a fashionable garment that is both comfortable and practical.

The pattern uses basic crochet stitches, making it suitable for beginners, with added combinations of stitches to keep every level of crocheter engaged.
After making this easy pattern, I thought mine was very beautiful until I saw the shrugs from my Testers! you should check out the various shrugs and colors used here.
Materials needed for this easy crochet shrug pattern.
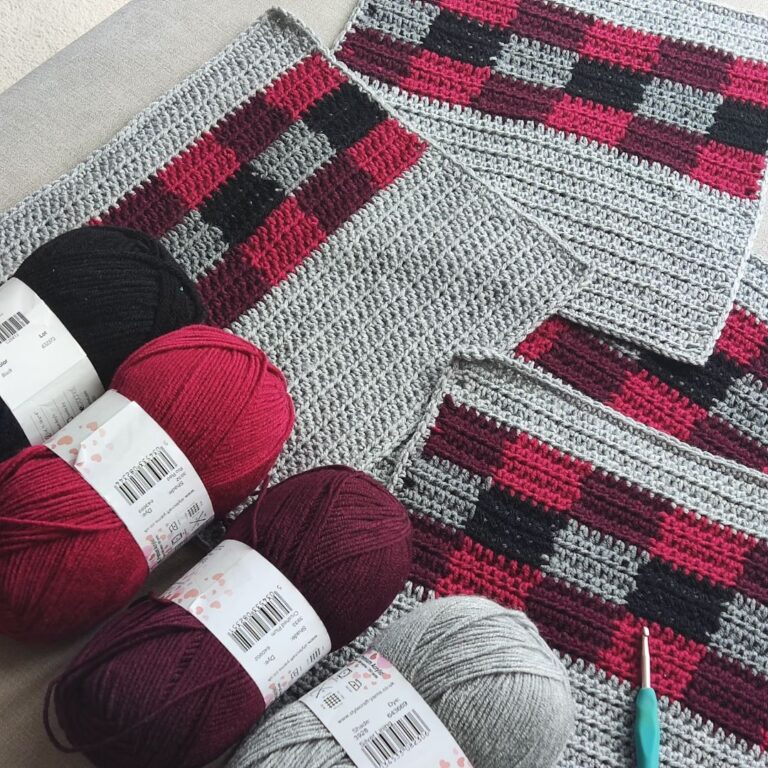
Yarn – any 4 ply, #2 Fine weight yarn would be perfect. I made mine using Hobbii Cotton Kings.
Hook and other Materials
- US size G (4 mm) Crochet Hook
- Yarn needle
Gauge
20 sts over 10 rows = 10 cm /4” square made in dc.
Adjust hook size if necessary, to obtain gauge.
Crochet shrug pattern notes
- Please kindly read through the pattern before starting.
- Similar #2 weight yarn can be substituted; please check the gauge.
- Chains at the beginning of the rows do count as a stitch.
Skill Level – Beginner
Terms – US Terminology
Stitches Abbreviations
Chain(s) – ch(s)
Single Crochet – sc
Double crochet – dc
Get the shrug pattern PDF on Ravelry
Sizes/Color – XS (S, M, L, XL, 2Xl, 3XL, 4XL, 5XL)
Bust: 30 (34, 38, 42, 46, 50, 54, 58, 62)”
Length (Shoulder to under bust) – 12 (12, 14, 14, 14, 16, 16, 18, 18)”
Neckline Opening – 14 (16, 22, 25, 28, 28, 28, 28, 28)”
Armhole Depth – 24 (24, 28, 28, 28, 32, 32, 36, 36)”
Sleeve Length (Shoulder to Elbow) – 14”
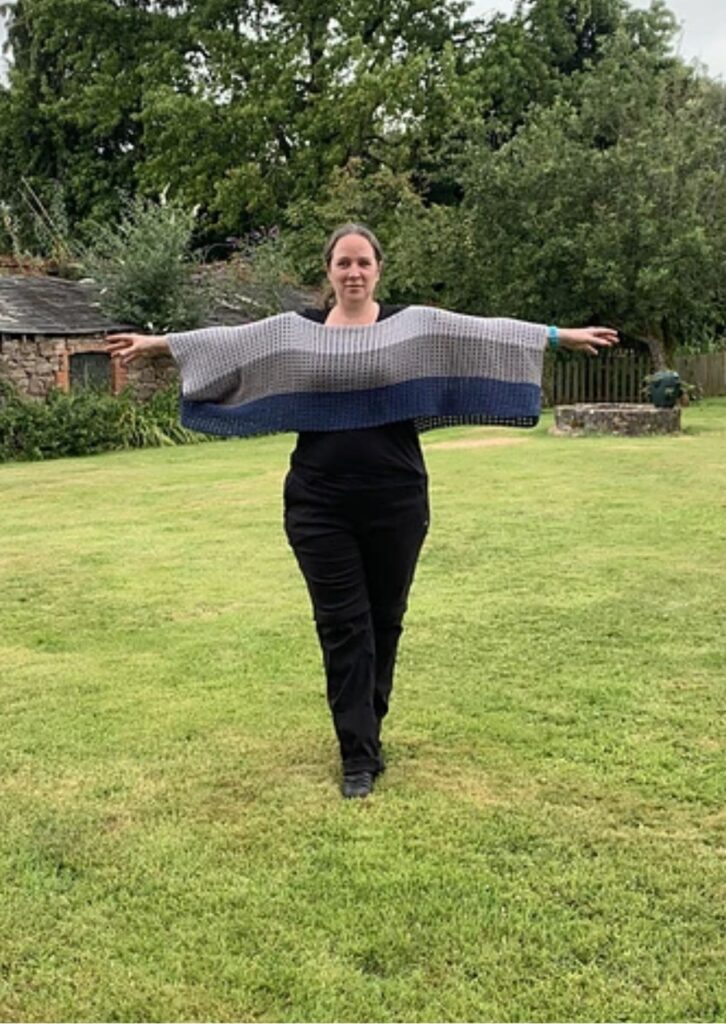
Total Length (across both Elbows) – 43 (45, 47, 49, 51, 51, 51, 51, 51)”
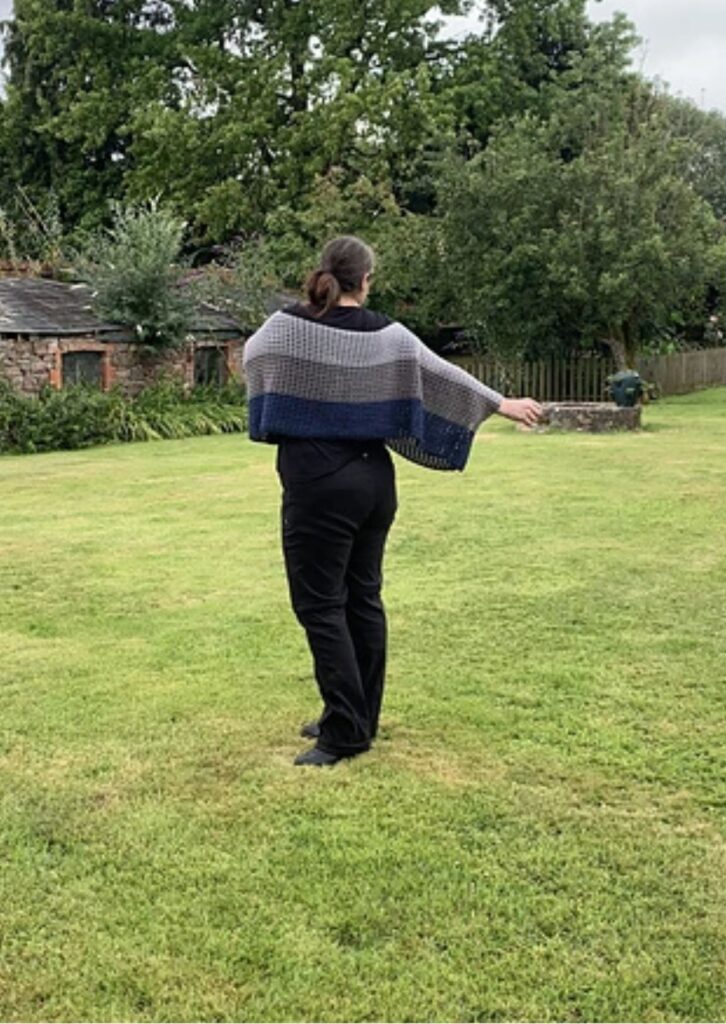
The modeled garment is shown in Medium.
Construction Notes
- This Shrug is worked in rows.
- Both panels (front and Back) are made in one piece with a neck
opening made midway. - The lower part of the shrug is then seamed together on either side, leaving the middle open.
Adjustments/fittings for the easy crochet shrug pattern
Length: Increase or decrease the repeat rows on the front panel
The starting chain should be the final Length across your elbows.
For a longer sleeve – Increase your starting chains.
I can’t wait to see your makes from my easy crochet shrug pattern.
Instruction for the easy crochet shrug
Section 1: Front panel
Chain 247 (259, 271, 283, 295, 295, 295, 295, 295)
Row 1: Dc in 3rd ch from hook, *ch 2, skip next 2 ch, dc in next 2 chs, rep from * to end, turn. 124 (130, 136, 142, 148, 148, 148, 148, 148) dc 61 (64, 67, 70, 73, 73, 73, 73, 73) ch 2 sps.
Row 2: Ch 1, sc in next st, *ch 2, skip next ch sp, sc in next 2 sts, rep from * to end. turn. 124 (130, 136, 142, 148, 148, 148, 148, 148) sc
61 (64, 67, 70, 73, 73, 73, 73, 73) ch 2 sps.
Row 3: Ch 3, dc in next st, *ch 2, skip next ch sp, dc in next 2 sts, rep from * to end, turn. 124 (130, 136, 142, 148, 148, 148, 148, 148) dc
61 (64, 67, 70, 73, 73, 73, 73, 73) ch 2 sps.
Rows 4 – 48 (48, 56, 56, 56, 64, 64, 72, 72): Rep Row 2 and 3.
End with Row 2.
For Tall Ladies, you might increase the number of repeats.
Section 2: Back Panel
Shape neckline
On either side, count 26th ch sp, place stitch marker on next st. Adjust the Chain space for a better Neckline fitting.
Row 1: Ch 3, dc in next st, *ch 2, skip next ch sp, dc in next 2 sts, rep from * till first st marker, ch 38 (50, 62, 74, 86, 86, 86, 86, 86), skip next 9 (12, 15, 18, 21, 21, 21, 21, 21) ch sps, dc in next stitch with the second marker, dc in next st, rep from * to end. 52 ch-2 sp, 100 dc.
Row 2: Ch 1, sc in next st, *ch 2, skip next ch sp, sc in next 2 sts, rep from * to end, turn. 124 (130, 136, 142, 148, 148, 148, 148, 148)
sc 61 (64, 67, 70, 73, 73, 73, 73, 73) ch 2 sps.
Row 3: Ch 3, dc in next st, *ch 2, skip next ch sp, dc in next 2 sts, rep from * to end, turn. 124 (130, 136, 142, 148, 148, 148, 148, 148)
dc, 61 (64, 67, 70, 73, 73, 73, 73, 73) ch 2 sps.
Rows 4 – 49 (49, 57, 57, 57, 65, 65, 73, 73):
Rep Rows 2 and 3.
End with Row 3.
To assemble –
• Fold Lengthwise, with the front panel over the back panel.
• Place a stitch marker on the 22nd ch sp on either side of the lower end of a shrug. You can adjust the placement of your stitch markers for a better fit around your Torso.
• Using a Darning needle, sew both panels together from the edge till first
stitch marker.
Or, Sc over both layers.
• Repeat on the other side.
• Sew in ends
• Block to measurements.
Share your makes with me when you make your version of this crochet shrug!