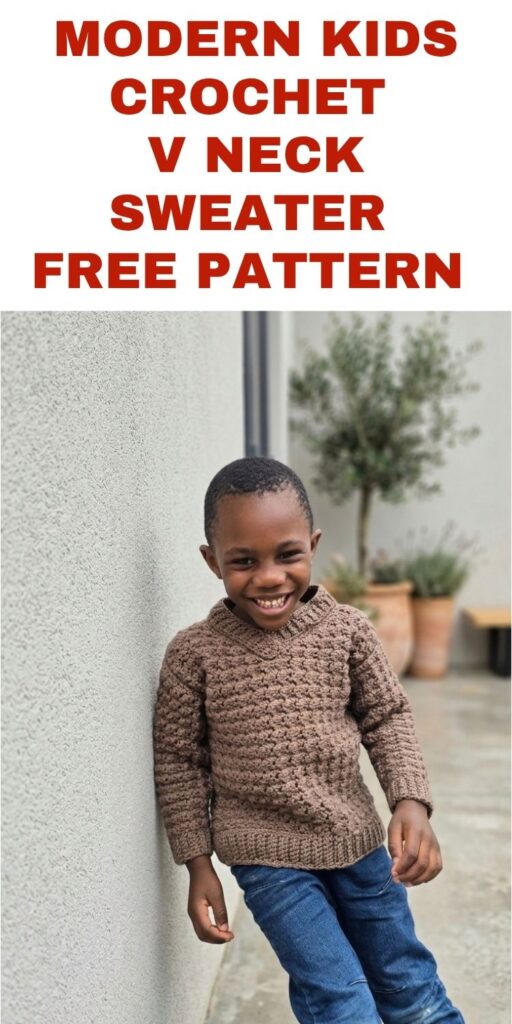
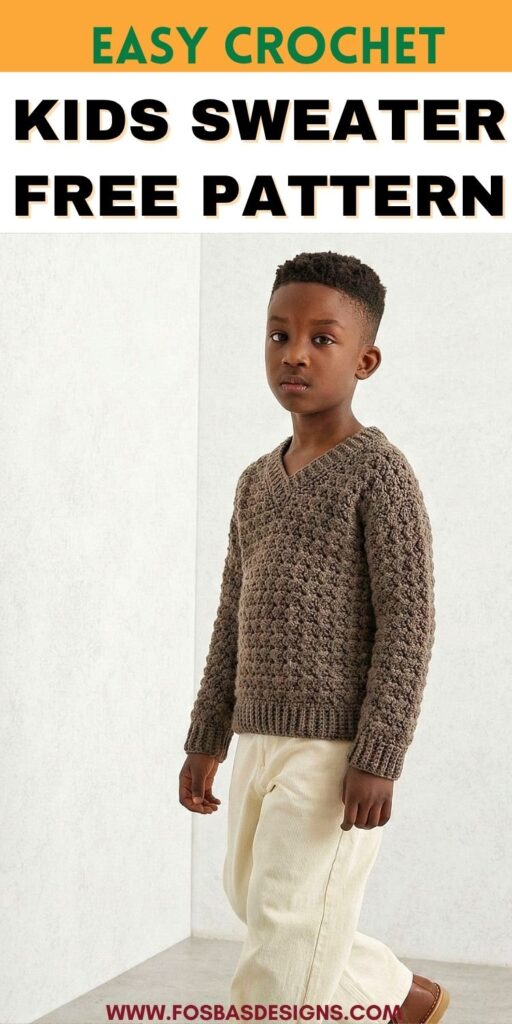
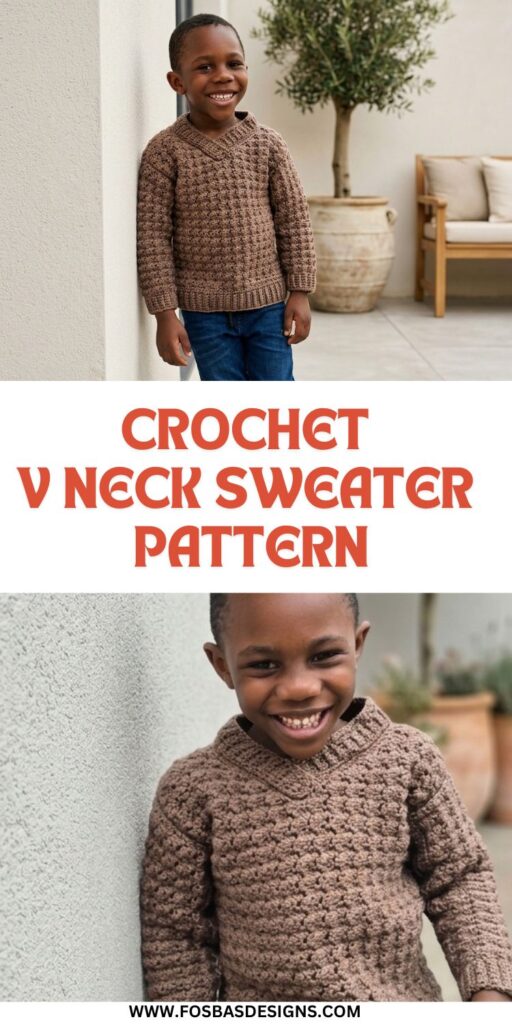
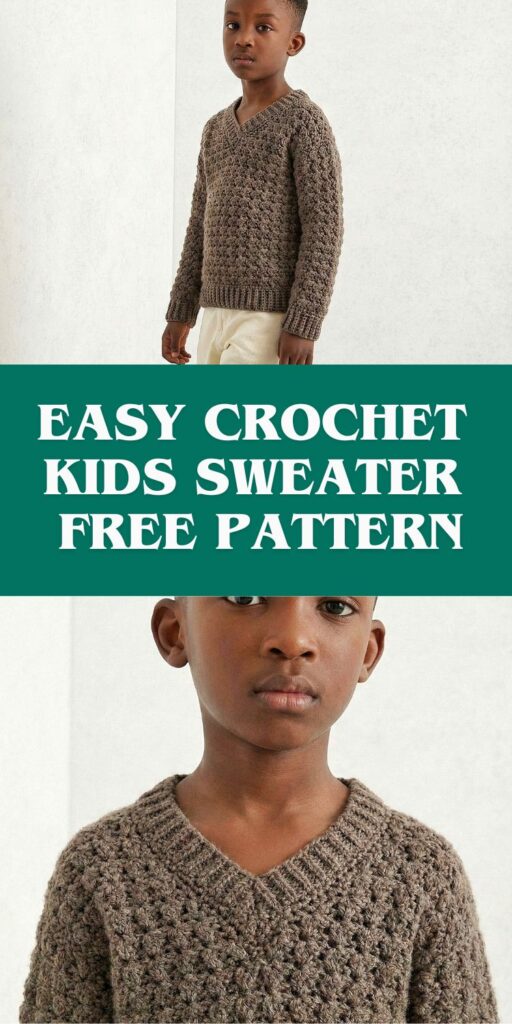
Modern Kids Crochet V Neck Sweater Pattern
There’s something extra special about crocheting for little ones, and this kids V neck sweater is one of those projects you’ll love from start to finish. It’s cozy, stylish, and designed to be both practical and wearable for everyday use.
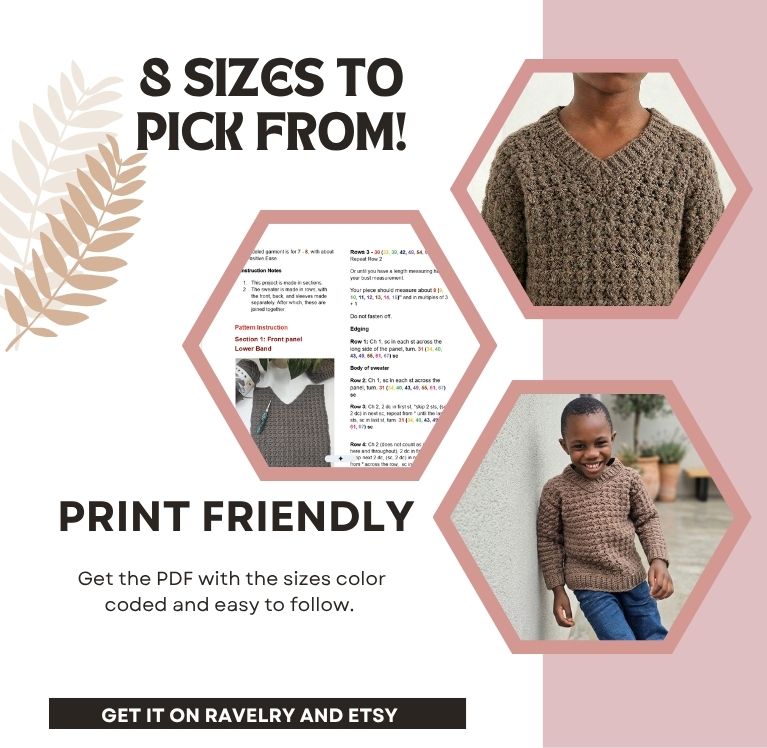
Get the print friendly PDF on Etsy or Ravelry, with stepwise photos and color coded per size.
Use code “Happy24” for a 30% discount at checkout, valid until April 20th, 2026.
With its modern textured body and classic V neckline, this sweater is perfect for layering during cooler days while still feeling lightweight and comfortable.
This Modern Kids Crochet V Neck Sweater Pattern is to match the adult version I designed a few weeks ago and my boy was super pumped to twin with me.
This kids crochet V neck sweater pattern is designed with a beautiful textured stitch and a classic fit that works perfectly for everyday wear. It’s simple, structured, and written to guide you step-by-step so you can complete your project with confidence.

Modern Kids Crochet V Neck Sweater Pattern – Materials
Yarn – Any Worsted weight yarns in colors of your choice.
I used Vanna’s choice – you can have a look at the colors here.
Estimated Total Yardage
300 (400, 500, 600, 700, 800, 900, 1000) Yards
Hook – 5 mm Crochet Hook
Gauge pattern
Chain 21 and follow the instruction for the body of the sweater for 12 rows = 4 x 4 “
Pattern Notes
- Please kindly read through the pattern before starting.
- The stitch count is written after each row/round, with the smallest XS written first and the others in the ().
- Stitch count written in black is for all sizes, but at some points, the stitch counts are color-coded for clarity, i.e. XS (S, M, L, XL, 2XL, 3XL, 4XL)
Difficulty Level – Intermediate
Terms – US Terminology
Stitches Abbreviations
Chain/chains – ch/chs
Chain space – ch sp
Stitch(es) – st(s)
Slip Stitch – sl st
Single Crochet – sc
Back Loop Only – BLO
Finished Measurements
Size(s) and color codes – XS (S, M, L, XL, 2XL, 3XL, 4XL)
3 – 6 mths (12 – 18 mths, 1 – 2, 3 – 4, 5 – 6, 7 – 8, 9 – 10, 11 – 12)
Chest Measurement: 15 (17, 19, 21, 23, 25, 27, 28)”
Armhole Circumference: 6 (8, 8, 10, 10, 12, 12, 14)”
Length of sweater: 10 (12, 12, 12, 16, 16, 18, 18)”
The modeled garment is for 7 – 8, with about 1” of Positive Ease.
Construction Notes
- This project is made in sections.
- The sweater is made in rows, with the front, back, and sleeves made separately. After which, these are joined together.


1 FREE DOWNLOAD PER MONTH
WITH JUST $3 PER MONTH!
- Pick your desired pattern each month.
- It can be a new or old pattern.

2 FREE DOWNLOADS PER MONTH
WITH JUST $5 PER MONTH!
- Pick your desired patterns each month.
- It can be a new or old pattern.
- You get 2 patterns per month.

3 FREE DOWNLOADS PER MONTH
WITH JUST $8 PER MONTH!
- Pick your desired patterns each month.
- You get 3 free patterns per month.
- It can be a new or old pattern.

Modern Kids V Neck Sweater Pattern Instruction
Section 1: Front panel
Lower Band
Row 1: Chain 7, sc in 2nd ch from hook and in each ch across, turn. 6 sc
Row 2: Ch 1, sc in first st, sc in BLO across until the last st, sc in both loops, turn. 6 sc
Rows 3 – 30 (33, 39, 42, 48, 54, 60, 66): Repeat Row 2
Or until you have a length measuring half of your bust measurement.
Your piece should measure about 8 (9, 10, 11, 12, 13, 14, 15)” and in multiples of 3 + 1
Do not fasten off.
Edging
Row 1: Ch 1, sc in each st across the long side of the panel, turn. 31 (34, 40, 43, 49, 55, 61, 67) sc
Body of sweater
Row 2: Ch 1, sc in each st across the panel, turn. 31 (34, 40, 43, 49, 55, 61, 67) sc
Row 3: Ch 2, 2 dc in first st, *skip 2 sts, (sc, 2 dc) in next sc, repeat from * until the last 3 sts, sc in last st, turn. 31 (34, 40, 43, 49, 55, 61, 67) sc
Row 4: Ch 2 (does not count as a stitch, here and throughout), 2 dc in first sc below, *skip next 2 dc, (sc, 2 dc) in next sc, repeat from * across the row, sc in the last st, turn. 20 (22, 26, 28, 32, 36, 40, 44) dc, 10 (11, 13, 14, 16, 18, 20, 22) sc
Rows 5 – 21 (21, 23, 25, 27, 27, 27, 29, 31): Repeat row 4.
Continue until your piece measures 8 (10, 10, 10, 14, 14, 16, 16)”
Neckline
Do not fasten off.
Right side
- Place the first stitch marker on the 6 (6, 7, 8, 9, 10, 11, 12) sc
Row 1: Ch 2, 2 dc in first st *skip next 2 dc, (sc, 2 dc) in next sc, repeat from * until 1 st before the first stitch marker, sc in st with the SM, turn. 5 (5, 6, 7, 8, 9, 10, 11) sc, 10 (10, 12, 14, 16, 18, 20, 22) dc
Row 2: Ch 3, *skip next 2 dc, (sc, 2 dc) in next sc, repeat from * across the row, sc in the last st, turn. 5 (5, 6, 7, 8, 9, 10, 11) sc, 10 (10, 12, 14, 16, 18, 20, 22) dc
Row 3: Ch 1, *skip next 2 dc, (sc, 2 dc) in next sc, repeat from * until the last 3 sts, sc in last st, turn. 4 (4, 5, 6, 7, 8, 9, 10) sc, 8 (8, 10, 12, 14, 16, 18, 20) dc
Rows 4 – 7 (7, 9, 9, 11, 11, 13, 13): Repeat rows 2 – 3
Fasten off.
Left side
- Join yarn with a sl st to the stitch with the stitch marker at the neckline.
Row 1: Ch 1, sc in same st, *skip next 2 dc, (sc, 2 dc) in next sc, repeat from * until the end, sc in last st, turn. 5 (5, 6, 7, 8, 9, 10, 11) sc, 10 (10, 12, 14, 16, 18, 20, 22) dc
Row 2: Ch 2, 2 dc in first st *skip next 2 dc, (sc, 2 dc) in next sc, repeat from * until the last 3 sts, sc in last st, turn. 5 (5, 6, 7, 8, 9, 10, 11) sc, 10 (10, 12, 14, 16, 18, 20, 22) dc
Row 3: Ch 3, *skip next 2 dc, (sc, 2 dc) in next sc, repeat from * across the row, sc in the last st, turn. 4 (4, 5, 6, 7, 8, 9, 10) sc, 8 (8, 10, 12, 14, 16, 18, 20) dc
Rows 4 – 7 (7, 9, 9, 11, 11, 13, 13): Repeat rows 2 – 3
Fasten off.
Back panel
Follow the instructions for the front panel and stop at the neckline.
Back panel Neckline
Rows 1 – 2: Ch 2, 2 dc in first sc below, *skip next 2 dc, (sc, 2 dc) in next sc, repeat from * across row, sc in last st, turn. 20 (22, 24, 26, 28, 30, 32, 34, 36) sc, 40 (44, 48, 52, 56, 60, 64, 68, 72) dc
Back panel shape for the neckline
Right size: Place a stitch marker on the 4 (4, 5, 6, 7, 8, 9, 10) sc. This part has a sc as the first st.
Left side: Place 2nd SM, counting from the other end 3 (3, 4, 5, 6, 7, 8, 9)th sc. The other end is the part that starts with ch 2, 2 dc.
Right side
Row 3: Ch 2, 2 dc in first st *skip next 2 dc, (sc, 2 dc) in next sc, repeat from * until stitch marker, sc in st with the SM, turn.
Row 4: Ch 3, *skip next 2 dc, (sc, 2 dc) in next sc, repeat from * across the row, sc in the last st, turn.
Row 5: Ch 2, *skip next 2 dc, (sc, 2 dc) in next sc, repeat from * until the last 3 sts, sc in last st, turn.
Rows 6 – 7 (7, 9, 9, 11, 11, 13, 13): Repeat rows 4 – 5
Back panel – Left side
- Join yarn with a sl st to the stitch with the 2nd stitch marker at the neckline.
Row 3: Ch 1, sc in same st, *skip next 2 dc, (sc, 2 dc) in next sc, repeat from * until the end, sc in last st, turn.
Row 4: Ch 2, 2 dc in first st *skip next 2 dc, (sc, 2 dc) in next sc, repeat from * until the last 3 sts, sc in last st, turn.
Row 5: Ch 3, *skip next 2 dc, (sc, 2 dc) in next sc, repeat from * across the row, sc in the last st, turn.
Rows 6 – 7 (7, 9, 9, 11, 11, 13, 13): Repeat rows 4 – 5
Fasten off
Finishing and Joining
Shoulder seam(s)
Turn both panels made in section 1 to the wrong side.
- Place the front panel over the back panel, with the right side facing the other.
- Join yarn with a slip stitch to ch 1 sp at the corner of the edging.
- Crocheting from the edge towards the neckline, ch 1, sc over both panels.
- Fasten off and repeat on the other side.
Neckline Edging
Join yarn to any stitch around the neckline.
Crocheting around and the corresponding stitches on the back panel.
Round 1: Ch 1, sc in each st around, join with a sl st to the beginning chain.
Fasten off.
Neck band
Option 1
Starting from the deepest part of the V neck.
Row 1: Chain 5, sc in 2nd ch from hook and in each chain across, skip corresponding st on the sweater neckline, sl st into the next 2 sts on the neckline, turn. 4 sc
Note:
- You can go down a hook size for the ribbing.
- Skip 3 sts instead of 2 sts for a neater joining on the sweater.
Row 2: In BLO, sc in each st across, turn
Row 3: Ch 2, in BLO, sc in each st across, skip corresponding st on the sweater, sl st into the next 2 sts on the sweater, turn. 4 sc
Rows 4 – end: Repeat Rows 2 and 3 until you have crocheted into all the stitches on around the neckline of your sweater.
Crocheting across the band just made, join yarn with a sl st to any of the sts on the edge.
Row 1: Ch 1, sc evenly across.
Fasten off.
Option 2: The band is made separately and then joined to the sweater
With Color A
Row 1: Chain 5, sc in 2nd ch from hook and in each ch across, turn. 4 sc
Row 2: Ch 1, sc in first st, sc in BLO across until the last st, sc in both loops, turn. 4 sc
Rows 3 – until you have a length long enough to go around the neckline: Repeat Row 2
Joining the band to the sweater
Place the band next to the front opening.
Starting from the deepest part of the V neck.
Using color A, sl st or sc to join the band to the sweater.
Shaping the neckline band
For both methods
Pinch the lower end of the lower tip of the neckline band where you have a reductant band at the base of the “Neckline.”
Turn to the wrong side and sew the pinched part closely together.
This will leave a “bump” flip it towards the neckband and secure neatly to one side.
Optional: Add a round of sc around the band, and fasten off.
Section 2: Sleeves
Make 2
Chain 7
Row 1: Sc in second ch from hook and each ch across, turn. 6 sc
Rows 2 – 24 (26, 26, 32, 32, 32, 34, 34): Ch 1, sc in both loops, sc (BLO) in each st until the last st, sc in both loop, turn.
Adjust the number of repeats for a perfect fit around your wrist.
Do not turn after the last row. Crocheting along the top of the ribbing to create the main body of the sleeves.
Row 1: Ch 1, sc in each st across, turn. 24 (26, 26, 32, 32, 32, 34, 34) sc
In both loops from here on
Row 2: Ch 1, sc in each st across the panel, turn. 24 (26, 26, 32, 32, 32, 34, 34) sc
Row 3: Ch 2, 2 dc in first st, *skip 2 sts, (sc, 2 dc) in next sc, repeat from * until the last 2 sts, sc in last st, turn.
Row 4: Ch 2 (does not count as a stitch, here and throughout), 2 dc in first sc below, *skip next 2 dc, (sc, 2 dc) in next sc, repeat from * across row, sc in last st, turn.
Rows 5 – 16 (16, 18, 20, 20, 22, 22, 24, 24): Repeat row 4.
Check the fit of your sleeve
- If it’s still narrow, continue repeating until you have a comfortable width.
Rows 25 – 34: Ch 2, sc in each st across, turn.
Check the fit of your sleeve
- If still short, continue the repeats until you have a comfortable length.
- If you have added more increases above, reduce the number of repeats in order not to have too long sleeves.
Edging
- Crocheting around the whole piece.
- With the right side facing.
Round 1: Ch 1, sc in each st around, (sc, ch 1, sc) at each corner, join
Crocheting across the long side of the sleeves, one side at a time.
Crocheting from the band towards the end of the sleeve.
Row 1: Ch 1, sc in next 10 sts, hdc in next 5 sts, dc in each of the remaining sts across, turn.
Fasten off.
Join yarn with a sl st to the other side of the sleeves from the band.
Repeat row 1.
Joining the sleeves to the bodies
- Pick up your main panel.
- Fold the main panel into two (as if you are putting it on).
- The folded edge of the sleeves should align with the folded edge of the main panel.
- Open the main panel with the wrong side up. Make sure the sleeve is wrong side up. Attach with a stitch marker the outer edges of the sleeve to the main panel.
- Count an equal number of stitches on the sleeve and main panel.
- Sew the edge of the sleeve to the main panel.
Sleeve Seam(s)
- With the wrong side facing you, sew the sides of the sleeves together, starting from the sleeve cuffs towards the armpit. Then, continue the instructions for the side seam as written below.
Side seam(s)
- With the wrong side facing you, sew the sides of the front and back panels together.
- Fasten off.
- Repeat on the other side.
Weave in all ends.
Block to measurement.
Modern kids V neck sweater FAQ
Is this pattern beginner-friendly?
Yes, it’s suitable for confident beginners ready to try garment construction.
Can I use a different yarn weight?
Yes, but you’ll need to adjust hook size and check gauge.
How do I adjust the size?
Follow stitch multiples and adjust rows or stitches as needed.
Is the sweater worked in one piece?
No, it is worked in panels and then assembled.
This kids crochet V neck sweater is one of those patterns that combines style, comfort, and simplicity. Whether you’re making it for your child or as a gift, it’s a project that feels as good to make as it does to wear.
Join my crochet channel for daily updates at your finger tips
About the Designer
Say Hi on Instagram and Subscribe To my email List for pattern discounts and freebies. For questions, send such to [email protected]. Read more about me here.