Simple Crochet Ribbed Headband Pattern
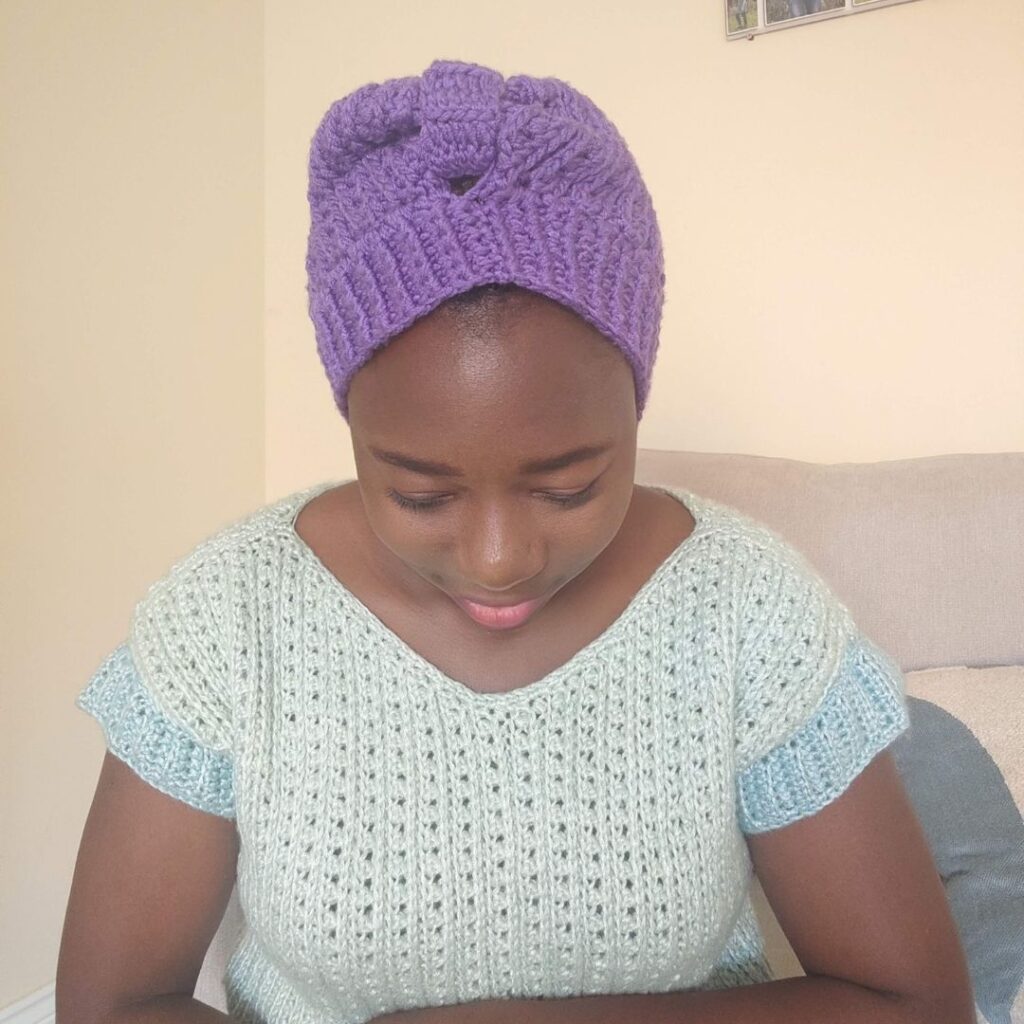
There are just some projects you just can’t resist making, this crochet ribbed headband is one of them. I hope you love your version of this twisted headband as much as I do.
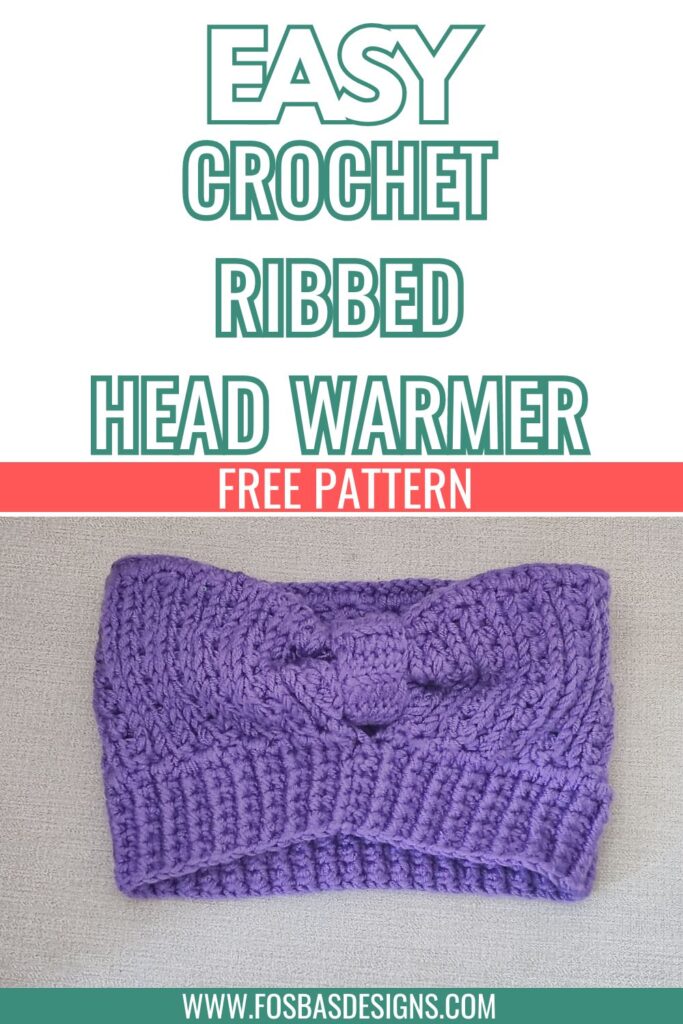
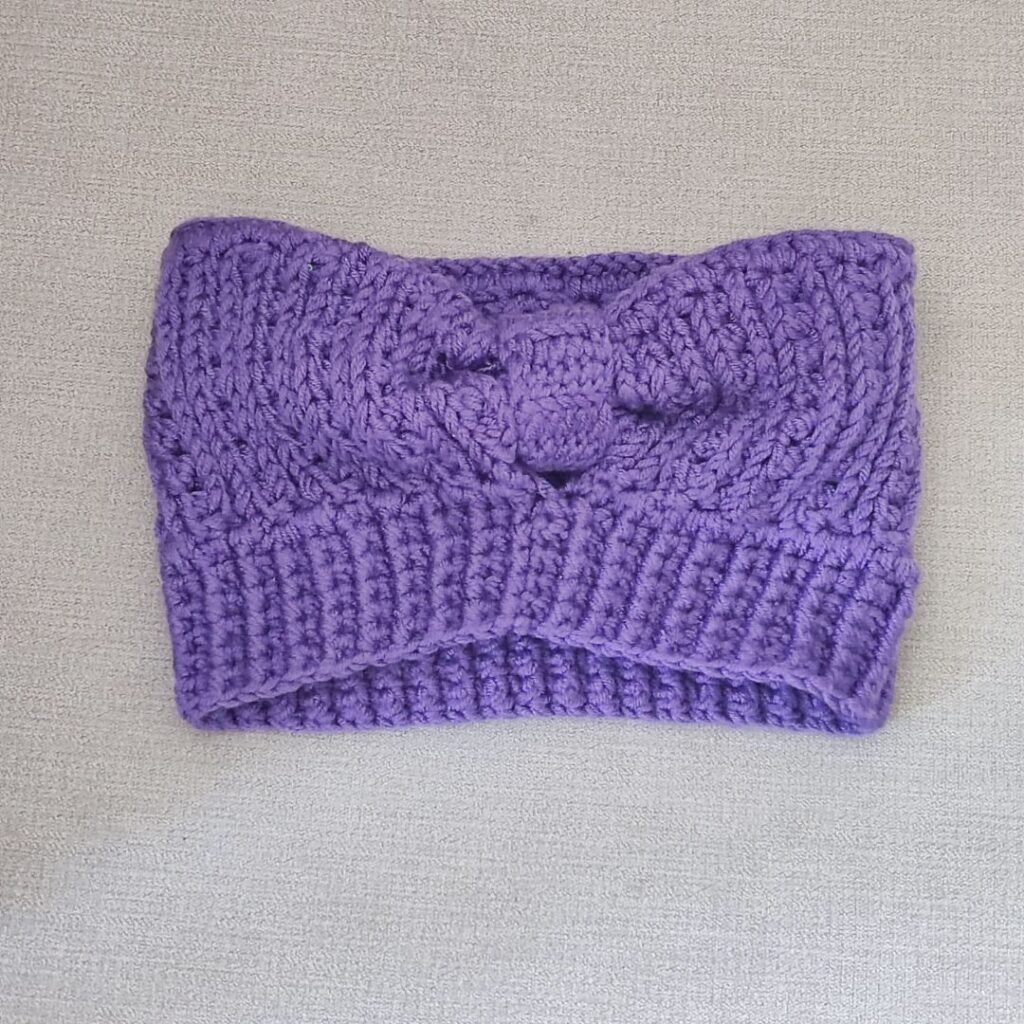
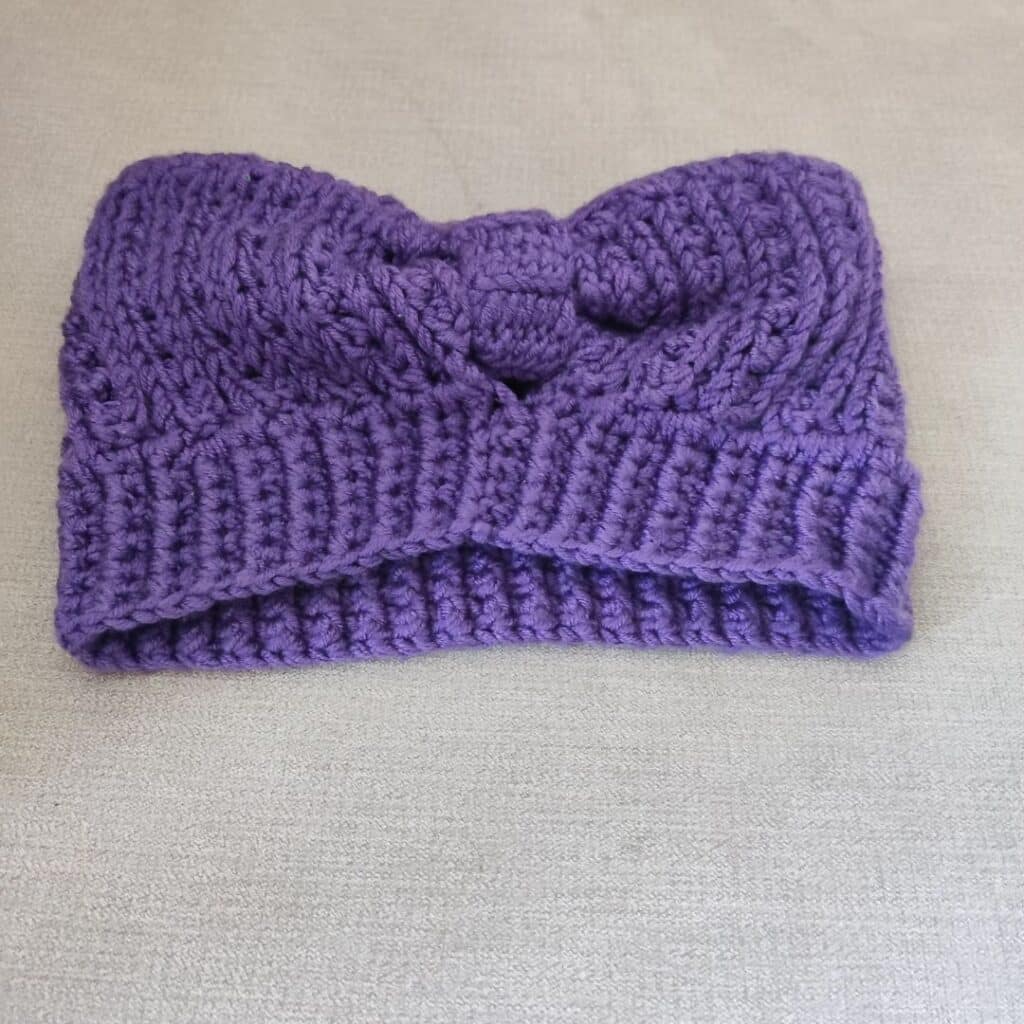
Crochet Ribbed Headband Pattern
Supplies needed to make the ribbed headband
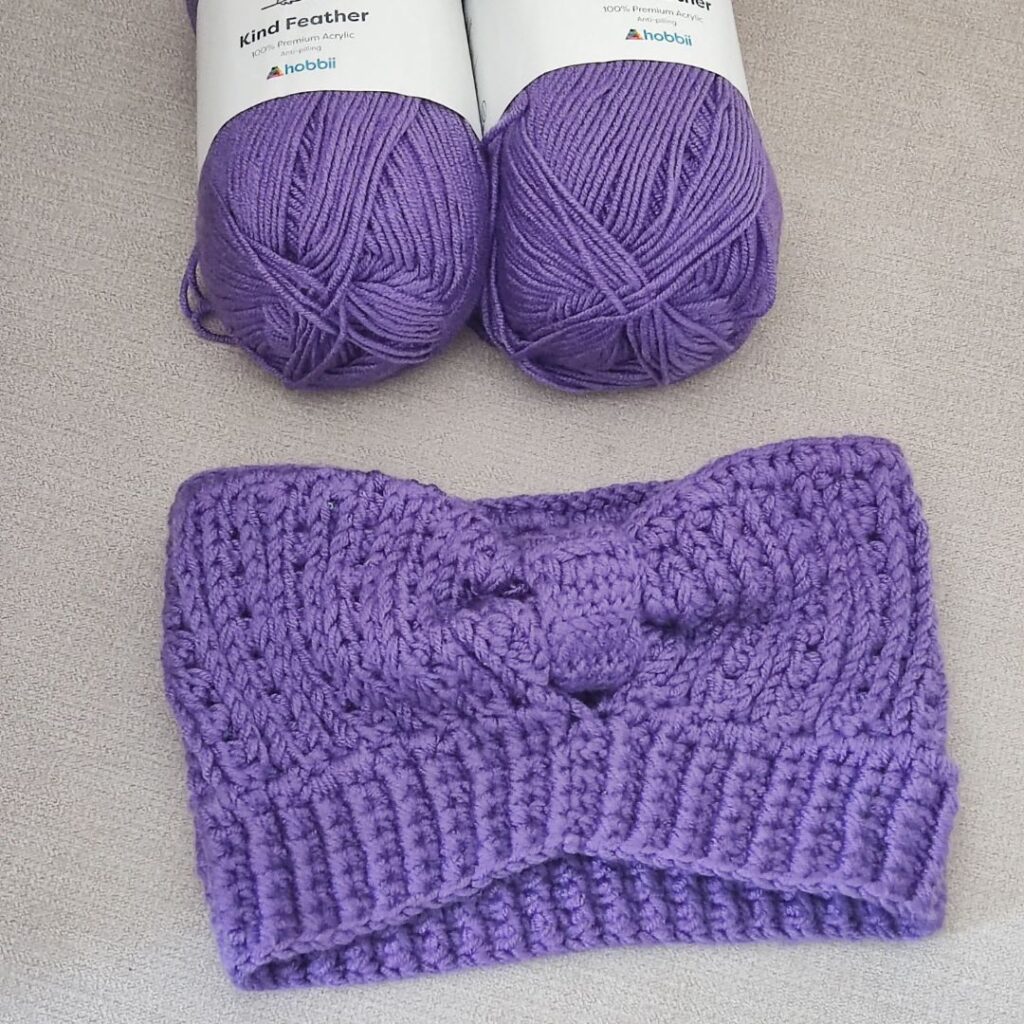
Yarn – You need a worsted-weight yarn for this project. The prototype was made using – Stylecraft Special Aran.
Estimated Yardage
120 (160, 200, 240, 280) yards
Hook and other Materials
4.5 mm Crochet Hook
Darning/Tapestry Needle
Gauge
15 sts over 10 Rows = 4” across, made using the stitch pattern, before blocking.
Adjust hook size, if necessary, to obtain gauge.
Crochet Ribbed Headband Pattern Notes
- Please kindly read through the pattern before starting.
- Any other #4 weight yarn can be substituted.
Skill Level – Intermediate
Terms – US Terminology
Stitches Abbreviations
Chain/chains – ch/chs
Half double crochet – hdc
Crossed half double crochet – xhdc
Back loop only – BLO
Front Post Half double crochet – FPhdc
Back Post Half double crochet – BPhdc
Special stitch
Xhdc – Crossed hdc – skip next st, hdc in next st, crocheting over the hdc just made, work hdc into the skipped st
Front Third Loop – This is the loop below the front loop. When you crochet into this stitch, it pushes the loops to the other side and creates beautiful braids.
Finished Measurement
Sizes – Infant (Toddler, Child, Teen/Adult small, Adult large)
How to Crochet Ribbed Headband
Section One: The Headband
Chain 12 (12, 16, 16, 20)
Row 1: Hdc in 3rd ch from hook and in each ch across, turn. 10 (10, 14, 14, 18) hdc
Row 2: Ch 2, In both loops, hdc in first st, in front 3rd loop, xhdc across until the last st, in both loop, hdc, turn. 2 hdc, 4 (4, 6, 6, 8) xhdc
Row 3:Ch 2, In both loops, hdc in the first st, in the back loop, hdc in each st around until the last st, hdc in last st, turn. 10 (10, 14, 14, 18) hdc
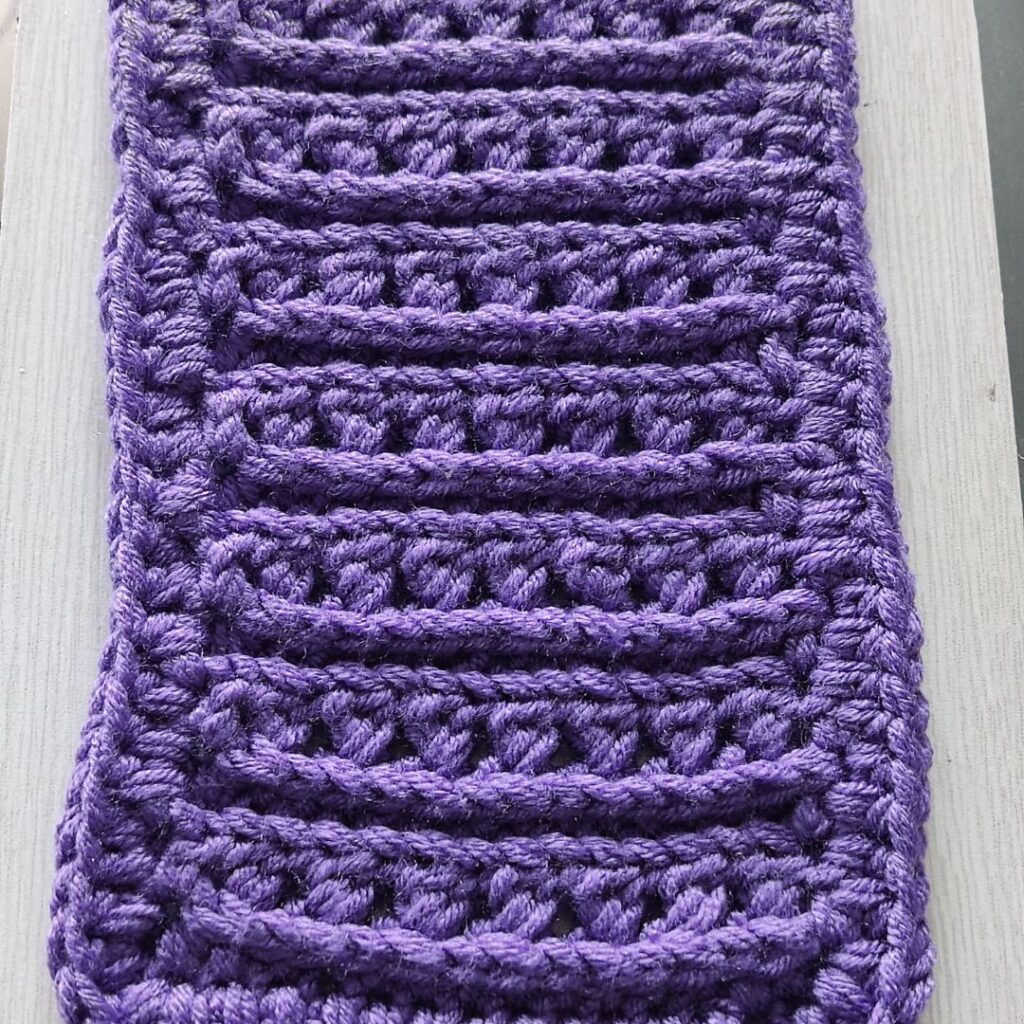
Rows 4 – 27 (31, 37, 47, 51): Repeat Rows 2 and 3
Measure your piece, and continue the repeats until you have a width long enough to wrap around your head.
Reduce or increase the repeats until you have a good wrap around your model’s head
Edging
Round 1: Ch 1, hdc evenly around the whole panel, aim for 2 hdc, ch 2, 2 hdc at each corner, join.
Do not fasten off.
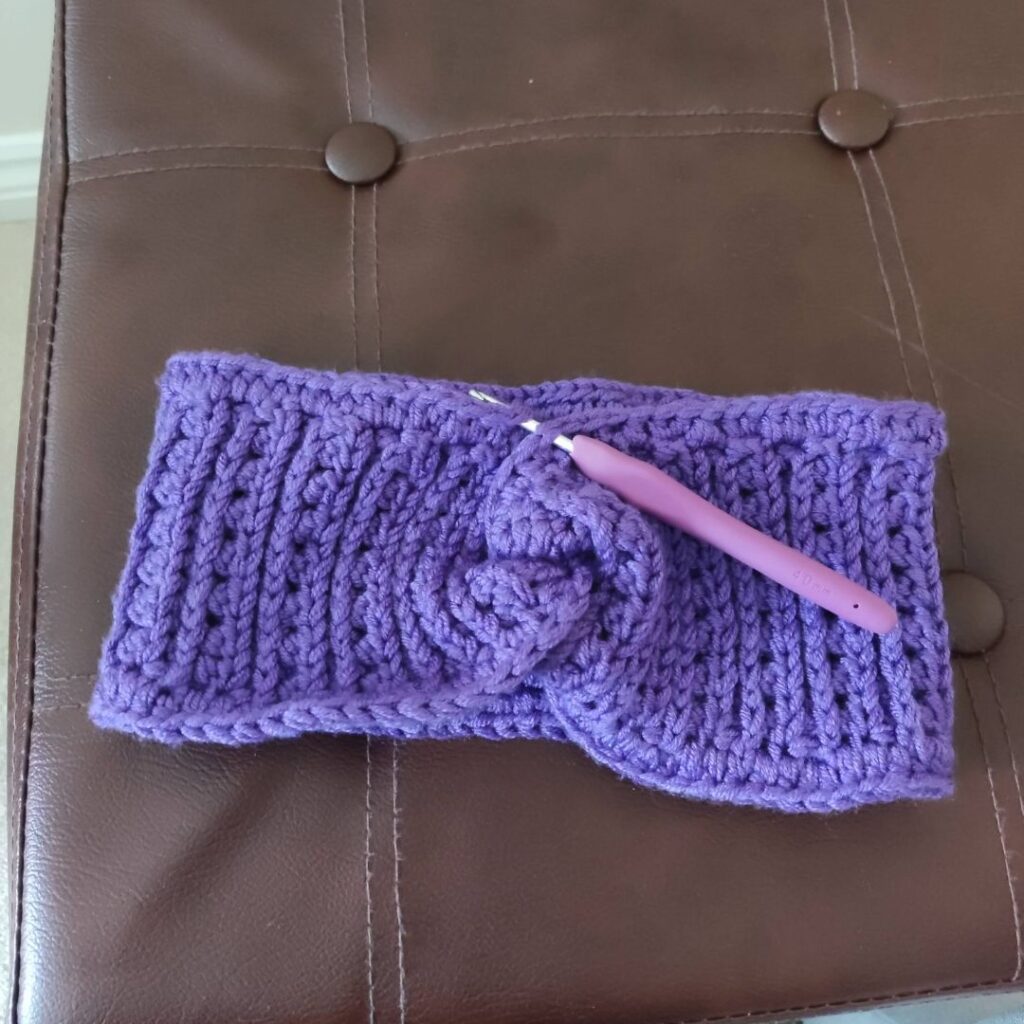
Twist seam
- Fold the the panel lengthwise (in half)
- With the wrong side facing you and the last row next to the foundation row.
- Sandwich the ends as shown below

Using a darning/Tapestry needle or crochet hook, sl st through the the 4 layers.
Cut yarn
Turn to the right side and shape.
Section 2: Ribbed Band
Working into just one of the openings.
Turn to the right side
Crocheting in rounds
Pass the hook through the loops/layers created by the twist.
Round 1: Ch 2, hdc evenly across the edges, join. 32 (38, 42, 52, 56) hdc
Round 2: Ch 2. *FPhdc, BPhdc, rep from * around, join. 16 (19, 21, 26, 28) hdc
Try the headband on, if too tight, go up a hook size
Rounds 3 – 6: Rep Round 3
Weave in ends.
Fasten off.
Band
Chain 10
Row 1: hdc in 3rd chain from hook and in each ch across, turn. 8 hdc
Row 2: Ch 2, hdc in each st across, turn
Rows 3 – 8 (10, 10, 12, 12): Repeat Row 2
Leave a long tail of yarn for sewing and cut yarn.
Pass the band through the opening created by the twist.
Sew close the side of the band.
Weave in all ends.
There you have your Crochet Ribbed Headband!
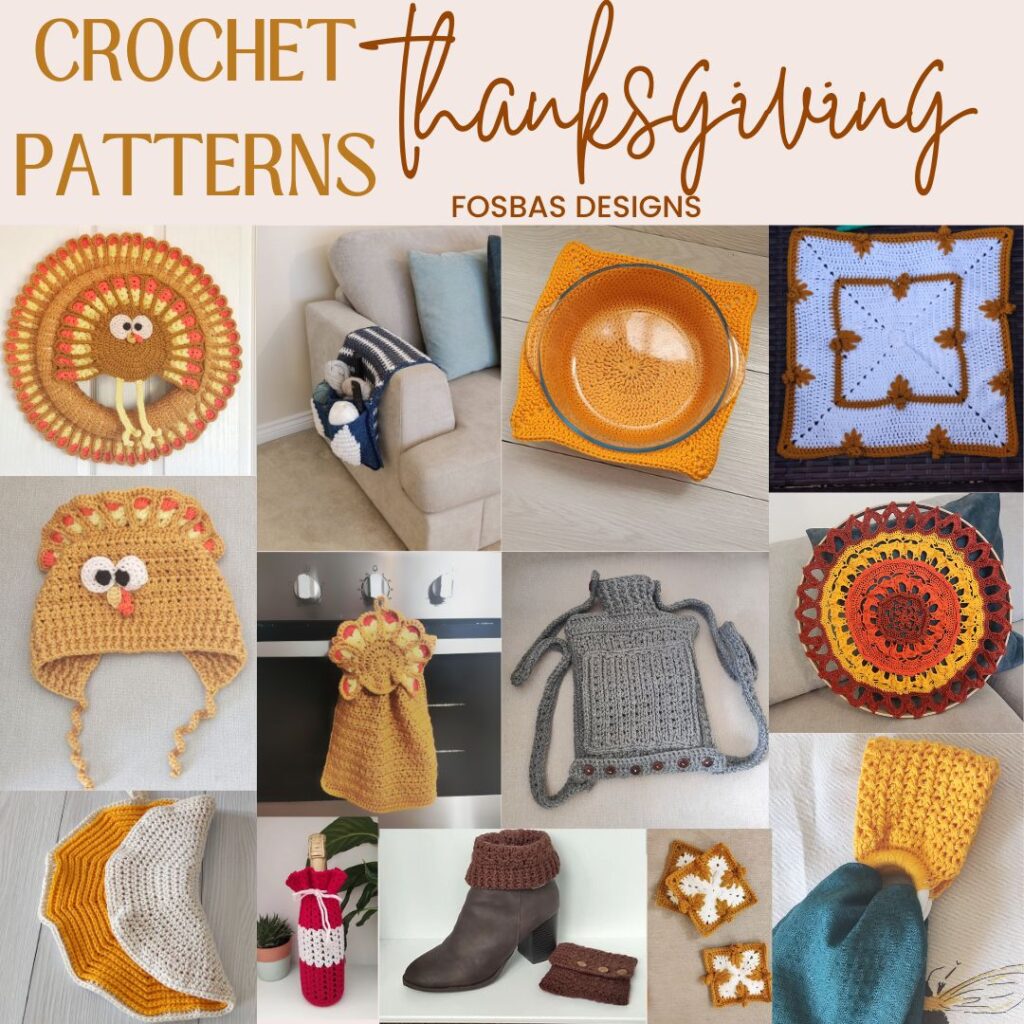
The crochet ribbed headband is featured as part of the Thanksgiving crochet event. You can grab the whole patterns included in this event if you have missed any of the patterns here.
Use the buttons below for the download.


Other Headbands to check out on the blog.