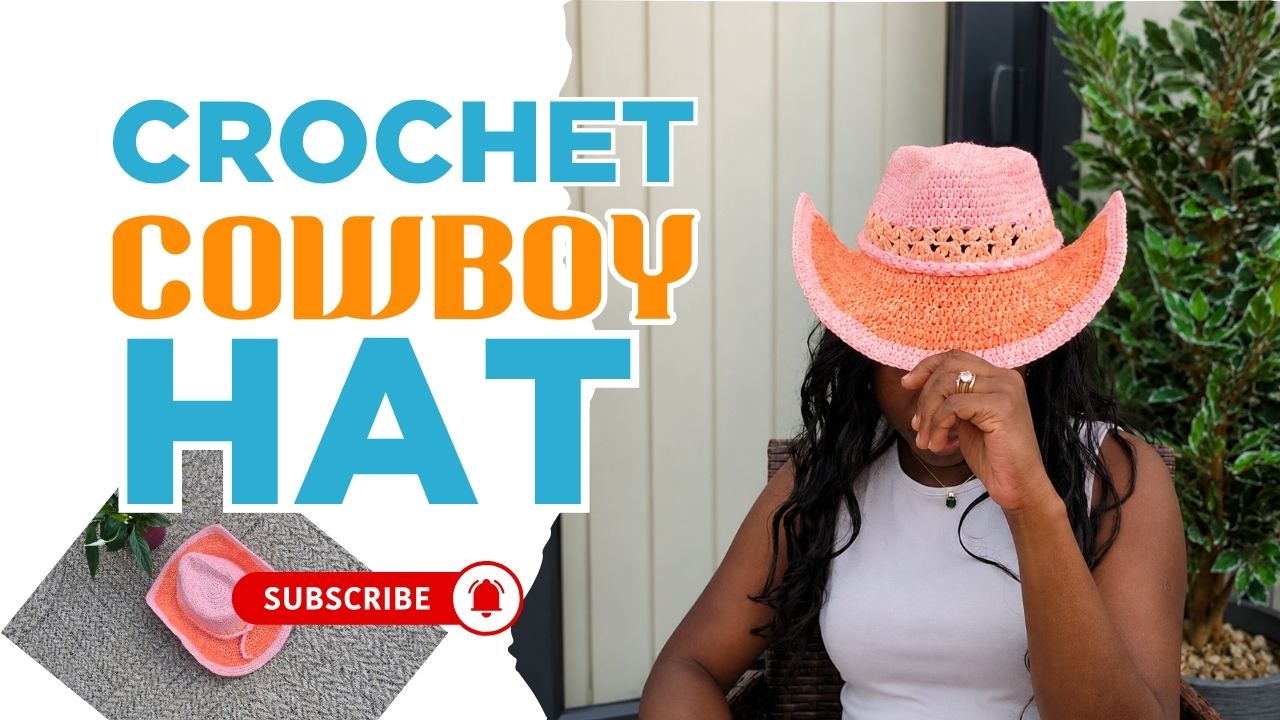
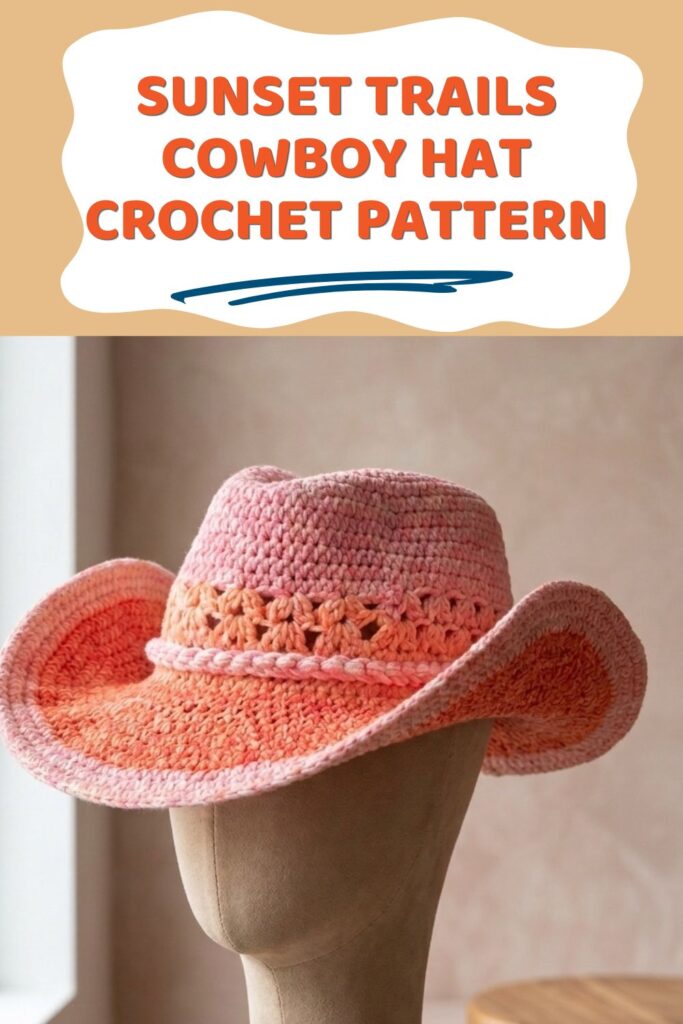
Sunset Trails Cowboy Hat Crochet Pattern
There are crochet projects you make because they are useful, and then there are crochet projects you make because they make you feel like the main character.
Get this pattern
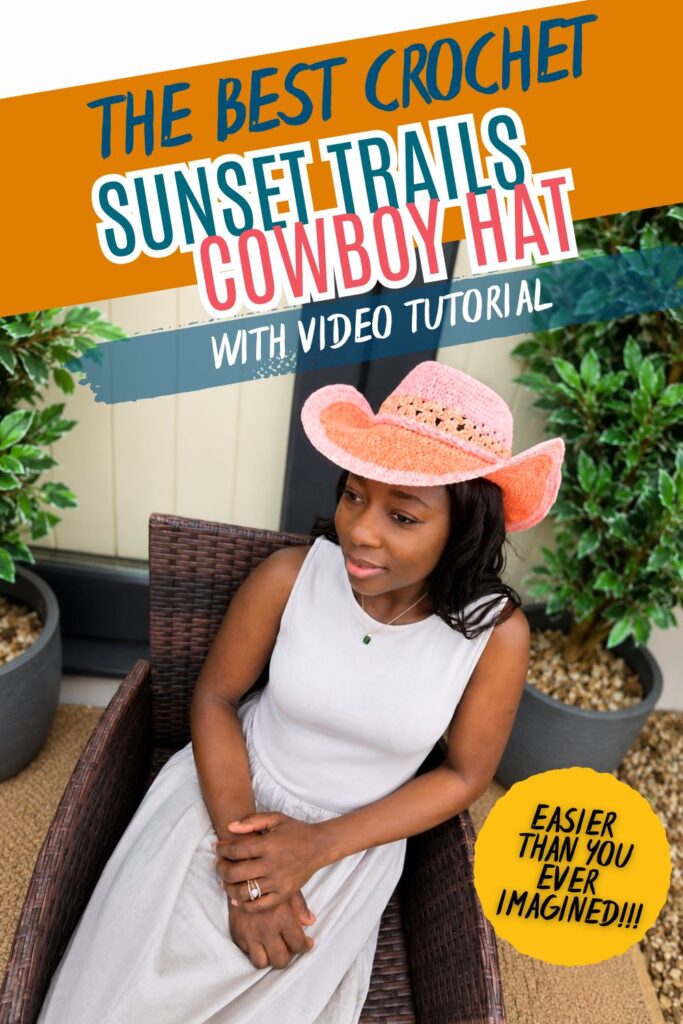
The Sunset Trails Cowboy Hat is definitely the second one.
This crochet cowboy hat is fun, bold, wearable, and full of personality. It is the kind of project that makes people stop and ask, “Wait, you made that?”
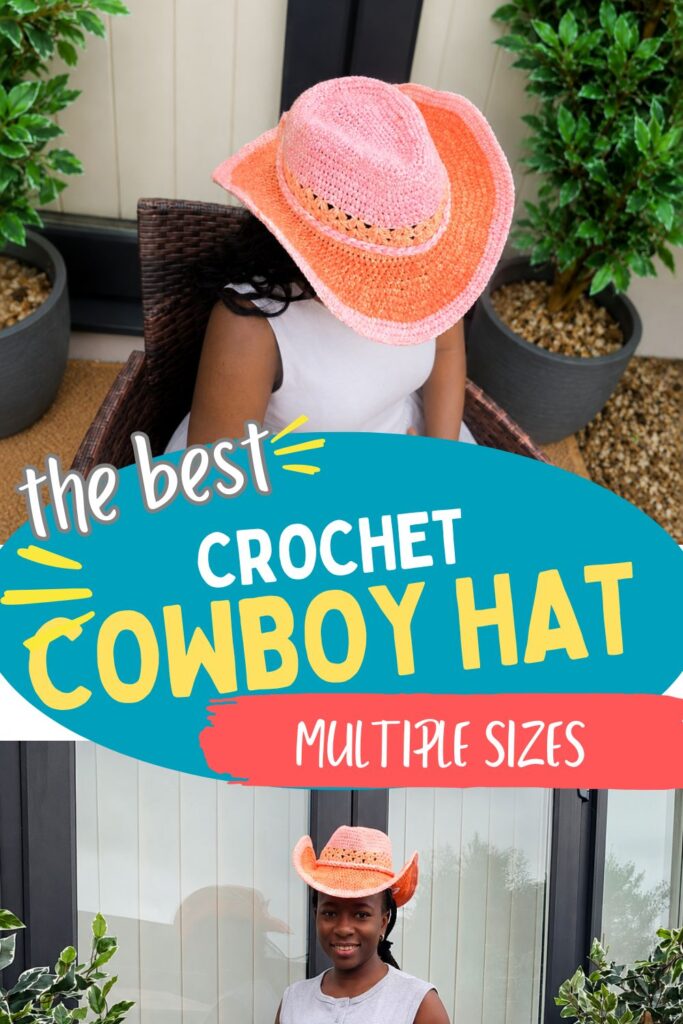
Designed with Lion Brand Mandala Ombre, this hat has a beautiful colour flow that gives it that warm sunset trail look without needing to change colours every few rounds. The shape is playful, the brim is structured, and the finished hat is perfect for photoshoots, summer outfits, festivals, markets, dress up days, handmade gifts, and anyone who loves crochet pieces that stand out.
Some of the links in this description may be affiliate links, which means I may earn a small commission if you make a purchase through them, at no extra cost to you. Thank you for supporting Fosbas Designs and helping me continue to create crochet patterns and tutorials.
The Sunset Trails Cowboy Hat is available as a Lion Brand yarn kit, so you can grab the yarn and pattern together and start making yours with less guesswork.
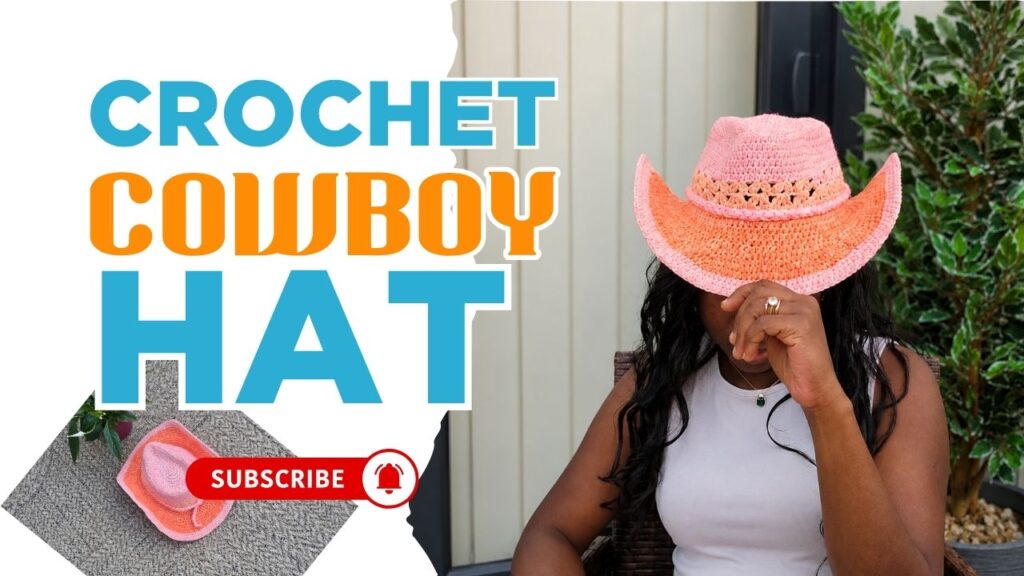
About the Sunset Trails Cowboy Hat
The Sunset Trails Cowboy Hat is an easy crochet hat pattern designed in three sizes: Child, Teen, and Adult.
It is made with worsted weight yarn and shaped into a cowboy hat using a simple mold, starch or glue, and extra brim support. This means you get the joy of crocheting the hat and the satisfaction of turning it into a structured statement piece.
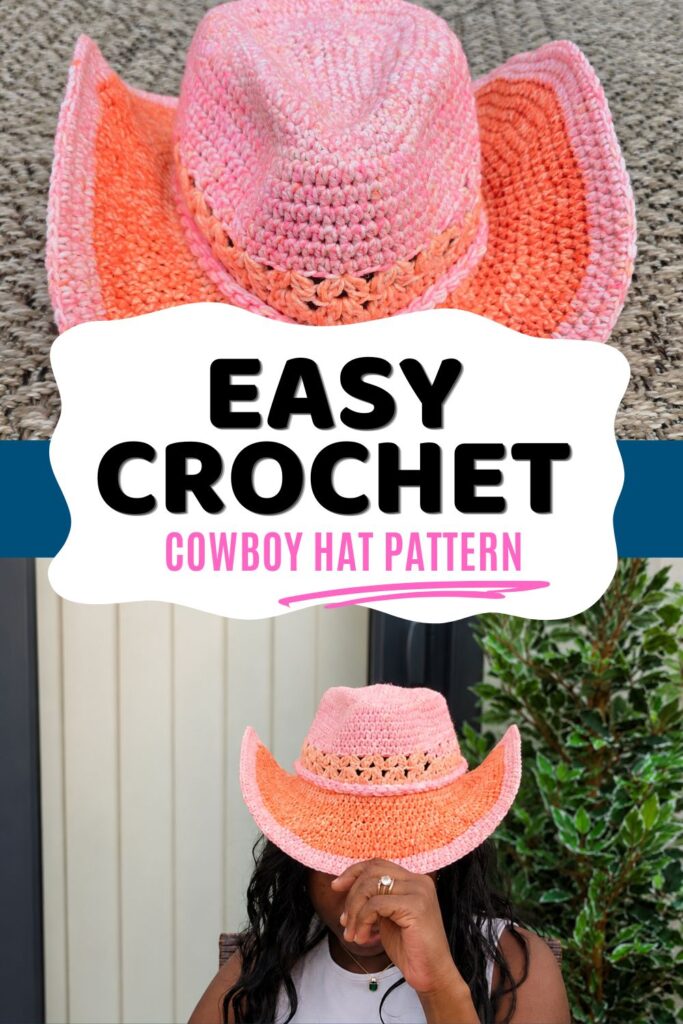
The pattern is written in US crochet terms and uses simple stitches, with one special stitch included for texture and detail.
The best part is the transformation. You start with yarn and a hook, and by the end, you have a crochet cowboy hat with shape, structure, and serious handmade charm.
Why You Will Love This Crochet Cowboy Hat
- It is an easy crochet pattern with a bold finished look.
- It uses worsted weight yarn, which is easy to find and fun to work with.
- The colour changes in Mandala Ombre create a beautiful sunset inspired effect.
- The brim support helps the hat keep its cowboy shape.
- It is perfect for photos, festivals, summer styling, handmade gifts, and statement outfits.
- The pattern comes in Child, Teen, and Adult sizes.
- It is a fun project that feels different from everyday hats and beanies.
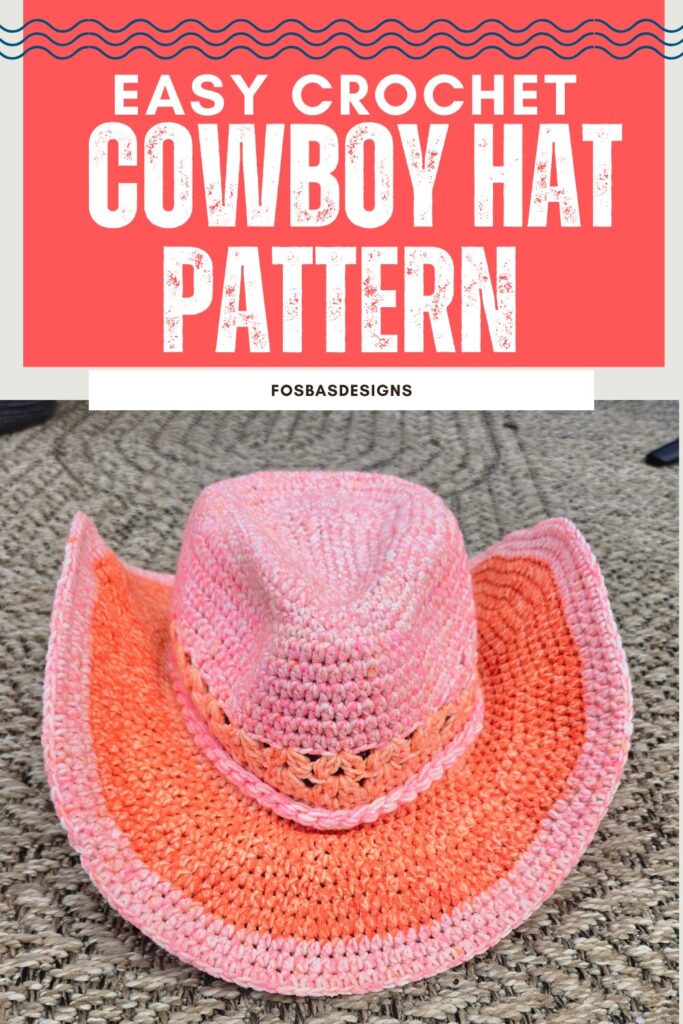
If you have been looking for a crochet pattern that feels fresh, exciting, and full of personality, this is the one to make.
The Yarn
The featured yarn for this design is Lion Brand Mandala Ombre, a worsted weight yarn with beautiful colour movement.
Mandala Ombre is perfect for this project because it gives the hat a soft gradient effect without extra colour changes. The colours shift gently as you work, helping create that warm, sunset inspired look that makes the finished hat feel special.
You can also use any #4 worsted weight yarn in colours of your choice. A solid colour will give a clean classic cowboy hat look, while a color changing yarn will make the hat feel more playful and eye catching.
Yarn Details
Yarn: Lion Brand Mandala Ombre
Yarn Weight: #4 Worsted Weight
Fibre Content: 100 percent Acrylic
Ball Size: 315 m or 344 yards per 150 g ball
Any #4 worsted weight yarn can be substituted.
Estimated Yardage
Child: 200 yards
Teen: 250 yards
Adult: 300 yards
The Hook
For this pattern, you will need a US size G 4 mm crochet hook.
You will need 1 stitch marker for this pattern.
A yarn needle is needed for weaving in ends and finishing your hat neatly.
Brim Support
This is where the magic starts to happen.
To help the brim hold its cowboy hat shape, you will need one of the following support options:
- 20 Gauge Wire 2 mm, about 40, 45, or 60 inches depending on size
- Fishing line, about 40, 45, or 60 inches depending on size
- Plastic boning, about 40, 45, or 60 inches depending on size
The brim support helps the hat keep its shape after styling. If you want a more structured brim, wire or plastic boning is a great option. If you want something flexible and lightweight, fishing line can also work well.
20 Gauge Wire, Plastic Florist Wire
Fishing Line
Plastic Boning
Depending on the brim support you choose, you may need pliers, a crimp, or scissors.
This helps you cut, secure, or adjust the brim support safely and neatly. It is a simple finishing tool, but it makes the shaping process much easier.
Duct tape is used to secure the ends of the brim support and keep everything neat before the hat is fully finished.
Cowboy Hat Mold
To shape the hat, you will need a cowboy hat to use as a mold.
This helps guide the crochet hat into the right shape while it dries. The mold does not need to be fancy. You can use a cowboy hat you already have, or a simple affordable one that has the shape you like.
The mold is what gives the hat that proper cowboy look instead of a regular crochet sun hat shape.
Glue or Starch
To help the hat hold its shape, use one of the following:
- Clear PVA glue
- Fabric starch
- Spray starch for fabric or hair
This step gives the hat structure and helps it dry into shape. If you want the hat to be firmer, clear PVA glue or fabric starch can be very helpful. If you prefer a lighter hold, spray starch may be a good option.
Always test your chosen product on a small area first if you are unsure how it will react with your yarn.
Clear PVA Glue
Fabric Starch
Spray Starch
Cling Film, Plastic Bag, Rope or Yarn
You will need cling film or a disposable plastic bag to protect your mold while the hat dries.
You will also need rope or yarn to hold the hat in place while it sets into shape. This step helps the hat dry neatly and keeps the brim and crown where you want them.
It may feel like a little craft project inside your crochet project, but this is the part that turns your handmade hat into a proper statement piece.
Disposable Gloves
Disposable gloves are helpful when applying glue or starch.
Drying Time
The hat will need 24 to 48 hours to dry, depending on the weather and the product used for shaping.
Warm, dry weather may help it dry faster, while cooler or damp weather may take longer. Let the hat dry fully before removing it from the mold so it can hold its shape properly.
Finished Measurements
Sizes are written as Child, Teen, and Adult.
Child: XS
Teen: S
Adult: M
Circumference: 17, 19, 20 inches
Gauge
16 stitches over 10 rows = 4 inches in half double crochet.
Adjust your hook size if needed to meet the gauge.
Gauge is important for this project because it affects the finished size and fit of the hat.
Difficulty Level
Easy
This pattern is a great choice if you want to try something fun and wearable without a complicated stitch pattern. The shaping and finishing steps make it exciting, but the crochet itself is simple and enjoyable.
Crochet Terms
This pattern is written in US crochet terminology.
Stitches and Abbreviations
ch means chain
hdc means half double crochet
rep means repeat
sc means single crochet
sl st means slip stitch
sp means space
st means stitch
Special Stitch
2 dc cl means 2 double crochet clusters
Step 1: Yarn over, insert hook into the same stitch.
Step 2: Yarn over and bring up a loop. You should have 3 loops on your hook.
Step 3: Yarn over and pull through 2 loops. You should have 2 loops on your hook.
Step 4: Yarn over and insert the hook into the same stitch.
Step 5: Yarn over and bring up a loop. You should have 4 loops on your hook.
Step 6: Yarn over and pull through 2 loops. You should have 3 loops on your hook.
Step 7: Yarn over and pull through all 3 loops. You should have 1 loop left on your hook.
Pattern Notes
- Please read through the full pattern before starting.
- Any #4 worsted weight yarn can be substituted.
- Chains at the beginning of rounds or rows do not count as a stitch.
- When the pattern says, “2 hdc in next stitch, hdc in each of next 3 stitches, repeat from the instruction 5 more times,” this means you should have a total of 6 sets of the repeat.
Styling Ideas for the Sunset Trails Cowboy Hat
This crochet cowboy hat is made for fun styling.
Wear it with denim, summer dresses, crochet tops, festival outfits, beach cover ups, or your favourite handmade pieces. It is also a brilliant photo prop for makers, content creators, craft fairs, and anyone who loves a statement accessory.
The Sunset Trails Cowboy Hat is not just a hat. It is a whole mood.
Get the Sunset Trails Cowboy Hat Kit
The easiest way to make your own Sunset Trails Cowboy Hat is with the Lion Brand yarn kit.
The kit gives you the yarn and pattern in one place, so you can spend less time searching for supplies and more time making your hat.
Get the Sunset Trails Cowboy Hat Kit from Lion Brand
Buy the Crochet Pattern
Already have yarn in your stash?
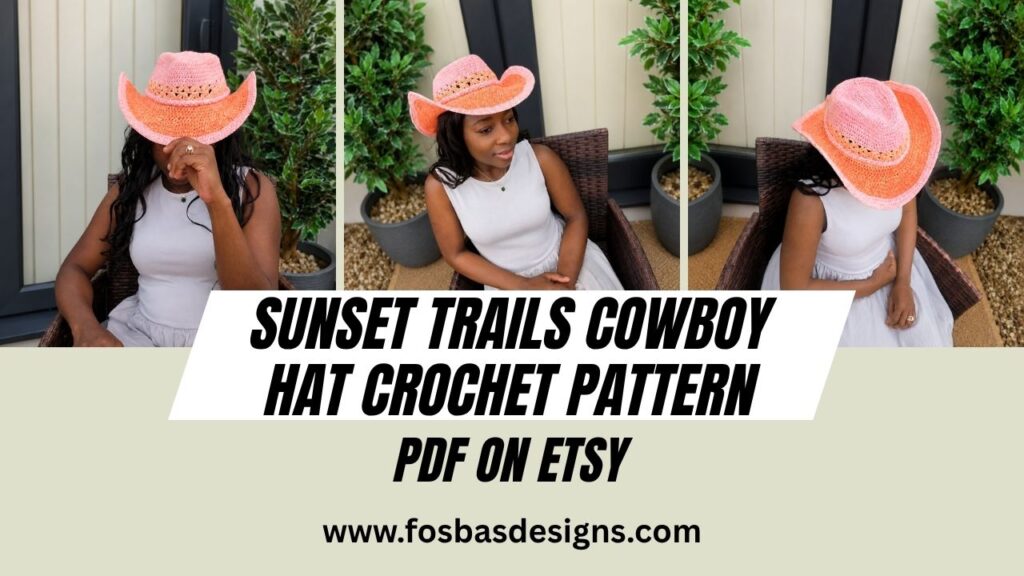
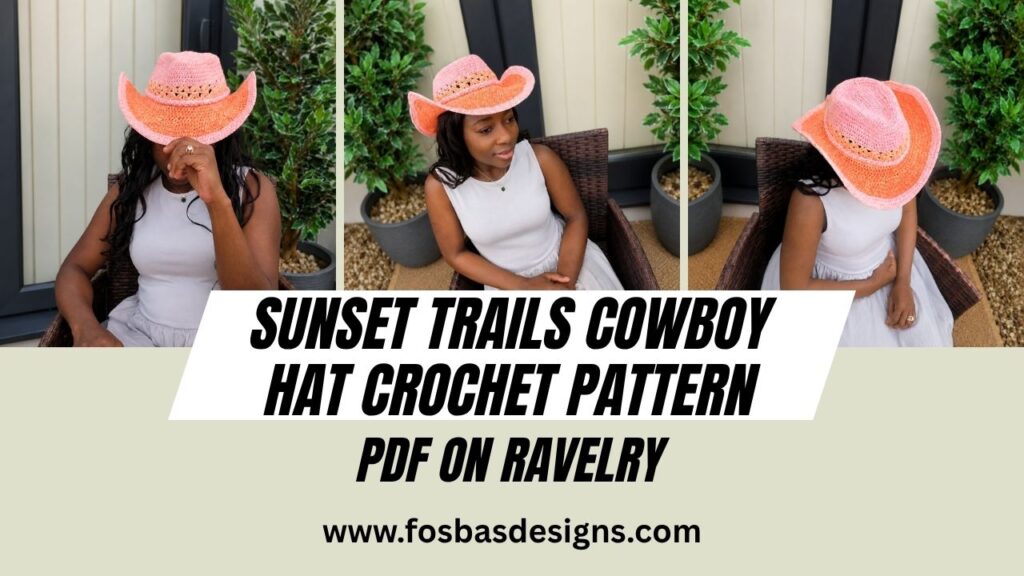
You can also purchase the crochet pattern and use any #4 worsted weight yarn in colours you love.
Final Thoughts
The Sunset Trails Cowboy Hat is a fun and satisfying crochet pattern that gives you a finished piece full of charm, colour, and personality.
It is easy enough to enjoy, bold enough to stand out, and practical enough to wear again and again. Whether you are making it for yourself, a child, a photoshoot, a gift, or a festival outfit, this crochet cowboy hat is one of those projects that brings joy from the first stitch to the final shape.
I hope you love making your Sunset Trails Cowboy Hat.
Happy crocheting,
Susanna
Fosbas Designs
1 FREE DOWNLOAD PER MONTH
WITH JUST $3 PER MONTH!
- Pick your desired pattern each month.
- It can be a new or old pattern.
2 FREE DOWNLOADS PER MONTH
WITH JUST $5 PER MONTH!
- Pick your desired patterns each month.
- It can be a new or old pattern.
- You get 2 patterns per month.
3 FREE DOWNLOADS PER MONTH
WITH JUST $8 PER MONTH!
- Pick your desired patterns each month.
- You get 3 free patterns per month.
- It can be a new or old pattern.
Join my crochet channel for daily updates at your finger tips
About the Designer
Say Hi on Instagram and Subscribe To my email List for pattern discounts and freebies. For questions, send such to [email protected]. Read more about me here.
Buy this pattern for $6.50, or get it free with a membership from $3 a month.
Buy the PDF
Hi, I’m Susanna!
I am Susanna, the designer and maker behind Fosbas Designs. Here, I share not only crochet designs but also the inspirations and process of each project. I am a happy mother of two handsome boys and a wife to my prince charming. These guys are…
More about me