Crochet Detachable Hood Free Pattern
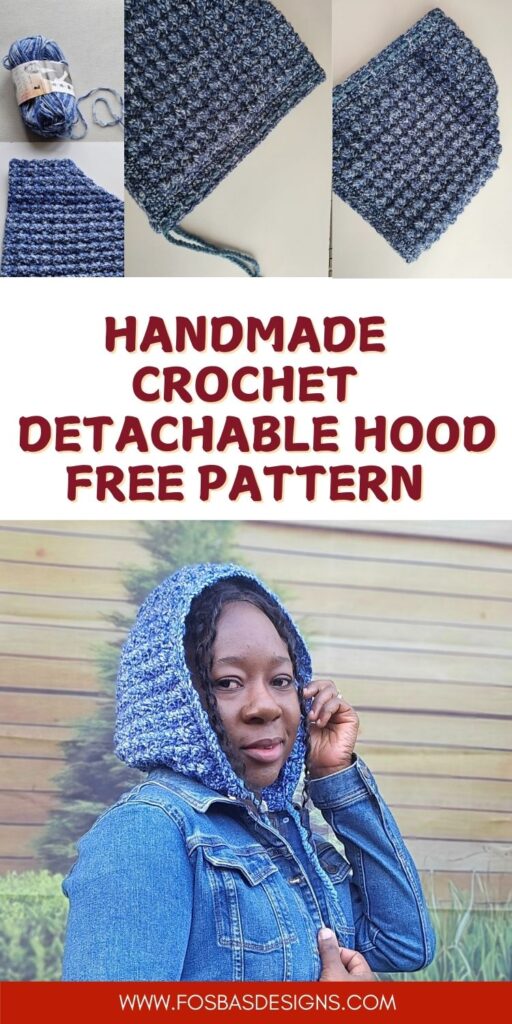
A detachable crochet hood is one of the most practical and stylish accessories you can add to your handmade wardrobe. It gives you the warmth of a hood without committing to a full sweater or jacket—perfect for unpredictable weather or layering with coats that don’t have hoods.
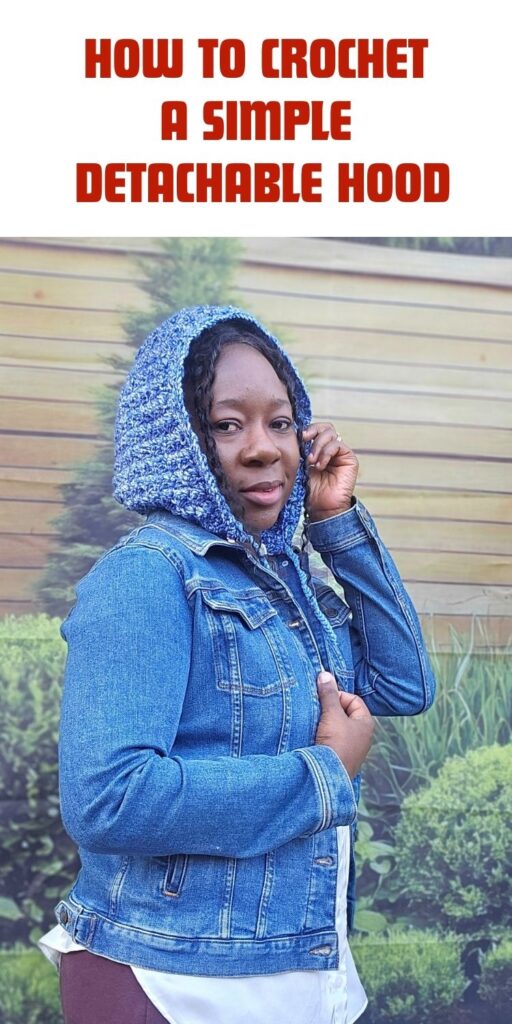
The Crochet Detachable Hood is available as a free pattern. Scroll down for details. You can get the ad-free version on Ravelry or Etsy.
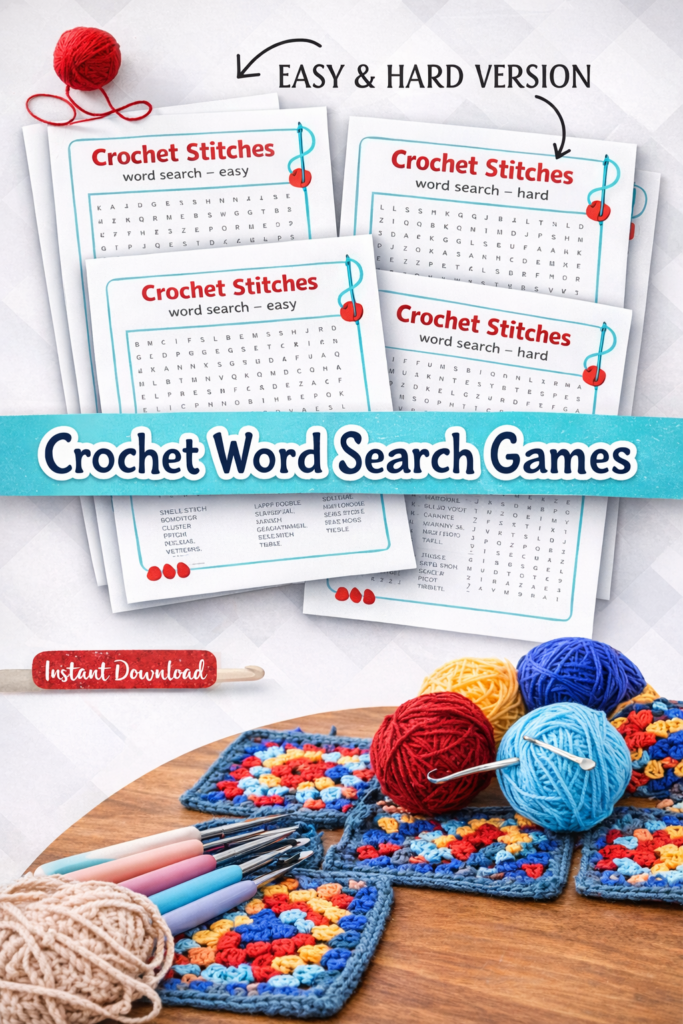
Have you tried croceht puzzles before? Get a free copy here
This beginner-friendly design works up quickly, uses simple stitches, and fits comfortably over the head without feeling bulky. Whether you need extra warmth outdoors or simply love crocheting wearable accessories, this hood will become a go-to piece in your collection.
This version is cozy, textured, and easy to make in any yarn shade you prefer. Because it’s detachable, you can pair it with multiple outfits, making it both functional and fashionable.

Why Make a Detachable Hood?
A detachable hood offers the versatility you don’t often get from traditional winter wear. You can throw it over a denim jacket, pair it with a sweater, or keep it in your bag in case the weather changes.
It’s especially useful for kids and adults who prefer light layers but still want coverage when needed.
It’s also a perfect crochet project for gift-giving. Since the sizing has some natural stretch and flexibility, you don’t need exact measurements to create a great fit.

Materials Needed for Crochet Detachable Hood
Yarn – Any Worsted weight yarns in colors of your choice.
I used Vanna’s choice – you can have a look at the colors here.
Estimated Total Yardage = 320 Yards
Hook – 5 mm Crochet Hook
Gauge – 18 sts over 12 Rows = 4 x 4” made using the stitch pattern, before blocking.
Gauge pattern
Chain 17 and follow the pattern for 12 rows.
Pattern Notes
- Please kindly read through the pattern before starting.
- The stitch count is written after each row.
Difficulty Level – Intermediate
Terms – US Terminology
Stitches Abbreviations
Chain/chains – ch/chs
Chain space – ch sp
Stitch(es) – st(s)
Slip Stitch – sl st
Finished Measurements
Size: One size – See the PDF for instructions on adjusting this for a perfect fit.
Construction Notes
This project is made in rows and then joined at the end.

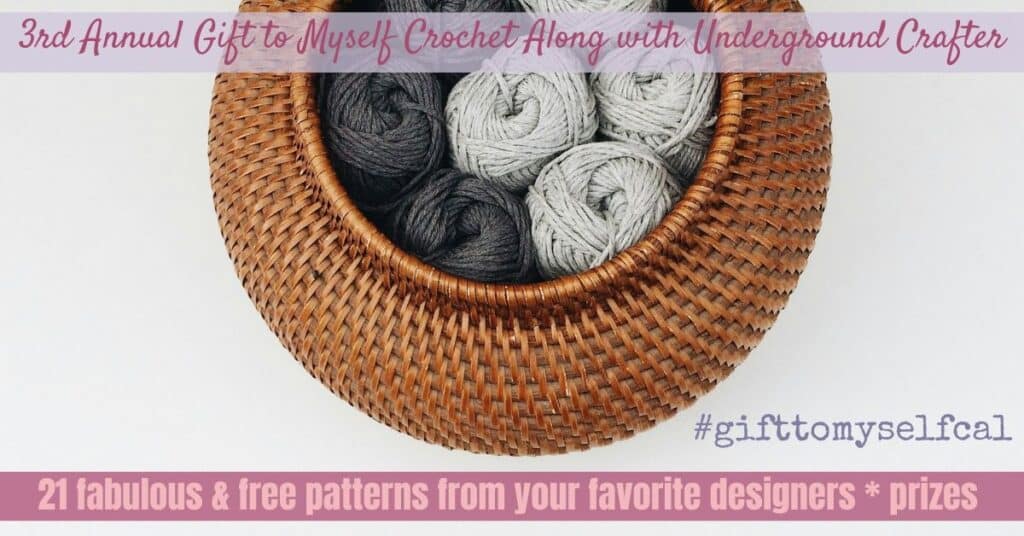
How the 2026 Gift to Myself CAL Works
This event started January 2 and will run through January 30, 2026, where a free crochet pattern is being shared, so that you can make for yourself!
We’ve partnered with Forbidden Fiber Co., Furls, GlassEyesOnline, Knitter’s Relief Balm, LennyMudPottery, LumosLumos, MBT Creates, Unicorn or WalnutFarmDesigns to bring you some great prizes in our end-of-CAL giveaway. Don’t forget to enter the giveaway in this blog post on Underground Crafter by Sunday, February 1, 2026 at 11:59 pm Eastern.
How To Join the 2026 Gift to Myself CAL
- Sign up for Crochet Along updates and the Underground Crafter newsletter to get regular updates, including an email as each CAL pattern is released, or visit the main CAL page to get links to each pattern as it goes live.
- You can join in by crocheting the patterns as you have time.
- Share your progress and post pictures of your finished projects. Tag your projects and posts #gifttomyselfcal and #undergroundcrafter on all social media.
- If you’d like to chat with other crocheters, join the Underground Crafters Facebook group or visit this thread in the Underground Crafters Ravelry group.
- By the end of the CAL, you’ll have up to 21 awesome projects for YOU! Do some “selfish” crocheting by making gifts for you with us!
Visit Underground Crafter to learn more about the prizes, enter the end-of-CAL giveaway, and to get links to each Gift to Myself CAL pattern as it is released.

How to get today’s featured pattern
Scroll down for the image to download the pattern on Ravelry.
Use code “gift20” at checkout on Ravelry for a free download.
Share your yarn, process and finished project with us in the Fosbas community.
I can’t wait to see your beautiful makes! Come share your projects with me and the crochet community on Facebook and on Instagram.
Fosbas
1 FREE DOWNLOAD PER MONTH
WITH JUST $3 PER MONTH!
- Pick your desired pattern each month.
- It can be a new or old pattern.

2 FREE DOWNLOADS PER MONTH
WITH JUST $5 PER MONTH!
- Pick your desired patterns each month.
- It can be a new or old pattern.
- You get 2 patterns per month.

3 FREE DOWNLOADS PER MONTH
WITH JUST $8 PER MONTH!
- Pick your desired patterns each month.
- You get 3 free patterns per month.
- It can be a new or old pattern.

Crochet Detachable Hood Free Pattern
Row 1: Ch 71, sc in each st across the panel, turn. 70 sc
Row 2: Ch 2, 2 dc in first st, *skip 2 sts, (sc, 2 dc) in next sc, repeat from * until the last 3 sts, skip next 2 sts, sc in last st, turn. 22 sc, 48dc
Row 3: Ch 2 (does not count as a stitch, here and throughout), 2 dc in first sc below, *skip next 2 dc, (sc, 2 dc) in next sc, repeat from * across row, sc in the last st, turn. 22 sc, 48dc
Rows 4 – 23: Repeat row 3.
For a longer hood, you can add a few more rows.
Split for Hood
Right side
Place the first stitch marker on the 11th sc stitch
Row 1: Ch 1, *skip next 2 dc, (sc, 2 dc) in next sc, repeat from * until 1 st before the first stitch marker, sc in st with the SM, turn. 10 sc, 20 dc
Row 2: Ch 3, *skip next 2 dc, (sc, 2 dc) in next sc, repeat from * across row, sc in last st, turn. 18 dc, 9 sc
Row 3: Ch 1, *skip next 2 dc, (sc, 2 dc) in next sc, repeat from * until the last 3 sts, sc in last st, turn. 8 sc,16 dc
Rows 4 – 11: Repeat rows 2 – 3
Fasten off.
Left side
- Join yarn with a sl st to the edge of the main panel (left side)
- Crocheting towards the stitch marker.
- Repeat as with the right side.
Do not fasten off.
Finishing
Edging
- Crocheting around the whole piece.
- With the right side facing.
Round 1: Ch 1, sc in each st around, (sc, ch 1, sc) at each corner, join with a sl st to the beginning chain.
Fasten off.
Joining the sides
Turn the project to the wrong side, sew the sts together, starting from the shaping to the remaining sts on the right and left sides of the hoodie.
Hoodie Lower end
Crocheting across the lower end.
Join yarn with a sl st to the beginning of the foundation chain.
Rows 1 – 2: Ch 1, hdc in each st across, turn.
Note: If using buttons for joining the hoodie to your jacket, continue to row 3, if not, continue to the front opening.
Row 3: Ch 2, hdc in first st,* ch 1, skip next st, ch 1, dc in next 8 sts, rep from * to the last 2 sts, ch 1, skip next st, dc in last st.
Row 4: Ch 1, *sc in first st, sc in ch sp, rep from * across.
Do not fasten off.
Hoodie front opening
Rope opening
Crocheting across the lower end.
Round 1: Ch 1, hdc in each st across the left and right sides, turn.
Round 2: Ch 4 (counts as dc + ch 1), *dc in next st, skip next st, ch 1, rep from * across, turn.
Round 3: Ch 1, *sc in first st, sc in ch sp, rep from * across. Fasten off
Tassels and Rope
- Using double strands, chain 50
Fasten off
- Make two tassels.
- Thread the chains through the chain spaces.
- Secure each end by attaching a tassel to each.
Snaps
Turn the panel to the wrong side.
Sew snaps at intervals to the lower end of the hoodie.
Sew the corresponding snaps to the neck of the jacket.
Alternatively, if using buttons:
Buttons
Turn the panel to the wrong side.
Sew buttons on the corresponding space on the neck of the jacket.
Weave in all ends.
Block to measurement.

This detachable crochet hood is a fun, quick, and practical project suitable for crocheters of all skill levels. It’s a wonderful addition to your handmade accessories and makes a thoughtful gift for loved ones. Enjoy customizing it and wearing it all season long!
Join my crochet channel for daily updates at your finger tips
About the Designer
Say Hi on Instagram and Subscribe To my email List for pattern discounts and freebies. For questions, send such to [email protected]. Read more about me here.