Free Crochet Ear Warmer Pattern with Bow Tie
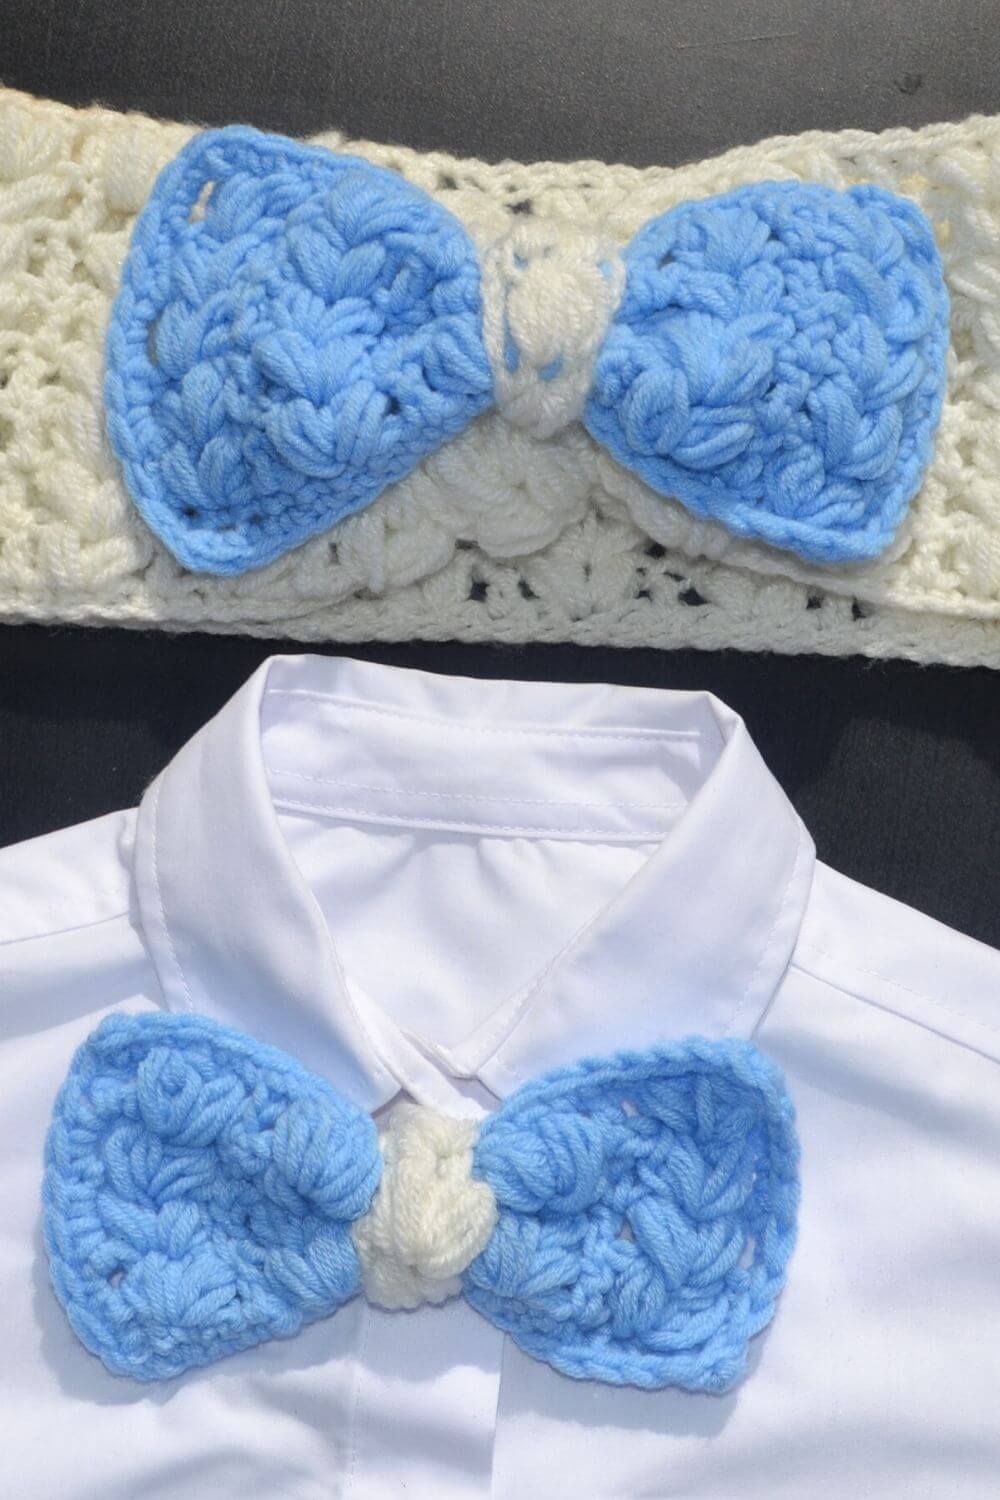
Twining with my son was getting difficult as not too many crochet patterns are there for the boys, so I decided to make this matching free ear warmer and bow tie pattern.
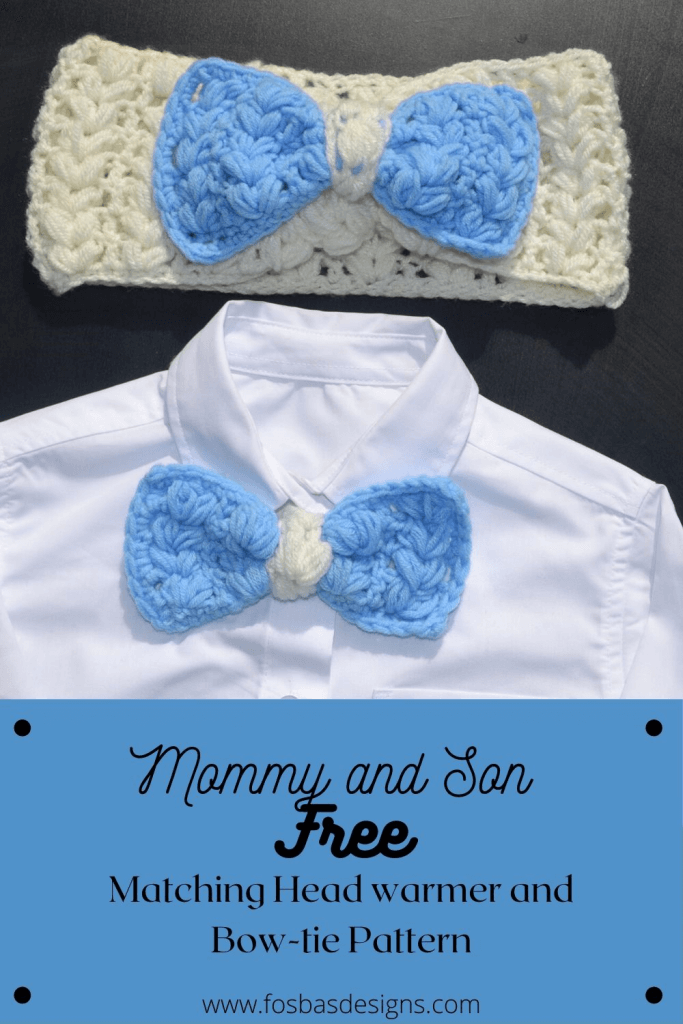
You are welcome to customize this pattern to fit your needs. You can adjust the ear warmer pattern to fit any size and skip out the bow tie.
This set seems to be my favorite. I also love the beautiful texture of this earwarmer pattern.
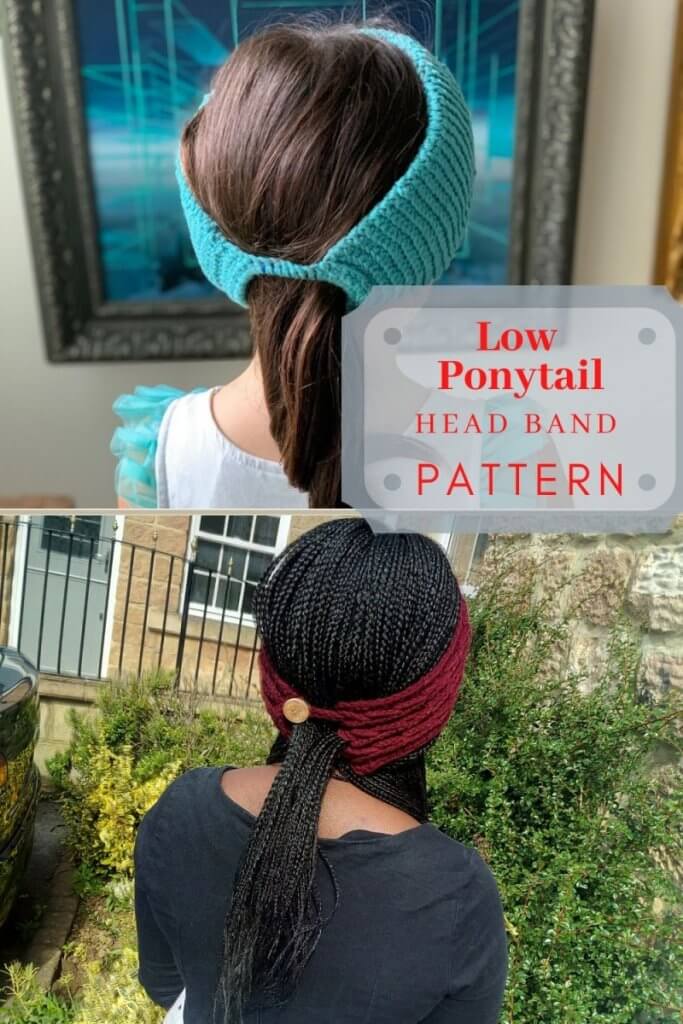
Since you love this pattern, you might also love the low ponytail headband pattern, which is accessible on my blog.
Materials for the Free Crochet ear warmer and Bow Tie Pattern
Yarn
Stylecraft Special DK, #3 lightweight (100% acrylic: 322yds/295m per 3.5 oz/100g skein)
1 skein Cream (A)
1 skein Blue (B)
Estimated Yardage
120 yards of Main Color
20 yards of Contrasting Color
Hook and other Materials
- US size H (5 mm) Crochet Hook
- Yarn needle
- Stitch Markers (4 pieces)
Gauge
18 sts over 10 Rows = 10 cm square/4” made in dc, before blocking.
Adjust hook size if necessary, to obtain gauge.
Difficulty level – Intermediate
Terms – US Terminology
Stitch Abbreviations
Chains (ch)
Single Crochet (sc)
Treble – (tr)
Double Crochet (dc)
Puff stitch – (pf)
Pattern Notes
- Please kindly read through the pattern before starting.
- Similar #3 weight yarn can be substituted; please check the gauge.
- Adjust the headband starting chain in multiples of 4 plus 1.
Sizes/Finished Measurements
Bow: Child (Adult) – 3.5 (4)” x 6 (7)”
Headband: Adult – 4” x 20”
Special Stitch
Puff stitch (PF) – Yarn over (yo) and insert the hook into the stitch where you are creating your puff stitch, yo 2 more times, you should have 7 loops on your hook, yo, pull through all loops at once, ch 1.
The Headband and Bow-tie set are free to view with the instructions below. You can get the Ad-free copy on Ravelry.
Instructions for the headband and bowtie
Section 1 – Headband
Row 1: With A, ch 61, sc in 2nd ch from hook, sc in each across, turn—60 sc.
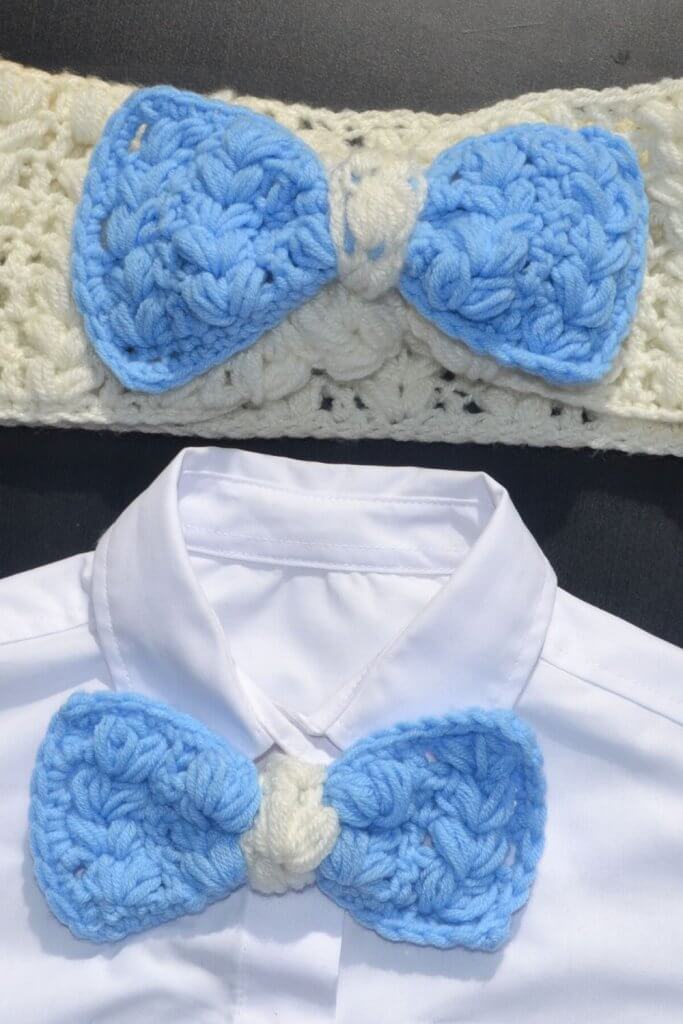
Row 2: Ch 3 (does not count as st here and throughout), skip first, (puff, ch 1, puff) in next, skip 1, dc in next, *skip 1, (puff, ch 1, puff) in next, skip 1, dc in next; repeat from * to end, turn—16 sets of puffs, 16 dc.
Row 3: Ch 3, skip first, (puff, ch 1, puff) in next ch-1 sp, skip 1, dc in next, *skip 1, (puff, ch 1, puff) in next ch-1 sp, skip 1, dc in next; repeat from * to end, turn—16 sets of puffs, 16 dc.
Rows 4-9: Repeat Row 3.
Row 10: Ch 1, sc in each across—60 sc.
Fasten off with a long tail for sewing, fold in half and sew short sides together, wrap yarn around the seam and pull tight for a cinched look. Weave in ends.
Section 2 – BOW
Row 1: With B, ch 21 (25), sc in 2nd ch from hook, sc in each across, turn—20 (24) sc.
Row 2: Ch 3, skip first, (puff, ch 1, puff) in next, skip 1, dc in next, *skip 1, (puff, ch 1, puff) in next, skip 1, dc in next; repeat from * to end, turn—5 (6) sets of puffs, 5 (6) dc.
Row 3: Ch 3, skip first, (puff, ch 1, puff) in next ch-1 sp, skip 1, dc in next, *skip 1, (puff, ch 1, puff) in next ch-1 sp, skip 1, dc in next; repeat from * to end, turn—5 (6) sets of puffs, 5 (6) dc.
Rows 4-5 (6): Repeat Row 3.
Child size goes to Final Row after Row 5, adult continues on.
Final Row: Ch 1, sc in each across—20 (24) sc. Fasten off, weave in ends, and set aside.
Section 3 – Band
Row 1: With A, ch 5, sc in 2nd ch from hook, sc in each across, turn—4 sc.
Row 2: Ch 3, skip first (puff, ch 1, puff) in next, skip 1, dc in last, turn— 1 puff set.
Row 3: Ch 3, skip first (puff, ch 1, puff) in next ch-1 sp, skip 1, dc in next, turn—1 puff set.
Row 4: Repeat Row 3.
*Child size goes to Row 6; adult continue on.
Row 5: Repeat Row 3.
Row 6: Ch 1, sc in each across—4 sc.
Row 7: Ch 1, sc in each around the entire border of the bow, sl st to first to join. Fasten off with a long tail for sewing.
Neck Band
With A, ch 21 (or desired length), sc in 2nd ch from hook, sc in each across—20 sc.
Fasten off and weave in ends.
Finishing
Place the appropriate Band over the center of the Bow, wrap it around, and sew the ends of the Band together.
Adult: Sew the bow to the cinched seam of the headband using the preferred method.
Child: Insert the Neckband into the back of the Bow and sew it in place.
Both: Secure all pieces together to ensure pieces don’t shift.
I hope you love the set of this headband and the bow-tie set. When you do make your own versions, kindly share your makes with me.

One Comment
Comments are closed.