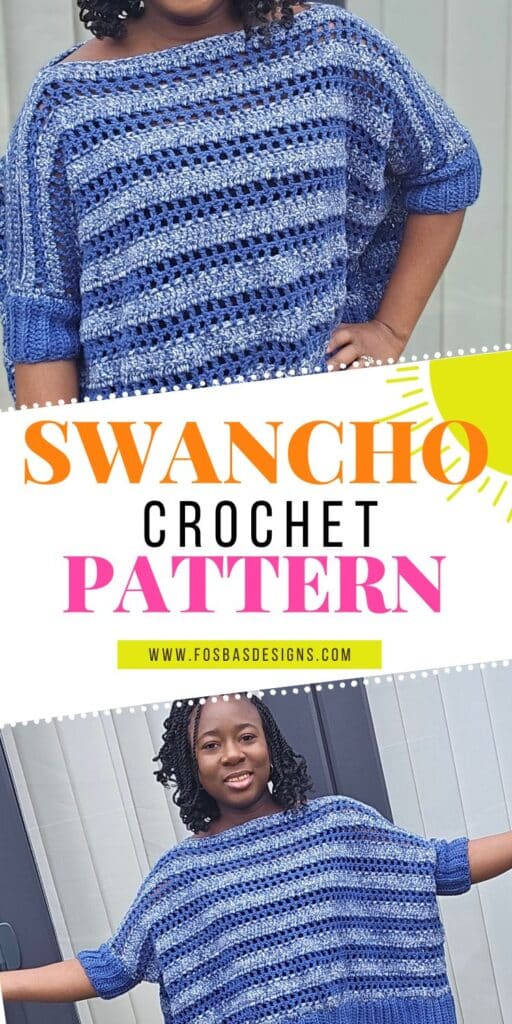
Vanna’s Swacho Crochet Pattern
If you are looking for a crochet project that is comfortable, easy to wear, does not require any buttons (zippers), and is also perfect for a beginner, this swancho crochet pattern is for you!.

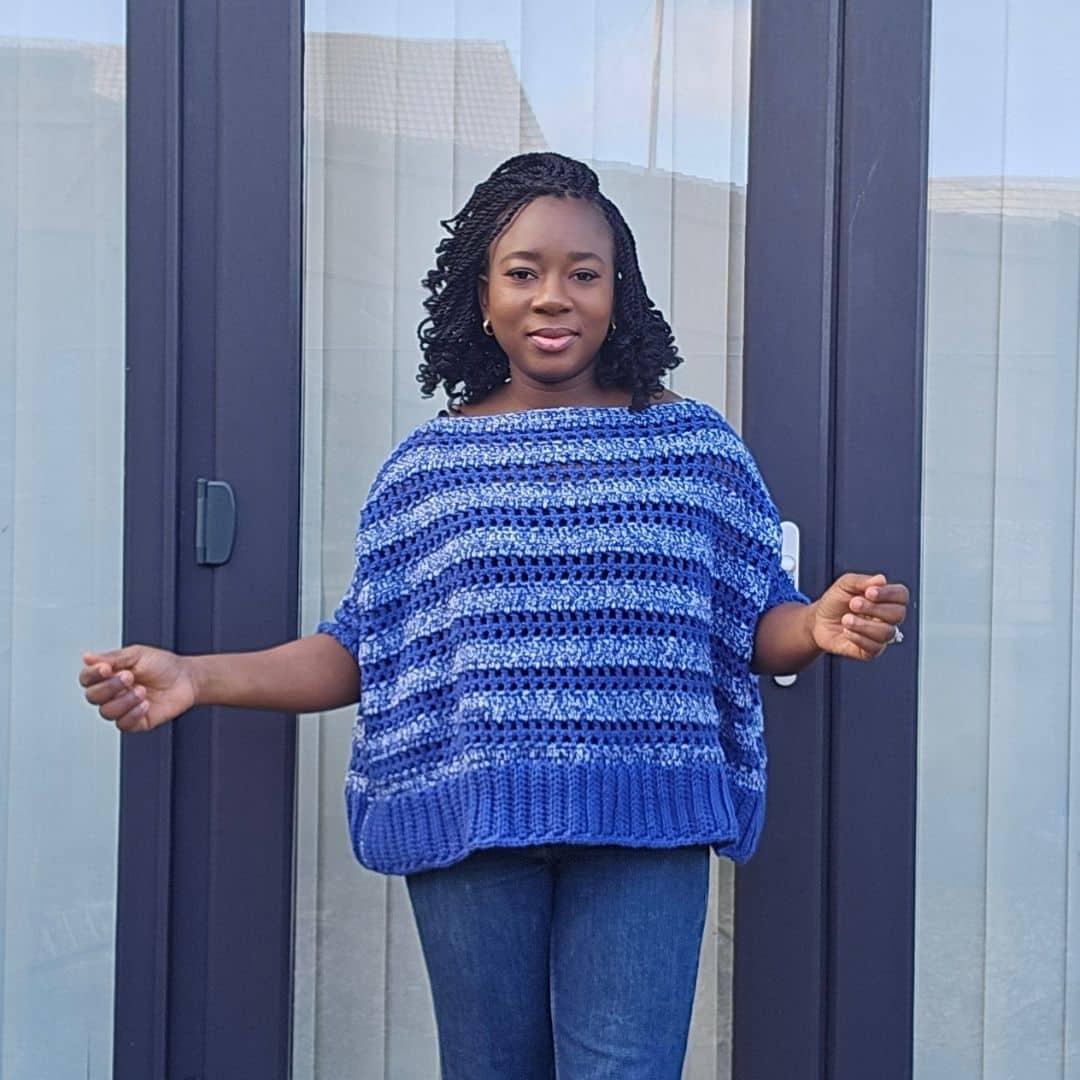
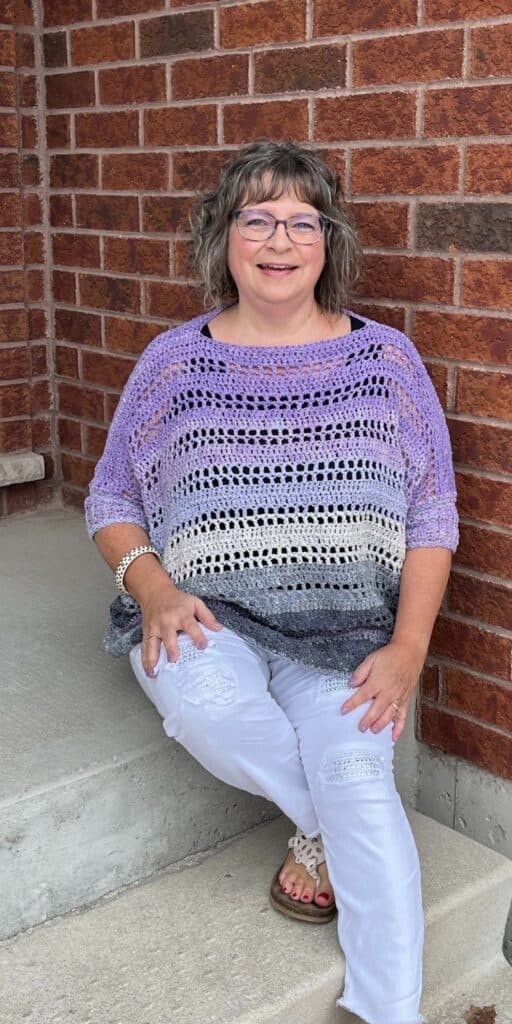
The Vanna swancho is a stylish blend of two cozy wardrobe staples: a sweater and a poncho—hence the name “swancho” (sweater + poncho).
Here’s what makes the Vanna’s Swancho crochet pattern special:
- Shape: Like a poncho, this swancho has a flowy body with batwing sleeves.
- Sleeves: Unlike a traditional poncho, a swancho typically has some kind of sleeve or armhole, giving it a more structured, sweater-like feel.
- Fit: The oversized and relaxed look makes it perfect for layering and comfort.
- Style: Swanchos takes the modern crochet designs to another level.
Why make a crochet Swancho?
Every crocheter should make the Vanna’s Swancho because it is:
- Beginner-friendly (many are just rectangles with clever shaping)
- Versatile (wear over jeans, dresses, or leggings)
- On-trend for boho, fall, spring, and layering styles

Vanna Swancho Crochet Free Pattern Details
Finished Measurement
Size(s) – S (M, L)
Actual Bust Measurement: 30 – 38 (42 – 50), (54 – 62)”
Finished bust measurement = 40 (52, 60)”
Length of Swancho: 20 (20, 20)”
Sleeve length: 6 (6, 6)”

The modeled garment is shown in the smallest size, with 20” of Positive Ease.
Materials needed to make the Vanna Swacho Swaefor
Yarn: Any Worsted weight yarn in colors of your choice.
I made mine using – Vanna’s Choice – Worsted Weight, #4 (100% Acrylic, 170 yards per 3.5oz/100g).
You can use a single or multiple colors for your project.
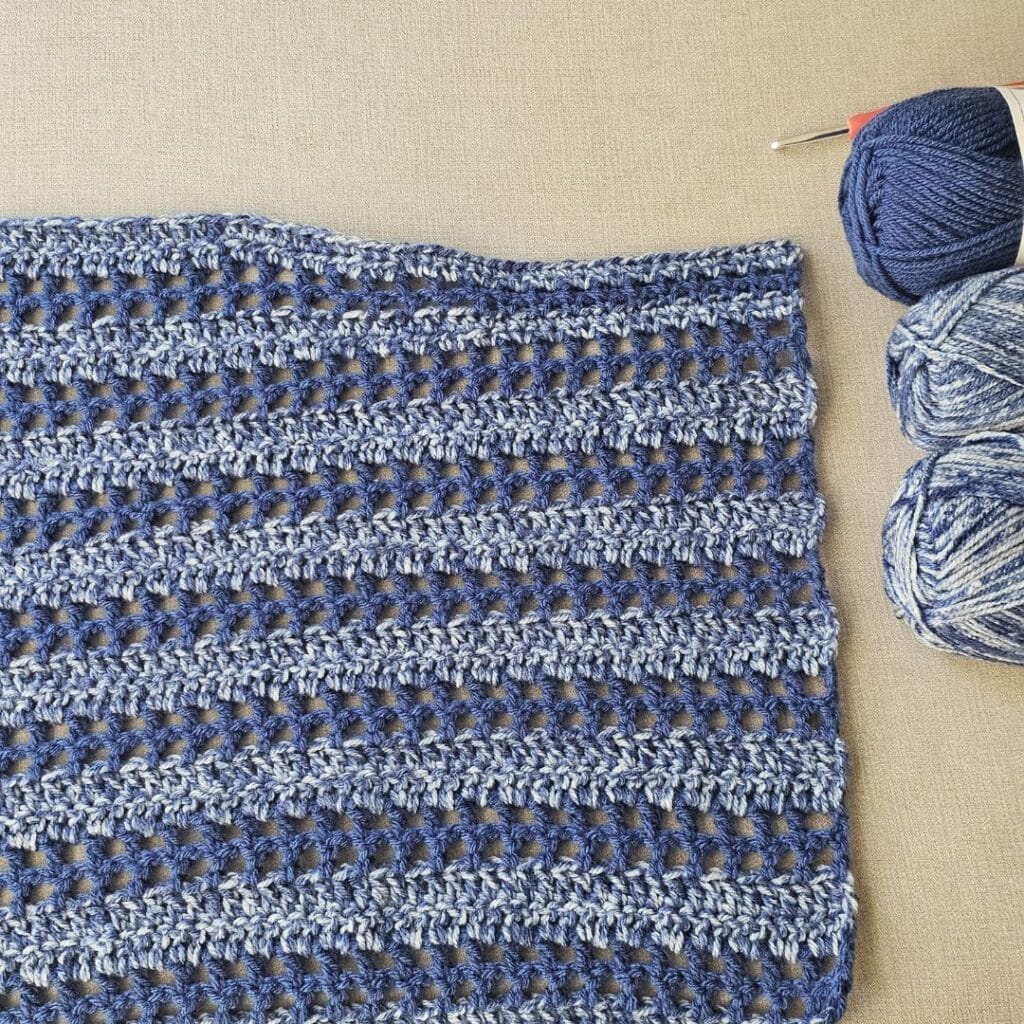
The prototype was made using: Denim Mist and Colonial Blue
You can have a look here.
Color A = 650 (750, 900) yards
Color B = 420 (520, 620) yards
Hook – 6 mm Crochet Hook
Gauge – 12 sts over 7 rows = 10 cm/4” square made in dc
Vanna’s Swancho Pattern Notes
1. Please kindly read through the pattern before starting.
2. A similar yarn weight can be substituted; please check the gauge.
3. Chains at the beginning of the rows/rounds do not count as a stitch.

Difficult – Beginner
Terms – US Terminology
Stitches Abbreviations
Chain(s) – ch(s)
Half double crochet – hdc
Double crochet – dc
Construction Notes
1. This cardigan is worked flat in rows.
2. The pattern works flat; you can customize the size by increasing or reducing your starting chains.
Adjustments/fittings for your Vanna’s swancho crochet pattern
Length: increase or decrease the repeats for part of the Body.
Sleeves:
Too tight? Reduce the length of the part indicated to be joined together.
Too loose: Increase the length of the part indicated to be joined together.
The Vanna’s Swancho PDF pattern is available on both Etsy and Ravelry using the images below.


Join the community and get my PDF crochet patterns at a significantly discounted price!
1 FREE DOWNLOAD PER MONTH
WITH JUST $3 PER MONTH!
- Pick your desired pattern each month.
- It can be a new or old pattern.

2 FREE DOWNLOADS PER MONTH
WITH JUST $5 PER MONTH!
- Pick your desired patterns each month.
- It can be a new or old pattern.
- You get 2 patterns per month.

3 FREE DOWNLOADS PER MONTH
WITH JUST $8 PER MONTH!
- Pick your desired patterns each month.
- You get 3 free patterns per month.
- It can be a new or old pattern.

How to crochet the Vanna’s Swancho Crochet Pattern
Section 1- Main Panels
Front and back panels (Make 2)
With A, chain 99 (107, 115)
Row 1: dc in 3rd chain from hook and in each ch across, turn. 97, 105, 113 dc
- Drop A, pick up B
- Do not cut yarn when instructed to switch colors for smooth color changes.
- When making the last stitch, use the new color for the last yarn over and complete the stitch.
Row 2: Ch 2, dc in first st, *ch 1, skip next st, dc in next st, rep from * to end, turn. 48, 52, 56 ch sps, 49, 53, 57 dc
Fit check:
The length should be across your elbow.
If it is too wide, reduce the starting chain in a multiple of 2 + 1
Row 3: Ch 2, dc in first st, *skip next ch sp, ch 1, dc in next st, rep from * to end, turn. 48, 52, 56 ch sps, 49, 53, 57 dc
Drop B, pick up A
Row 4: Ch 2, dc in first st, *dc in ch 1 sp, dc in next st, rep from * to end, turn. 97, 105, 113 dc
Row 5: Ch 2, dc in each st across, turn. 97, 105, 113 dc
Rows 6 – 19 (23, 27): Rep Rows 2 – 5
The repeat ends on row 3.
Repeating until the Rectangle measures 14 (16, 18).”
The band adds 4” and the next few rows will add 3”
Shaping shoulder
Row 24: Ch 1, working in each st and ch sp across, sc 18 (20, 22), hdc 16 (18, 20), dc 29, hdc 16 (18, 20), sc in the remaining 18 (20,22), turn
Row 25: Ch 1, sc in next st 18 (20, 22) sts, hdc in next 16 (18, 20) sts, dc in next 29 sts, hdc in next 16 (18, 20) sts, sc in the remaining sts, turn.
With Color B
Row 26: Ch 1, sc in first st, *ch 1, skip next st, sc in next st, rep from * 8 (9, 10) more times, (ch 1, skip next st, hdc in next st), rep () 7 (8, 9) more times, {ch 1, skip next st, dc in next st}, rep from { } 13 more times, (ch 1, skip next st, hdc in next st), rep () 7 (8, 9) more times, ch 1, skip next st, sc in next st, rep from * until the last st, sc in last st, turn.
Row 27: Ch 1, sc in first st, *ch 1, skip next ch sp, sc in next st, rep from * 8 (9, 10) more times, (ch 1, skip next ch sp, hdc in next st), rep () 7 (8, 9) more times, {ch 1, skip next ch sp, dc in next st}, rep from { } 13 more times, (ch 1, skip next ch sp, hdc in next st), rep () 7 (8, 9) more times, ch 1, skip next ch sp, sc in next st, rep from * until the last st, sc in last st, turn.
With Color A
Row 28: Ch 1, working in each st and ch sp across, sc 22 (24, 26), hdc 12 (14, 16), dc 29, hdc 12 (14, 16), sc in remaining 22 (24, 26), turn
Row 29: Ch 1, sc in next st 22 (24, 26) sts, hdc in next 12 (14, 16) sts, dc in next 29 sts, hdc in next 12 (14, 16) sts, sc in the remaining sts, turn
Edging
Aim for 1 hdc in each hdc st and 2 hdc in each dc st
Ch 2, hdc in each st around, aim for 2 hdc at each corner, join with a sl st to the beginning ch.
Fasten off.
Section 2 – Sleeves
Make 2
With Color B
Row 1: Chain 13, hdc in 3rd ch from hook and in each ch across, turn. 11 hdc
Row 2: Ch 1, hdc in first st, in BLO, hdc across until the last st, hdc in both loops, turn. 11 hdc
Rows 3 until you have a length loose enough to wrap around your arm: Rep Row 2
Increase or decrease the number of repeats for a comfortable fit around your forearm.
Do not fasten off.
Edging
Ch 1, sc in each st around the panel, ch 2 at each corner.
Fasten off.
Shoulder seam
- Place the two panels side to side.
- Place a stitch marker at the beginning of the dc from the shoulder shaping, and repeat this step with the other side of the neckline. Repeat on the second panel.
- Flip the panels to the wrong side. With the wrong side facing you, join the two panels starting from the edge towards the stitch marker.
- Fasten off.
- Repeat the joining on the other side.
Section 3 – Swancho Lower Brim
Make 2
With Color B
Row 1: Chain 13, hdc in 3rd ch from hook and in each ch across, turn. 11 hdc
Row 2: Ch 1, hdc in first st, in BLO, hdc across until the last st, hdc in both loops, turn. 11 hdc
Rep Row 2 until you have a length similar to your main panel: Rep Row 2
Increase or decrease the number of repeats, so it is long enough to go across the lower end of the sweater
Do not fasten off.
Edging
Ch 1, sc in each st around the panel, ch 2 at each corner.
Fasten off.
Joining the brim to the main panel’s lower end:
- Pick up your main panel.
- Continue sewing the brim to the lower edge of the panel.
- Repeat on the other side.
Joining the cuffs of the sleeve to the main panel:
- Pick up the joined main panel.
- Fold the main panel into two (as if you are putting it on)
- Fold the sleeve cuffs and place them next to the main panel.
- Secure the cuffs and the main panels with stitch markers.
- Sew the two together.
- Sew the side edge of the sleeve together.
- Repeat on the other side.
Joining the main panel’s side seams together.
- Fold the front panel over the back panel, with the right side next to each left.
- Join the back and front panels together with mattress stitch or slip stitches, using either a darning needle or a crochet hook.
- Repeat on the other side.
Fasten off and sew in ends.
Block to measurement.
I would like to see your beautiful makes from the Vanna’s Swancho crochet pattern.
About the Designer
Say Hi on Instagram and Subscribe To my email List for pattern discounts and freebies. For questions, send such to [email protected]. Read more about me here.