
Frosted Windows Beanie Crochet Pattern
There is something especially satisfying about turning a beautiful crochet motif into something you can actually wear.
And if you enjoyed the frosty colors and geometric look of the Frosted Windows collection, you are going to love seeing those same design elements transformed into a cozy beanie.
Get this pattern
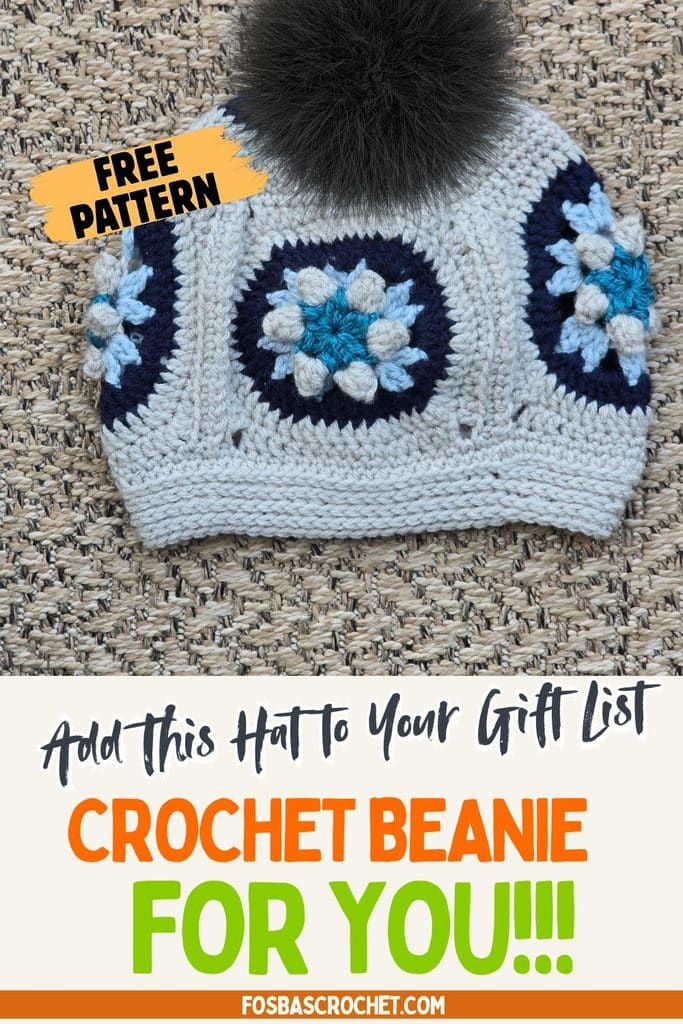
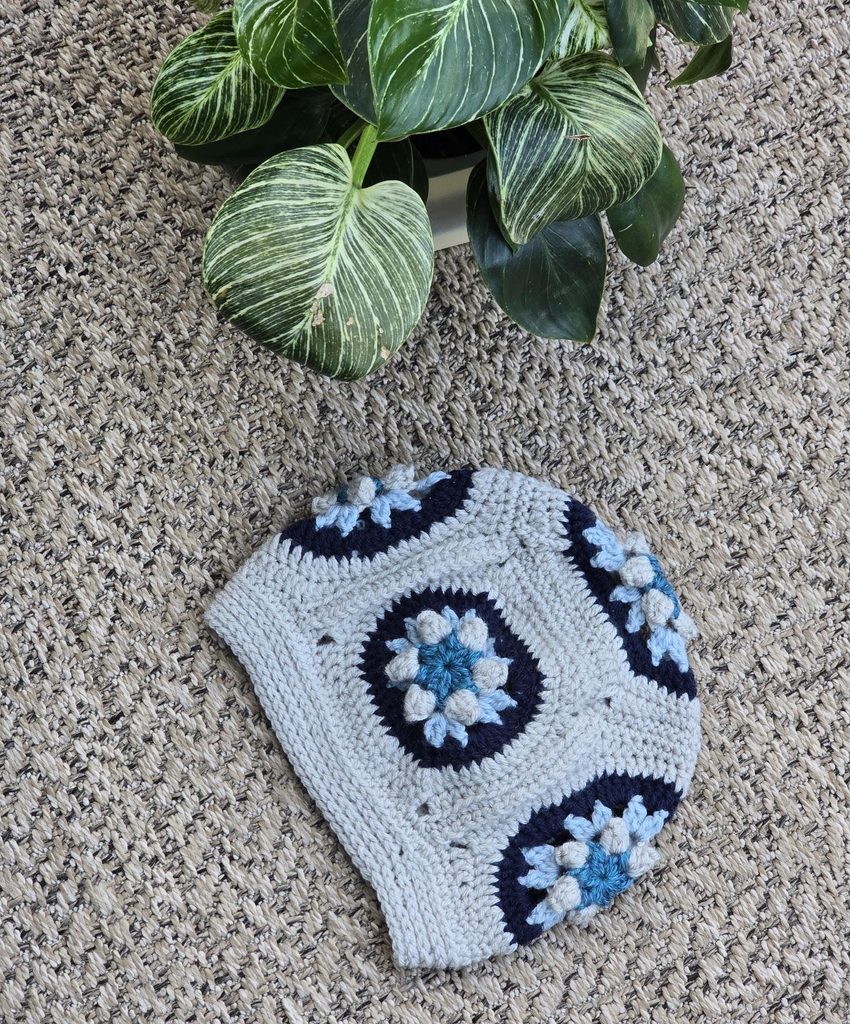
Meet the Frosted Windows Beanie.
This crochet hat combines colorful circular motifs, textured stitches and a little bit of crochet magic to create a beanie that looks much more complicated than the individual pieces actually are.
Instead of working the entire hat from the top down or bottom up, you will crochet five individual motifs, transform them from circles into squares, join them together and watch your beanie slowly take shape.
It is one of those projects where the construction is almost as fun as the finished piece.
And perhaps my favourite part?
More Like This
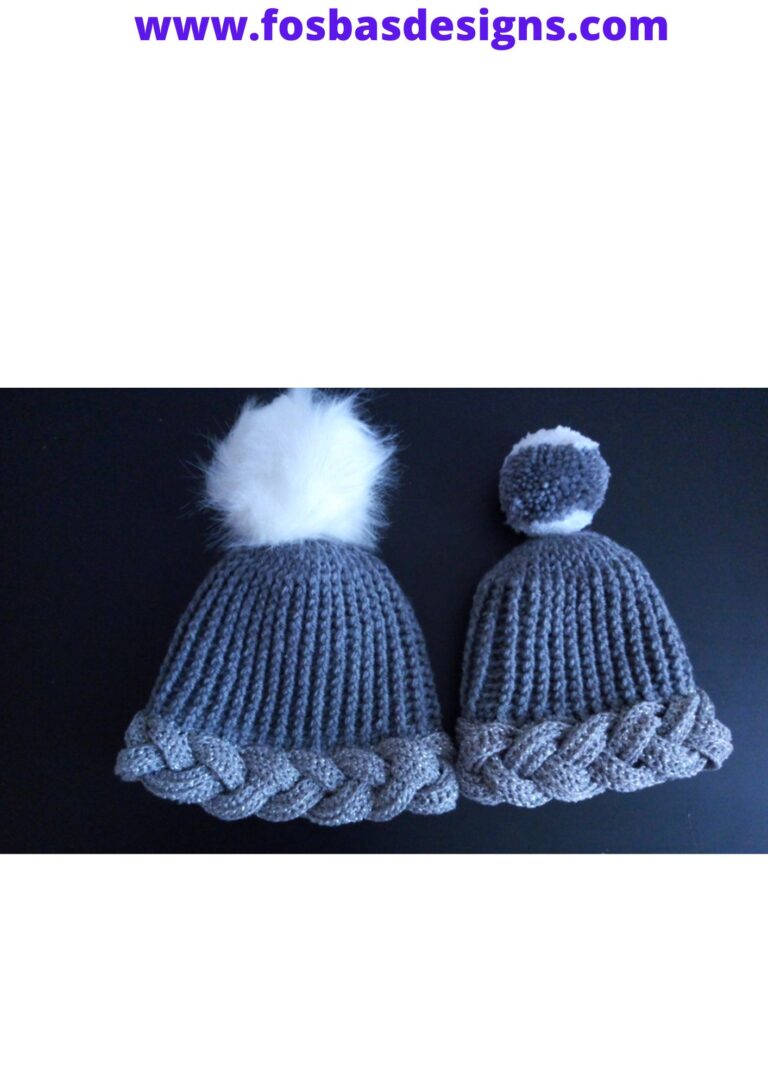
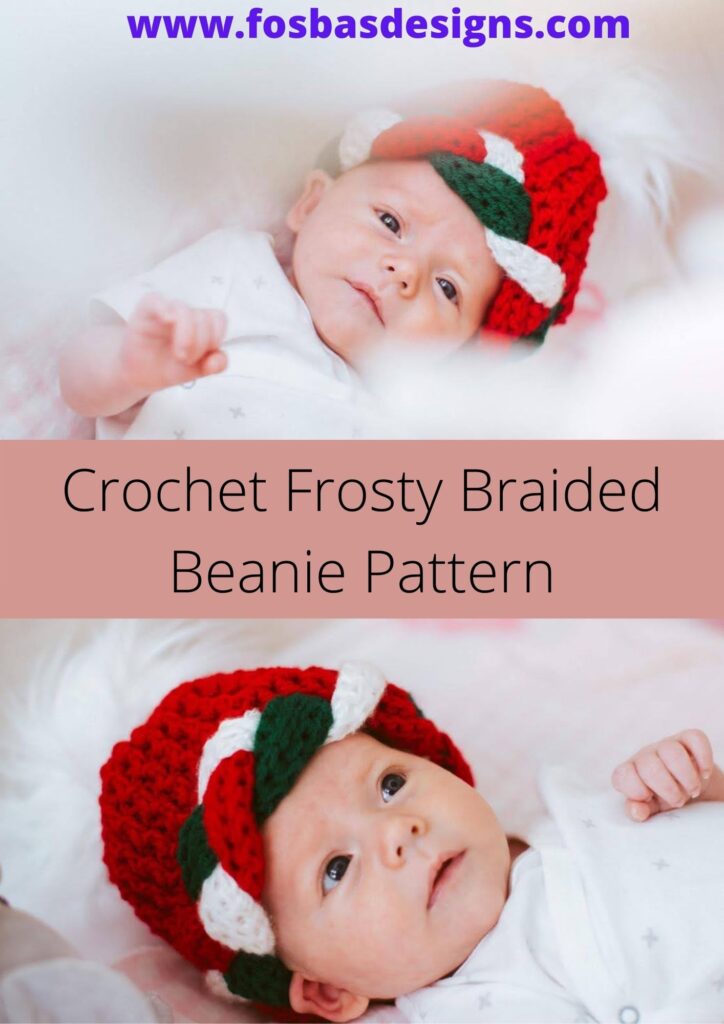
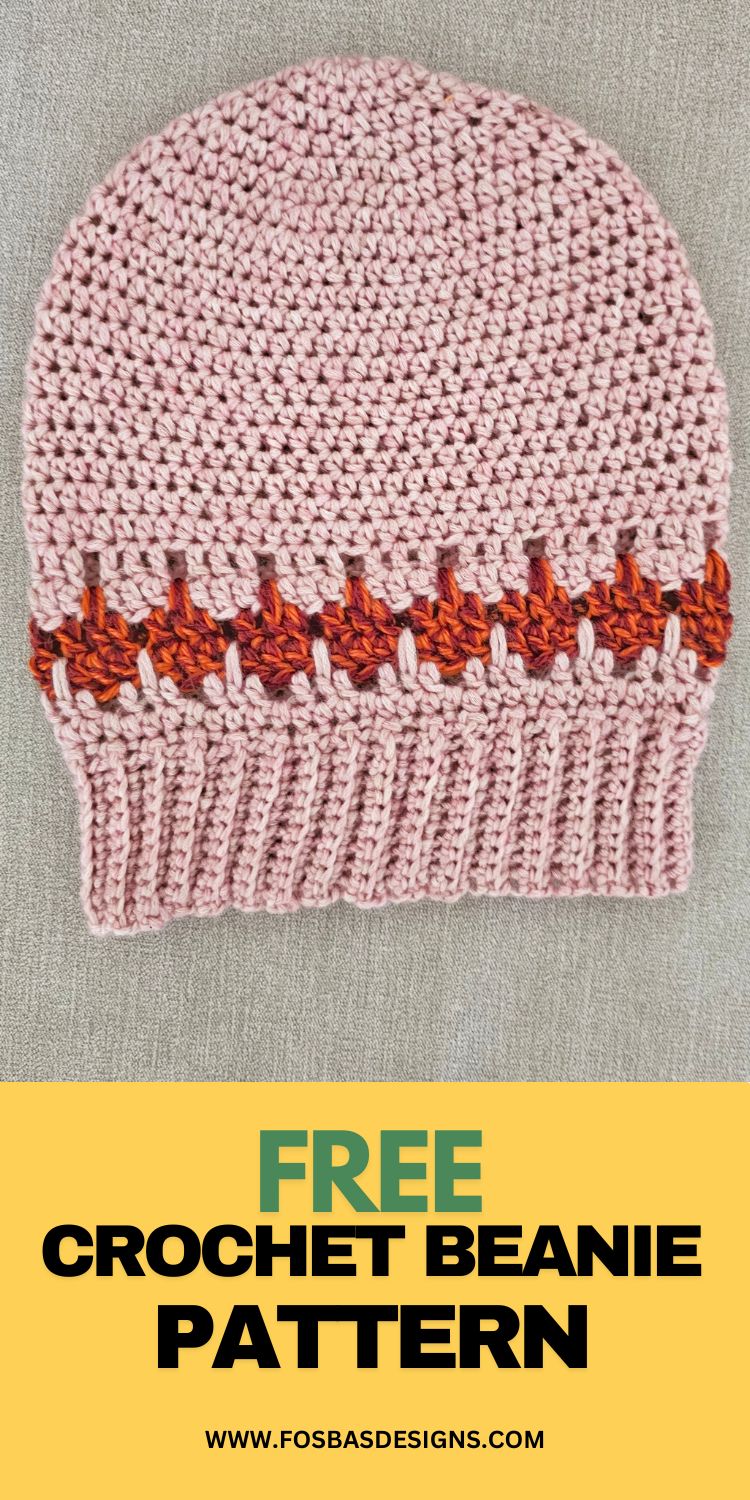





You can completely change the personality of the hat simply by changing the colors.
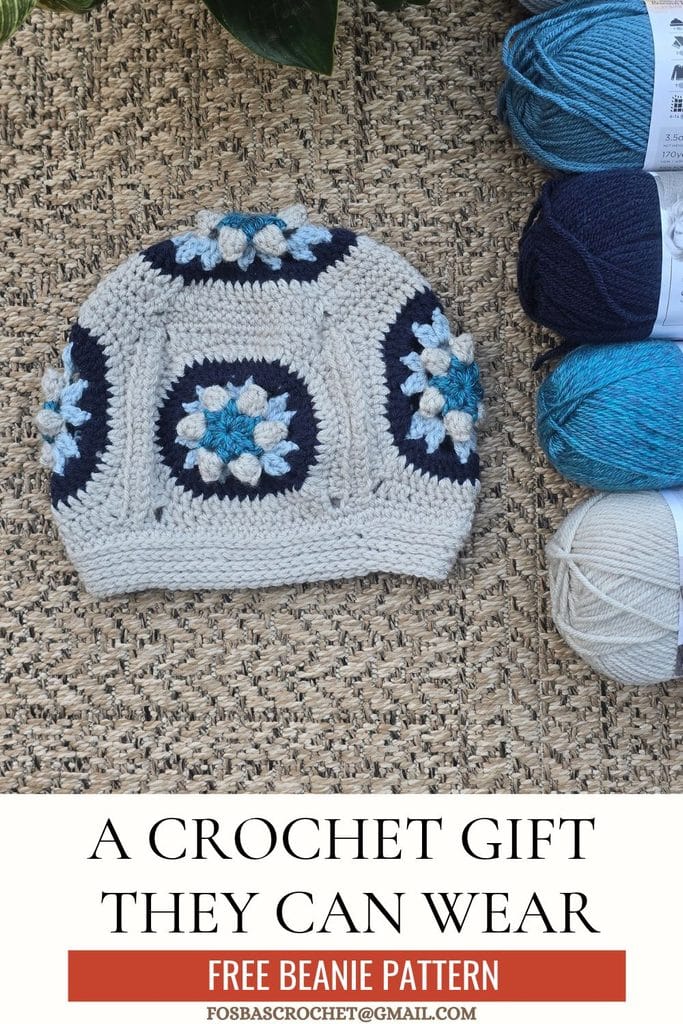
A Crochet Beanie Made From Motifs
The Frosted Windows Beanie started with the idea of taking the motif design from the Frosted Windows collection and turning it into a smaller, wearable project.
The beanie is made using five crochet motifs.
Each motif begins as a circle filled with texture and color changes before eventually being squared off.
Four of the squares are joined together to create the main body of the hat, while the fifth motif becomes the crown.
Once everything is joined, extra rounds are added around the lower edge to give the beanie its finished height.
It is a completely different way of constructing a crochet hat, which makes this pattern especially enjoyable if you are ready for something beyond the usual basic beanie.
The Frosted Window Effect
One of the things I love most about this design is the way the colors sit inside each motif.
The prototype combines Glacier Bay, Linen, Silver Blue, Dusty Blue and Navy.
Together, they create that cool wintery look that inspired the Frosted Windows collection.
The combination of circles, clusters, popcorn stitches and contrasting colors gives each motif a layered appearance before the final round transforms it into a square.
Once the squares are joined, the individual motifs begin to look like little windows wrapping around the hat.
Hence the name Frosted Windows Beanie.
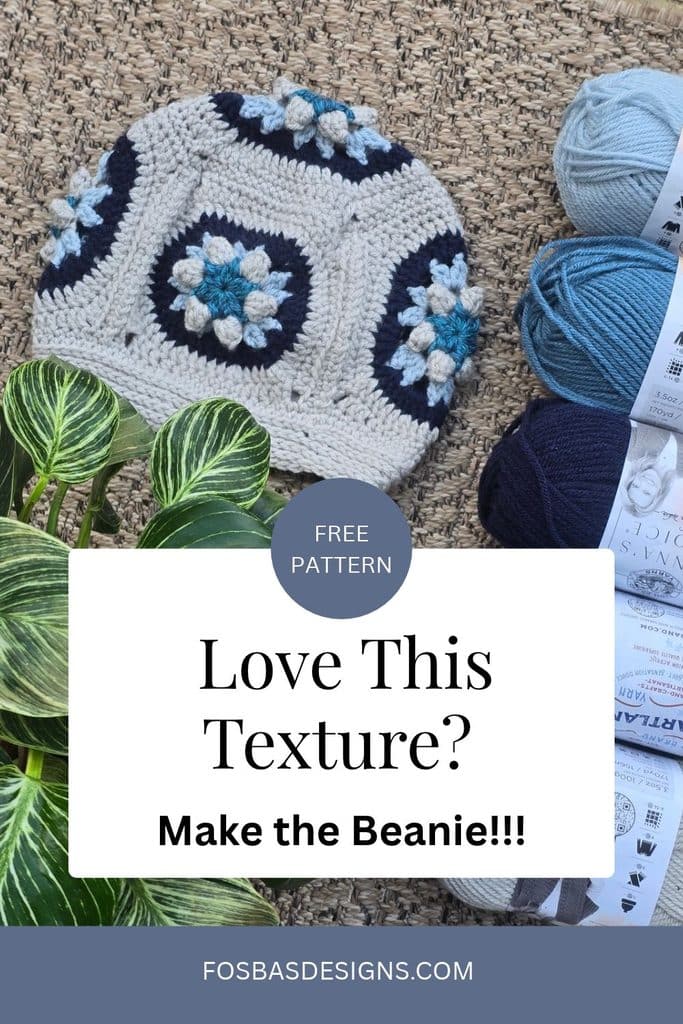
A Great Project for Playing With Color
Although I love the icy blues and neutrals used for the original beanie, you definitely do not have to recreate the same color combination.
This pattern is perfect for experimenting with yarn colors.
You could try:
Soft neutrals for an understated everyday beanie
Bright rainbow colors for a playful version
Different shades of one color for a beautiful tonal effect
Cream, brown and warm rust tones for an autumn inspired hat
Black, grey and white for a modern monochrome look
Pastels for a softer version
You could even use small amounts of leftover worsted weight yarn for some of the inner rounds and choose one main color to pull all the motifs together.
The most important thing is to keep the yarn weights similar throughout the project.
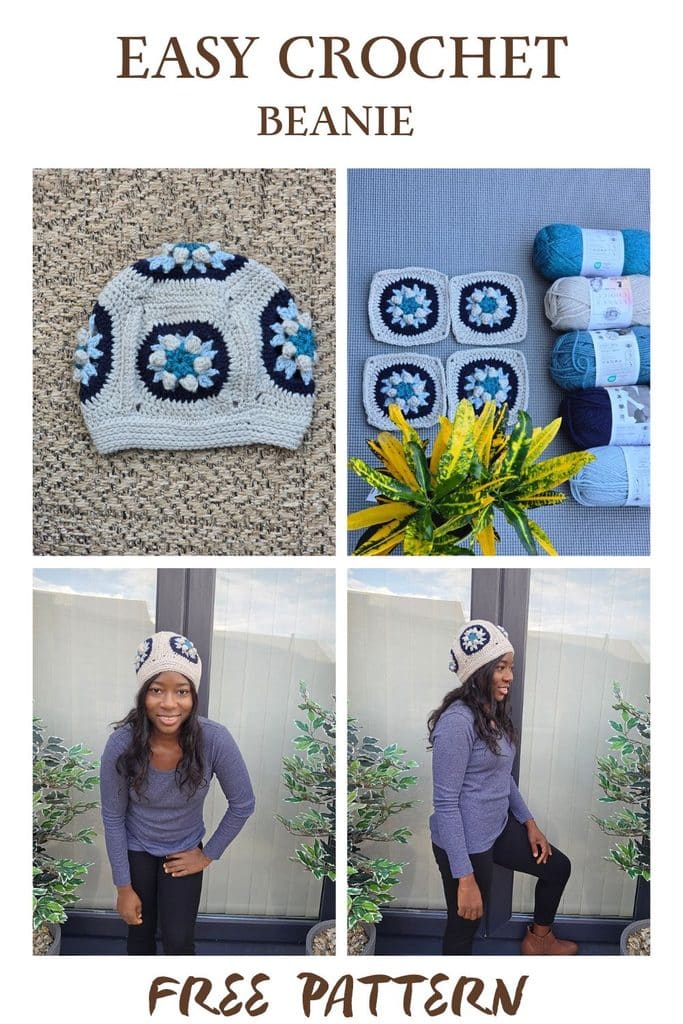
Yarn and Materials
The Frosted Windows Beanie is designed using worsted weight yarn.
For the prototype, I used Lion Brand Vanna’s Choice and Lion Brand Heartland.
The colors used were:
Vanna’s Choice Linen
Vanna’s Choice Navy
Vanna’s Choice Silver Blue
Vanna’s Choice Dusty Blue
Heartland Glacier Bay
You can easily substitute another worsted weight yarn if you prefer.
You will also need a crochet hook suitable for the size you are making.
The child size uses a 4 mm crochet hook.
The teen and adult sizes use a 5 mm crochet hook.
As always, checking your gauge before getting too far into the project will help you achieve the intended finished size.
Three Beanie Sizes
The pattern includes three finished sizes, making it easy to crochet one for different members of the family.
The finished circumferences are approximately:
Child: 19 inches
Teen or Adult Small: 20 inches
Adult Large: 22 inches
This also makes the Frosted Windows Beanie a lovely handmade gift idea.
Once you have made your first one, you might find yourself planning another in completely different colors.
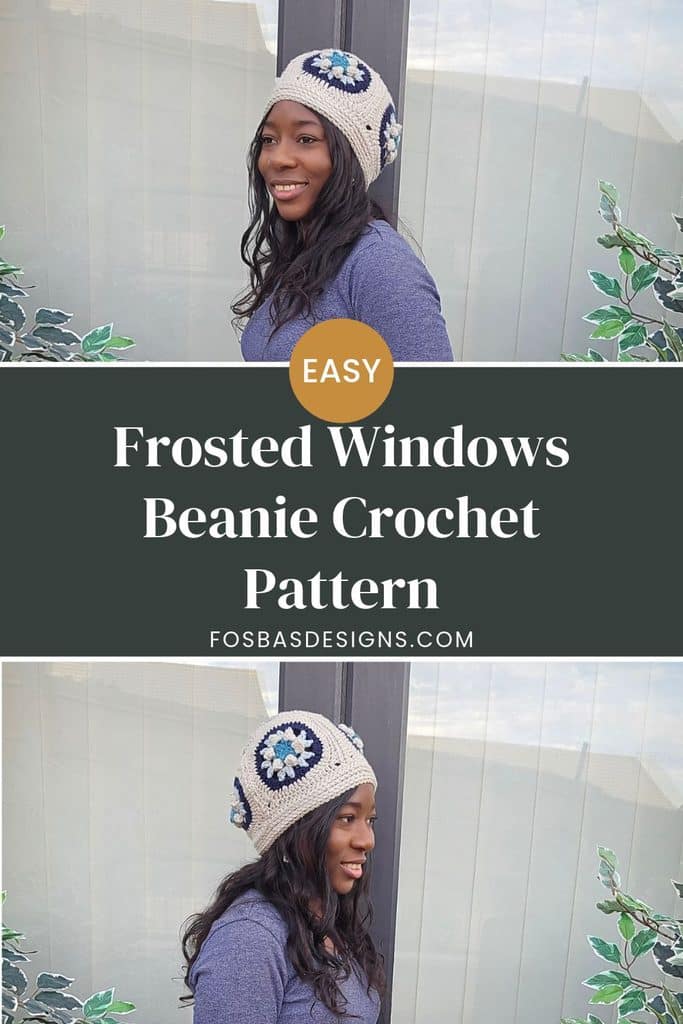
Interesting Stitches Without Being Repetitive
If you enjoy patterns with a little variety, this one should keep things interesting.
The motif includes familiar crochet stitches alongside textured techniques such as double crochet clusters and popcorn stitches.
These stitches help create the raised texture within the circular section of the motif.
You are not simply repeating the same stitch for the entire hat.
Instead, each round builds another part of the motif before everything comes together during the squaring round.
The pattern is rated Intermediate, so it is a lovely project for crocheters who are comfortable with the basic stitches and want to explore motif construction, color changes and joining.
How the Frosted Windows Beanie Is Constructed
The construction happens in three main stages.
First, you crochet five individual circular motifs and transform each one into a square.
Next, four squares are joined in a straight line.
The ends of that strip are then joined together to form the main body of the beanie.
The remaining square is positioned over the opening at the top and joined around the edges to create the crown.
Finally, you crochet additional rounds around the lower edge of the hat to add height and complete the beanie.
Watching the flat squares suddenly become an actual hat is probably one of the most satisfying parts of the project.
Make the Joining Your Own
The pattern explains how to join the motifs using a crochet hook, but you can also use your favourite joining technique.
For the sample, the motifs are joined while keeping the right sides facing you.
Using the same main color for the joining round also helps visually connect all those colorful motifs.
If you enjoy motif based projects but sometimes lose motivation when there are dozens of squares waiting to be joined, this project is much more manageable.
There are only five motifs.
Just enough to enjoy the process without creating a mountain of squares beside your crochet chair.
Add a Pompom Or Keep It Simple
Once your beanie is finished, you can leave the crown exactly as it is or add a pompom.
A fluffy pompom gives it that classic winter hat look.
Without one, the geometric motif at the crown becomes more visible and gives the hat a slightly cleaner finish.
Both versions work beautifully, so this really comes down to personal preference.
A Fun Addition to the Frosted Windows Collection
One of my favourite things about designing crochet patterns is seeing how one idea can grow into something completely different.
A motif does not have to remain part of a blanket.
It can become a scarf.
A hat.
A garment.
Or the beginning of an entirely new design.
The Frosted Windows Beanie takes the familiar motif and turns it into a cozy project that can be worn throughout the colder months.
It is colorful without being overwhelming, textured without becoming too bulky, and unusual enough to make people wonder how you made it.
Frosted Windows Beanie Crochet Pattern
Section 1
Make 5 pcs
R1 Glacier Bay → R2 Linen → R3 Silver Blue → R4 Navy → R5 Linen → R6 Linen
With Glacier Bay
Use 4 mm for kids size, 5 mm for the Teen and Adult sizes
Round 1: In MR, ch 3, 2 dc-cl, *ch 3, 3 dc-cl), rep from * 4 more times, ch 3, join with a sl st to the top of 3rd ch from the beginning ch 3. 6 clusters of dc-cl, 6 ch 3 sps.
Fasten off Glacier Bay, join Linen to any ch 3 space
Round 2: Ch 3, 4 dc in same st, sl st to the top of the 3rd ch, *ch 3, popcorn in next ch 3 sp, rep from * around, ch 3, join with a sl st to the top of ch 3 sp from the beginning. 6 popcorns, 6 ch sps.
Fasten off Linen, join Silver Blue to any ch 3 space
Round 3: Ch 3, (dc, ch 2, 2 dc-cl) in same ch 3 sp, *ch 3, (2 dc-cl, ch 2, 2 dc-cl) in next ch 3 sp, rep from * around, join with a sl st to the top of ch 3 sp from the beginning. 6 groups of dc-cls, 12 ch sps.
Fasten off Silver Blue, join Navy to any ch 2 space
Round 4: Ch 3, 2 dc in same ch 2 sp, *5 dc in next ch 3, 3 dc in next ch 2 sp, rep from * around, join with a sl st to the top of ch 3 sp from the beginning. 48 dc
Fasten off Navy, join Linen to any st
Skip round 5 for Kids and Teens sizes
Round 5: Ch 3, dc in same as starting ch 3 *dc in next 4 sts, 2 dc in next st, rep from * until the last 2 sts, 2 dc in each of the last 2 sts, join with a sl st to the top of ch 3 sp from the beginning. 60 dc
For all the sizes
- Squaring the circle
- Continue with Linen
Round 6: Ch 5 (counts as dc + ch 2), dc in same at as starting ch 5, first corner made, *dc in next 2 sts, hdc in next 2 sts, sc in next 3 (3, 6) sts, hdc in next 2 sts, dc in next 2 sts, (dc, ch 2, dc) in next st, rep from * around, join with a sl st to the top of ch 3 sp from the beginning. 52 (52, 64) sts
Fasten off
Section 2: Joining the motifs together.
Arrange 4 motifs in a straight line.
- Mark the edges with stitch markers.
- Join across the sides of 2 motifs at a time until you have used all the sts/ch sps.
- Use a crochet hook and a slip stitch or single crochet to connect the sides of the motifs.
- Use Linen for joining. Keep the right sides of the motifs facing you throughout.
- You can use your preferred joining method.
Step 1: At the ch 2 space, insert your hook through both ch 2 spaces, join Linen with a sl st, then ch 1 to secure the yarn.
Insert the hook through the inner loop of the next stitch on Motif 1 and the inner loop of the corresponding stitch on Motif 2. Make a sl st through both loops.
Continue joining the motifs together in this way until you reach the next ch 2 space on both motif’s.
Step 2: Repeat this process until you have joined the 4 squares in a straight line.
Next, place the side of motif 1 next to motif 4 and join the sides together.
Step 3: Add the first square to the upper part of the joined motif to close the upper opening.
Continue joining around the opening.
Crochet around the lower end of the beanie in rounds.
Use Linen
Round 1: Ch 1, hdc in each st around, join with a sl st to the beginning ch sp. 52 (52, 64) sc
Round 2: Ch 1, working in the 3rd loop around, hdc in each st, join with a sl st to the beginning ch. 52 (52, 64) hdc
Rounds 3 – 5 (6, 7): Repeat round 2.
Optional
Last round: Ch 1, in 3rd loop, sc in each st around, join with a sl st to the beginning ch. 52 (52, 64) sc
Weave in ends.
Optional: Add pompom if desired.
Who Is This Crochet Beanie Pattern For?
You may especially enjoy the Frosted Windows Beanie if you love:
Crochet motif projects
Colorful crochet accessories
Unusual beanie construction
Geometric crochet designs
Textured stitches
Projects that use several colors
Winter crochet accessories
Patterns that feel different from a traditional crochet hat
It is also a fun project if you have already made another Frosted Windows design and want to continue experimenting with the motif in a smaller project.
Your Frosted Windows Beanie
Now comes the difficult question.
What colors would you use?
Would you keep the cool frosted blues?
Go completely neutral?
Pull out the brightest colors in your yarn collection?
Or make several versions for different people?
However you choose to make yours, I hope you enjoy watching those five little motifs turn into a cozy Frosted Windows Beanie.
Happy crocheting!
Buy this pattern for $3.00, or get it free with a membership from $3 a month.
Buy the PDF
Hi, I’m Susanna!
I am Susanna, the designer and maker behind Fosbas Designs. Here, I share not only crochet designs but also the inspirations and process of each project. I am a happy mother of two handsome boys and a wife to my prince charming. These guys are…
More about me